
As the soft glow of string lights twinkles in the evening, the scent of baking cookies wafts through the air, instantly transforming my kitchen into a haven of holiday cheer. Today, I’m thrilled to share my recipe for Swirled Christmas Cookies—a delightful treat that’s not only colorful but also incredibly quick to whip up! These festive beauties are perfect for adding a pop of joy to cookie boxes or holiday gatherings, and they easily cater to nut allergies with a simple extract swap. With a tender shortbread base and a satisfying crunch from the sprinkles, they’re sure to impress everyone at your table. So, are you ready to make your holidays a little sweeter with a swirl of color and flavor?
Why are These Cookies So Special?
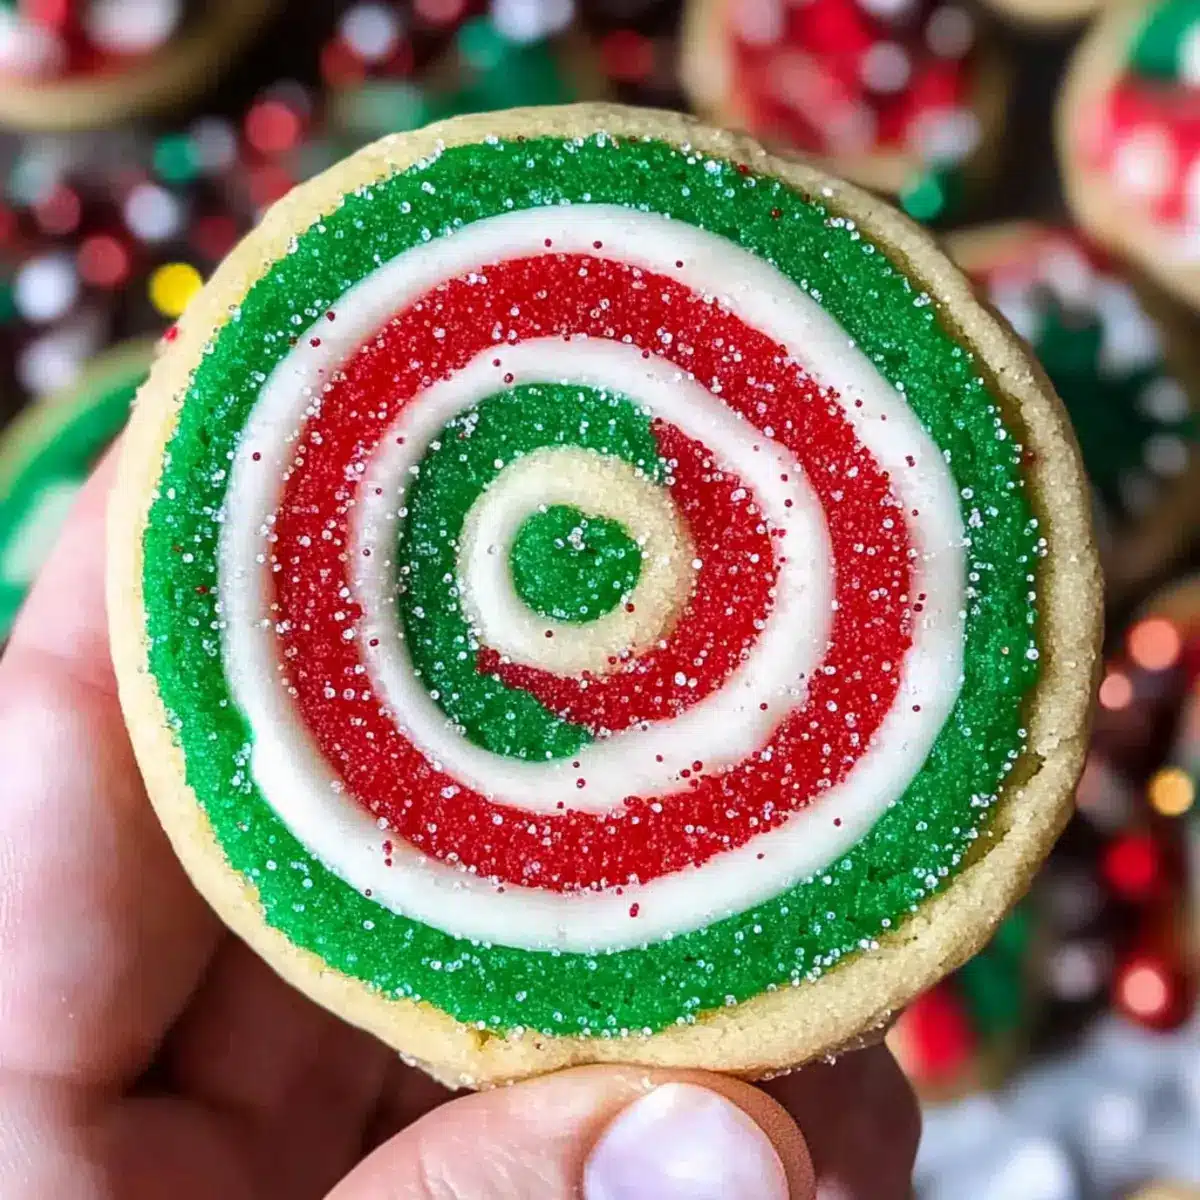
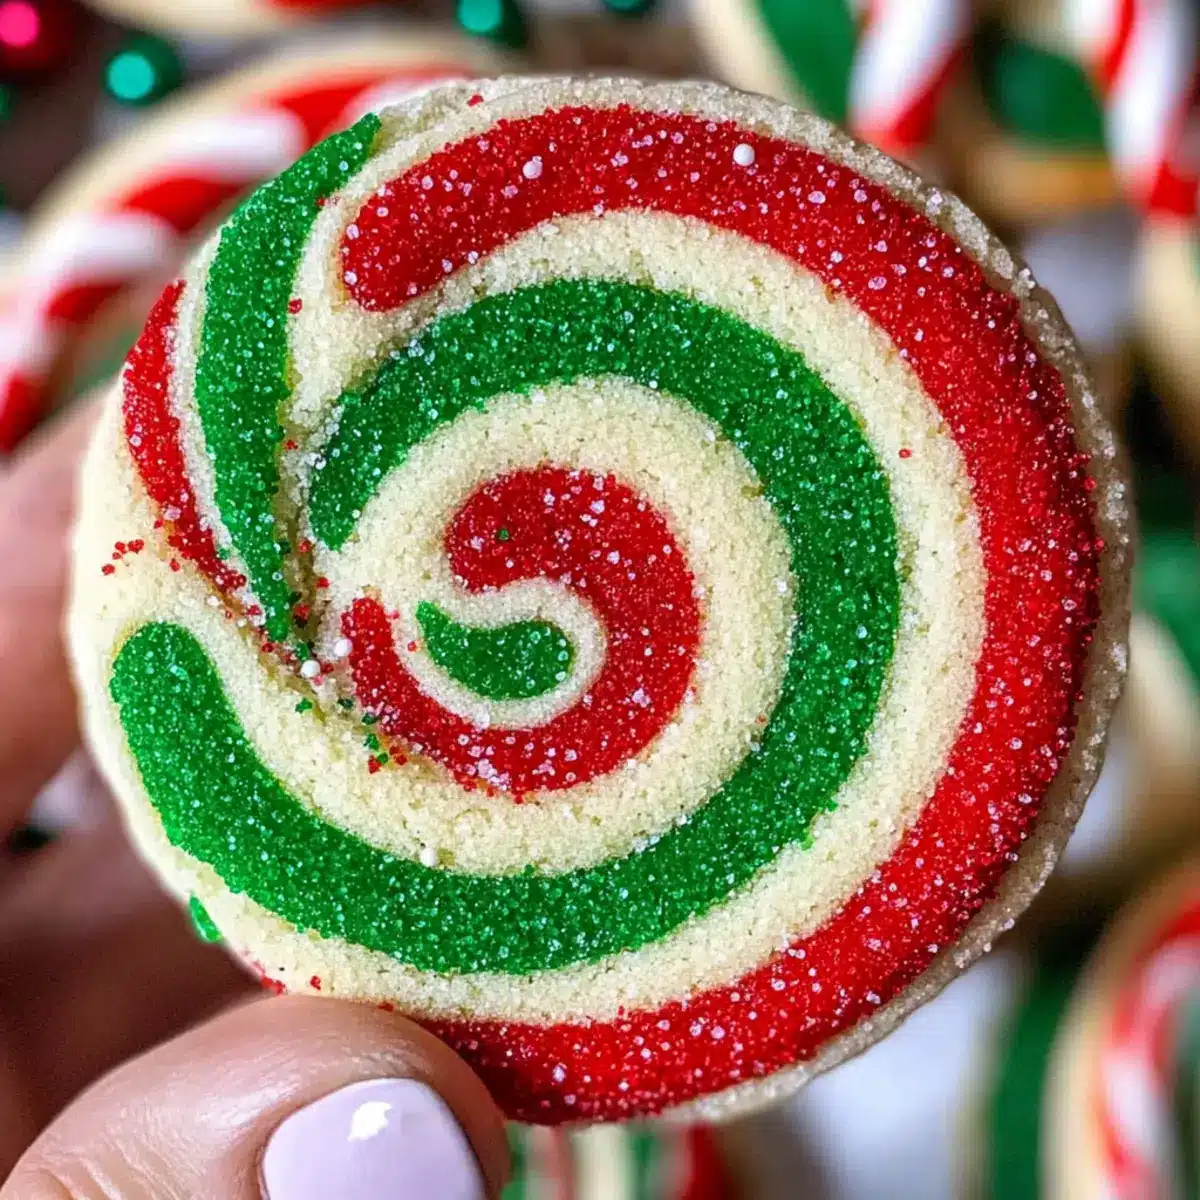
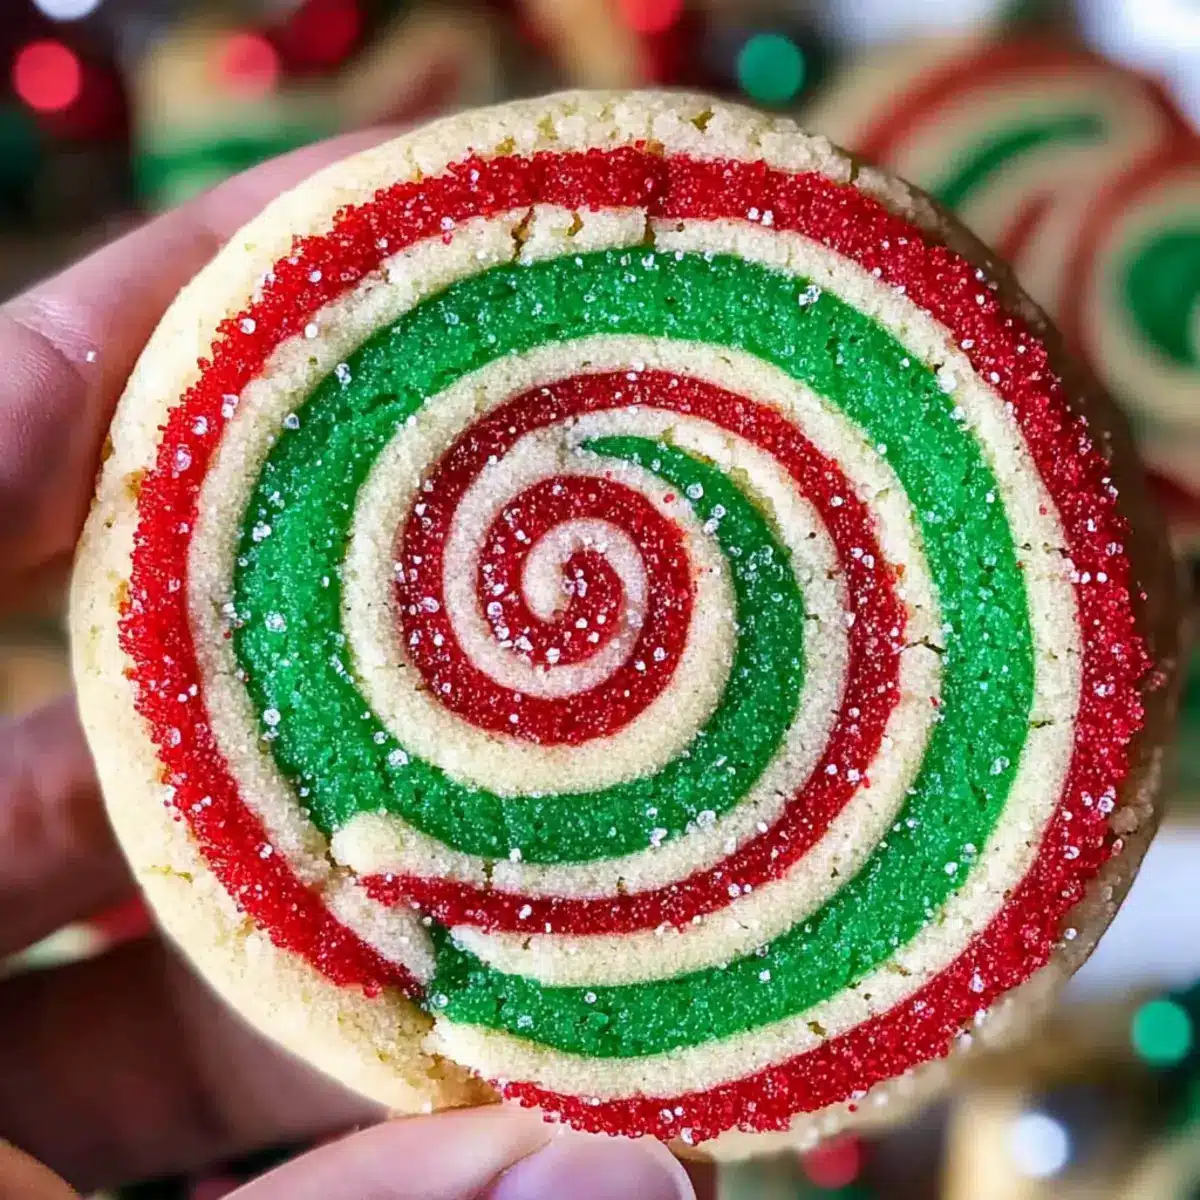
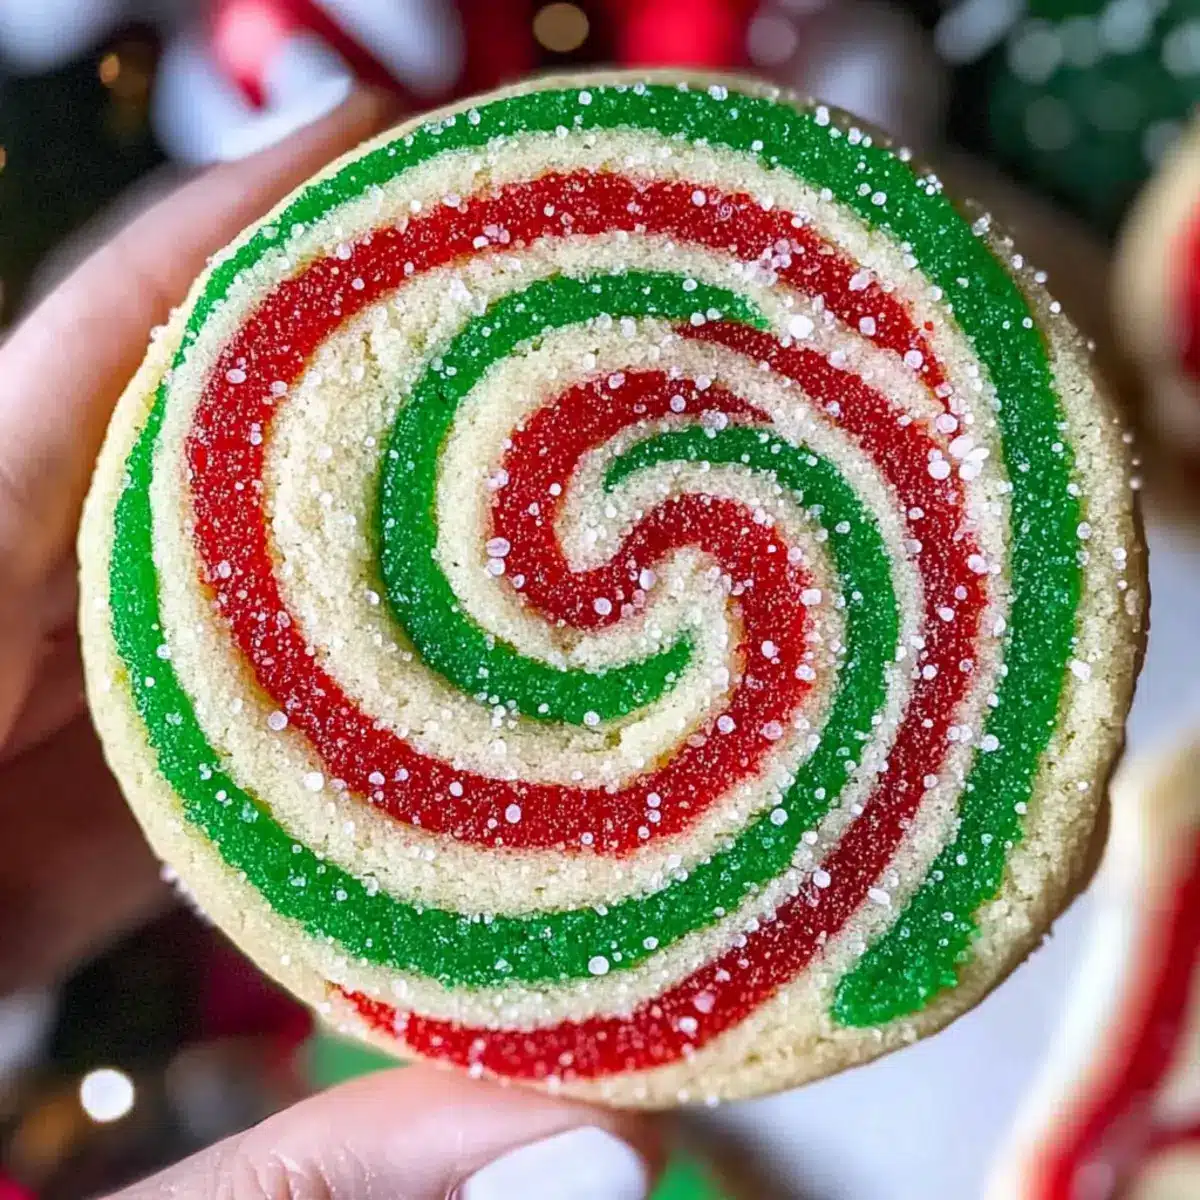
Vibrant Colors: These Swirled Christmas Cookies are a feast for the eyes, featuring stunning red and green swirls that will captivate everyone during the holidays.
Nut-Free Option: Nervous about nut allergies? No problem! You can easily adapt the recipe using different extracts to suit your needs.
Simple Preparation: Whipping these up is a breeze, making them perfect for busy holiday schedules or spontaneous baking days.
Perfect for Gifting: These cookies are delightful additions to any cookie box, bringing joy and cheer to friends and family alike. Pair them with a cup of hot cocoa for a cozy treat!
Storage Flexibility: Enjoy your creations even longer! These cookies can be stored at room temperature for five days or frozen for up to a month, allowing you to plan ahead with ease.
Make Every Occasion Festive: Feel free to switch up the colors or flavors for other holidays—these cookies can make any celebration bright!
Swirled Christmas Cookies Ingredients
For the Cookie Base
• Unsalted Butter (1 cup / 226g) – It lends richness and tenderness; make sure it’s at room temperature for easy mixing.
• Granulated Sugar (1 1/4 cups / 250g) – This sweetens the cookies and helps create a light texture when creamed with butter.
• Egg (1 large) – Acts as a binder, providing moisture and richness to the dough.
• Almond Extract (2 tsp) – Enhances the cookies’ flavor with a nutty note; swap with vanilla for those with nut allergies.
• Vanilla Extract or Vanilla Bean Paste (1 tsp) – Both add depth of flavor and can be used interchangeably.
For the Dry Mix
• All-Purpose Flour (3 cups / 390g) – The main ingredient for structure; opt for gluten-free flour if needed.
• Cornstarch (1 tsp) – Softens cookies’ texture, yielding that delightful delicate crumb.
• Baking Powder (1 tsp) – Provides lift for your cookies, ensuring they bake to the perfect consistency.
• Fine Salt (1 tsp) – Balances sweetness and enhances the overall flavors in your cookies.
For Decoration
• Christmas Sprinkles (1 cup) – Perfect for a festive crunch; feel free to substitute with other holiday-themed sprinkles.
• Gel Food Coloring (red and green) – Creates those vibrant swirls; avoid liquid dyes as they can change the dough’s texture.
These Swirled Christmas Cookies are not just a treat for the taste buds but also a visual delight perfect for your holiday celebrations!
Step‑by‑Step Instructions for Swirled Christmas Cookies
Step 1: Prepare Dough
In a large mixing bowl, cream together 1 cup of softened unsalted butter and 1 1/4 cups granulated sugar until the mixture is light and fluffy, about 3-5 minutes. Incorporate 1 large egg, 2 teaspoons almond extract, and 1 teaspoon vanilla extract, mixing until well combined and smooth. This creamy base sets the foundation for your delightful Swirled Christmas Cookies.
Step 2: Combine Dry Ingredients
In a separate bowl, whisk together 3 cups of all-purpose flour, 1 teaspoon cornstarch, 1 teaspoon baking powder, and 1 teaspoon fine salt. Gradually add the dry mixture to the wet ingredients on low speed, mixing until just combined. Avoid overmixing to ensure your cookies remain tender. Set the dough aside while you prepare for the next step.
Step 3: Divide Dough
Carefully divide the dough into three equal portions. Color one part with red gel food coloring and another with green, leaving the third portion uncolored. Wrap each colored dough in plastic wrap and chill them in the refrigerator for about 30 minutes or in the freezer for 10 minutes, allowing them to firm up. This chilling step is crucial for perfecting the shape of your Swirled Christmas Cookies.
Step 4: Roll Dough
On a sheet of parchment paper, roll each portion of dough into rectangles measuring approximately 7×12 inches. Stack them in the order of green, uncolored (white), and red, neatly aligning the edges. Then, gently roll the stack up into a log, using the parchment paper to assist. This rolling technique creates the beautiful swirls that will define your festive cookies.
Step 5: Coat and Cut
Once your log is formed, carefully roll it in 1 cup of Christmas sprinkles until fully coated. Using a sharp knife, slice the log into 1/3-inch thick cookies. If the log softens during this process, simply place it back in the refrigerator for an additional 15-30 minutes to firm up before cutting. This step ensures clean edges for your Swirled Christmas Cookies.
Step 6: Bake
Preheat your oven to 350°F (175°C). Line two baking sheets with parchment paper and arrange the cookie slices on the sheets, leaving space between them. Bake the cookies for 12-14 minutes or until the edges are just set but not browned. Keep an eye on them—overbaking can affect the tenderness of your lovely Christmas cookies.
Step 7: Cool
Once baked, remove the cookies from the oven and allow them to cool on the baking sheets for about 15 minutes. Then, carefully transfer them to a wire rack to cool completely. This final step ensures that your Swirled Christmas Cookies maintain their beautiful shape and flavors while cooling down, ready to be enjoyed!
Expert Tips for Swirled Christmas Cookies
-
Perfectly Creamed Butter: Make sure your butter and sugar are well-creamed for light, tender cookies. This step is essential for airy texture in your Swirled Christmas Cookies.
-
Color Intensity: Use gel food coloring for vibrant hues without changing the dough consistency. Liquid dyes can make the dough too wet, affecting the overall texture.
-
Even Thickness: When cutting cookies, ensure each slice is of uniform thickness for consistent baking. Uneven cookies may lead to some being undercooked while others overbake.
-
Chill Dough Well: Don’t skip the chilling step! Proper chilling helps prevent spreading and ensures that your cookies hold their beautiful shapes while baking.
-
Underbake Slightly: Remove cookies from the oven just before they’re fully set; they will firm up on the cooling rack. This keeps them soft and delicious, the hallmark of perfect Swirled Christmas Cookies.
Swirled Christmas Cookies Variations & Substitutions
Feel free to explore these creative twists to personalize your festive cookie experience and make them even more delightful!
- Nut-Free: Substitute almond extract with vanilla, lemon, or coconut extract to suit nut allergies.
- Colorful Celebrations: Use different gel food coloring like blue or purple to customize for other holidays or special occasions.
- Gluten-Free: Swap all-purpose flour with a gluten-free flour blend to accommodate gluten sensitivities without sacrificing texture.
- Dairy-Free: Replace unsalted butter with coconut oil or a plant-based butter alternative for a tasty dairy-free version.
- Sprinkle Switch: Try holiday-themed sprinkles or even crushed candy canes to add a unique crunch and festive flair.
- Flavor Boost: Stir in some zest from an orange or lemon for a refreshing zing that brightens up the taste profile.
- Spicy Twist: Add a pinch of cinnamon or nutmeg to the dough for a warm, spicy kick perfect for winter celebrations.
These delightful Swirled Christmas Cookies can easily be transformed into something uniquely yours. And if you’re looking for more festive cookie inspiration, check out our Christmas Kitchen Sink Cookies or try our whimsical Christmas Thumbprint Cookies. Happy baking!
What to Serve with Swirled Christmas Cookies
The festive season calls for delightful pairings that elevate your cookie experience and warm your heart.
-
Hot Cocoa: The rich, velvety chocolate of hot cocoa enhances the sweetness of the cookies, crafting a cozy combination perfect for chilly nights.
-
Eggnog: Creamy and nutmeg-kissed, eggnog provides a festive flair that echoes the holidays while balancing the cookies’ sweetness.
-
Coffee: A robust cup of coffee contrasts beautifully with the tender cookies, making each bite and sip a comforting ritual of holiday joy.
-
Milk: Classic and beloved, a tall glass of milk softens every crunch, making it the ultimate pairing for these chewy, colorful treats.
-
Fruit Platter: Fresh fruits, like pears or citrus slices, introduce a refreshing zest that beautifully complements the rich flavors of the cookies.
-
Cheese Board: A selection of creamy cheeses offers a savory contrast and a wonderful balance to the sweet, buttery cookies.
-
Sugar Cookies: For the cookie enthusiasts, combining these swirled cookies with traditional sugar cookies creates a festive platter bursting with textures and flavors.
-
Bourbon: A splash of bourbon adds warmth and depth, elevating your holiday gathering with a spirited edge that pairs remarkably with sweet treats.
-
Gingerbread Men: Embrace the holiday spirit with gingerbread men; their spiced flavor complements the sweet swirls in a delightful, thematic way.
How to Store and Freeze Swirled Christmas Cookies
Room Temperature: Store your Swirled Christmas Cookies in an airtight container at room temperature for up to 5 days to maintain their delightful texture and flavor.
Freezer: For longer storage, freeze the cookies by placing them in a single layer on a baking sheet until solid. Transfer them to an airtight container or freezer bag and enjoy for up to 1 month.
Reheating: To revive frozen cookies, let them thaw at room temperature or warm them in the microwave for about 10 seconds for a fresh-out-of-the-oven taste.
Prepping Ahead: You can roll and cut the unbaked dough, then freeze the slices; simply bake them straight from the freezer when you’re ready for a batch of festive treats!
Make Ahead Options
These Swirled Christmas Cookies are perfect for busy holiday cooks looking to save time without sacrificing flavor! You can prepare and chill the cookie dough up to 24 hours in advance, ensuring a stress-free baking day. After dividing and coloring the dough, wrap each portion tightly in plastic wrap and refrigerate. Alternatively, you can roll and cut the shaped cookies, place them in a single layer on a baking sheet, and freeze for up to 3 days before baking. When you’re ready to enjoy your delightful treats, simply bake straight from the refrigerator or frozen, adding a couple of extra minutes to the baking time for perfectly delicious results!
Swirled Christmas Cookies Recipe FAQs
How do I know if my butter is at the right temperature?
Absolutely! For perfect cookies, your butter should be soft enough to easily press your finger into it without leaving a fingerprint but not so soft that it melts. Ideally, leave it out for about 30-60 minutes at room temperature before you begin your baking.
How should I store the Swirled Christmas Cookies?
Very! To maintain their freshness, store your Swirled Christmas Cookies in an airtight container at room temperature for up to 5 days. Ensure they’re completely cool before sealing to avoid any moisture buildup. You can separate layers of cookies with parchment paper to prevent them from sticking together.
Can I freeze these cookies, and if so, how?
Absolutely! To freeze your Swirled Christmas Cookies, first, place them in a single layer on a baking sheet until fully frozen. Then transfer them to an airtight container or freezer bag, ensuring to remove as much air as possible. They can be enjoyed for up to 1 month. When ready to eat, let them thaw at room temperature or pop them into the microwave for about 10 seconds for a fresh-out-of-the-oven taste!
What should I do if my dough is too sticky to roll out?
If your dough feels too sticky, it might need a bit more flour. Sprinkle a little at a time while mixing, but be careful not to overdo it—too much flour can toughen the cookies. Alternatively, chill the dough for an extra 15 minutes, as this can help firm it up and make it easier to work with.
Can I make these cookies nut-free?
Yes, definitely! Simply replace the almond extract with vanilla or lemon extract. This not only accommodates those with nut allergies but also adds an exciting twist to the flavor profile—feel free to experiment and find your favorite!
What’s the best way to ensure my cookies bake evenly?
To promote even baking, always cut your Swirled Christmas Cookies to uniform thickness—aim for about 1/3 inch. Additionally, place them with enough space between each cookie on the baking sheet to allow proper air circulation for even cooking. Using a pre-heated oven is also key; this helps to set the cookies quickly and maintain their shape and texture.
Colorful Swirled Christmas Cookies to Brighten Your Holidays
Ingredients
Equipment
Method
- In a large mixing bowl, cream together 1 cup of softened unsalted butter and 1 1/4 cups granulated sugar until light and fluffy, about 3-5 minutes. Incorporate 1 large egg, 2 teaspoons almond extract, and 1 teaspoon vanilla extract, mixing until well combined.
- In a separate bowl, whisk together 3 cups of all-purpose flour, 1 teaspoon cornstarch, 1 teaspoon baking powder, and 1 teaspoon fine salt. Gradually add dry mixture to wet ingredients on low speed, mixing until just combined.
- Divide the dough into three portions. Color one with red gel food coloring and another with green, leaving the third uncolored. Wrap in plastic wrap and chill in the refrigerator for about 30 minutes.
- Roll each portion into rectangles measuring approximately 7x12 inches. Stack them in the order of green, uncolored (white), and red, rolling into a log using parchment paper.
- Roll the log in 1 cup of Christmas sprinkles until fully coated. Slice the log into 1/3-inch thick cookies, refrigerating if the log softens.
- Preheat oven to 350°F (175°C). Line baking sheets with parchment paper, arrange cookie slices and bake for 12-14 minutes or until edges are just set.
- Allow cookies to cool on baking sheets for about 15 minutes before transferring to a wire rack to cool completely.
Leave a Reply