
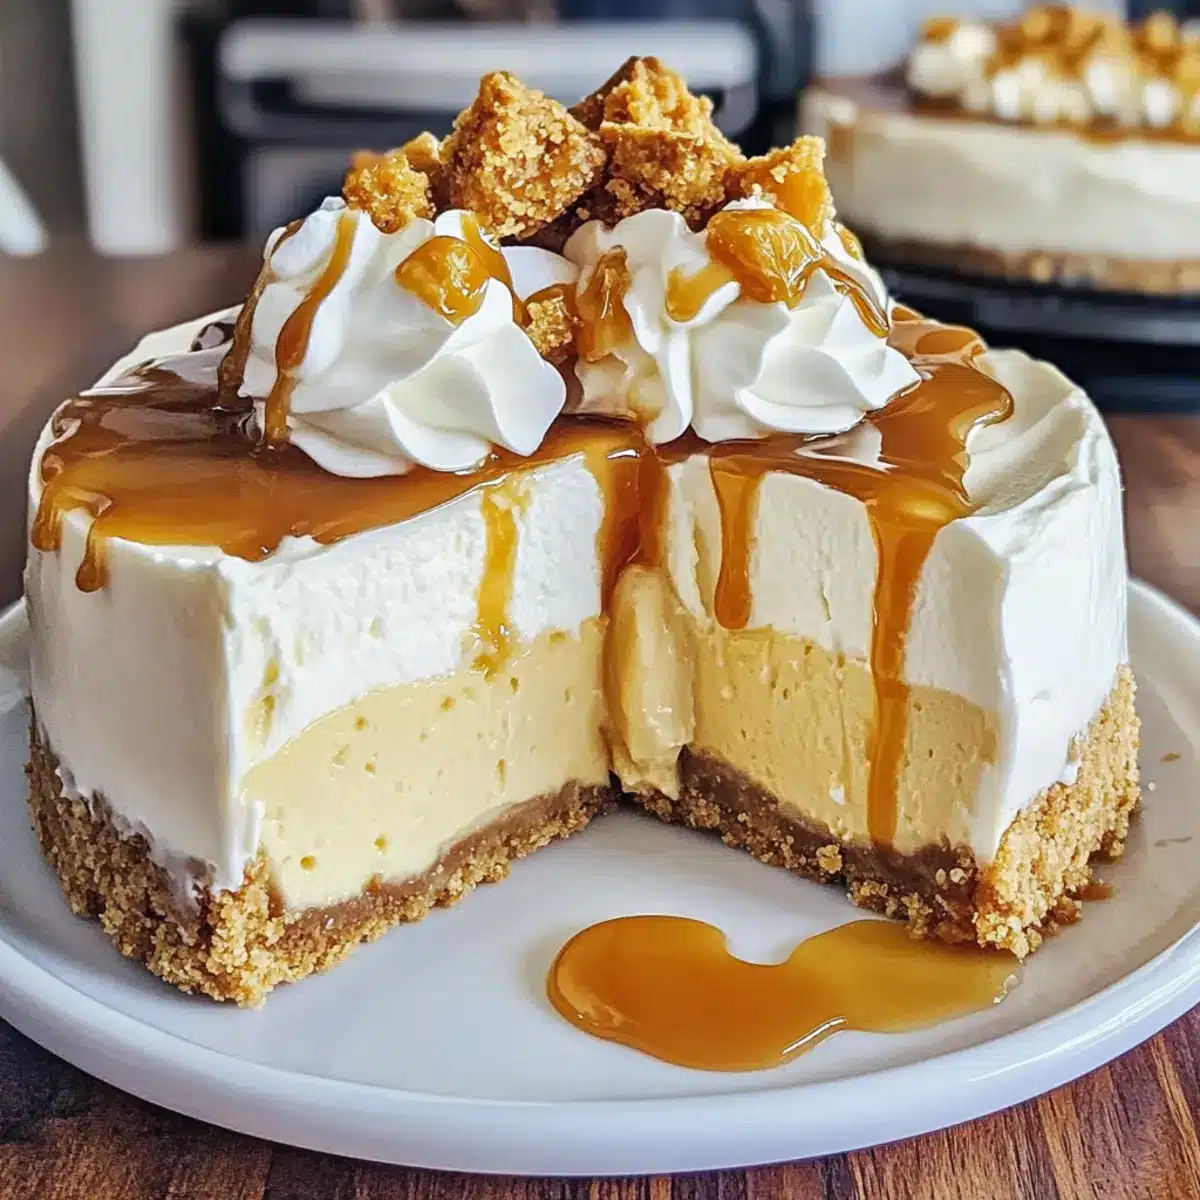
As I sifted through my pantry, the scent of nostalgia wafted through the air, pulling me back to cozy evenings spent exploring the enchanting world of Harry Potter. This inspired me to create the ultimate indulgence—Butterbeer cheesecake, a dessert that effortlessly combines the whimsy of the wizarding world with a creamy, dreamy delight that everyone will love! You’ll find that this decadent cheesecake is not only a showstopper, perfect for birthdays or themed gatherings, but also remarkably simple to whip up, making it a go-to for busy weeknights. The luscious butterscotch filling atop a crunchy graham cracker crust is simply irresistible and promises to bring a touch of magic to your table. Are you ready to cast a sweet spell on your taste buds?
Why Is Butterbeer Cheesecake So Special?
Decadent Delight: With its creamy butterscotch filling and crunchy graham cracker crust, this cheesecake offers a flavor explosion that feels delightfully indulgent. Simple Preparation: Don’t be intimidated! This recipe requires minimal skills and can easily fit into your busy schedule. Impressive Presentation: Perfect for gatherings, this showstopper will have your guests enchanted. Nostalgic Charm: Drawing inspiration from the beloved Harry Potter series, each bite transports you to a magical realm. Pair it with a dollop of whipped cream and Fried Strawberry Cheesecake for an unforgettable dessert spread!
Ingredients for Butterbeer Cheesecake
-
For the Crust
-
Graham Cracker Crumbs – Provides the crust structure; for a gluten-free version, swap in gluten-free graham crackers.
-
Granulated Sugar – Sweetens the crust and filling; coconut sugar can be a less refined alternative.
-
Unsalted Butter – Binds crust ingredients together; melted coconut oil works as a dairy-free substitute.
-
For the Filling
-
Cream Cheese – The main filling ingredient creates a rich texture; opt for full-fat cream cheese for the best results.
-
Sour Cream – Adds creaminess and tang; Greek yogurt can be a lighter alternative.
-
Eggs – Provides structure; use room temperature eggs for better blending.
-
Vanilla Extract – Enhances flavor; almond extract can also be used for a different twist.
-
Butter Flavoring – Imparts a buttery taste; can be omitted or replaced with extra vanilla extract.
-
Butterscotch Sauce – The key flavor component; homemade or store-bought both work wonderfully.
-
Cream Soda – Adds unique flavor and moisture; root beer can be used for an exciting variation.
-
Butterscotch Chips – Enhances texture and adds sweetness; these are optional and great for decoration.
This Butterbeer cheesecake is bound to cast a spell on your dessert table, bringing delight to every gathering!
Step‑by‑Step Instructions for Butterbeer Cheesecake
Step 1: Preheat the Oven
Begin your Butterbeer cheesecake by preheating your oven to 325°F (160°C). This initial step ensures your cheesecake will bake evenly, resulting in a creamy center and slightly set edges. While the oven warms up, gather your ingredients and equipment, including a mixing bowl, a springform pan, and an electric mixer.
Step 2: Prepare the Crust
In a medium bowl, combine graham cracker crumbs, granulated sugar, and melted unsalted butter. Mix until the crumbs are well-coated and resemble wet sand. Transfer this mixture into the bottom of an 8-inch springform pan, pressing it firmly with the back of a measuring cup to form an even layer. Bake in the preheated oven for 10 minutes, then allow it to cool slightly while you prepare the filling.
Step 3: Beat the Cream Cheese
In a large mixing bowl, use an electric mixer to beat the cream cheese until it’s completely smooth and free of lumps. This should take about 2-3 minutes on medium speed. To achieve the best texture in your Butterbeer cheesecake, make sure your cream cheese is at room temperature before mixing. Once smooth, set the bowl aside for the next step.
Step 4: Add Sour Cream and Sugar
Add sour cream and granulated sugar to the bowl with your cream cheese. Mix on low speed until fully blended, scraping down the sides as needed. The combination of sour cream adds a creamy tang that complements the sweetness of the filling. This step should take another 2 minutes, ensuring everything is well incorporated.
Step 5: Incorporate Eggs
Now, gradually add the eggs one at a time, mixing well after each addition. Use a low setting to prevent overmixing, which could result in a dense texture. Keep an eye on your mixture, as it should be smooth and creamy but retain some fluffiness. This usually takes about 1-2 minutes for each egg to blend in perfectly.
Step 6: Flavor the Mixture
Pour in vanilla extract, butter flavoring, butterscotch sauce, cream soda, and butterscotch chips into the batter. Mix on low speed just until everything is combined, taking care not to overdo it. The rich scents of butterscotch and vanilla will start to fill your kitchen, enticing everyone nearby—this is the magic of your Butterbeer cheesecake coming to life!
Step 7: Assemble and Smooth
Pour the creamy mixture over the cooled graham cracker crust in the springform pan. Use a spatula to spread the filling evenly, smoothing the top to create a polished finish. This step is crucial for the appearance of your cheesecake, ensuring it looks as delightful as it tastes.
Step 8: Bake the Cheesecake
Place the cheesecake in the oven and bake for about 60 minutes. The edges should appear set while the center remains slightly jiggly—a sign your Butterbeer cheesecake is perfectly baked. Keep an eye on it to avoid overbaking, which can lead to cracks in the surface.
Step 9: Cool Gradually
Once baked, turn off the oven and crack the oven door, letting the cheesecake cool inside for an hour. This gradual cooling process helps reduce the chance of cracks while maintaining a smooth, creamy texture. After an hour, remove the cheesecake from the oven and allow it to cool to room temperature before refrigerating.
Step 10: Chill and Set
Transfer your Butterbeer cheesecake to the refrigerator and chill for at least 4 hours, or ideally overnight. This resting period allows the flavors to meld beautifully while helping the cheesecake set to the perfect sliceable consistency.
Step 11: Serve and Enjoy
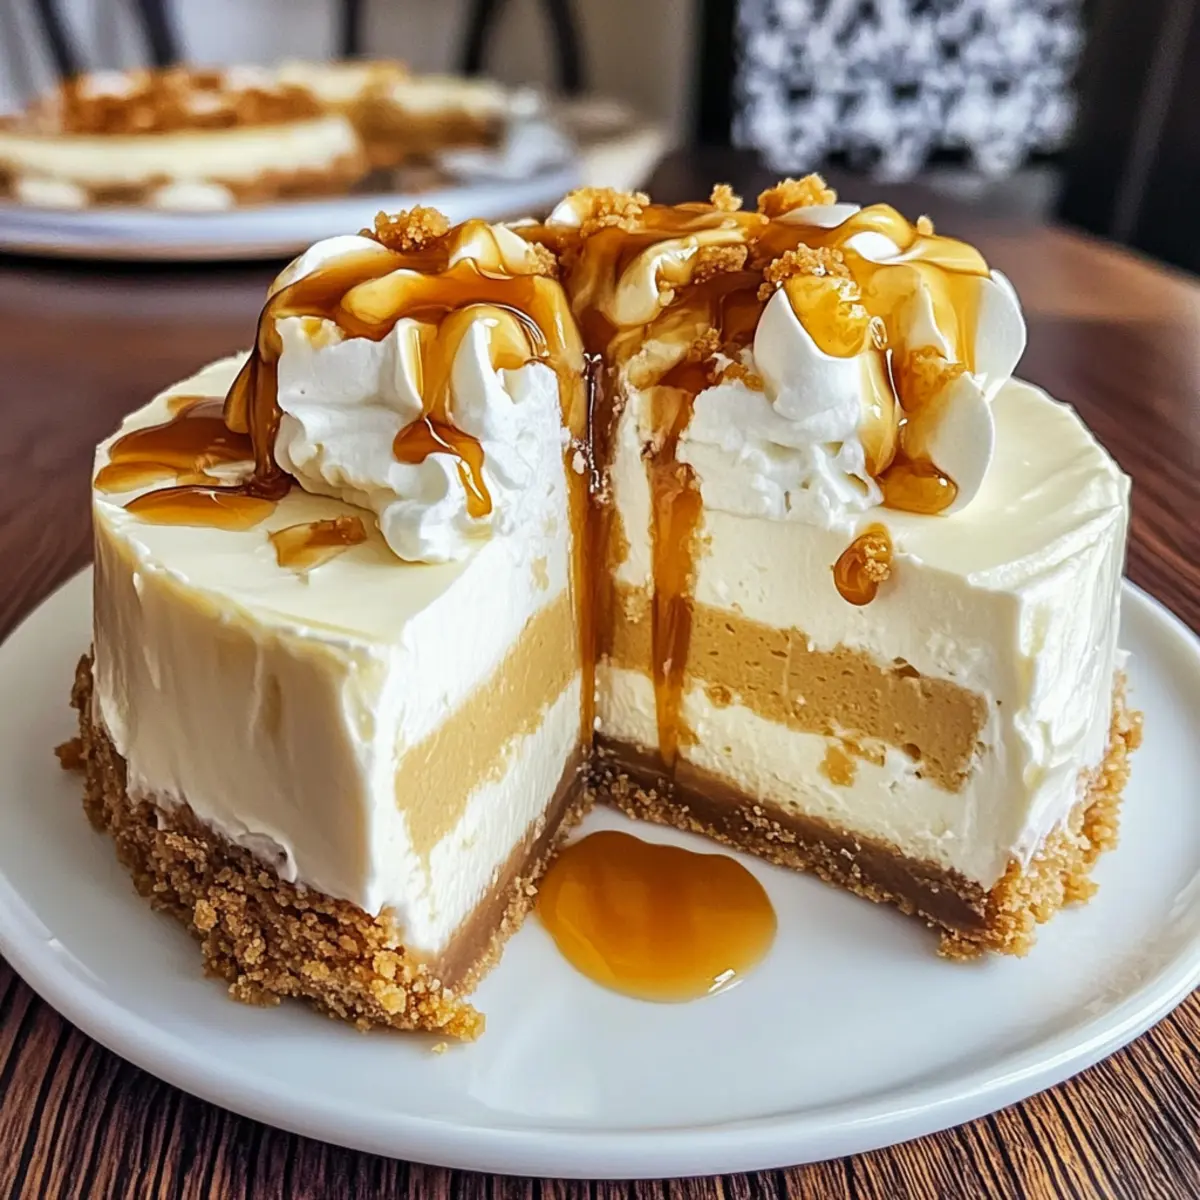
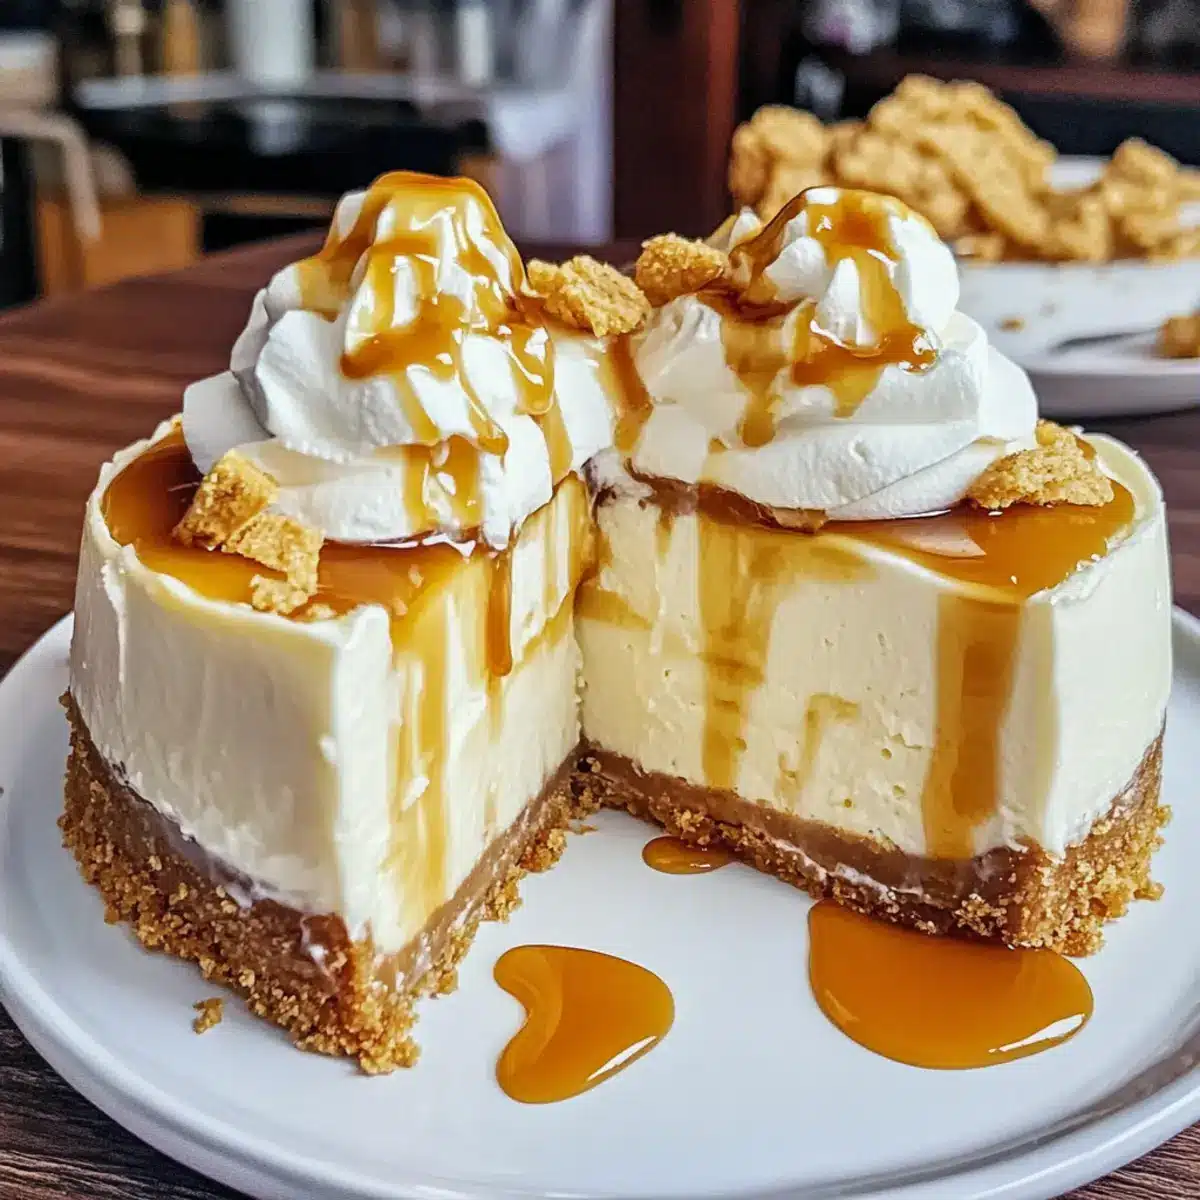
When ready to serve, top your chilled Butterbeer cheesecake with a generous dollop of cool whip and a drizzle of butterscotch sauce for an extra touch of indulgence. Garnish with butterscotch chips for added texture and visual appeal. Your enchanting Butterbeer cheesecake is now ready to dazzle friends and family alike!
Make Ahead Options
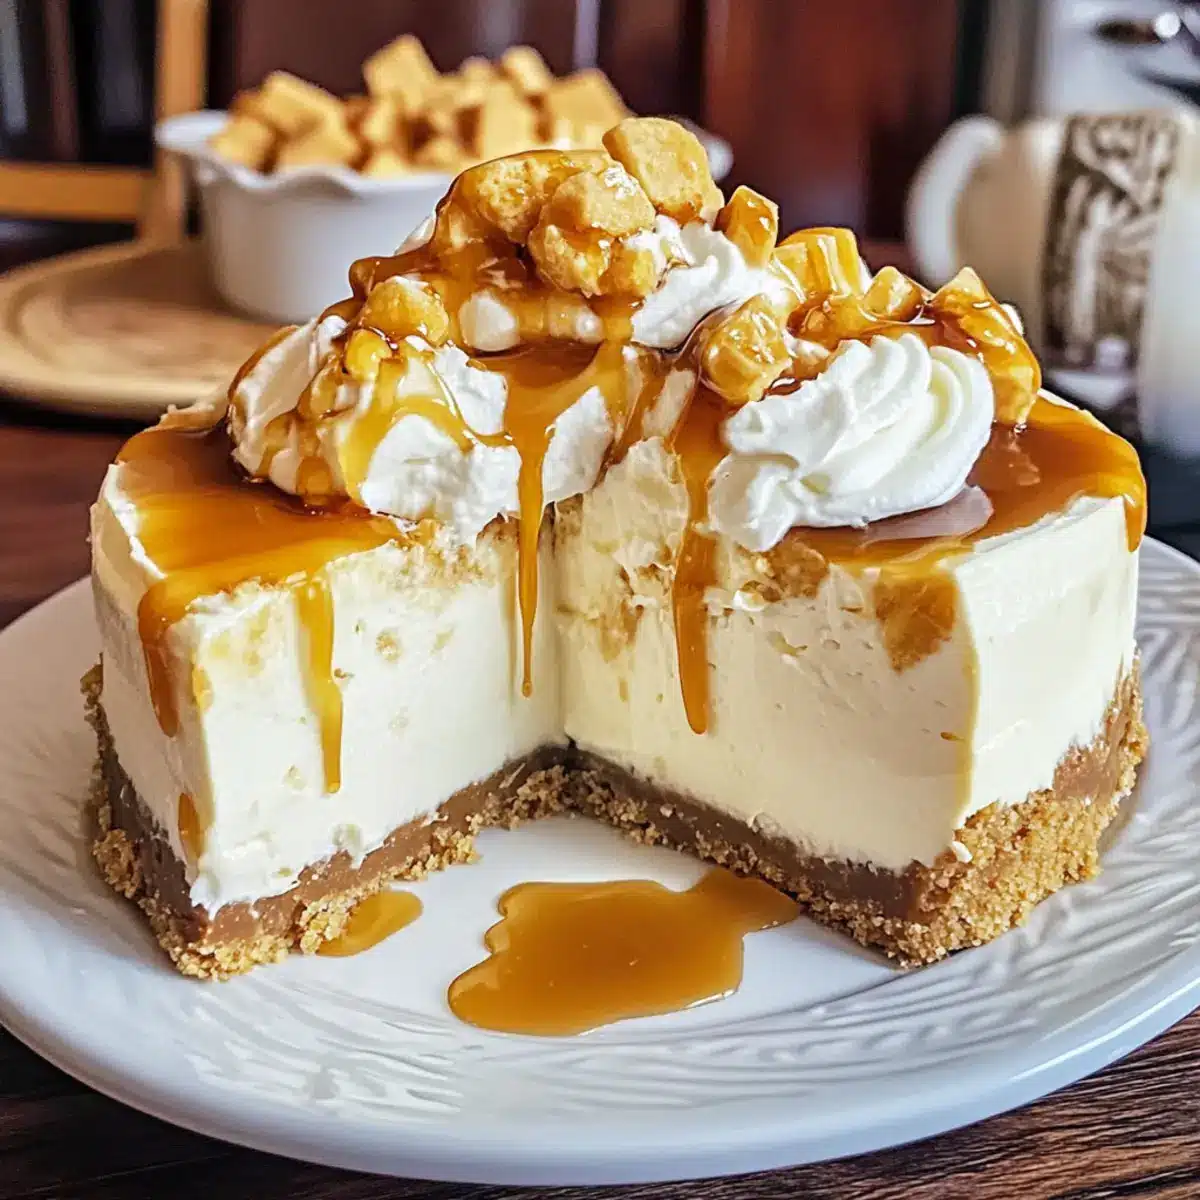
These Butterbeer cheesecakes are perfect for meal prep enthusiasts! You can prepare the crust by mixing the graham cracker crumbs and butter and press it into the pan up to 24 hours in advance, storing it covered in the refrigerator to keep it fresh. The cheesecake filling can also be made ahead and stored in an airtight container for up to 3 days before baking. When ready to enjoy, simply pour the filling over the crust and bake as directed. Be sure to allow the cheesecake to cool gradually in the oven to prevent cracking, and chill it overnight for the best flavor. With these make-ahead options, you’ll save time and still serve a delicious Butterbeer cheesecake that is just as enchanting!
Butterbeer Cheesecake Variations & Substitutions
Feel free to make this Butterbeer cheesecake your own by swapping ingredients and adding exciting twists that cater to your taste buds!
- Gluten-Free: Use gluten-free graham crackers for a delicious crust that everyone can enjoy without worry.
- Dairy-Free: Substitute melted coconut oil for butter and use a dairy-free cream cheese for a tasty vegan option.
- Flavor Boost: Swap vanilla extract for almond extract to introduce a new layer of flavor that dances with the butterscotch.
- Carmel Drizzle: Add a rich caramel drizzle on top for an indulgent touch that elevates your cheesecake to a new level.
- Nutty Crunch: Fold chopped nuts or toffee bits into the filling for an extra layer of texture and flavor delight.
- Boozy Twist: Incorporate a splash of rum flavoring to enhance the nostalgic essence of Butterbeer, giving it a grown-up twist.
- Root Beer: For a fun twist, replace cream soda with root beer to create a unique flavor experience that’s just as delicious.
- Syrup Varieties: Top with a generous drizzle of butterscotch sauce or try layering with chocolate sauce for an irresistible finish.
Let your imagination run wild in the kitchen! And if you’re looking for a dessert pairing, consider serving this delightful cheesecake alongside some Fried Strawberry Cheesecake for a perfectly sweet ending.
How to Store and Freeze Butterbeer Cheesecake
- Fridge: Store your Butterbeer cheesecake covered in the refrigerator for up to 5 days. This will keep it fresh and delicious, ready to indulge at any time.
- Freezer: Wrap the cheesecake tightly in plastic wrap and then in foil for optimal protection. It can be frozen for up to 3 months without losing its magical flavors.
- Thawing: To thaw, simply transfer the cheesecake from the freezer to the fridge and let it defrost overnight. This method ensures the best texture is maintained.
- Reheating: If desired, you can serve it slightly chilled or let it sit at room temperature for about 30 minutes before serving, making it the perfect treat to enjoy with family and friends!
What to Serve with Butterbeer Cheesecake?
If you’re looking to create a truly magical dessert experience, consider these perfect pairings to elevate your Butterbeer cheesecake.
-
Creamy Vanilla Ice Cream: A scoop of vanilla ice cream melts beautifully over the cheesecake, enhancing the butterscotch flavors in each bite. This cool addition balances the richness, making every mouthful indulgent.
-
Fresh Berries: Bright strawberries, raspberries, or blueberries add a pop of color and a refreshing tartness that contrasts wonderfully with the sweet cheesecake, creating a delightful harmony of flavors.
-
Chocolate Drizzle: Drizzle melted chocolate over the top for an extra layer of decadence. The chocolate’s deep flavor complements the sweetness of butterscotch, creating an irresistible treat.
-
Whipped Cream Topping: A dollop of freshly whipped cream lightly sweetened with vanilla provides a fluffy texture. This airy addition enhances the indulgence, making it feel extra special.
-
Warm Butterscotch Sauce: Serve a warm drizzle of butterscotch sauce on the side for those who crave an extra sweet touch. It’s a nostalgic nod to the flavors of Butterbeer that will leave your guests enchanted.
-
Coffee or Espresso: A rich, steaming cup of coffee or espresso helps to cut through the creamy richness of the cheesecake. The bitterness of the coffee balances the sweetness, creating a perfectly satisfying end to your meal.
Expert Tips for Butterbeer Cheesecake
- Room Temperature Ingredients: Ensure all ingredients are at room temperature for easy blending, which leads to a smoother filling and prevents lumps in your Butterbeer cheesecake.
- Avoid Overmixing: Be cautious when adding the eggs; overmixing can create a dense texture. Mix just until combined for that light and fluffy result.
- Water Bath Baking: Consider using a water bath while baking your cheesecake. This technique helps maintain moisture and reduces the risk of cracks.
- Cool Gradually: Allow your cheesecake to cool in the oven with the door ajar for an hour to minimize cracks. Sudden temperature changes can lead to unsightly results.
- Chill for Flavor: For the best flavor and texture, let your cheesecake set in the refrigerator for at least 4 hours, preferably overnight. The flavors deepen beautifully!
Butterbeer Cheesecake Recipe FAQs
How do I choose the right graham crackers for the crust?
Absolutely! When selecting graham crackers, look for a brand with minimal additives and a rich, buttery flavor. If you’re on a gluten-free diet, you can use gluten-free graham crackers, which are widely available and provide the same delightful crunch.
How should I store leftover Butterbeer cheesecake?
You can store your Butterbeer cheesecake covered in the refrigerator for up to 5 days. Make sure it’s in an airtight container to retain its creamy texture and magical flavors. If it’s not finished within that time, consider freezing it!
Can I freeze Butterbeer cheesecake, and how?
Yes, you absolutely can freeze your Butterbeer cheesecake! Wrap it tightly in plastic wrap and then in aluminum foil to prevent freezer burn, which allows it to maintain its incredible taste. It can be safely stored for up to 3 months. When you’re ready to enjoy it, simply transfer it to the fridge for a slow, overnight thaw.
What should I do if my cheesecake cracks during baking?
Very! Cracks can happen, but they don’t ruin the cheesecake. To prevent this, ensure that your ingredients are at room temperature and avoid overmixing after adding the eggs. If cracks do appear, you can cover them with whipped cream or a drizzle of butterscotch sauce when serving—this will add a charming touch that hides any imperfections beautifully.
Are there any dietary considerations for pets or allergies?
Of course! This Butterbeer cheesecake contains ingredients such as cream cheese, butter, and sugar that are not suitable for pets, especially dogs and cats, as these can lead to upset stomachs or more serious health issues. Keep it safely away from your furry friends, especially chocolate-related toppings! Additionally, if you have loved ones with dairy allergies, consider substituting cream cheese with a vegan alternative and using coconut oil instead of butter.
Can I make this recipe ahead of time for a party?
Absolutely! Making Butterbeer cheesecake in advance is a great idea, as it actually tastes better after chilling for several hours or overnight. Just ensure you wrap it well if storing in the fridge to prevent it from absorbing other odors. Prepare it the day before your gathering, and it’ll be the showstopper dessert everyone raves about!
Irresistible Butterbeer Cheesecake That Will Enchant You
Ingredients
Equipment
Method
- Preheat your oven to 325°F (160°C).
- Combine graham cracker crumbs, granulated sugar, and melted unsalted butter in a medium bowl. Mix until well-coated. Press into the bottom of an 8-inch springform pan.
- Bake in the preheated oven for 10 minutes and let cool.
- Beat the cream cheese until smooth in a large mixing bowl.
- Add sour cream and granulated sugar, mix until blended.
- Incorporate the eggs one at a time, mixing well after each addition.
- Pour in vanilla extract, butter flavoring, butterscotch sauce, cream soda, and butterscotch chips. Mix until combined.
- Pour the mixture over the cooled graham cracker crust, smoothing the top.
- Bake for about 60 minutes, until the edges are set and the center is slightly jiggly.
- Turn off the oven and crack the door, letting the cheesecake cool for an hour.
- Transfer to the refrigerator to chill for at least 4 hours, or overnight.
- Serve with cool whip and butterscotch sauce. Garnish with butterscotch chips.
Leave a Reply