
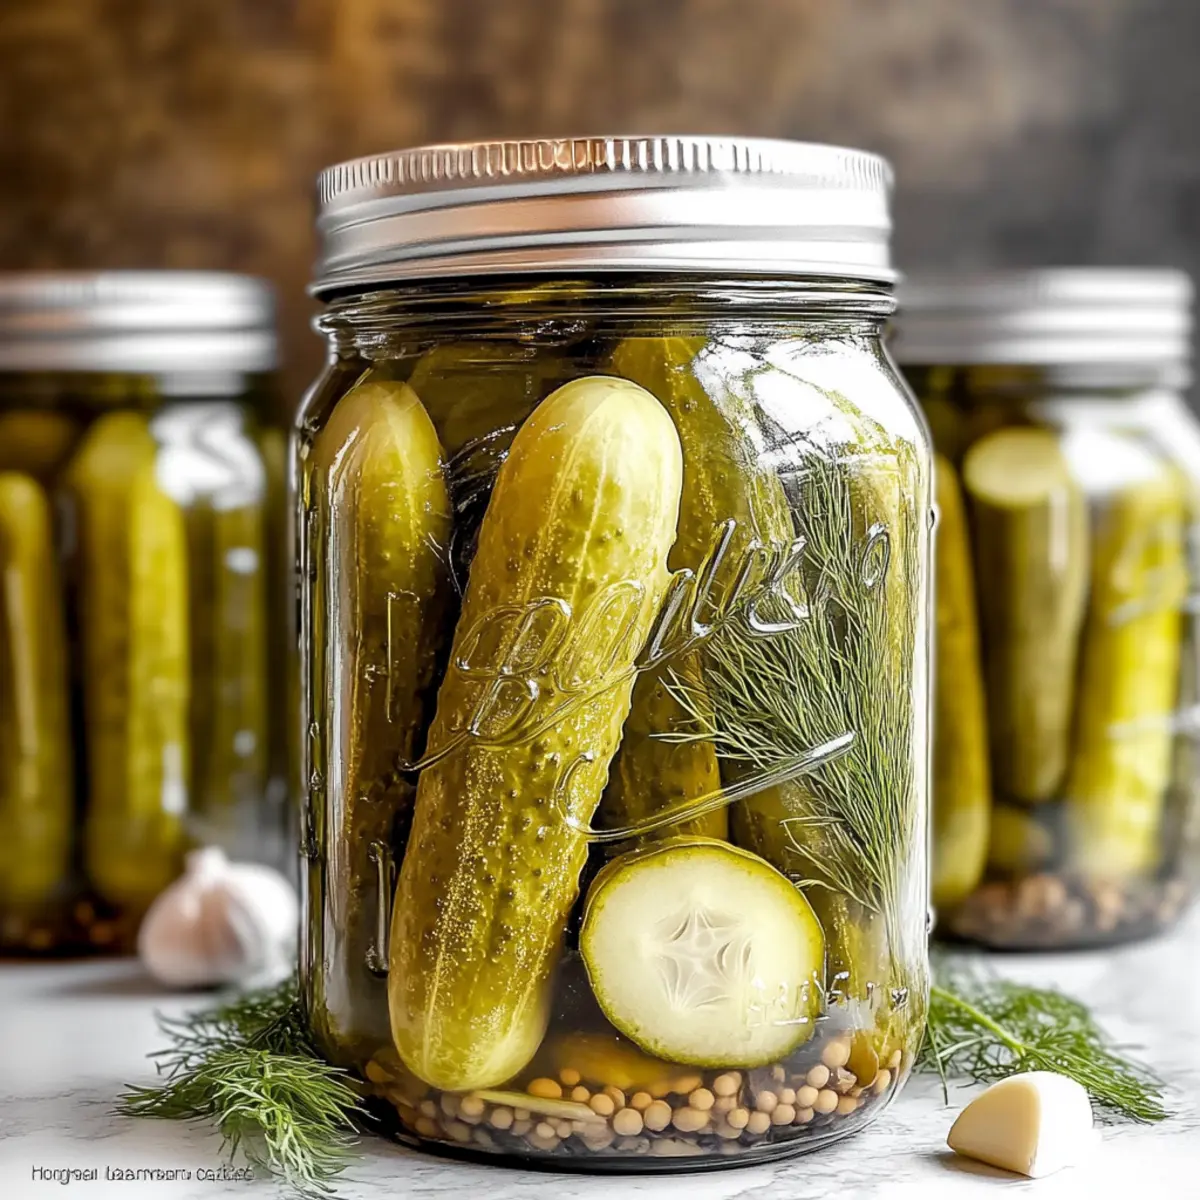
As I clinked my jar against the table, the vibrant green of my homemade dill pickles caught the light, reminding me of sunlit summers and picnics with family. These Easy Homemade Dill Pickles are not just a simple recipe; they’re a way to bring a taste of nostalgia to your table. With just a handful of ingredients—crunchy cucumbers, fragrant dill, and a punchy garlic brine—you’ll create a tangy treat that’s perfect for snacking or elevating burgers and sandwiches. What’s more, their shelf-stable nature means you can enjoy these zesty bites for up to a year! If you’re looking to add a homemade flair to your meals and impress your friends, this recipe is your ticket. Are you ready to dive into a world of crisp, flavorful pickles?
Why Make Homemade Dill Pickles?
Flavor Explosion: These pickles are bursting with a tangy crunch that elevates any dish they accompany.
Easy to Master: With just a few straightforward steps, you can become a pro at canning, making it a fun weekend project.
Versatile Ingredients: Feel free to experiment! You can adjust the sweetness or spice levels, even try a Christmas Jam Crockpot recipe for a twist.
Crowd-Pleaser: Whether served at a barbecue or enjoyed as a snack, your homemade pickles will be the talk of the table.
Sustainable Snacking: Store them for up to a year, and always have a delicious treat on hand!
Dive into this delightful recipe and share the joy of homemade goodness!
Homemade Dill Pickle Ingredients
• Get ready to pickle with this simplified list!
For the Pickles
- Cucumbers – 12 pounds; choose firm ones for the best crunch!
- Peppercorns – 1/2 tablespoon; adds a spicy note, or skip it for a milder taste.
- Garlic – 16 cloves; infuses the pickles with zesty flavor; garlic powder is a viable alternative.
- Fresh Dill – 2-3 twigs per jar; gives your pickles that unmistakable dill aroma; dried dill works too.
For the Brine
- Water – 12 cups; serves as the brine’s base, no alternatives needed.
- Distilled White Vinegar – 2 cups (5% or 6% acidity); key for pickling; try apple cider vinegar for a flavor twist.
- Fine Salt – 2/3 cup; ensures great taste and preservation—avoid coarser salts.
- Granulated Sugar – 1/2 cup + 1 tablespoon; balances the brine with sweetness; swap with honey for an organic touch.
- Bay Leaves – 5 leaves; enhances depth of flavor; feel free to experiment with other herbs for a unique profile.
Step‑by‑Step Instructions for Homemade Dill Pickles
Step 1: Sterilize Jars
Begin the homemade dill pickles process by ensuring your jars are clean and ready for use. Wash your jars and lids thoroughly, then sterilize the lids by boiling them in water for 4-5 minutes. For the jars, dry them in an oven set to 215°F for about 20 minutes. This step ensures your pickles stay fresh and safe to consume.
Step 2: Make Pickling Brine
In a large pot, combine 12 cups of water, 2 cups of distilled white vinegar, 2/3 cup of fine salt, 1/2 cup plus 1 tablespoon of granulated sugar, and 5 bay leaves. Heat the mixture over medium-high heat until it reaches a gentle boil, stirring occasionally to help dissolve the sugar and salt completely. Once dissolved, remove the pot from heat and let the brine cool slightly while you prepare the jars.
Step 3: Fill Jars
Now it’s time to pack your jars for the homemade dill pickles! Begin by placing 2-3 twigs of fresh dill and 1 clove of garlic (per jar) along with 1/2 tablespoon of peppercorns into each sterilized jar. Next, tightly pack the cucumbers into the jars, leaving about a 1/2-inch headspace at the top. Carefully pour the cooled brine over the cucumbers, ensuring they are submerged.
Step 4: Process Jars
To preserve your homemade dill pickles, you will need to process the jars. Place a clean towel in a large pot to prevent the jars from touching the bottom directly. Arrange the filled jars upright in the pot and fill it with water until it covers the jars by at least an inch. Bring the water to a boil and let the jars boil for about 15 minutes. You’ll notice the cucumbers turning light green, indicating they are beginning to pickle.
Step 5: Seal the Jars
Once the processing time is complete, carefully remove the jars from the pot and place them on a clean, dry surface. Seal each jar tightly with its lid, then flip the jars upside down for 12-24 hours. Cover them with a towel to keep them warm, helping to create a vacuum seal as they cool. After this time, your homemade dill pickles will be ready to store in your pantry!
Homemade Dill Pickles Variations
Feel free to explore these delightful twists to personalize your homemade dill pickles and enhance their flavor!
-
Sweetness Boost: Add an extra tablespoon of sugar to the brine for a sweeter pickle experience that balances the tang.
-
Spicy Kick: Sprinkle in red pepper flakes or sliced jalapeños for a spicy version that will tantalize your taste buds. Spicy pickles can elevate any burger or sandwich, offering a marvelous contrast.
-
Herb Infusion: Experiment with herbs such as thyme or cilantro instead of dill to give your pickles a unique flavor profile. Each herb will add a different aromatic quality.
-
Vinegar Variety: Substitute half the distilled white vinegar with apple cider vinegar for a fruity undertone. This simple change can bring a whole new twist to your pickles.
-
Garlic Lovers: For a more intense garlic flavor, add an extra 4-6 cloves of garlic. It will definitely please any garlic enthusiasts!
-
Fruity Surprise: Toss in a few slices of fresh ginger or even apple slices into the jars for a refreshing, unexpected sweetness, making the pickles even more fun to eat.
-
Crispy Texture: Use smaller cucumbers or pickling cucumbers for an added crunch. Larger cucumbers may become softer over time.
-
Pickled Vegetables Mix: Expand your pickling adventure by adding carrots, radishes, or green beans alongside the cucumbers. This colorful medley makes for a vibrant jar of pickles that offers various flavors and textures.
Embrace the creativity of pickling—don’t hesitate to take inspiration from family traditions or even try mixing up a batch using ideas from a Christmas Jam Crockpot. Enjoy the journey of flavor!
Make Ahead Options
Making your homemade dill pickles ahead of time is an excellent way to save precious moments during busy weeks! You can prepare the pickling brine up to 3 days in advance; simply combine the water, vinegar, salt, sugar, and bay leaves as instructed and refrigerate until you’re ready to can. Additionally, you can wash and sterilize your jars ahead of time, ensuring they are ready when you need them. Just remember to pack your cucumbers tightly into the jars right before pouring in the brine for the best crunch. Following these make-ahead tips ensures your homemade dill pickles taste just as delicious, providing a delightful snack or condiment at a moment’s notice!
Storage Tips for Homemade Dill Pickles
- Room Temperature: If sealed properly, homemade dill pickles can be stored at room temperature for up to a year. Ensure jars are kept in a dark, cool place to maintain their flavor.
- Fridge: Once opened, refrigerate the pickles and consume them within a month for the freshest taste. Always keep the jar tightly sealed.
- Freezer: Freezing is not recommended for homemade dill pickles, as it may alter their crispy texture. Stick to room temperature or refrigerator storage.
- Reheating: There’s no need to reheat pickles; simply enjoy them cold right from the jar! They make a fabulous addition to sandwiches or as a snack.
What to Serve with Easy Homemade Dill Pickles?
Pairing homemade dill pickles with the right dishes can elevate your dining experience to a whole new level!
-
Classic Burgers: These pickles add a crunchy, tangy bite that balances the richness of any juicy burger. A perfect summer cookout addition!
-
Charcuterie Boards: Combine pickles with assorted meats and cheeses for an appetizer that shines. The piquant flavor cuts through fatty cheeses elegantly.
-
Potato Salad: The vibrant tang of pickles complements creamy potato salad, adding both brightness and texture. It’s a delicious side that liven up picnics!
-
Hot Dogs: Layer them on top of your favorite hot dogs for a crunch that contrasts beautifully with the savory flavors. A must-have at summer BBQs!
-
Salads: Toss diced pickles in leafy greens for an unexpectedly zesty crunch that enlivens any salad. Perfect for adding personality to your greens!
-
Sandwiches: Use these crunchy delights to bring flavor to any sandwich, from classic BLTs to gourmet grilled cheese. They provide the ultimate zing!
-
Deviled Eggs: Chopped pickles can be mixed into deviled egg filling for a tangy twist. These delightful bites are sure to impress guests at gatherings!
-
Cocktails: Add a pickle spear as a garnish for classic cocktails like Bloody Marys for a savory surprise. The fusion of flavors will elevate your drink!
-
Soft Pretzels: Serve with warm pretzels and a side of mustard for a delightful, tangy snack pairing that everyone will enjoy while lounging at home.
Expert Tips for Homemade Dill Pickles
-
Choose the Right Cucumbers: Select firm, fresh cucumbers ideally suited for pickling, as they maintain their crunch better over time.
-
Avoid Overcrowding: When packing jars, ensure cucumbers are snug but not overcrowded, allowing brine to properly circulate for even flavor.
-
Let the Brine Cool: Allow the pickling brine to cool before pouring it over cucumbers; this enhances flavor absorption and prevents wilting.
-
Check for Seals: After processing, listen for the satisfying pop of jar seals. If any lids bulge or pop back, refrigerate them for immediate use.
-
Experiment with Flavors: Don’t hesitate to adjust sugar or spice levels to suit your palate. Create your signature homemade dill pickles with unique ingredients!
Homemade Dill Pickles Recipe FAQs
How do I select the best cucumbers for pickling?
Absolutely! For the best homemade dill pickles, choose firm, fresh cucumbers with no blemishes or soft spots. Ideally, look for pickling cucumbers, which are typically smaller and have thinner skins. If you can find them, larger varieties like Kirby cucumbers work great since they hold up well during the pickling process and give you that desired crunch.
How should I store my homemade dill pickles?
Homemade dill pickles can be stored at room temperature for up to a year if sealed properly. Ensure you keep them in a cool, dark place away from direct sunlight to preserve their flavor and texture. Once opened, transfer them to the refrigerator and consume within a month for the best taste.
Can I freeze homemade dill pickles?
No, freezing homemade dill pickles is not recommended as it affects their crunchy texture. Instead, stick to storing them in your pantry or refrigerator. If you ever have excess pickles, try sharing some with friends or family—after all, the more, the merrier!
What should I do if my pickles are soft or mushy?
If your pickles turn out soft, it might be due to over-processing or using cucumbers that weren’t fresh enough. To avoid mushiness, always select firm cucumbers, trim the ends before pickling, and ensure that your jars aren’t boiling for too long—15 minutes is typically sufficient. Next time, try adding a few grape leaves to your jars, which helps maintain crunch!
Can I adjust the sweetness in my pickle brine?
Yes, you can absolutely customize the sweetness! If you prefer a sweeter pickle, increase the granulated sugar by an additional tablespoon or two, or substitute with honey or agave for a natural touch. Just remember to taste the brine before you pour it over the cucumbers to ensure it’s to your liking!
Are homemade dill pickles safe for my pets?
While cucumbers themselves are safe for pets in moderation, the pickling brine contains vinegar, garlic, and salt, which can be harmful in larger amounts. It’s best to keep pickles away from your furry friends. Always consult your vet for any concerns regarding your pet’s diet!
Homemade Dill Pickles: Crunchy, Tangy Delights You’ll Love
Ingredients
Equipment
Method
- Sterilize the jars by washing and boiling the lids for 4-5 minutes, and drying the jars in an oven set to 215°F for about 20 minutes.
- Make the pickling brine by combining water, vinegar, fine salt, granulated sugar, and bay leaves in a large pot over medium-high heat until it reaches a gentle boil.
- Fill each sterilized jar with fresh dill, garlic, and peppercorns, then tightly pack cucumbers and pour the cooled brine over them, ensuring they are submerged.
- Process the jars by boiling them in water for about 15 minutes until cucumbers turn light green.
- Seal the jars tightly and let them cool upside down for 12-24 hours to create a vacuum seal.
Leave a Reply