
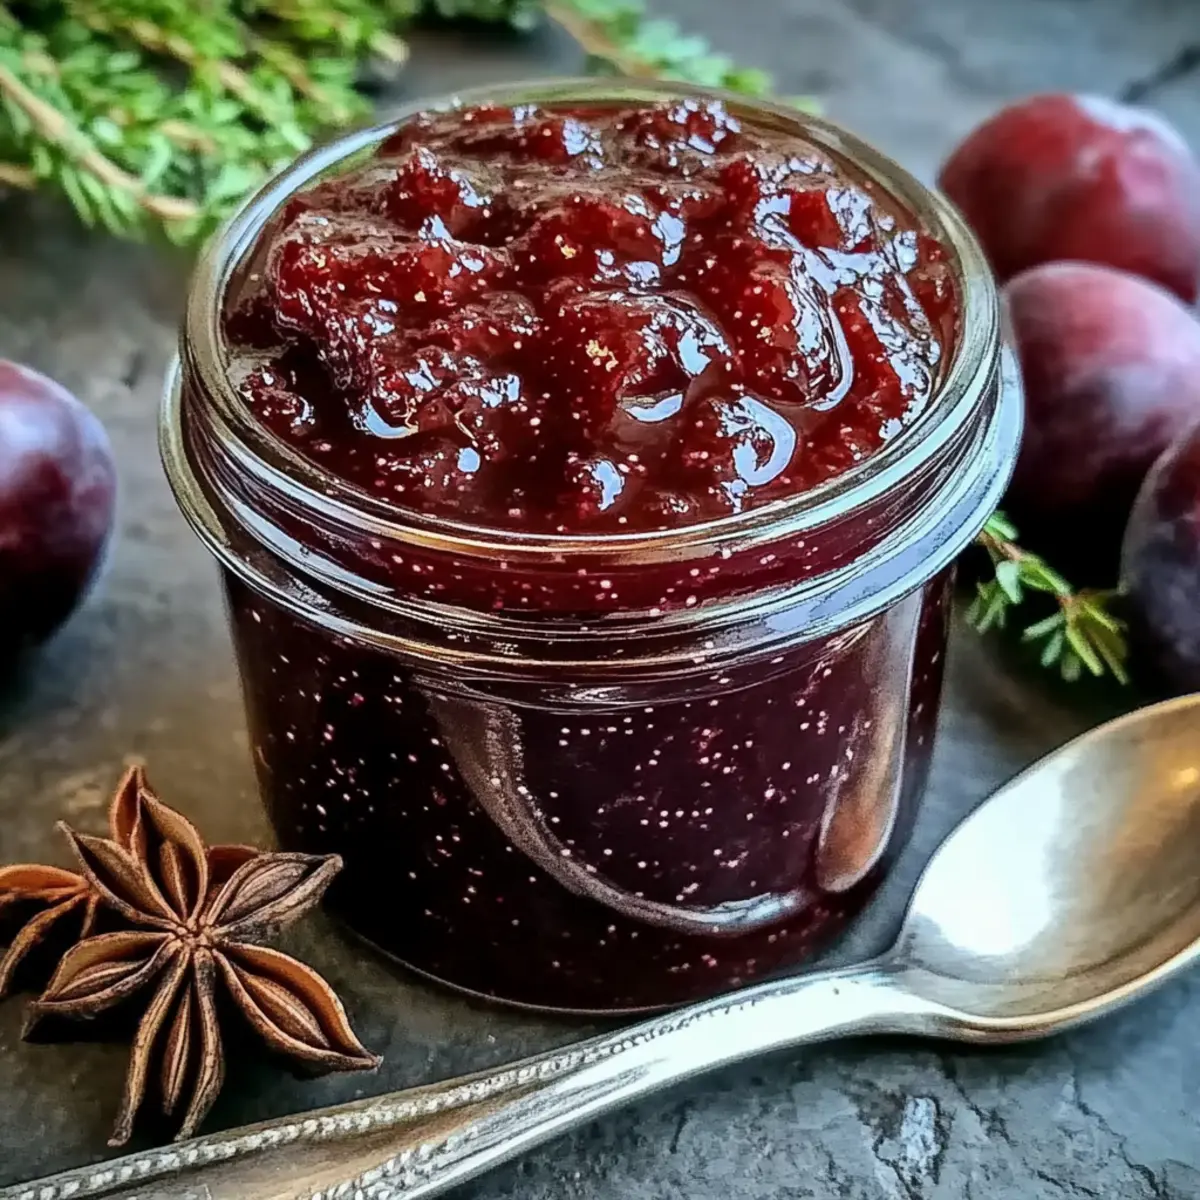
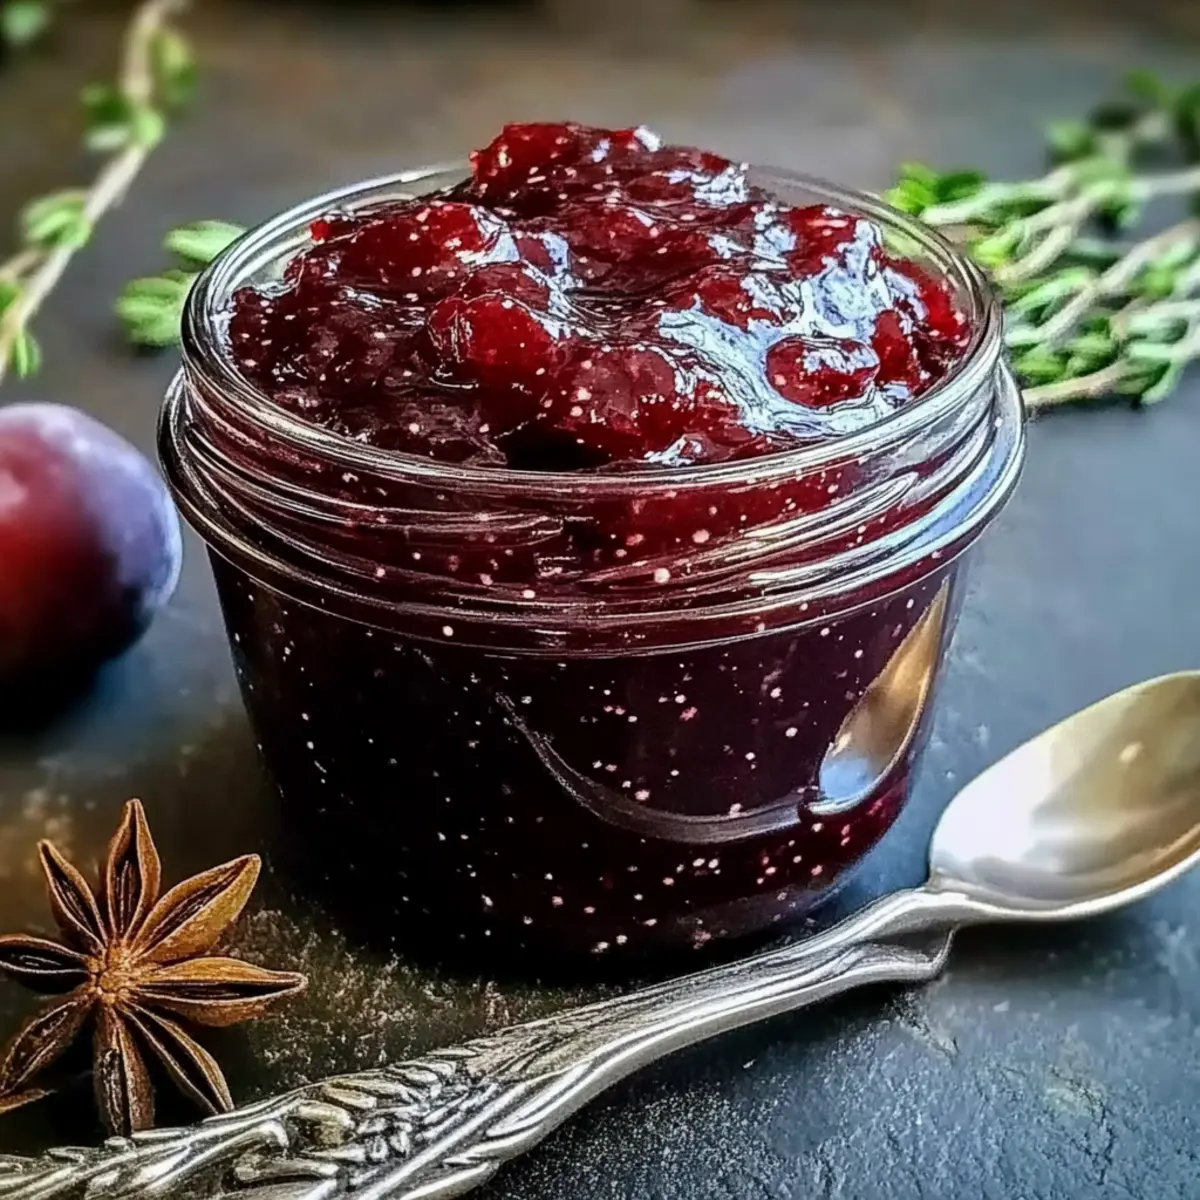
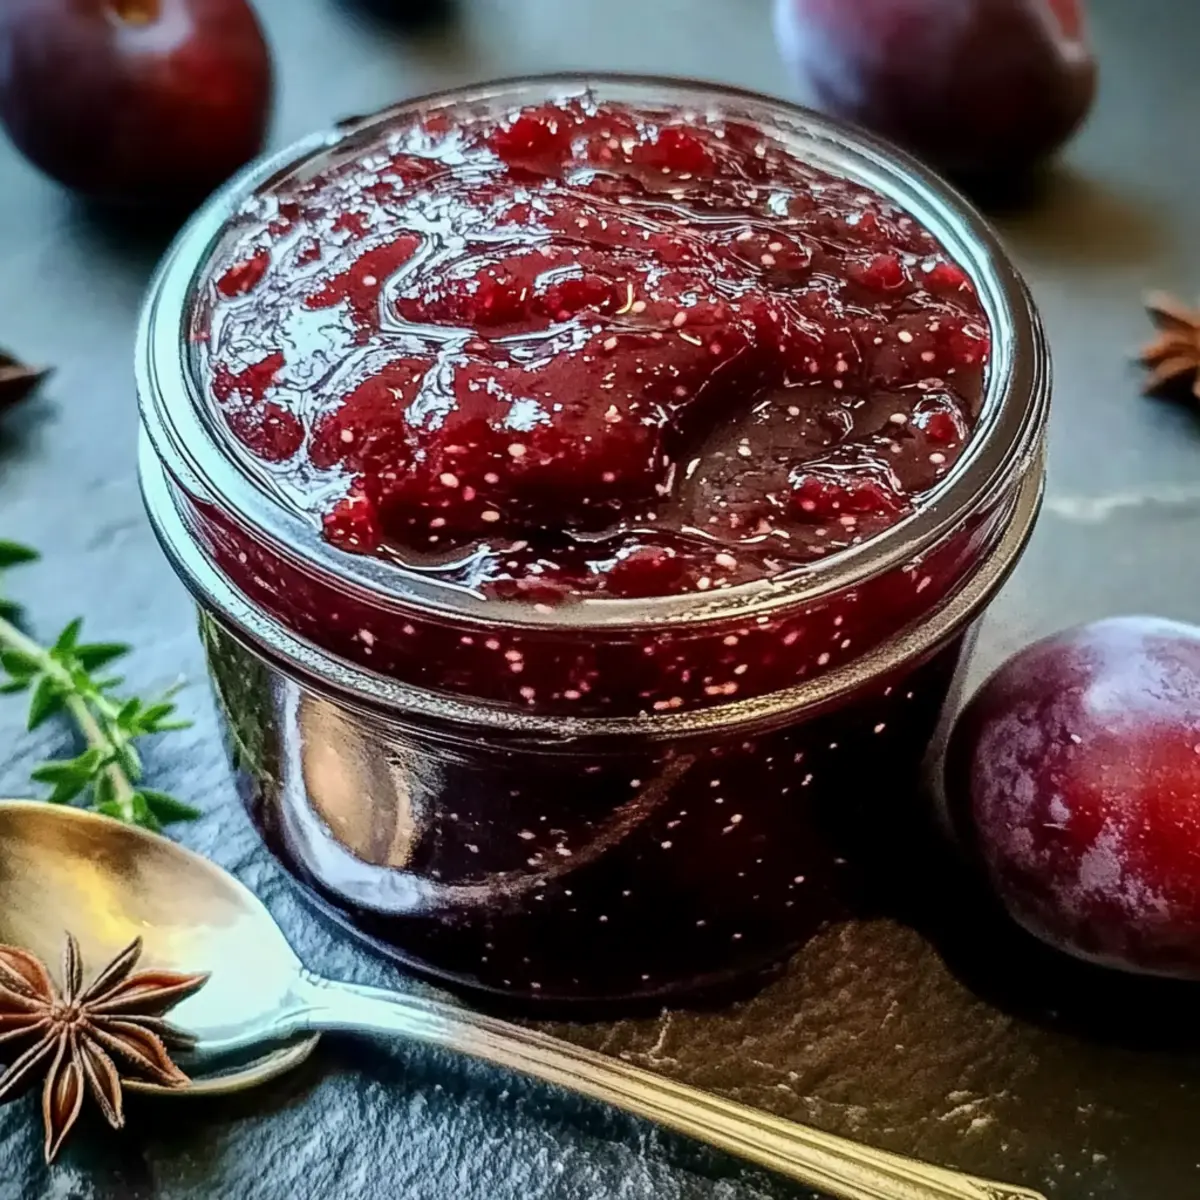
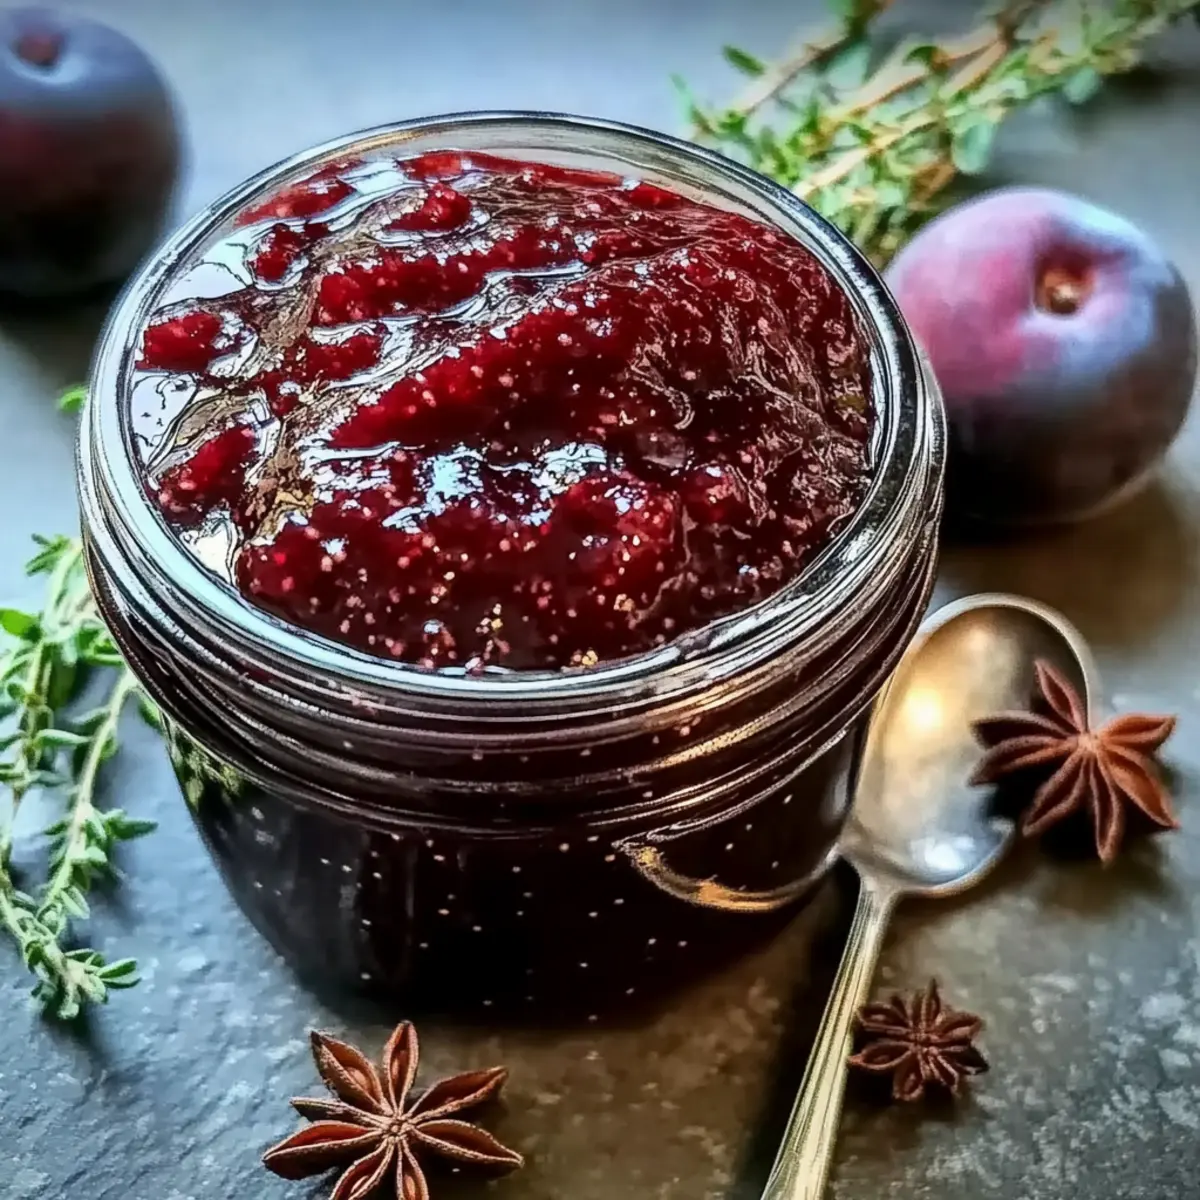
As I stirred the bubbling pot in my kitchen, the sweet scent of fresh plums mingled with the rich aroma of vanilla bean and the warm, subtle spice of star anise. This enchanting concoction is my Flavorful Vanilla Bean Plum Jam, and it never fails to evoke smiles at breakfast or on a charcuterie board. Not only is this homemade jam a delightful way to preserve the essence of seasonal fruits, but it’s also incredibly easy to make with just a handful of natural ingredients. Perfect for those busy mornings or cozy gatherings, it’s a vegan and gluten-free treat that everyone can enjoy. Curious how you can elevate your jam game and transform ordinary toast into a gourmet experience? Let’s dive in!
Why Will You Love This Jam?
Irresistible Flavor: The blend of plums, vanilla bean, and star anise creates a jam that’s bursting with flavor, transforming ordinary meals into gourmet delights.
Easy to Make: With just a few natural ingredients, you can whip up homemade jam that beats anything from the store.
Vegan and Gluten-Free: This jam is perfect for everyone, accommodating various dietary preferences without sacrificing taste.
Versatile Use: From topping your morning toast to enhancing a charcuterie board, it pairs beautifully with both sweet and savory dishes.
Unique Twist: The addition of star anise gives it a delightful complexity, making it a conversation starter at any meal.
Want to create more flavorful delights? Check out my Christmas Jam Crockpot recipe for another delicious spread!
Vanilla Bean Plum Jam Ingredients
For the Jam
• Fresh Plums – the main fruit base, providing natural sweetness and tartness; use firm plums for the best texture and flavor.
• Vanilla Bean – adds a creamy aroma and depth of flavor; for an intense taste, fresh vanilla bean is preferred over extracts.
• Star Anise – contributes a unique spiced note without overpowering the jam; adjust quantity based on personal preference.
• Granulated Sugar – sweetens the jam and aids in preservation; feel free to reduce for a less sweet option.
• Fresh Lemon Juice – brightens flavor and helps with setting; avoid bottled juice for better results.
• Water – used to dissolve sugar and cook the jam; ensures the proper consistency throughout the cooking process.
Inspired to make this Vanilla Bean Plum Jam? You’re just a few steps away from a delightful addition to your meals!
Step‑by‑Step Instructions for Vanilla Bean Plum Jam
Step 1: Prepare Jars
Start by sterilizing your jars and lids to ensure safety and longevity of your Vanilla Bean Plum Jam. Place them in a large pot of boiling water for about 10 minutes, ensuring they are submerged. Carefully remove them with tongs and let them air dry on a clean kitchen towel, ready for filling.
Step 2: Combine Ingredients
In a heavy-bottomed saucepan, combine your chopped fresh plums, sugar, fresh lemon juice, water, and the split vanilla bean with its scraped seeds. Bring this colorful mixture over medium heat. Stir gently until the sugar dissolves, and you start to see bubbling around the edges—a sign that it’s time to let it simmer.
Step 3: Simmer the Mixture
Lower the heat to maintain a gentle simmer and cook the mixture for about 30 to 45 minutes. Stir frequently to prevent it from sticking to the bottom of the pan. You know it’s ready when the jam thickens and coats the back of a spoon, with a lovely ruby color beginning to shine.
Step 4: Strain if Desired
If you prefer a seedless jam, take the time to strain your mixture through a fine-mesh sieve now. Use a spatula or the back of a spoon to push the jam through, leaving behind any skins or solids. This step is optional, but it can offer a smooth texture in your Vanilla Bean Plum Jam.
Step 5: Jar the Jam
Once your Vanilla Bean Plum Jam has thickened to your liking, remove it from the heat. Carefully ladle the hot jam into your prepared jars, filling them within a quarter-inch from the top. Wipe the rims with a clean cloth to ensure a proper seal, then place the sterilized lids on tightly.
Step 6: Process for Storage
To ensure your jars of Vanilla Bean Plum Jam are shelf-stable, process them in a boiling water bath for 10 minutes. Submerge the jars in boiling water, ensuring they are covered by at least an inch. After processing, let the jars cool on a towel for 24 hours, then check that the lids have sealed properly before storing them.
Make Ahead Options
These Flavorful Vanilla Bean Plum Jam jars are perfect for busy home cooks looking to save time! You can prepare the fruit mixture up to 24 hours in advance; just chop the plums and combine them with sugar, lemon juice, and water in the pot. Cover it and refrigerate until you’re ready to cook. When you’re prepared to finish, simply heat it on the stove to simmer and thicken for an easy finish. This method maintains the jam’s vibrant flavor and texture, making it just as delightful as if made fresh that morning. Enjoy the convenience of homemade jam without the rush!
Vanilla Bean Plum Jam Variations
Feel free to explore these delightful twists on the classic jam recipe; your kitchen will be filled with mouthwatering aromas!
- Cinnamon Twist: Replace star anise with ground cinnamon for a warm, cozy flavor that’ll remind you of autumn.
- Berry Boost: Incorporate a cup of blueberries or raspberries for an extra layer of fruitiness and natural sweetness. They blend beautifully and make each spoonful burst with flavor.
- Spicy Kick: Add a pinch of cayenne pepper or finely chopped jalapeño for a surprising kick that complements the sweetness perfectly. This heat will awaken your taste buds!
- Almond Extract: Swap vanilla bean for a splash of almond extract to give your jam a nutty depth. This variation pairs wonderfully with cream cheese on bagels.
- Lemon Zest: Enhance the tanginess by adding a teaspoon of fresh lemon zest for a zesty burst that elevates the jam’s brightness. You’ll love the refreshing finish!
- Herb-Infused: Infuse your jam with fresh herbs, like basil or rosemary, during the cooking process. Strain the herbs out before jarring for an unexpected twist that will dazzle your guests!
- Tropical Delight: Mix in diced mango or pineapple chunks for a tropical flavor profile that dances on your palate and brings sunshine to your breakfast table.
- Reduce Sugar: For a lighter version, consider reducing sugar by half and letting the natural fruit sweetness shine through. Balance it with a splash more lemon juice to enhance the tartness.
For additional inspiration, check out my Blistered Green Beans as a perfect side dish to pair with dishes complemented by this jam!
How to Store and Freeze Vanilla Bean Plum Jam
Fridge: Store your Vanilla Bean Plum Jam in airtight glass jars in the refrigerator for up to 3 weeks. Make sure lids are sealed properly to maintain freshness.
Freezer: For longer storage, freeze the jam in airtight containers or freezer bags, leaving a bit of space at the top. It will last up to 6 months in the freezer.
Reheating: To enjoy your frozen jam, thaw it in the refrigerator overnight. Gently reheat on the stove over low heat, stirring occasionally, to bring back its original spreadable consistency.
Processing Tip: If you’ve processed the jars in a boiling water bath, they can be stored in a cool, dark place for up to a year without refrigeration.
Expert Tips for Vanilla Bean Plum Jam
• Choose the Right Plums: Select firm, ripe plums for optimal sweetness and texture; overripe plums may lead to a mushy jam.
• Fresh is Best: Always use fresh vanilla bean and lemon juice; they elevate the flavor of your homemade jam significantly compared to dried or bottled options.
• Watch the Heat: Maintain a gentle simmer while cooking to prevent the jam from burning; this allows for the sweet flavors of plums and star anise to shine.
• Adjust to Taste: Start with a small amount of star anise; its flavor can be strong, and you can always add more to your vanilla bean plum jam if needed.
• Check for Consistency: To test doneness, place a spoonful of jam on a cold plate; if it holds its shape after cooling, it’s ready for jarring!
• Post-Cooling Check: After processing, ensure jar lids are sealed by checking for a slight indentation; if they pop back, refrigerate and use within a week.
What to Serve with Flavorful Vanilla Bean Plum Jam?
There’s nothing quite like savoring the sweet and spicy notes of homemade jam, especially when it complements a meal or snack perfectly.
- Warm Toast: The classic choice for spreading jam—crisp bread contrasts deliciously with the thick, sweet jam making for a perfect breakfast bite.
- Creamy Yogurt: A dollop of vanilla bean plum jam atop smooth yogurt creates a delightful taste experience, blending tart and sweet into every spoonful.
- Cheese Platter: Pair with brie or goat cheese for a stunning charcuterie board—its spiced notes enhance the creamy textures beautifully.
- Pancakes or Waffles: Drizzle this jam over your morning stacks for a gourmet twist that elevates weekend breakfasts to new heights.
- Oatmeal Topping: A spoonful of jam in your bowl stirs in sweetness and spice, transforming a simple breakfast into something extraordinary.
- Desserts: Use in pastries or desserts like tarts and cheesecakes—its rich flavor brings depth to any sweet creation.
- Sparkling Water: Refresh with a splash of vanilla bean plum jam in sparkling water, creating a festive drink that sings of summer flavors.
- Ice Cream Sundaes: Transform vanilla ice cream into a special treat with a generous swirl of this fruity jam, providing a burst of flavor with each scoop.
Vanilla Bean Plum Jam Recipe FAQs
What should I look for when selecting plums?
Absolutely! Choose firm and ripe plums that are slightly yielding when pressed. They should have a vibrant color without any dark spots or blemishes. This ensures a naturally sweet and tart flavor in your jam, which makes all the difference!
How should I store my vanilla bean plum jam?
Store your Vanilla Bean Plum Jam in airtight glass jars placed in the refrigerator for up to 3 weeks. Ensure that the lids are sealed tightly to prevent any air from spoiling the freshness. If you see any color change or separation, it’s best to discard it.
Can I freeze my vanilla bean plum jam?
Very! To freeze your jam, scoop it into airtight containers or freezer-safe bags, leaving about half an inch of space at the top to allow for expansion. It will keep beautifully in the freezer for up to 6 months. When you’re ready to enjoy it, just thaw it overnight in the fridge.
What if my jam didn’t thicken properly?
Don’t worry if it’s a bit runny! Simply return the jam to a pot, bring it to a simmer, and allow it to cook longer, stirring frequently. You can also add a little more lemon juice to help it set if needed. Always test doneness using the cold plate method: place a spoonful on a cold plate, let it cool, and check if it holds its shape.
Is this jam safe for pets or people with allergies?
While the ingredients in Vanilla Bean Plum Jam are generally safe, always check for specific allergies, especially to tree nuts or specific fruits. It’s vegan and gluten-free, making it accessible for most diets, but it’s essential to ensure it’s suitable for anyone with food sensitivities.
What’s the best way to make this jam ahead of time?
You can prepare the jam a day or two in advance. Just follow the cooking process and allow it to cool before transferring it to jars. Store it as instructed above and remember that you can also process the jars in a boiling water bath for longer storage. This allows you to gift them or stock your pantry!
Sweeten Your Mornings with Vanilla Bean Plum Jam Delight
Ingredients
Equipment
Method
- Prepare jars by sterilizing them in boiling water for 10 minutes until air dry.
- Combine chopped plums, sugar, lemon juice, water, and split vanilla bean in a saucepan over medium heat.
- Simmer the mixture for 30 to 45 minutes, stirring frequently until thickened.
- If desired, strain the mixture through a fine-mesh sieve for a smooth texture.
- Ladle the jam into prepared jars, filling them within a quarter-inch from the top.
- Process the jars in boiling water for 10 minutes to ensure shelf stability.
Leave a Reply