
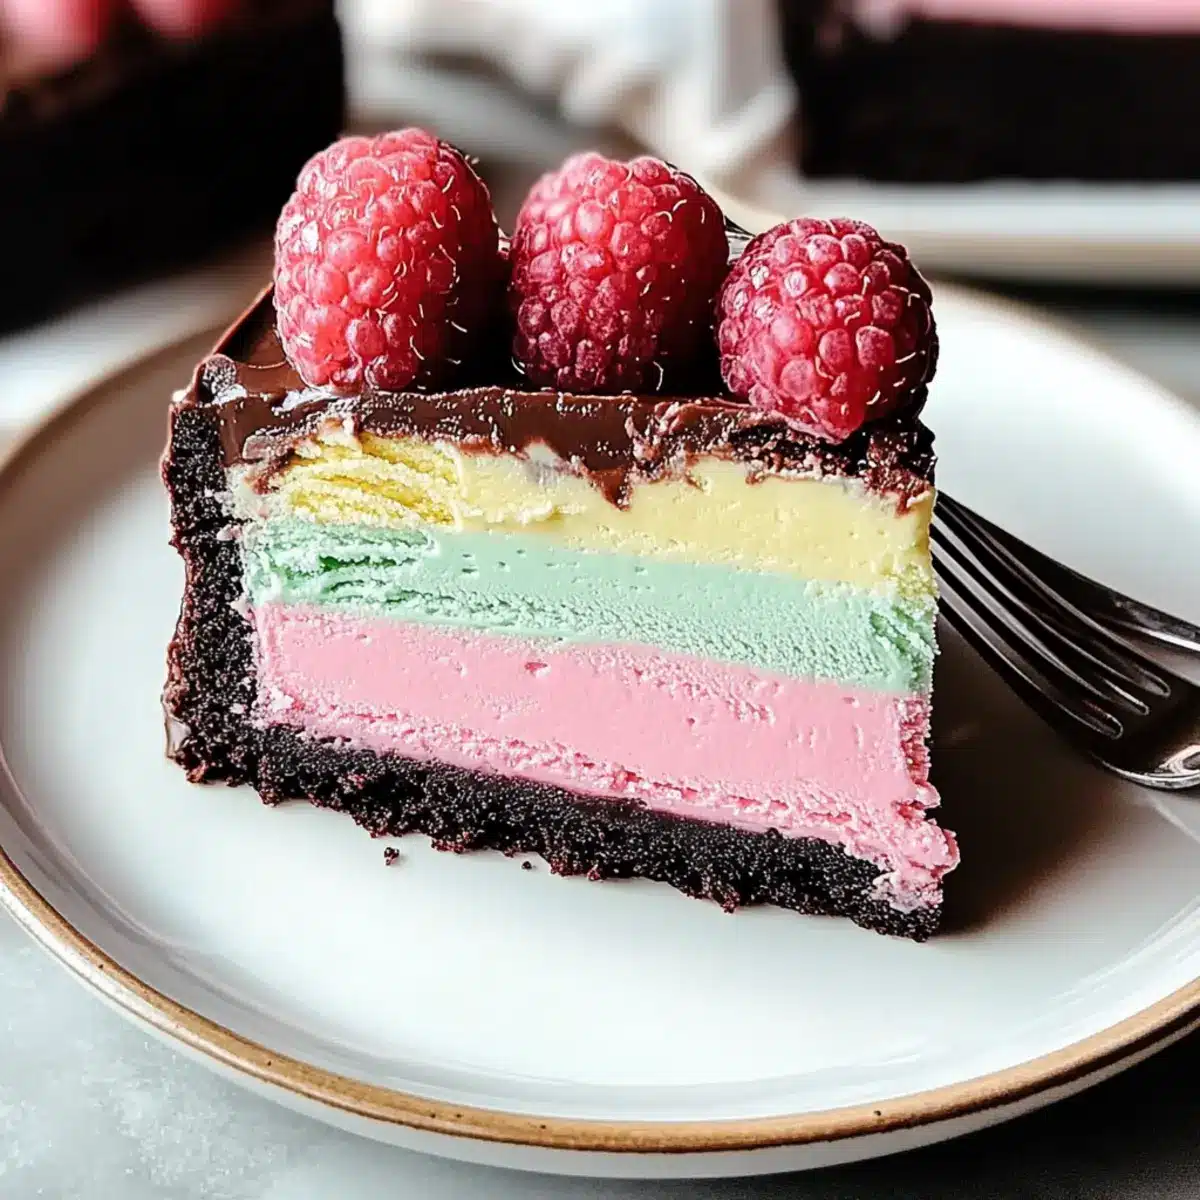
As I caught the scent of summer in the air, my mind drifted to the perfect no-bake dessert: the Easy Colorful Ice Cream Cake for Summer Celebrations. This vibrant treat is not only a showstopper with its bright layers of pistachio gelato, salted caramel ice cream, and tangy raspberry sorbet, but it also offers a delightful way to cool down and impress your family and friends. The best part? It comes together swiftly, making it a hassle-free dish that everyone will rave about. Whether you’re hosting a sunny backyard bash or simply looking to elevate your weekend, this ice cream cake promises a sweet escape from the ordinary. Can you imagine the smiles on your loved ones’ faces as they dig into this layered delight? Let’s dive into the recipe and create some fun memories together!
Why Is This Ice Cream Cake Special?
No-Bake Perfection: This Easy Colorful Ice Cream Cake requires zero baking, making it a breeze to whip up on a hot day or when you’re pressed for time.
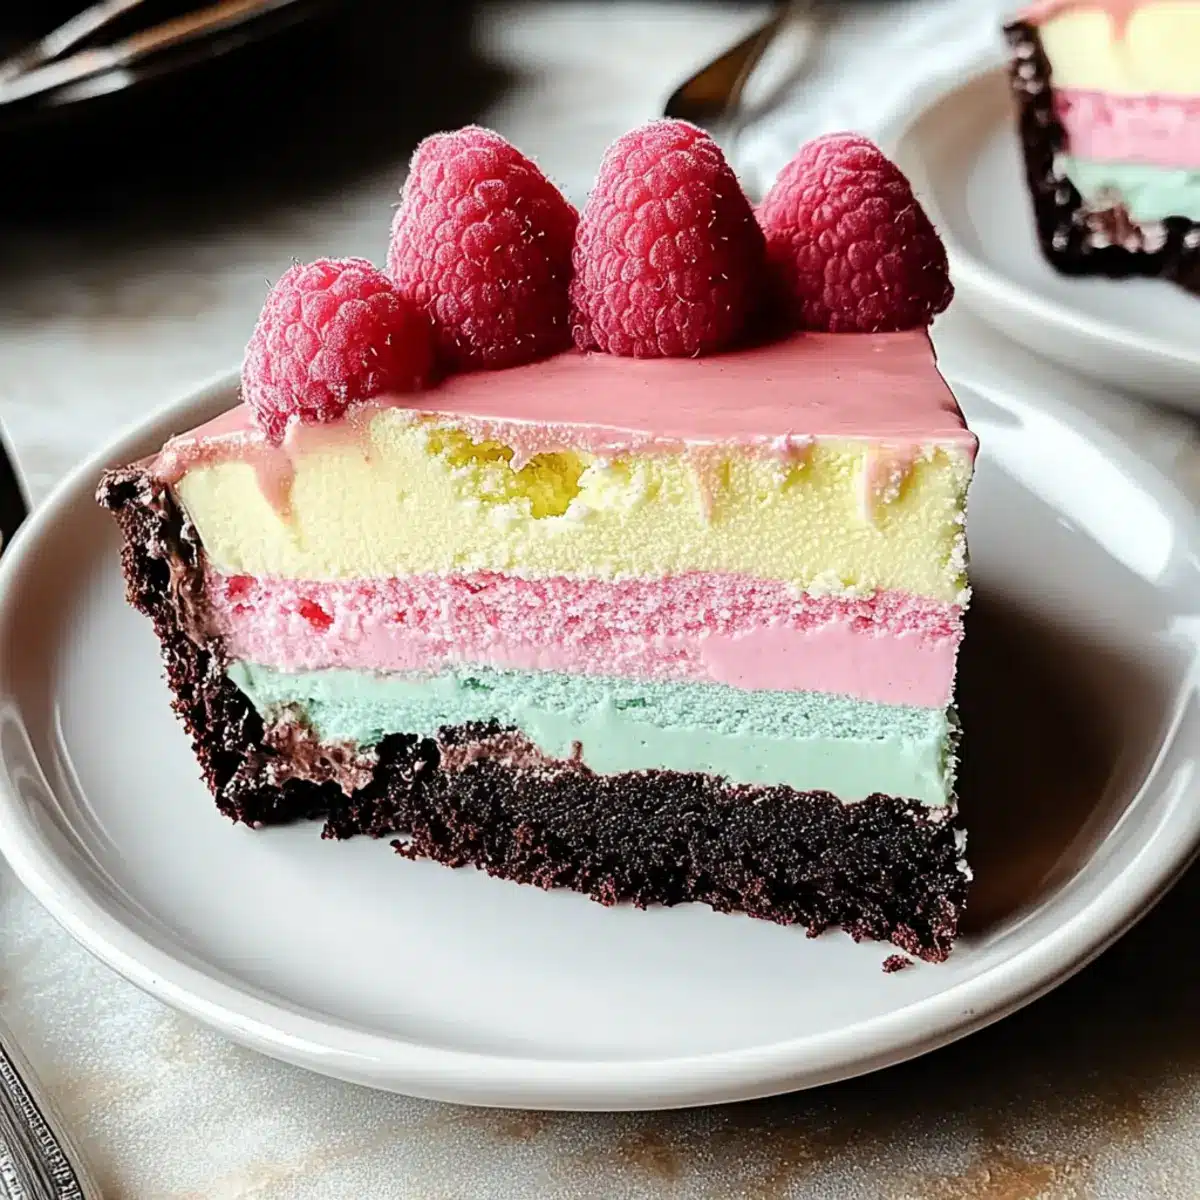
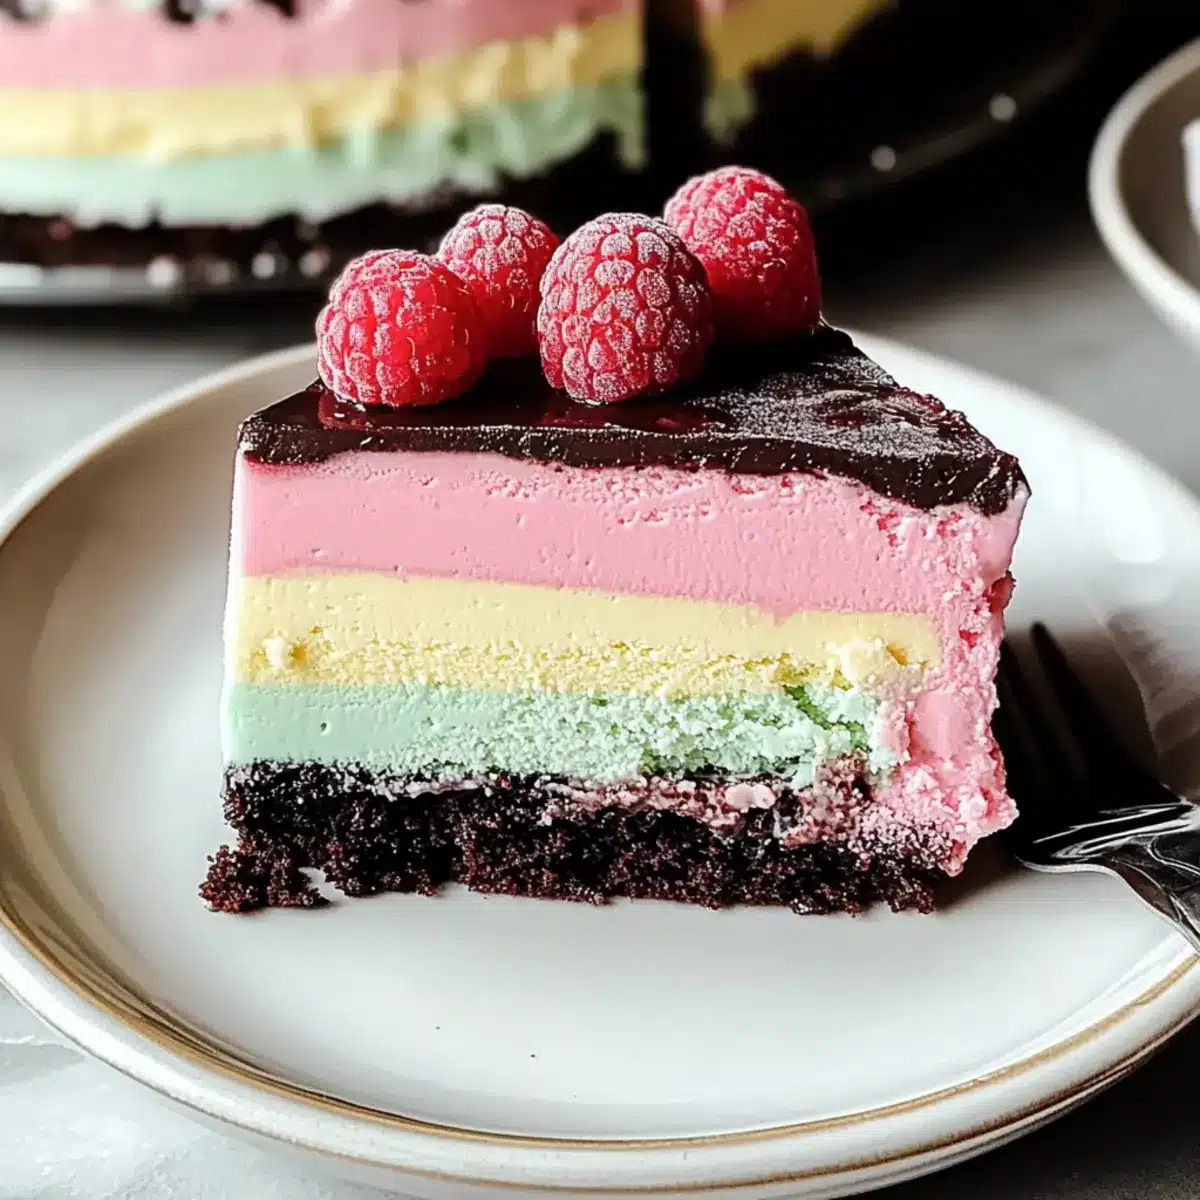
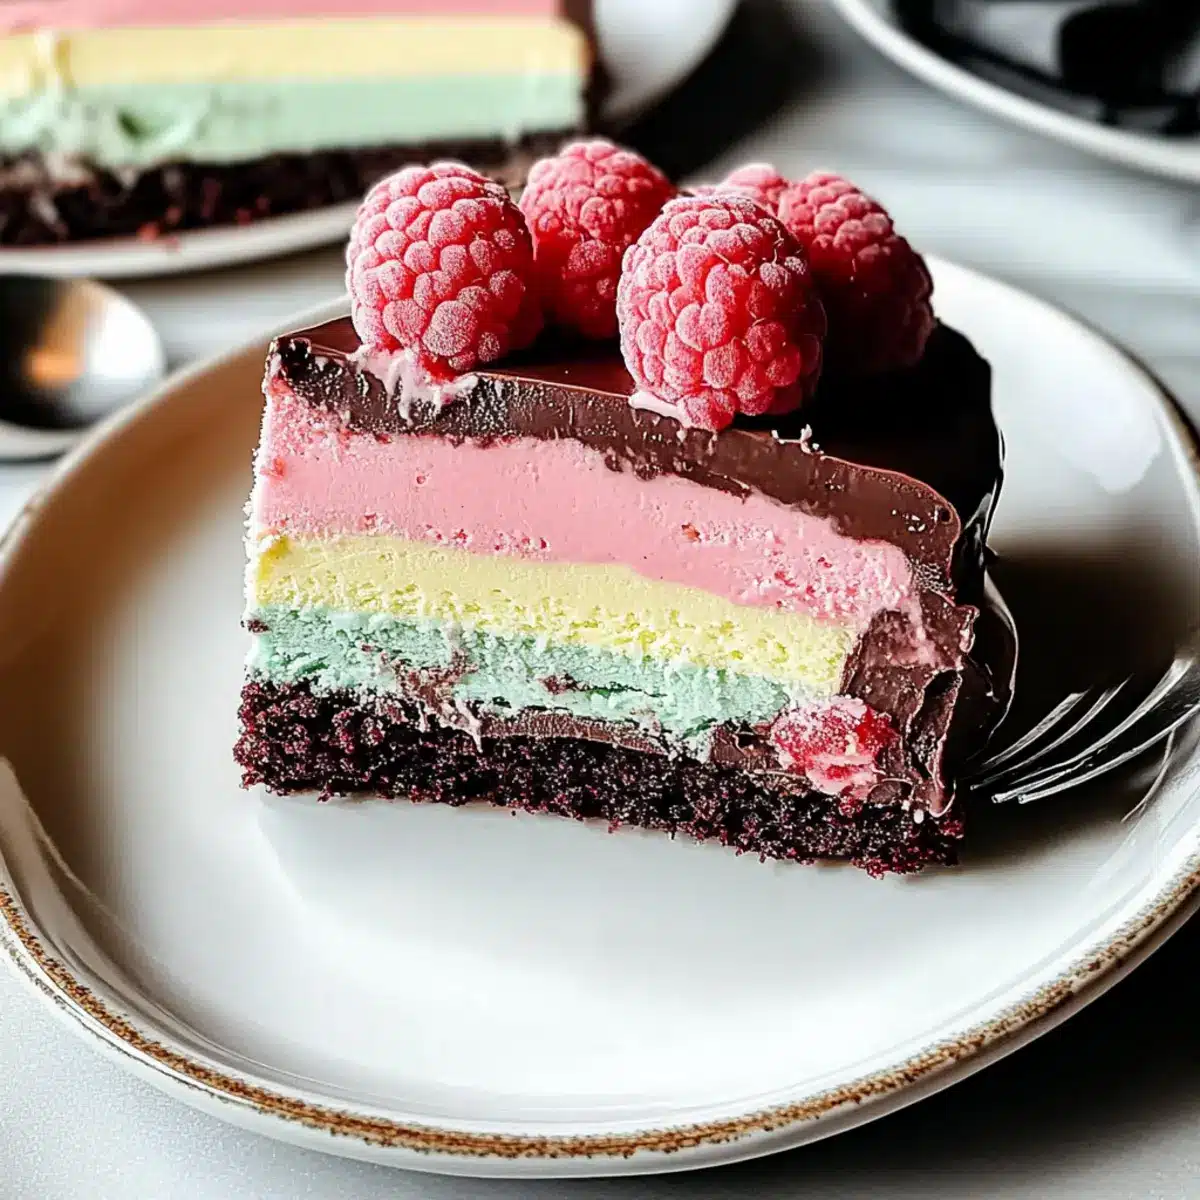
Vibrant Layers: Each bite showcases stunning layers of vibrant gelato and sorbet, transforming your dessert table into a carnival of colors that will wow your guests.
Customizable Flavors: Feel free to mix and match flavors to suit your taste! Whether you prefer classic vanilla or daring mango, this recipe allows for easy variations. For more fresh ideas, check out our Cranberry Cream Cheese or Hot Chocolate Cupcakes.
Family-Friendly Fun: Kids and adults alike will delight in this delicious no-fuss dessert, making it perfect for family gatherings and summer parties alike.
Quick Assembly: The straightforward assembly means you can enjoy your time with family and friends instead of slaving away in the kitchen—perfect for all your summer celebrations!
Easy Colorful Ice Cream Cake Ingredients
• Dive into the delightful components that make this no-bake Easy Colorful Ice Cream Cake a summer sensation!
For the Cake Base
- Vegan Chocolate Cake – Creates a sturdy and flavorful base; substitute with a store-bought vegan option if you’re in a pinch.
For the Layers
- Pistachio Gelato – Offers a creamy, nutty layer; feel free to change it to any nut-based gelato for a fun twist.
- Salted Caramel Ice Cream – Adds a luscious sweet and salty element; regular caramel ice cream can be used if salted isn’t available.
- Raspberry Sorbet – Provides a bright, tangy contrast; swap it for any fruity sorbet or sherbet to suit your palate.
For Garnishing
- Fresh Raspberries – Adds a pop of color and fresh flavor; you can also use other berries or edible flowers for decoration.
Step‑by‑Step Instructions for Easy Colorful Ice Cream Cake for Summer Celebrations
Step 1: Prepare the Chocolate Cake
Preheat the oven to 350°F (175°C) and grease a 9×5-inch loaf pan. Pour in the batter for your vegan chocolate cake, smoothing it out evenly. Bake for 18-22 minutes, or until a toothpick inserted in the center comes out clean. Once baked, allow the cake to cool completely in the pan to ensure a solid base for your Easy Colorful Ice Cream Cake.
Step 2: Freeze the Base
After the cake cools, carefully remove it from the pan and line the same pan with parchment paper. Return the cake to the lined pan, pressing it down gently. Cover and freeze for at least 3 hours until the cake is firm, providing a sturdy foundation for the vibrant ice cream layers.
Step 3: Add the Pistachio Gelato Layer
Once the cake is thoroughly frozen, take out the pistachio gelato and let it soften for about 10 minutes at room temperature. Once it’s spreadable, layer the gelato evenly over the frozen cake, smoothing it out to cover completely. Place the cake back in the freezer and allow it to set for a minimum of 4 hours for best results.
Step 4: Incorporate the Salted Caramel Ice Cream Layer
After the pistachio gelato has fully set, soften the salted caramel ice cream for approximately 10 minutes. Carefully spread this creamy layer over the frozen pistachio gelato, smoothing it out evenly. Return the layered cake to the freezer, allowing the ice cream to harden for another 4 hours, creating a delightful contrast of flavors.
Step 5: Finish with Raspberry Sorbet Layer
Remove the raspberry sorbet from the freezer and let it soften slightly—just enough to be spreadable, which usually takes a few minutes. Once softened, layer it on top of the salted caramel ice cream, spreading it evenly to create a colorful finish. To set all layers in place, freeze the completed cake overnight for a perfect scoopable texture.
Step 6: Serve the Ice Cream Cake
Before serving your Easy Colorful Ice Cream Cake, let it sit at room temperature for about 5 minutes to soften slightly for easy slicing. To unmold, invert the cake onto a baking sheet, peeling off the parchment paper. Use another baking sheet to flip it upright, then slice with a hot knife for clean edges, ready to share with family and friends!
Easy Colorful Ice Cream Cake Variations
Get ready to make this delightful cake your own with fun and tasty twists!
-
Gluten-Free Base: Use a gluten-free cake mix or almond flour to accommodate dietary needs for a fluffy base.
-
Nut-Free Layer: Replace pistachio gelato with coconut or fruit-based gelato for a nut-free version that everyone can enjoy.
-
Chocolate Lovers: Swap salted caramel ice cream for rich chocolate ice cream for a double chocolate indulgence. The creamy layers will satisfy all chocolate cravings!
-
Fruity Twist: Instead of raspberry sorbet, try mango or passion fruit sorbet for a tropical flavor adventure. This fruity twist will transport you to a sunny beach with every bite.
-
Swirled Layers: Mix different flavors together in each layer for a marbled effect—think chocolate and vanilla combo! This visual surprise makes every slice unique.
-
Dairy-Free Delight: Opt for coconut milk ice cream and dairy-free gelato to keep your dessert creamy yet vegan-friendly. You’ll never miss the dairy with this delicious swap!
-
Creamy Toppings: Top with whipped coconut cream or a drizzle of chocolate syrup for an extra indulgent finish. This adds a beautiful touch that is sure to impress your guests.
For more creative ideas, consider branching out with our scrumptious Butter Pecan Cake or the festive Christmas Tree Cake Macarons.
Storage Tips for Easy Colorful Ice Cream Cake
Fridge: Store leftover slices in an airtight container for up to 3 days. This keeps the cake fresh without losing its delightful layers.
Freezer: For longer storage, wrap the cake tightly in plastic wrap and aluminum foil or place it in a freezer-safe container. It can be kept in the freezer for up to 3 months.
Thawing: When ready to serve, allow the Easy Colorful Ice Cream Cake to sit at room temperature for about 10-15 minutes to soften slightly for easy slicing.
Reheating: There’s no need to reheat; simply slice and enjoy straight from the fridge or after it’s thawed from the freezer!
Make Ahead Options
This Easy Colorful Ice Cream Cake is a brilliant choice for meal prep! You can prepare the chocolate cake base up to 24 hours in advance; simply cool it completely, wrap it tightly, and refrigerate to maintain its moisture. The gelato and ice cream layers can be added later—just ensure each layer is completely frozen before adding the next for a pristine finish. Once assembled, the entire cake can be kept in the freezer for up to 3 days. When you’re ready to serve, let it sit at room temperature for 5 minutes before slicing for effortless cuts, ensuring you present a stunning dessert that’s just as delightful as freshly made!
What to Serve with Easy Colorful Ice Cream Cake for Summer Celebrations
As you savor each creamy, colorful slice of this delightful cake, consider these perfect companions that will enhance your summer dessert experience.
-
Mint Whipped Cream: Adds a refreshing burst of flavor, beautifully balancing the sweetness of the ice cream. A dollop on top allows for a delightful contrast.
-
Fresh Berries: Strawberries, blueberries, and blackberries offer bright, juicy flavors that complement the cake’s layers and enhance its vibrant appearance.
-
Grilled Peaches: The smoky sweetness from grilled peaches creates a luxurious addition that pairs wonderfully with the cake, elevating your dessert experience.
-
Coconut Milkshake: A creamy, dreamy shake served alongside can serve as a cool and tropical drink option, playing nicely with the cake’s layers.
-
Dark Chocolate Sauce: Drizzling some warm dark chocolate sauce over each slice adds a rich touch that contrasts beautifully with the cake’s bright flavors.
-
Chocolate Chip Cookies: The crunch of a classic cookie beside your slice offers a delightful texture combination, making for a fun and indulgent dessert pairing.
-
Flavored Lemonade: A refreshing beverage option, homemade lemonade or a fruity twist lends a zesty contrast, enhancing the overall summer experience while cleansing the palate.
Helpful Tricks for Easy Colorful Ice Cream Cake
Layer Freezing: Ensure each layer is frozen solid before adding the next to avoid a rainbow swirl instead of distinct layers in your Easy Colorful Ice Cream Cake.
Soften Timing: Allow ice cream and gelato to soften for just 10 minutes before spreading. Too much time can cause them to melt, making layering tricky.
Hot Knife Slicing: For clean cuts, use a hot knife! Dip it in hot water, wipe it dry, and slice through the cake for beautiful, clean edges.
Presentation Is Key: Decorate with fresh raspberries or edible flowers to elevate the visual appeal. A little garnish goes a long way in impressing guests!
Make Ahead: This ice cream cake is perfect for prepping in advance. Assemble it the day before your celebration for added convenience and optimal flavor.
Easy Colorful Ice Cream Cake Recipe FAQs
What kind of cake should I use for the base?
Absolutely! A vegan chocolate cake creates a perfect sturdy base, but you can substitute it with any chocolate cake recipe or a store-bought vegan option if you’re short on time. For a lighter twist, consider using a sponge cake to add a fluffy texture to your Easy Colorful Ice Cream Cake.
How should I store leftover ice cream cake?
Store leftover slices in an airtight container in the fridge for up to 3 days. To keep it longer, wrap the cake tightly in plastic wrap and aluminum foil or place it in a freezer-safe container. This way, it can last up to 3 months in the freezer, maintaining its delicious layers!
Can I freeze this ice cream cake?
Yes, you can! After constructing your Easy Colorful Ice Cream Cake, wrap it well in plastic wrap and foil before placing it in the freezer. To serve later, simply let it thaw for about 10-15 minutes at room temperature for easier slicing without compromising its vibrant layers.
What if my layers are melting into each other?
Very! If you’re noticing layers mixing, it’s crucial to ensure each layer is fully frozen before adding another. Wait at least 4 hours for each ice cream layer to freeze solid. If you find yourself in a pinch, try adding a bit of dry ice between layers to maintain a chilly temperature while you work!
Are there any dietary considerations I should keep in mind?
Absolutely! This Easy Colorful Ice Cream Cake is versatile and can be made vegan-friendly by choosing plant-based ice creams and a vegan cake base. If you’re concerned about allergies, opt for gluten-free alternatives and ensure the gelato and ice cream contain no nuts if that’s a concern for any guests. Always double-check labels when shopping!
Easy Colorful Ice Cream Cake for Summer Celebrations Made Fun
Ingredients
Equipment
Method
- Preheat the oven to 350°F (175°C) and grease a 9x5-inch loaf pan. Pour in the batter for your vegan chocolate cake, smoothing it out evenly. Bake for 18-22 minutes, or until a toothpick inserted in the center comes out clean. Allow the cake to cool completely.
- After the cake cools, carefully remove it from the pan and line the same pan with parchment paper. Return the cake to the lined pan, pressing it down gently. Cover and freeze for at least 3 hours until firm.
- Once frozen, soften the pistachio gelato for about 10 minutes at room temperature. Spread the gelato evenly over the frozen cake and return to the freezer for a minimum of 4 hours.
- Soften the salted caramel ice cream for about 10 minutes. Spread this layer over the pistachio gelato and freeze again for 4 hours.
- Soften the raspberry sorbet slightly and layer it on top of the salted caramel ice cream. Freeze the completed cake overnight to set all layers.
- Before serving, let the cake sit at room temperature for 5 minutes to soften. Invert onto a baking sheet, peel off the parchment paper, and slice with a hot knife.
Leave a Reply