
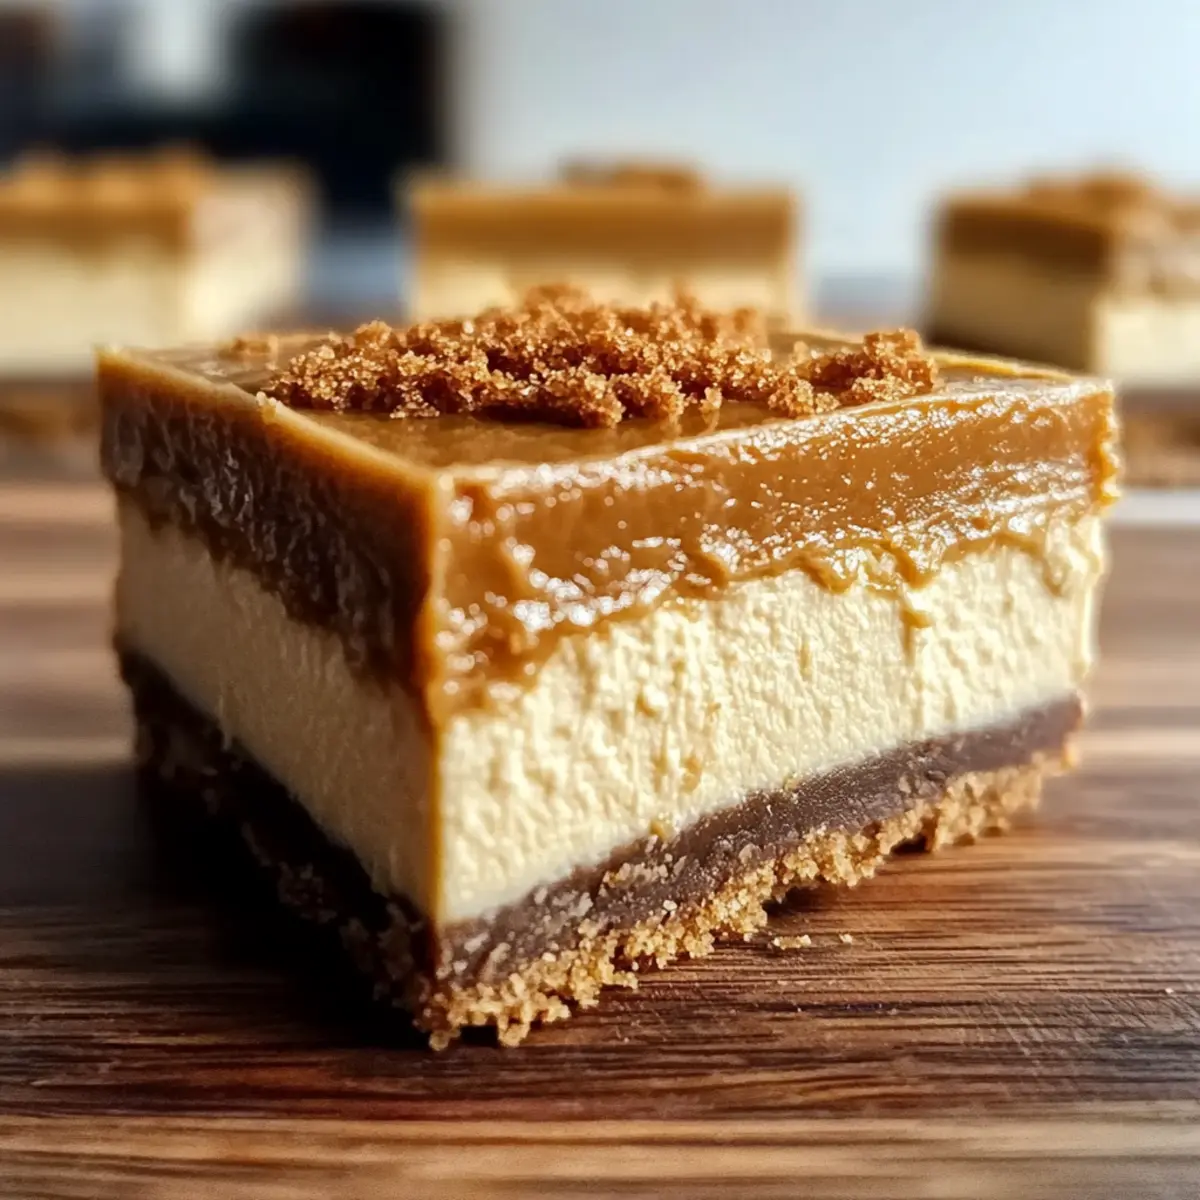
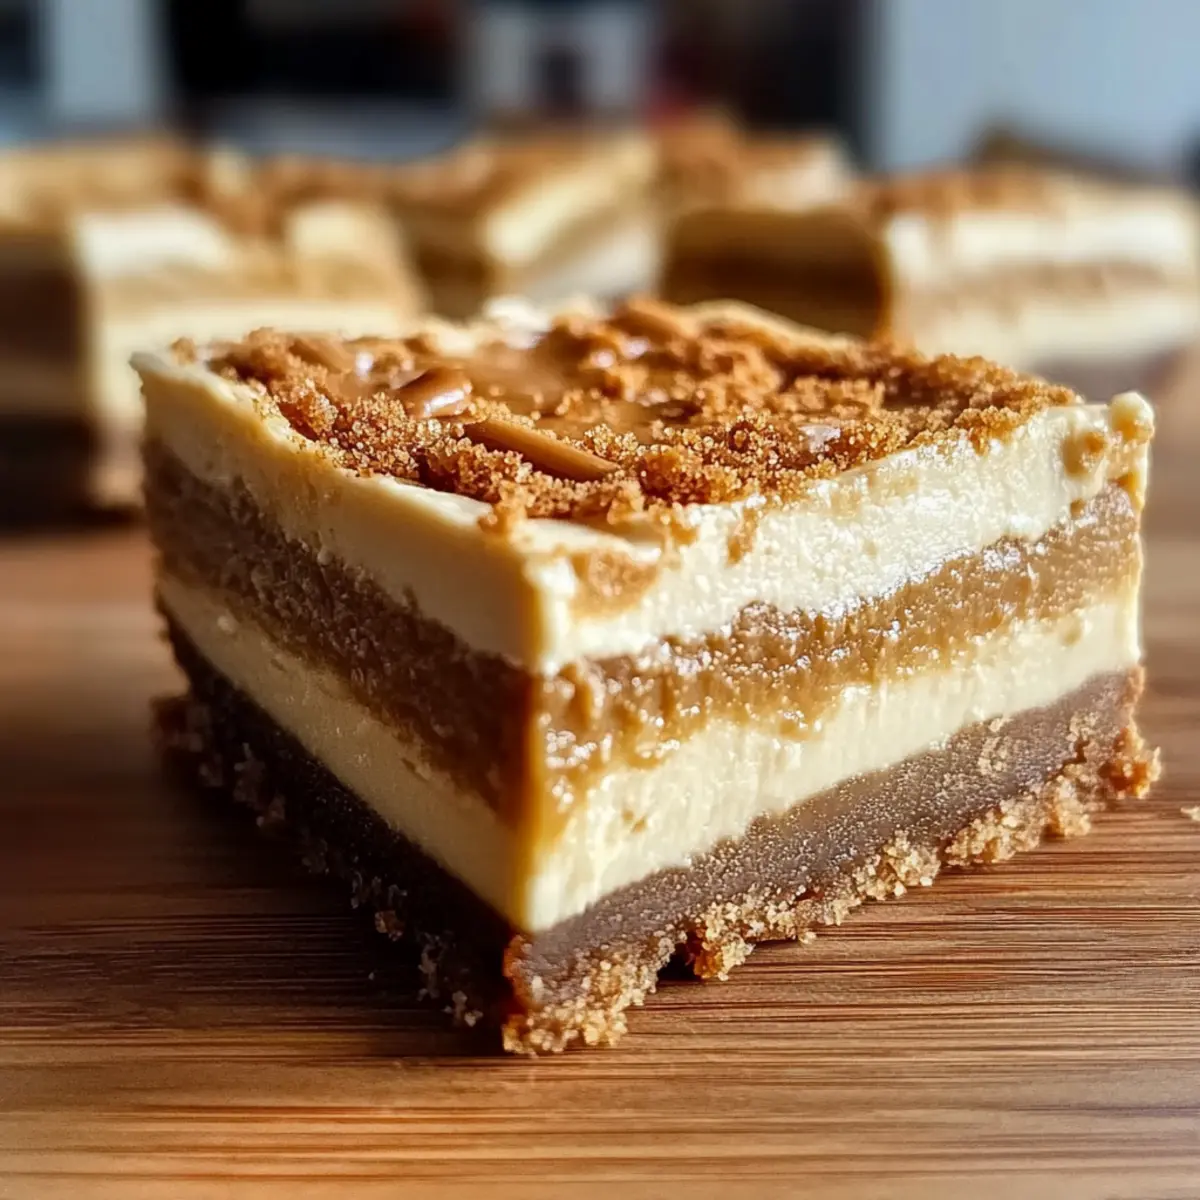
As I stood in my kitchen, contemplating dessert, the world outside felt too chaotic for anything but a simple indulgence. That’s when it struck me: what could be more satisfying than a slice of no-bake Creamy Biscoff Cheesecake Bars? This delightful treat melds the rich, buttery flavor of Biscoff cookies with a smooth, creamy filling that practically dances in your mouth. Not only are these bars incredibly easy to whip up, but they also make for an impressive addition to any gathering—sure to be a hit at potlucks or when you’re just craving something sweet. Plus, they’re perfect for those warm evenings when the last thing you want to do is turn on the oven. Are you ready to dive into a delicious cookie butter experience that will leave everyone reaching for seconds?
Why Are These Cheesecake Bars Irresistible?
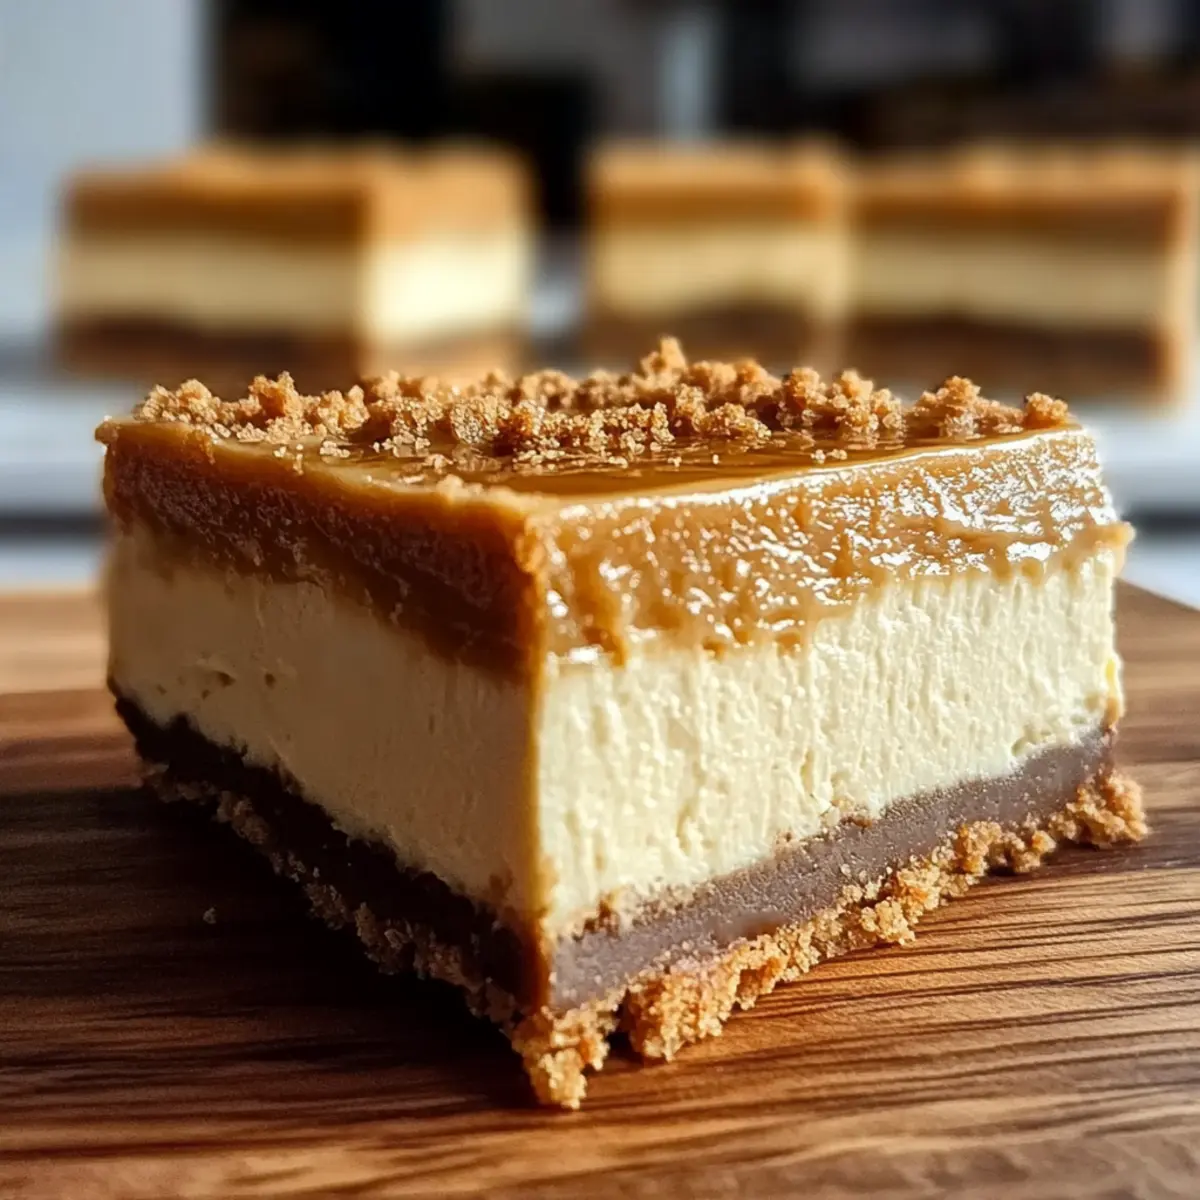
Creamy, Dreamy Delight: With a smooth texture that melts in your mouth, these bars provide a delightful dessert experience.
No-Bake Simplicity: This quick recipe requires no baking, making it a perfect choice for busy days or hot summer nights.
Impressive Flavor Combo: The Biscoff cookie crust and creamy filling offer a luxurious balance of crunch and silkiness that’s hard to resist.
Crowd Pleaser: Ideal for gatherings, these bars will keep friends and family coming back for more—just like my Garlic Butter Salmon that always garners rave reviews!
Make Ahead Magic: Prepare these bars a couple of days in advance, so they’re ready when you need them—just like my quick and satisfying Asparagus Chicken Penne recipe.
Creamy Biscoff Cheesecake Bars Ingredients
• For an indulgent treat that satisfies!
For the Crust
- Biscoff Cookies – You can use Lotus Biscoff cookies for an authentic flavor; gluten-free cookies work as a substitute.
- Unsalted Butter – Ensure it’s melted to bind the cookie crumbs together.
For the Filling
- Cream Cheese (full-fat) – Softened cream cheese helps create a smooth, creamy filling without lumps.
- Powdered Sugar – Sweetens the cheesecake; a sugar alternative can be swapped in if preferred.
- Vanilla Extract – Adds a lovely depth and enhances the flavor profile.
- Biscoff Spread – The star ingredient for rich flavor; feel free to substitute with other cookie butter brands.
- Heavy Whipping Cream – Whipped to stiff peaks gives a light, airy texture to the filling—use full-fat for best results.
For the Topping
- Additional Biscoff Spread – Melt this to create a luscious layer over the filling that enhances the Biscoff cheesecake bars.
Now that you have all the ingredients lined up, it’s time to bring this creamy Biscoff cheesecake delight to life!
Step‑by‑Step Instructions for Creamy Biscoff Cheesecake Bars
Step 1: Prepare Baking Pan
Start by lining a 9×9 inch (23×23 cm) baking pan with parchment paper, leaving some overhang for easy removal later. This parchment sling ensures that your Creamy Biscoff Cheesecake Bars will come out beautifully shaped and intact.
Step 2: Make Crust
In a food processor, grind the Biscoff cookies into fine crumbs. Mix these crumbs with melted unsalted butter until fully combined, then press the mixture evenly into the bottom of the prepared pan. Chill the crust in the refrigerator for 15-20 minutes to firm up.
Step 3: Prepare Filling
In a large mixing bowl, beat the softened cream cheese using a hand mixer until it’s completely smooth and creamy, about 2-3 minutes. Gradually add in the powdered sugar and vanilla extract, mixing until fully combined. Then, add the Biscoff spread and mix until the filling is uniform in texture.
Step 4: Whip Cream
In a separate bowl, pour the cold heavy whipping cream and whip it using an electric mixer until stiff peaks form, which will take about 3-5 minutes. Take care not to over-whip, as the cream can turn into butter. Gently fold the whipped cream into the cheesecake mixture to maintain its light and airy consistency.
Step 5: Assemble Bars
Carefully spread the creamy filling over the chilled Biscoff cookie crust, using a spatula to smooth it out evenly. Make sure that the filling completely covers the crust, creating a luscious layer of cheesecake goodness for your Creamy Biscoff Cheesecake Bars.
Step 6: Add Topping
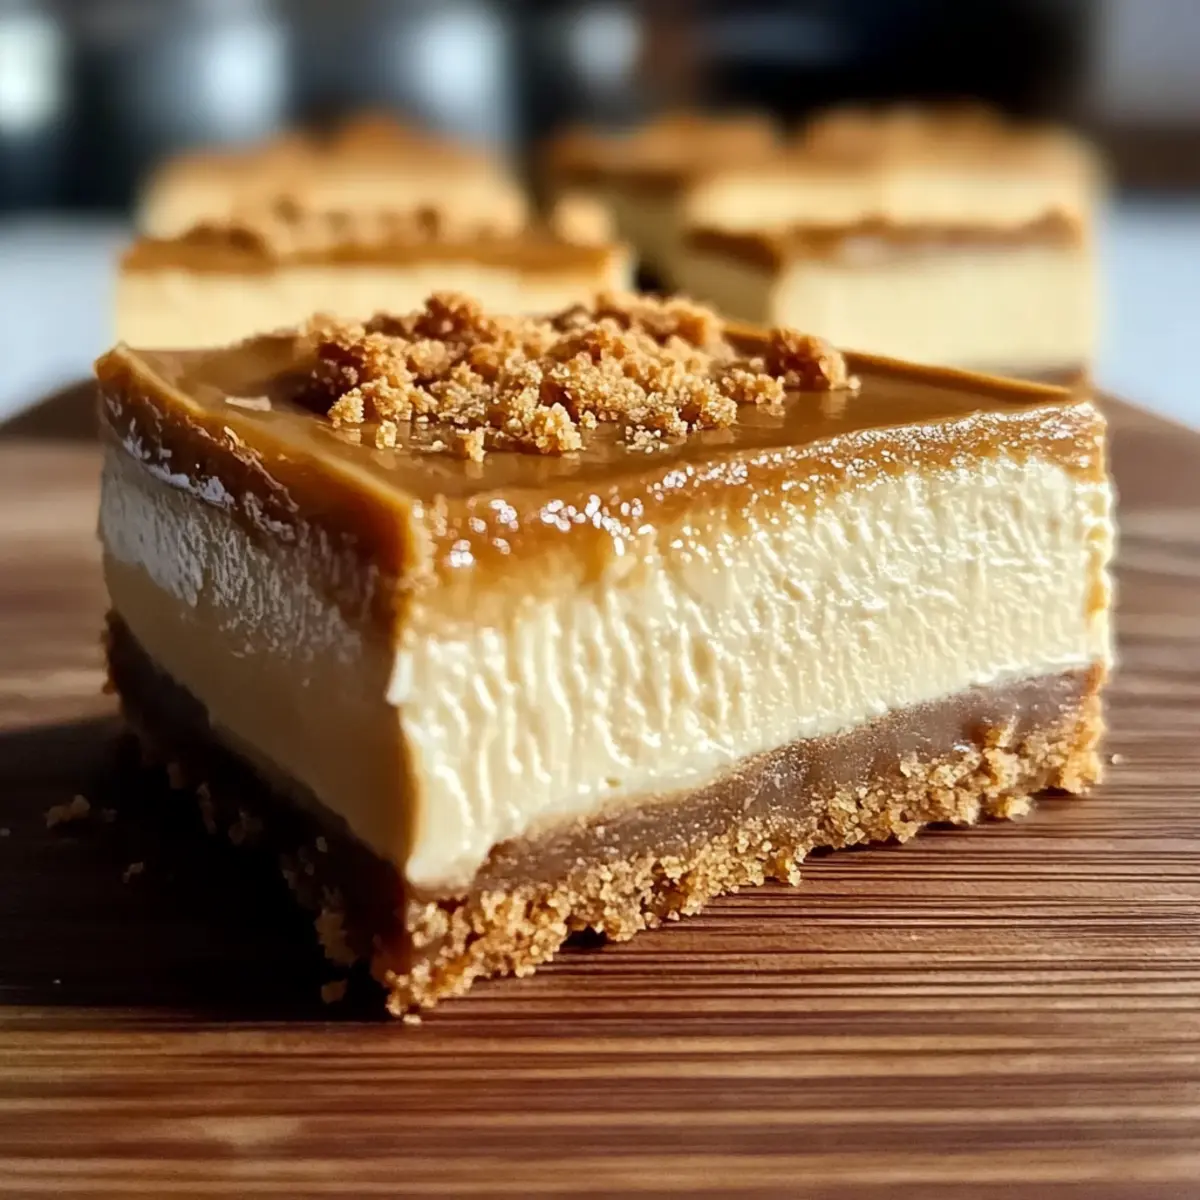
Melt the remaining Biscoff spread in a microwave-safe bowl for about 20-30 seconds until it’s pourable. Pour the melted spread over the cheesecake filling, using a spatula to smooth it evenly across the surface. This adds a delightful touch of sweetness to the top of the bars.
Step 7: Chill
Cover the pan tightly with plastic wrap and refrigerate the cheesecake bars for at least 6-8 hours, or preferably overnight. This chilling time is crucial for allowing the flavors to meld together while setting the filling into a perfect sliceable texture.
Step 8: Slice and Serve
Once chilled, lift the bars out of the pan using the parchment paper overhang. Transfer them to a cutting board and slice them into squares. Feel free to garnish the tops with crushed Biscoff cookies or a dollop of whipped cream before serving these delightful Creamy Biscoff Cheesecake Bars to family and friends.
How to Store and Freeze Creamy Biscoff Cheesecake Bars
Fridge: Keep these bars covered in an airtight container for up to 5 days. This preserves their creamy texture and indulgent flavors.
Freezer: For longer storage, wrap the cheesecake bars tightly in plastic wrap and then in aluminum foil. They can be frozen for up to 3 months without losing quality.
Thawing: To enjoy, transfer the bars from the freezer to the fridge the night before you plan to serve them. This gentle thawing will maintain their creamy texture.
Reheating: There’s no need to reheat these no-bake cheesecake bars; they’re best enjoyed chilled straight from the fridge!
Creamy Biscoff Cheesecake Bars Variations
Feel free to tweak these Biscoff cheesecake bars according to your cravings—let’s bring out the flavors that sing to you!
-
Gluten-Free: Substitute Biscoff cookies with gluten-free cookie options to ensure everyone can indulge.
-
Chocolate Twist: Use chocolate cookie crumbs for the crust. The rich chocolate flavor will take your bars to a new level of decadence.
-
Caramel Swirl: Incorporate a swirl of caramel sauce into the filling for an added layer of sweetness and richness. You won’t regret this extra indulgence!
-
Nutty Crunch: Add chopped walnuts or pecans into the crust for delightful texture. This creates a wonderful contrast with the creamy filling.
-
Lower Sugar: Replace powdered sugar with a sugar alternative or reduce the amount used to lighten up the dessert while keeping the taste intact.
-
Pumpkin Spice: Mix in some pumpkin puree and pumpkin spice into the cheesecake filling for a seasonal twist that’s perfect for fall!
-
Fruit Layered: Top the bars with fresh raspberries or strawberries. Their tartness will balance the sweetness of the cheesecake beautifully.
-
Decadent Chocotastic: Fold in chocolate chips to the filling mixture to create a chocolatey delight that chocolate lovers will adore.
These variations help to customize the Cheesecake bars just the way your taste buds desire. Want more inspiration? You can dive into my exciting Fried Strawberry Cheesecake for another delicious twist, or explore a savory delight with the Tortellini Tomatoes Comforting recipe!
Make Ahead Options
These Creamy Biscoff Cheesecake Bars are perfect for meal prep, allowing you to save time on busy weeknights. You can whip up the crust and filling up to 24 hours in advance, just be sure to refrigerate the crust separately for the best texture. Once you’ve assembled the layers, cover the pan tightly and chill the complete dessert for at least 6-8 hours, or overnight, to let it set and meld those lovely flavors. To keep the bars just as delicious, avoid cutting them until you’re ready to serve; this helps maintain the creamy filling’s structure. When the time comes, simply slice, garnish if desired, and indulge in your ready-made treat!
Helpful Tricks for Creamy Biscoff Cheesecake Bars
- Room Temperature Cream Cheese: Ensure your cream cheese is softened for a smoother filling; cold cream cheese leads to lumps.
- Perfect Whipped Cream: Whip the cream until stiff peaks form, but stop whipping before it turns into butter—a vital step for lightness!
- Chill Properly: Refrigerate the bars for a full 6-8 hours or overnight to set for clean, beautiful slices of Creamy Biscoff Cheesecake Bars.
- No Crust Crumbles: Make sure to press the crust firmly into the pan; a well-packed crust holds together better and avoids crumbling when sliced.
- Flavor Swaps: Try adding a swirl of caramel or chocolate to the filling for a unique twist on the classic creamy dessert.
What to Serve with Creamy Biscoff Cheesecake Bars
Elevate your dessert experience by complementing these indulgent cheesecake bars with delightful side dishes that balance sweetness and texture.
- Fresh Berries: Their tartness cuts through the richness, adding a refreshing element that brightens every bite.
- Whipped Cream: A dollop of freshly whipped cream adds airy texture and simple sweetness to your creamy dessert.
- Chocolate Drizzle: Drizzling melted dark chocolate over the bars intensifies the flavors, creating a decadent finish to each slice.
- Coffee or Espresso: Sipping a warm brew alongside these bars enhances the dessert’s flavors and creates a cozy atmosphere.
- Crushed Biscoff Topping: Sprinkle some crushed cookies on top for added crunch and a pop of extra Biscoff flavor, tying everything together.
- Mint Tea: Refreshing mint tea pairs beautifully, cleansing the palate and softening the sweetness of the cheesecake.
- Ice Cream: A scoop of vanilla or caramel ice cream provides a creamy contrast, making each mouthful even more luxurious.
- Fruit Sorbet: Opt for something fruity and icy, like raspberry or passion fruit sorbet, to refresh your senses after a rich dessert.
With these pairings, your Creamy Biscoff Cheesecake Bars will shine even brighter, transforming a simple indulgence into a well-rounded dining experience perfect for any gathering.
Creamy Biscoff Cheesecake Bars Recipe FAQs
How do I choose ripe Biscoff cookies for the crust?
Absolutely! When selecting Biscoff cookies, look for cookies that are intact and free from any dark spots or excessive crumbling. Fresh cookies ensure a sturdier crust and better flavor. If you can, opt for Lotus Biscoff cookies for the authentic taste; gluten-free cookies are also an excellent substitute.
What’s the best way to store leftover cheesecake bars?
Very simply! Keep your Creamy Biscoff Cheesecake Bars covered in an airtight container in the refrigerator. They’ll stay fresh for up to 5 days. Make sure to check for any signs of spoilage before enjoying them!
Can I freeze Creamy Biscoff Cheesecake Bars?
Absolutely! For long-term storage, wrap the cheesecake bars tightly in plastic wrap followed by aluminum foil, and freeze for up to 3 months. This method preserves their delicious flavor and creamy texture. When you’re ready to indulge, just transfer them from the freezer to the fridge the night before serving.
What should I do if my whipped cream turns runny?
Oh no! If your whipped cream has turned runny, it’s likely that it wasn’t whipped enough. Here’s a little tip: try whipping it again briefly or add a tablespoon of powdered sugar; this can help stabilize it. Make sure to whip until you see stiff peaks form, but don’t over-whip as it can turn into butter, which we definitely want to avoid.
Are there any dietary considerations I should be aware of?
Very much so! When preparing Creamy Biscoff Cheesecake Bars, ensure that you’re using gluten-free cookies if allergies are a concern. Additionally, the recipe contains dairy; if anyone is lactose intolerant, consider using dairy-free cream cheese and whipped cream alternatives to keep it delicious while addressing dietary needs.
How long do the cheesecake bars need to set in the fridge?
The cheesecake bars should chill for at least 6-8 hours, but I often recommend letting them set overnight for the best results. This waiting time allows the flavors to meld beautifully and the filling to firm up properly, making it easier to slice. Your patience will truly pay off with each creamy bite!
Irresistibly Creamy Biscoff Cheesecake Bars You’ll Love
Ingredients
Equipment
Method
- Line a 9x9 inch (23x23 cm) baking pan with parchment paper, leaving some overhang.
- Grind the Biscoff cookies into fine crumbs and mix with melted butter until combined. Press evenly into the bottom of the pan and chill for 15-20 minutes.
- Beat the softened cream cheese until smooth, then mix in powdered sugar, vanilla extract, and Biscoff spread until uniform in texture.
- Whip the heavy cream until stiff peaks form; gently fold into the cheesecake mixture.
- Spread the filling over the chilled crust evenly.
- Melt the remaining Biscoff spread and pour over the filling, smoothing it out.
- Cover and refrigerate for at least 6-8 hours, preferably overnight.
- Lift out from the pan using the parchment, slice into squares, and serve.
Leave a Reply