
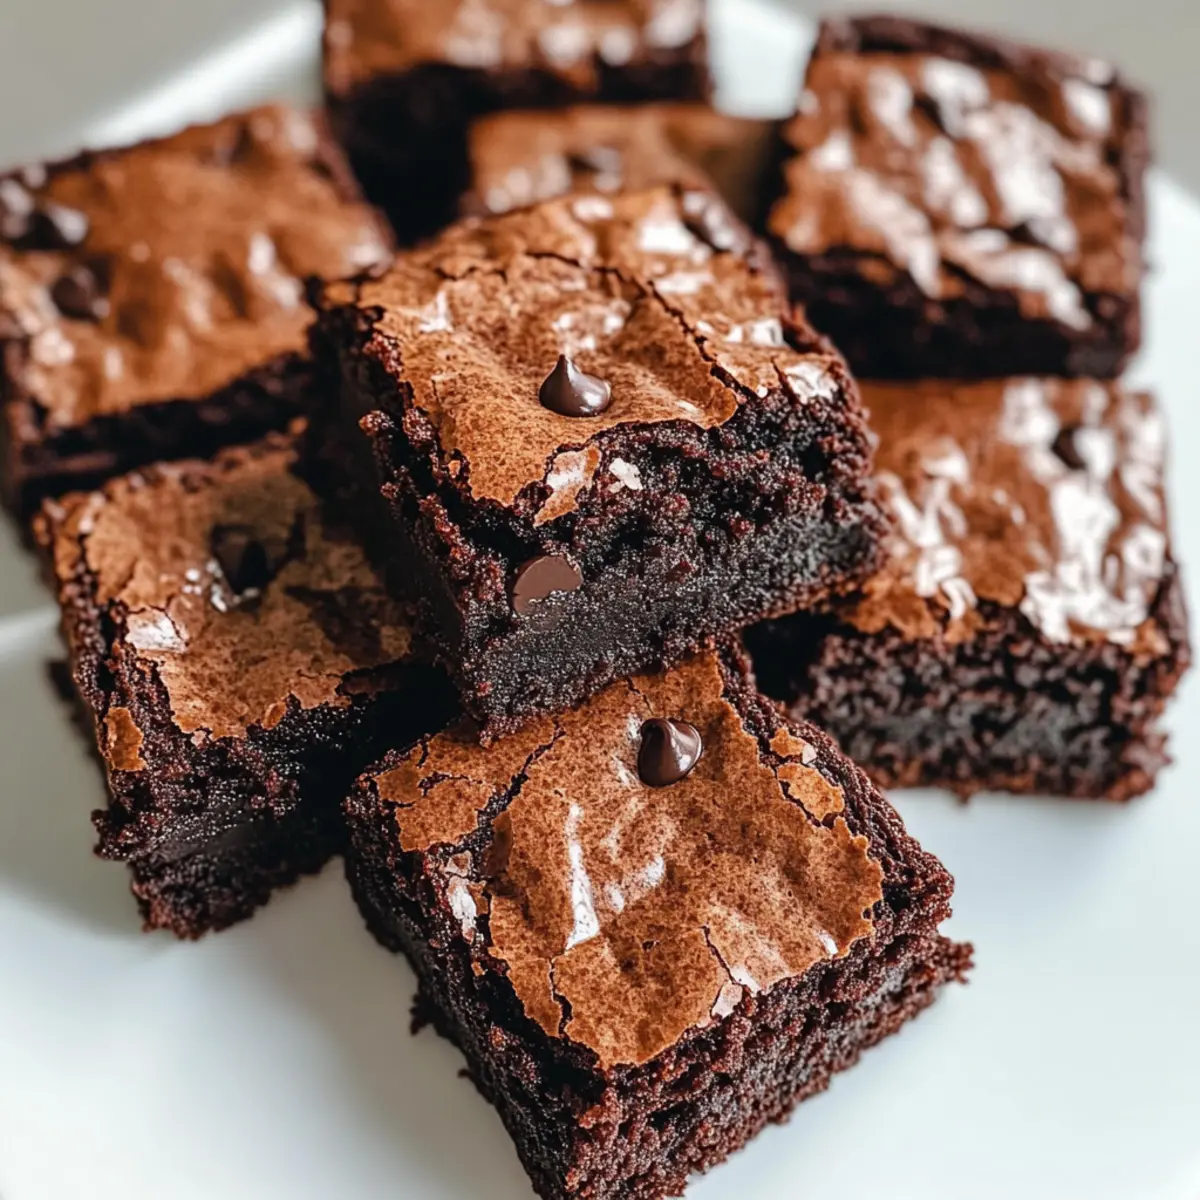
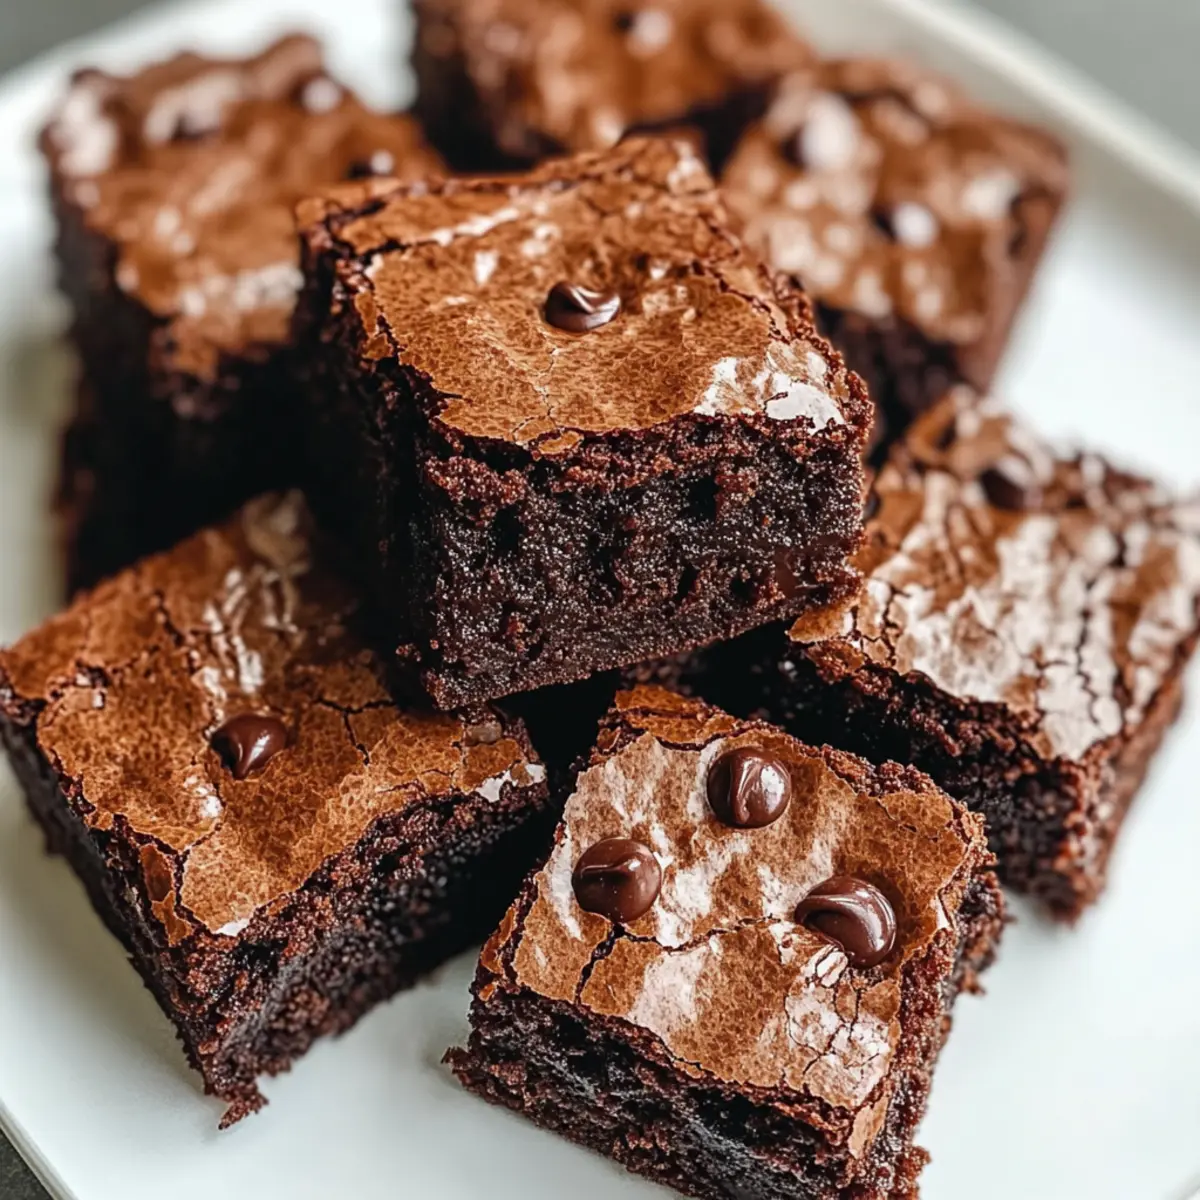
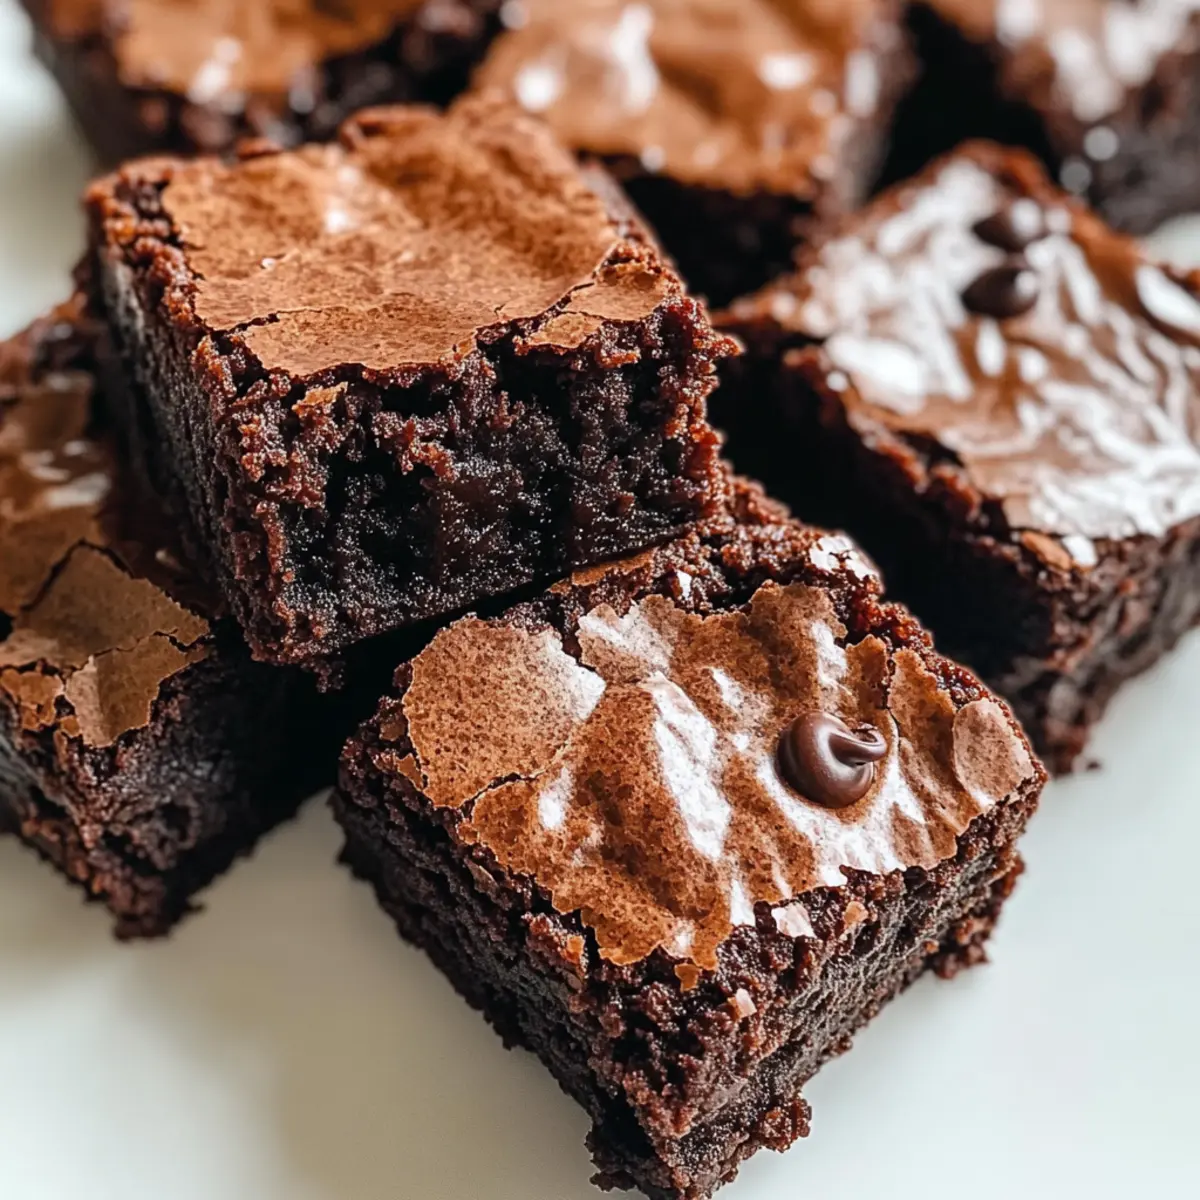
As I rummaged through my pantry, I stumbled upon a half-empty bag of cocoa powder and a yearning for something sweet. That’s when I decided to create the ultimate homemade brownie recipe that would leave those box mixes in the dust. Introducing my “Better Than Box Mix Brownies:” fudgy, chocolatey delights that are as easy to whip up as they are to devour. With simple ingredients like brown sugar and unsweetened cocoa, these treats not only ensure a crowd-pleasing dessert but also guarantee a quick prep time—perfect for those busy weeknights or last-minute gatherings. So, why settle for a bland mix when you can indulge in these rich, homemade brownies? Are you ready to take your dessert game to the next level?
Why settle for a box mix brownie?
Fudgy, rich goodness: These brownies deliver a decadent chocolate experience that you won’t find in any store-bought mix.
Simple ingredients: With just a handful of pantry staples, whipping up these treats is as easy as it gets, making them perfect for beginner bakers.
Quick prep time: You’ll have these delicious brownies made and baking in no time—ideal for last-minute cravings or surprise guests.
Crowd-pleaser: Whether it’s a family dinner or a potluck, these brownies are sure to impress everyone. Serve them warm with a scoop of ice cream for an extra touch!
Endless variations: Feel free to customize them with nuts, caramel drizzles, or extra chocolate chips for a unique twist. This flexibility ensures that your brownies can adapt to any occasion or mood!
With our expert tips and simple instructions, you’ll be a brownie-making pro in no time!
Brownie Ingredients
For the Batter
• Butter – Adds richness and moisture; use unsalted butter for better control over seasoning.
• Brown Sugar – Provides sweetness and a chewy texture; choose light or dark based on your taste preference.
• Granulated Sugar – Enhances sweetness and helps with the brownie’s structure; avoid substitutions unless reducing sweetness.
• Eggs – Provide necessary structure and moisture; ensure they’re at room temperature for better mixing.
• All-Purpose Flour – Gives structure to the brownies; for a gluten-free alternative, you can use a blend of almond flour or gluten-free flour.
• Cocoa Powder – Imparts a deep, rich chocolate flavor; always opt for unsweetened cocoa powder for the best results.
• Salt – Balances sweetness and enhances flavor; sea salt can offer a delightful twist.
• Semisweet Mini Chocolate Chips – Adds delicious melted chocolate pockets; swap for dark chocolate chips if you prefer a richer taste, or omit for fewer calories.
These simple brownie ingredients come together to create a dessert that truly stands out from any box mix!
Step‑by‑Step Instructions for Better Than Box Mix Brownies
Step 1: Preheat the Oven
Begin by preheating your oven to 350°F (175°C). While it warms up, take a moment to lightly grease a 9×13 inch baking dish with butter or non-stick spray. This ensures that your brownies will release easily once baked, allowing for those perfectly fudgy squares to shine.
Step 2: Mix the Sugars and Butter
In a large mixing bowl, combine your melted unsalted butter with brown sugar and granulated sugar. Whisk these together until the mixture is smooth and fully incorporated, about 1–2 minutes. The blend should be slightly glossy, indicating that the sugars are well combined with the butter.
Step 3: Incorporate the Eggs
Add the eggs one at a time into the sugar and butter mixture. Mix thoroughly after each addition, ensuring that each egg is fully absorbed before adding the next. This step is crucial for creating a rich, fudgy brownie texture that will hold together beautifully.
Step 4: Combine Dry Ingredients
In a separate bowl, sift together all-purpose flour, unsweetened cocoa powder, and a pinch of salt. Gradually add this dry mixture to the wet ingredients, stirring gently until just combined. Be careful not to overmix, as this will help preserve the moist and fudgy consistency you desire in your brownies.
Step 5: Fold in the Chocolate Chips
Using a spatula, gently fold in the semisweet mini chocolate chips until evenly distributed throughout the batter. The goal here is to create pockets of melted chocolate bliss in your brownies, making every bite a decadent experience.
Step 6: Transfer the Batter
Pour the brownie batter into your pre-greased baking dish and use a spatula to spread it evenly across the surface. Ensure the edges are smooth and that you have an even layer, which will bake uniformly. This preparation is key to achieving that perfect fudgy brownie texture.
Step 7: Bake to Perfection
Place the baking dish in the preheated oven and bake for 20-35 minutes. Keep an eye on the brownies; watch for the edges to set while the center remains slightly soft. To test for doneness, insert a toothpick in the center—it should come out with fudgy crumbs, not wet batter.
Step 8: Cool and Cut
Once baked, remove the brownies from the oven and allow them to cool in the pan at room temperature for at least 20 minutes. This cooling period is essential for achieving neat cuts. When ready, slice them into squares to enjoy your homemade brownies that definitely outshine any box mix!
Expert Tips for Better Than Box Mix Brownies
-
Prevent Dryness: Always check brownies towards the end of baking—look for moist crumbs on the toothpick instead of completely dry. This helps maintain that fudgy brownie texture.
-
Room Temperature Eggs: Make sure your eggs are at room temperature to ensure easy incorporation into the batter, leading to a smoother, richer final product.
-
Don’t Overmix: Gently mix the dry ingredients into the wet until just combined. Overmixing can result in dense brownies instead of light and fudgy ones.
-
Bake in the Right Dish: Use a metal baking pan for more evenly cooked brownies. Glass pans can change baking times, leading to unexpected results.
-
Experiment with Flavors: Feel free to add nuts, caramel swirls, or even a hint of espresso for a deeper chocolate flavor—customizing your brownies will make them even more special!
Embrace these tips and elevate your brownie game, leaving those box mixes behind!
What to Serve with Better Than Box Mix Brownies?
Indulging in these delectable brownies opens the door to a world of delightful pairings that elevate any dessert experience.
-
Vanilla Ice Cream: A classic companion, it adds creamy sweetness and a cool contrast to the rich, fudgy brownies. The melting ice cream drizzles into the brownies, creating a harmoniously satisfying treat.
-
Fresh Berries: Strawberries or raspberries bring a pop of tartness, enhancing the chocolate flavor while offering a refreshing bite. The vibrant color of fresh berries also adds an aesthetic touch to your dessert plate.
-
Espresso or Coffee: A warm cup of espresso complements the deep chocolate taste, creating a perfect balance of flavors. The bitterness of coffee contrasts beautifully, making each brownie bite even more enjoyable.
-
Whipped Cream: Light and airy, it adds a fluffy texture that contrasts with the dense brownies. A dollop of whipped cream can elevate presentation and taste without overwhelming the chocolatey goodness.
-
Chocolate Sauce: Drizzling over the brownies intensifies their chocolaty flavor. It’s an indulgent addition, perfect for chocolate lovers who crave an extra decadent touch.
-
Caramel Sauce: For a sweet and salty contrast, a drizzle of caramel perfectly enhances the fudgy texture. This combination creates an irresistible flavor explosion in every bite.
-
Chopped Nuts: Walnuts or pecans add crunch to the rich softness of the brownies. The added nutty flavor gives a delightful twist, making each square even more pleasurable.
-
Mint Chocolate Chip Ice Cream: This refreshing flavor harmonizes cool mint with chocolate richness, delivering a festive twist that brightens up the classic brownie experience.
Explore these delightful pairings, and elevate your brownie moment to unforgettable heights!
Make Ahead Options
These Better Than Box Mix Brownies are perfect for meal prep enthusiasts! You can mix the dry ingredients (flour, cocoa powder, and salt) and store them in an airtight container for up to 3 days ahead of time. This not only saves you precious moments on busy baking days but also ensures that your brownies come together in a flash. Additionally, you can prepare the wet ingredients by whisking together the butter and sugars, then refrigerate them for up to 24 hours before adding the eggs. When you’re ready to bake, simply combine the prepped mixtures and follow the baking instructions. This way, you’ll still enjoy fudgy, rich brownies that taste just as delicious with minimal effort.
How to Store and Freeze Brownies
Fridge: Keep brownies in an airtight container for up to 1 week. This helps maintain their fudgy texture while keeping them fresh and delicious.
Freezer: For longer storage, wrap each brownie individually in plastic wrap and place them in a freezer-safe bag. They can be frozen for up to 3 months without losing their rich flavor.
Thawing: To enjoy your frozen brownies, simply remove them from the freezer and let them thaw in the fridge overnight. For a warm treat, microwave for 10-15 seconds.
Keeping Fresh: To prevent freezer burn, ensure your brownies are well-wrapped before freezing. Proper storage is key to preserving the delightful fudgy goodness of these homemade brownies!
Brownie Variations & Substitutions
Feel free to take these fudgy brownies on a delicious journey with your own personal touches that will tantalize your taste buds!
-
Gluten-Free: Swap all-purpose flour with almond flour or a gluten-free flour blend to enjoy a gluten-free version without sacrificing flavor.
-
Nutty Twist: Add ½ cup of your favorite chopped nuts, like walnuts or pecans, for an added crunch and nutty richness. The contrast between the smooth brownie and the crunchy nuts creates a delightful texture!
-
Extra Chocolate: Replace semisweet mini chocolate chips with dark chocolate chips for a more decadent chocolate experience. You’ll love the intensified flavor in every bite!
-
Flavor Infusion: Incorporate ½ teaspoon of espresso powder into the batter to enhance the chocolate flavor without making the brownies taste like coffee. This small addition will elevate your brownies to a whole new level!
-
Sweet Swirls: Drizzle melted caramel or peanut butter on top of the brownie batter before baking. The sweet ribbons create an irresistible flavor experience and an enticing presentation.
-
Minty Fresh: Add 1 teaspoon of peppermint extract to the batter for a refreshing twist. This vibrant flavor is perfect for the holidays or any special occasion!
-
Spicy Kick: Stir in a pinch of cayenne pepper or chili powder for a surprising subtle heat that pairs beautifully with the sweet chocolate. It’s a delightful contrast that will excite your palate!
-
Fruit Infusion: Mix in ½ cup of fresh raspberries or chopped strawberries for a fruity twist. Their natural sweetness and acidity will brighten up the fudgy goodness of your brownies.
With these daring variations, your brownie adventure is just beginning, making each batch uniquely yours!
Better Than Box Mix Brownie Recipe FAQs
How do I know if my ingredients are ripe or fresh?
Absolutely! When using butter, it should be creamy and smooth, without any discoloration. For eggs, they should be firm and not past their expiration date. Brown sugar should feel moist and clump together when squeezed, while all-purpose flour should be stored in a cool, dry place and be free from any lumps or odors.
What’s the best way to store leftover brownies?
To keep your brownies fresh, place them in an airtight container in the fridge for up to 1 week. If you prefer them warm, just take them out and let them come to room temperature—no one can resist a fudgy brownie!
Can I freeze brownies for later?
Certainly! To freeze brownies, wrap each piece individually in plastic wrap and place them in a freezer-safe bag. This way, they can last up to 3 months while retaining that delicious fudgy texture. When you’re ready to indulge, just thaw them overnight in the fridge or warm them in the microwave for 10-15 seconds for the best experience.
What should I do if my brownies come out too dry?
If your brownies turn out dry, it’s likely due to overbaking. Aim for moist crumbs on the toothpick test; they should not be completely dry. You could also keep an eye on them, as every oven can be slightly different; sometimes, a few minutes less in the oven makes all the difference. If they are already baked, try serving them warm and topping with ice cream or whipped cream—this adds moisture and makes them delightful!
Are these brownies suitable for people with allergies?
These brownies contain gluten due to the all-purpose flour and dairy from the butter. However, you can make them gluten-free by substituting with a gluten-free flour blend and use dairy-free margarine to accommodate those with dairy allergies. Always check labels on any chocolate chips to avoid hidden allergens!
What can I do if I want to customize my brownie recipe?
Very! There are endless possibilities to make these brownies your own. Try adding chopped nuts for a crunchy texture, or swirl in some caramel or peanut butter just before baking. For those who love extra chocolate, simply add a bit more cocoa powder or use different varieties of chocolate chips. It’s all about your personal flair!

Fudgy Brownies That Outshine Any Box Mix Recipe Every Time
Ingredients
Equipment
Method
- Preheat your oven to 350°F (175°C) and lightly grease a 9x13 inch baking dish.
- Combine melted butter, brown sugar, and granulated sugar in a large mixing bowl and whisk until smooth.
- Add eggs one at a time, mixing thoroughly after each addition.
- In a separate bowl, sift together flour, cocoa powder, and salt. Gradually add to wet ingredients, stirring gently until combined.
- Fold in the mini chocolate chips until evenly distributed.
- Pour the batter into the greased dish and spread it evenly.
- Bake for 20-35 minutes, testing for doneness with a toothpick.
- Allow brownies to cool in the pan for at least 20 minutes before slicing into squares.
Leave a Reply