
As I stood in my kitchen, the aroma of dill reached out like a warm hug, wrapping itself around me and instantly awakening my taste buds. This Quick Dill Pickle Flavored Salt is my secret weapon for transforming ordinary meals into extraordinary culinary experiences. With just a handful of accessible ingredients and a prep time that barely scratches the clock at 30 minutes, this zesty concoction isn’t just easy to whip up—it’s bound to delight pickle lovers everywhere! Whether you sprinkle it on grilled meats, toss it with roasted veggies, or elevate your hard-boiled eggs, this flavorful gem effortlessly adds a burst of tangy joy to your dishes. Curious about how to take your cooking to the next level? Let’s dive into this pickle-perfect adventure!
Why Will You Love Dill Pickle Salt?
Unique Flavor: This Dill Pickle Flavored Salt brings an irresistible zest to any dish! Quick and Easy: With just a few ingredients and a 30-minute prep time, it’s perfect for busy home cooks. Versatile Usage: Whether seasoning grilled chicken or adding flair to roasted veggies, its uses are endless. Diet-friendly: Gluten-free, keto, and vegan, it fits into many dietary lifestyles. Crowd-Pleasing: Friends and family will rave about your culinary creativity! Add a sprinkle to your Churro Saltine Toffee for a sweet twist, or make it a staple alongside your favorite dishes!
Dill Pickle Flavored Salt Ingredients
For the Salt Mixture
• Kosher Salt – the essential base ingredient, delivering that satisfying salty burst.
• Pickle Brine – adds moisture and an authentic dill flavor; feel free to swap with any pickle juice for a unique twist.
• Dried Dill Weed – enhances the classic dill flavor; if you prefer a fresher taste, adjust the amount of fresh dill accordingly.
This easy-to-make Dill Pickle Flavored Salt will elevate your favorite snacks and meals with its tangy delight!
Step‑by‑Step Instructions for Dill Pickle Flavored Salt
Step 1: Combine Ingredients
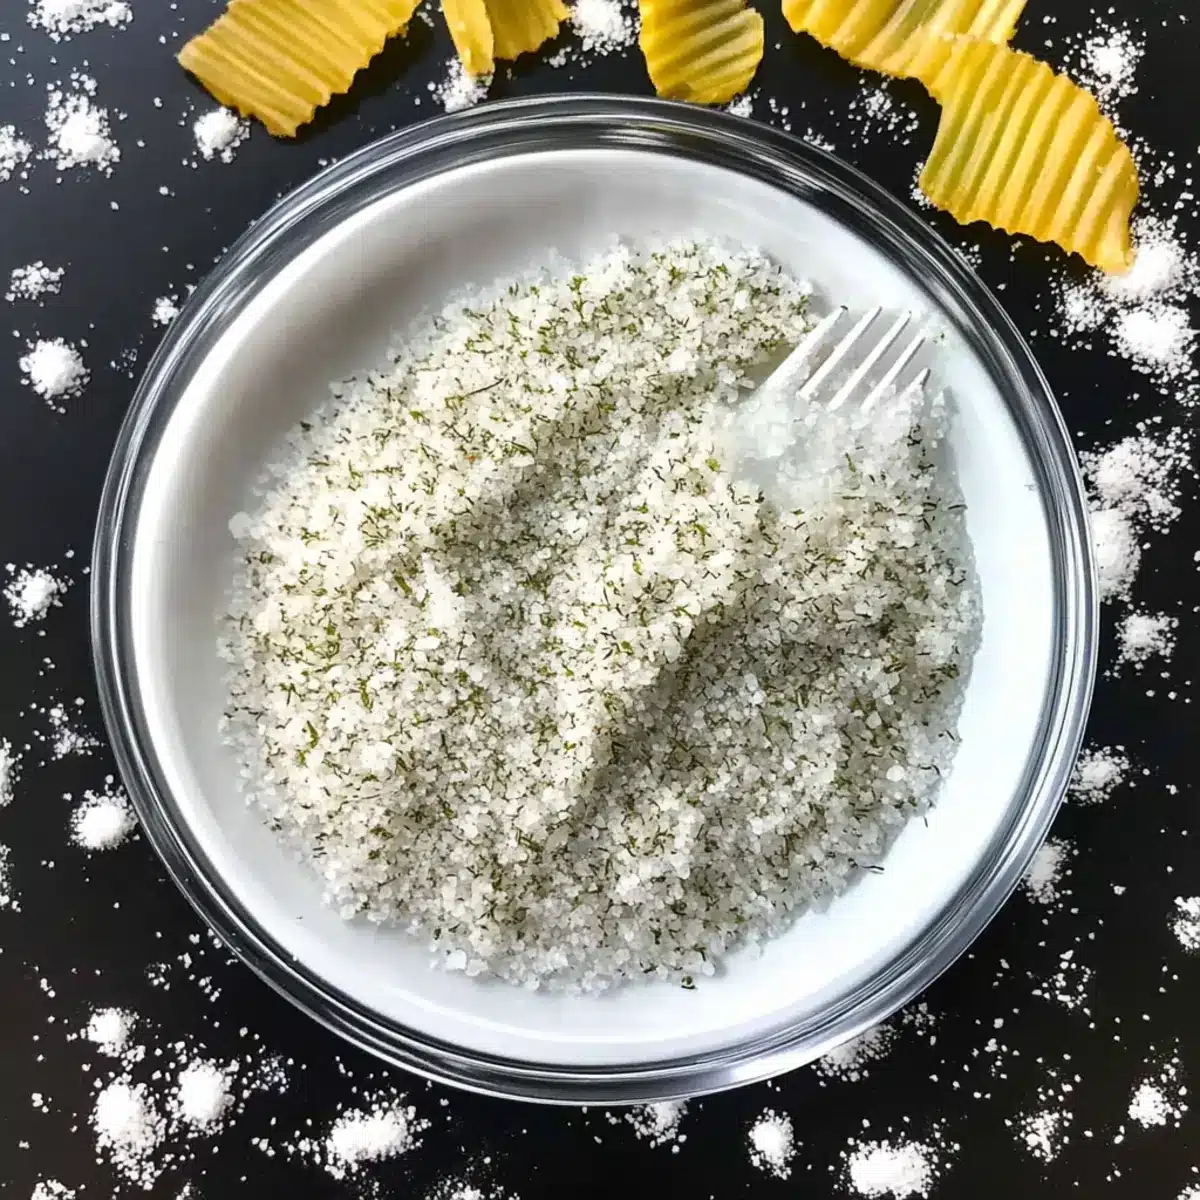
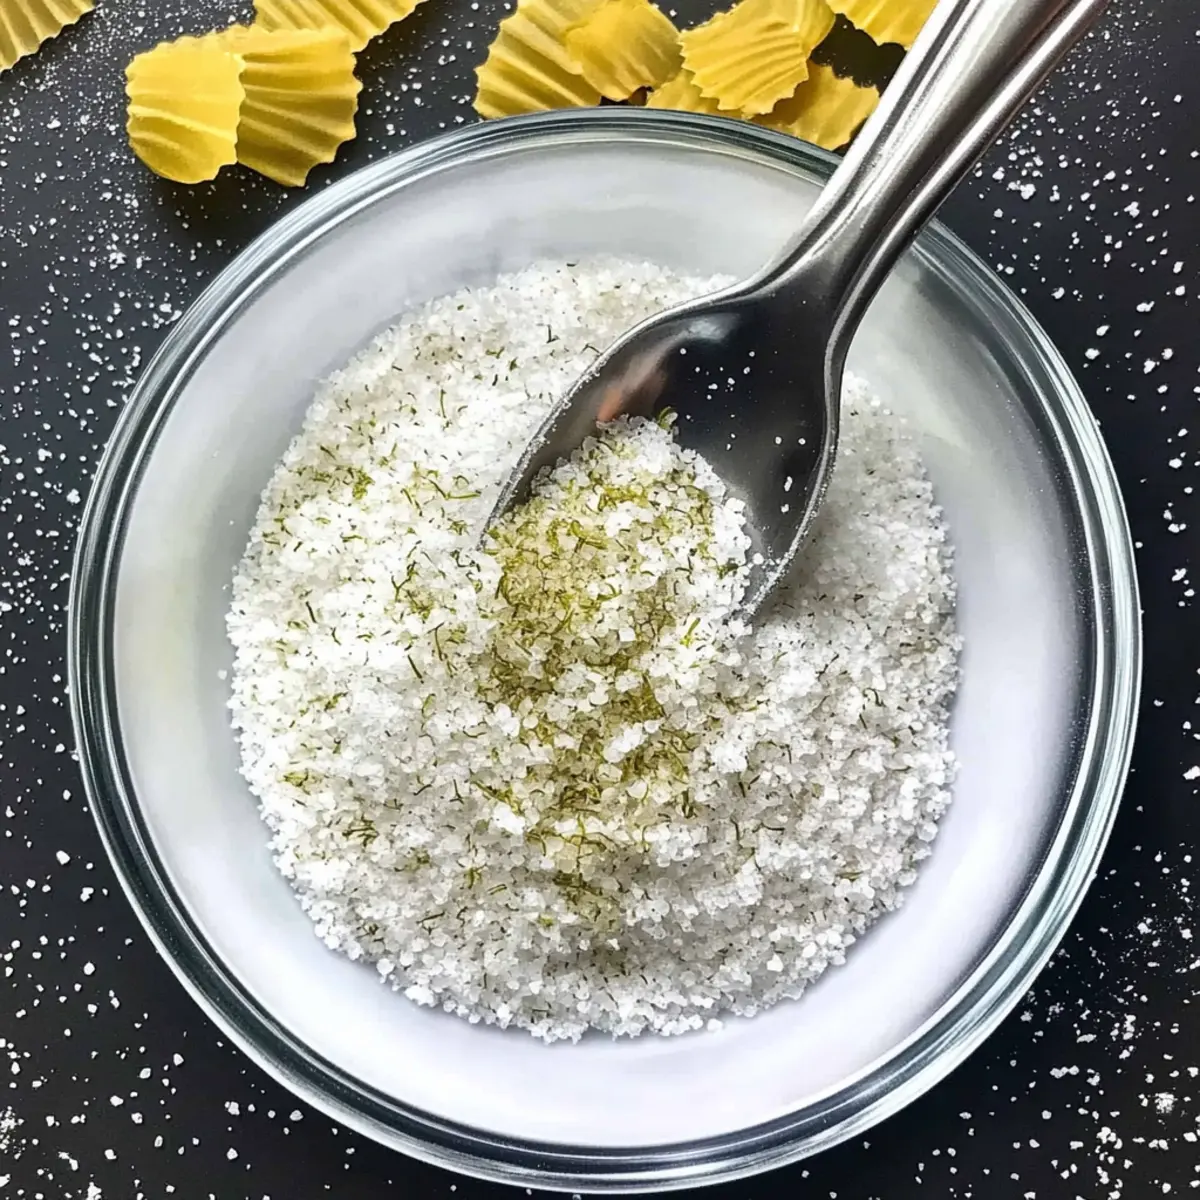
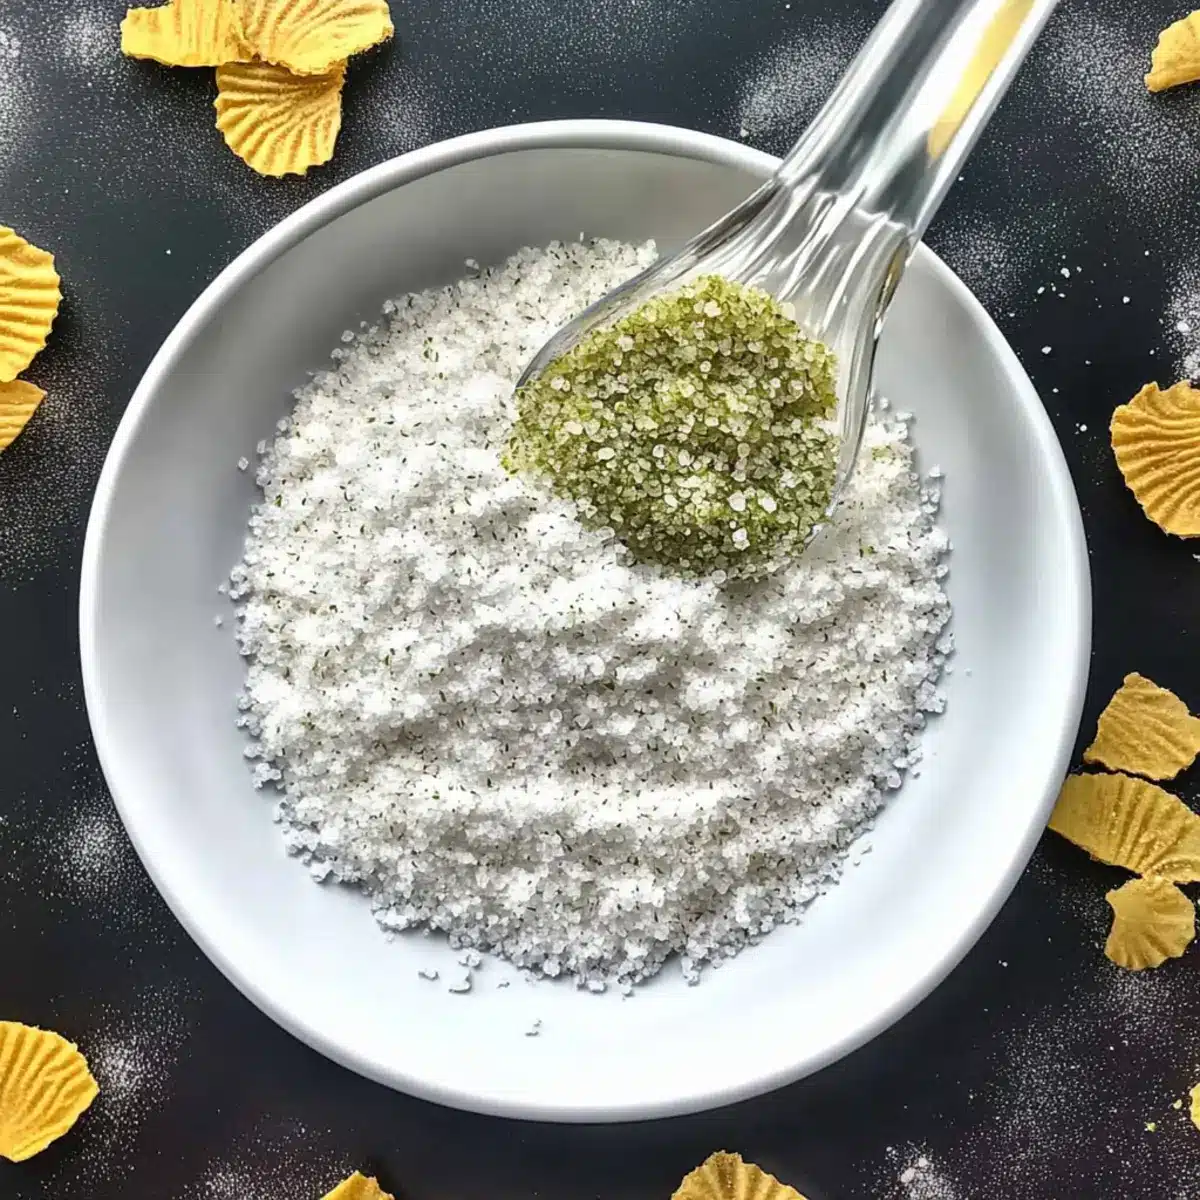
In a small food processor, add a cup of kosher salt, a quarter cup of pickle brine, and two tablespoons of dried dill weed. Pulse the mixture until everything is well blended and slightly wet, which should take about 30 seconds. You’ll know it’s ready when you see a homogenous mix with flecks of green dill throughout the salt.
Step 2: Prepare for Drying
Spread the damp dill pickle flavored salt mixture evenly onto a baking sheet lined with parchment paper. Ensure it forms a thin layer for quicker drying. Preheat your oven to the lowest setting, around 170°F (77°C), and place the baking sheet inside. Let it bake for approximately 15-20 minutes, or until the salt feels dry to the touch but remains slightly warm.
Step 3: Cool and Break Up Clumps
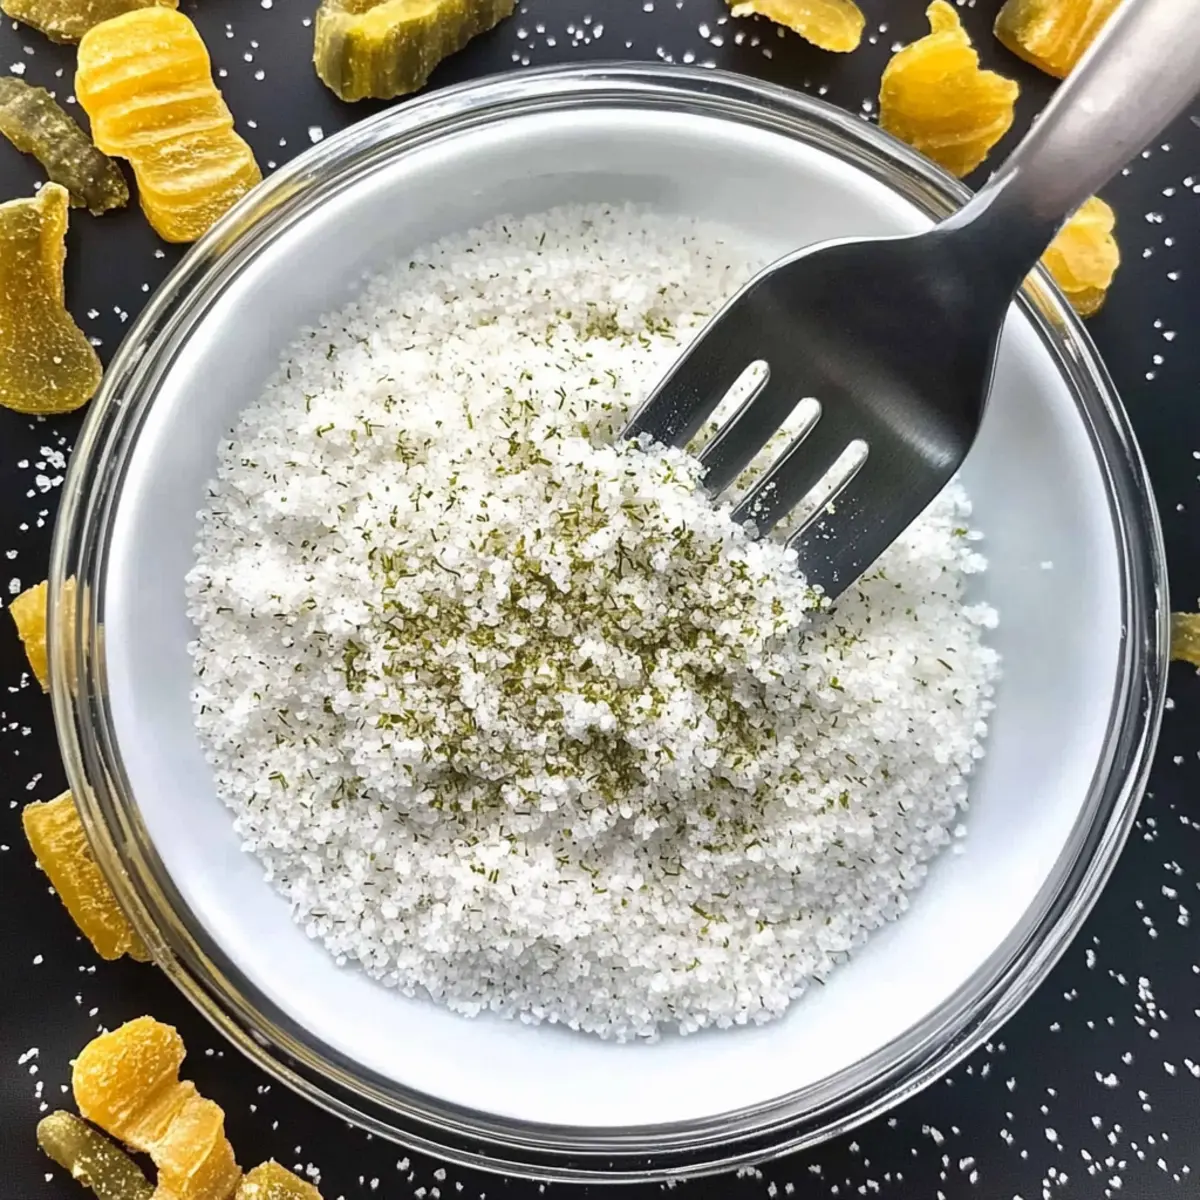
Once the mixture is dry, remove it from the oven and allow it to cool for about 10 minutes. This cooling period helps any residual moisture evaporate fully. After cooling, use your hands to break up any clumps, ensuring a light and fluffy texture as you handle the dill pickle flavored salt.
Step 4: Store for Freshness
Transfer the freshly made dill pickle flavored salt into an airtight container, ensuring it’s completely cooled to prevent condensation. Store it in a cool, dry place like your pantry or kitchen cupboard. It can last for several months, perfect for adding that zesty touch to your culinary creations whenever you please.
Dill Pickle Flavored Salt Variations
Embrace your creativity and adapt this Dill Pickle Flavored Salt to suit your taste buds or dietary needs!
-
Garlic Twist: Add a teaspoon of garlic powder for aromatic depth. The savory flavor enhances grilled dishes beautifully.
-
Onion Infusion: Mix in a teaspoon of onion powder for a mild sweetness. Together, they create a complex layer of flavor heavenly on roasted vegetables.
-
Spicy Kick: Substitute pickle brine with jalapeño brine for a zesty heat. This twist is perfect for those who crave a fiery flavor adventure!
-
Herb Medley: Combine dried dill weed with oregano or thyme for an herby flavor boost. This variation adds a delightful twist to your roasted meats and veggies.
-
Citrus Zing: Incorporate a teaspoon of lemon zest for an unexpected brightness. It’s a refreshing take that elevates the flavor profile of your dishes.
-
Smoky Charm: Add a touch of smoked paprika for depth. This smoky flavor pairs wonderfully with grilled meats, adding an extra dimension to your meals.
-
Sweet Charm: Mix in a pinch of sugar or brown sugar for a subtle sweetness. This captivating balance transforms the salt into a delightful sprinkle for your snacks.
-
Chili Heat: Stir in a bit of chili powder if you’re in the mood for an added kick. This simple twist elevates everything from popcorn to roasted potatoes.
Feel free to play with these variations and discover your new favorite blend! And while you’re enhancing flavors, don’t forget to try adding this to your Churro Saltine Toffee for a sweet and salty delight!
Make Ahead Options
These Dill Pickle Flavored Salt is a fantastic option for busy home cooks looking to save time! You can prepare the entire mixture and store it in an airtight container for up to 3 months. Simply combine the kosher salt, pickle brine, and dried dill weed as directed, then spread it on a baking sheet and dry it in the oven. For best results, allow the salt to cool completely before sealing it to prevent any moisture buildup, which helps maintain its freshness. When ready to enjoy, just grab your jar and sprinkle it on your favorite dishes for an instant burst of flavor – it couldn’t be easier!
How to Store and Freeze Dill Pickle Flavored Salt
Airtight Container: Transfer your Dill Pickle Flavored Salt to an airtight container to maintain its freshness; it can last several months if stored properly.
Cool, Dry Place: Keep the container in a cool, dry area away from direct sunlight to help preserve the flavors and prevent clumping.
Avoid Freezing: Freezing isn’t recommended for Dill Pickle Flavored Salt, as it could alter the texture and flavor profile.
Prevent Clumping: For extra protection against moisture, consider adding a pinch of uncooked rice into the container; this will help keep your flavored salt dry and fluffy.
Expert Tips for Dill Pickle Flavored Salt
Use a Food Processor: A small food processor ensures a uniform blend of ingredients, giving you a perfectly mixed Dill Pickle Flavored Salt without clumps.
Let Flavors Develop: For a richer taste, allow the salt to sit for a day or two before using; this lets all the flavors meld beautifully.
Store Properly: Keep your flavored salt in an airtight container with a pinch of uncooked rice to prevent clumping and maintain freshness for months.
Adjust to Taste: Feel free to experiment with the amount of dill or even add spices like garlic powder to customize your Dill Pickle Flavored Salt to your liking.
Monitor Drying Time: Check your salt regularly while it dries in the oven to prevent it from getting too brittle or overcooked. Adjust the time based on your oven’s actual temperature.
What to Serve with Quick Dill Pickle Flavored Salt
Transform your culinary creations into delightful experiences with these fantastic pairings.
-
Grilled Meats: Sprinkle on chicken or beef for a savory, tangy boost that highlights the smoky flavors of your grill. It’s a crowd-pleaser every time!
-
Roasted Vegetables: Toss veggies like zucchini and potatoes with olive oil and dill pickle salt before roasting for a bright and zesty side dish.
-
Hard-Boiled Eggs: A sprinkle of this salt elevates simple eggs to gourmet status, adding a unique twist to your breakfast or brunch table.
-
Salad Dressings: Mix it into your homemade dressings for a kick of flavor; this salt will turn a basic vinaigrette into something extraordinary.
-
French Fries: Dust over crispy fries for a mouthwatering pickle-flavored finish, making even the simplest snack feel gourmet.
-
Popcorn Delight: Shake some on freshly popped popcorn for an addictive, tangy treat that elevates movie night snacks to new heights.
-
Deviled Eggs: Incorporate it directly into your deviled egg mixture for a delightful pickle nuance that’s sure to impress at your next gathering.
-
Craft Cocktails: Rim cocktail glasses with dill pickle salt; it’s a fun way to add an unexpected zing to your drinks and elevate your hosting game.
Dill Pickle Flavored Salt Recipe FAQs
What type of salt should I use for Dill Pickle Flavored Salt?
I recommend using kosher salt as it provides the perfect salty foundation for this flavored salt. Its larger granule size helps the dill brine and other ingredients blend well while allowing for a delightful texture.
How should I store Dill Pickle Flavored Salt?
To keep your Dill Pickle Flavored Salt fresh, transfer it to an airtight container and store it in a cool, dry place, away from direct sunlight. When stored properly, it can last up to several months—perfect for seasoning your favorite dishes!
Can I freeze Dill Pickle Flavored Salt?
Freezing isn’t advised for Dill Pickle Flavored Salt as it may alter both its texture and flavor. Instead, I recommend making small batches that you can use over time. If you want to keep it fresh and clump-free, adding a pinch of uncooked rice in the container helps absorb any moisture.
How do I know if my dill is fresh enough?
Fresh dill should be vibrant green and fragrant, with no dark spots or wilting. If your dried dill weed appears dull or you smell anything musty, it’s best to start with a new batch to ensure your Dill Pickle Flavored Salt has the best flavor!
What should I do if my flavored salt clumps?
If your Dill Pickle Flavored Salt ends up clumping, simply break it apart with your fingers. If it’s persistently clumpy, make sure it’s stored in an airtight container with a pinch of uncooked rice. This tip helps to absorb excess moisture that can lead to clumping.
Can I modify the recipe to fit dietary restrictions?
Absolutely! This Dill Pickle Flavored Salt is naturally gluten-free and low-carb, making it suitable for various diets, including vegan and vegetarian. If you have allergies, ensure that your brine and other ingredients are free from any allergens. Feel free to get creative and customize the flavors as you like!
Zesty Dill Pickle Flavored Salt for Every Snack Lovers
Ingredients
Equipment
Method
- In a small food processor, add the kosher salt, pickle brine, and dried dill weed. Pulse until everything is well blended and slightly wet.
- Spread the damp mixture evenly onto a baking sheet lined with parchment paper and preheat your oven to about 170°F (77°C).
- Bake for approximately 15-20 minutes, or until the salt feels dry but slightly warm.
- Remove from the oven and let it cool for about 10 minutes, then break up any clumps.
- Transfer the salt into an airtight container and store in a cool, dry place.
Leave a Reply