
As I stood in my kitchen, the sweet scent of freshly baked sponge filled the air, instantly transporting me back to sun-drenched afternoons spent enjoying treats with friends. Nothing says “Australian nostalgia” quite like Classic Australian Jelly Cakes, with their fluffy sponge, delightful Chantilly cream, and vibrant jelly coating that sparkles like a childhood memory. This simple recipe isn’t just a crowd-pleaser; it’s also a whimsical addition to any party or special occasion, making it the perfect choice for afternoon tea or a baby shower. Plus, with a little time and care, you can create a visually stunning dessert that will impress your guests and evoke warm memories. Are you ready to take a bite out of nostalgia and learn how to whip up these delightful treats?
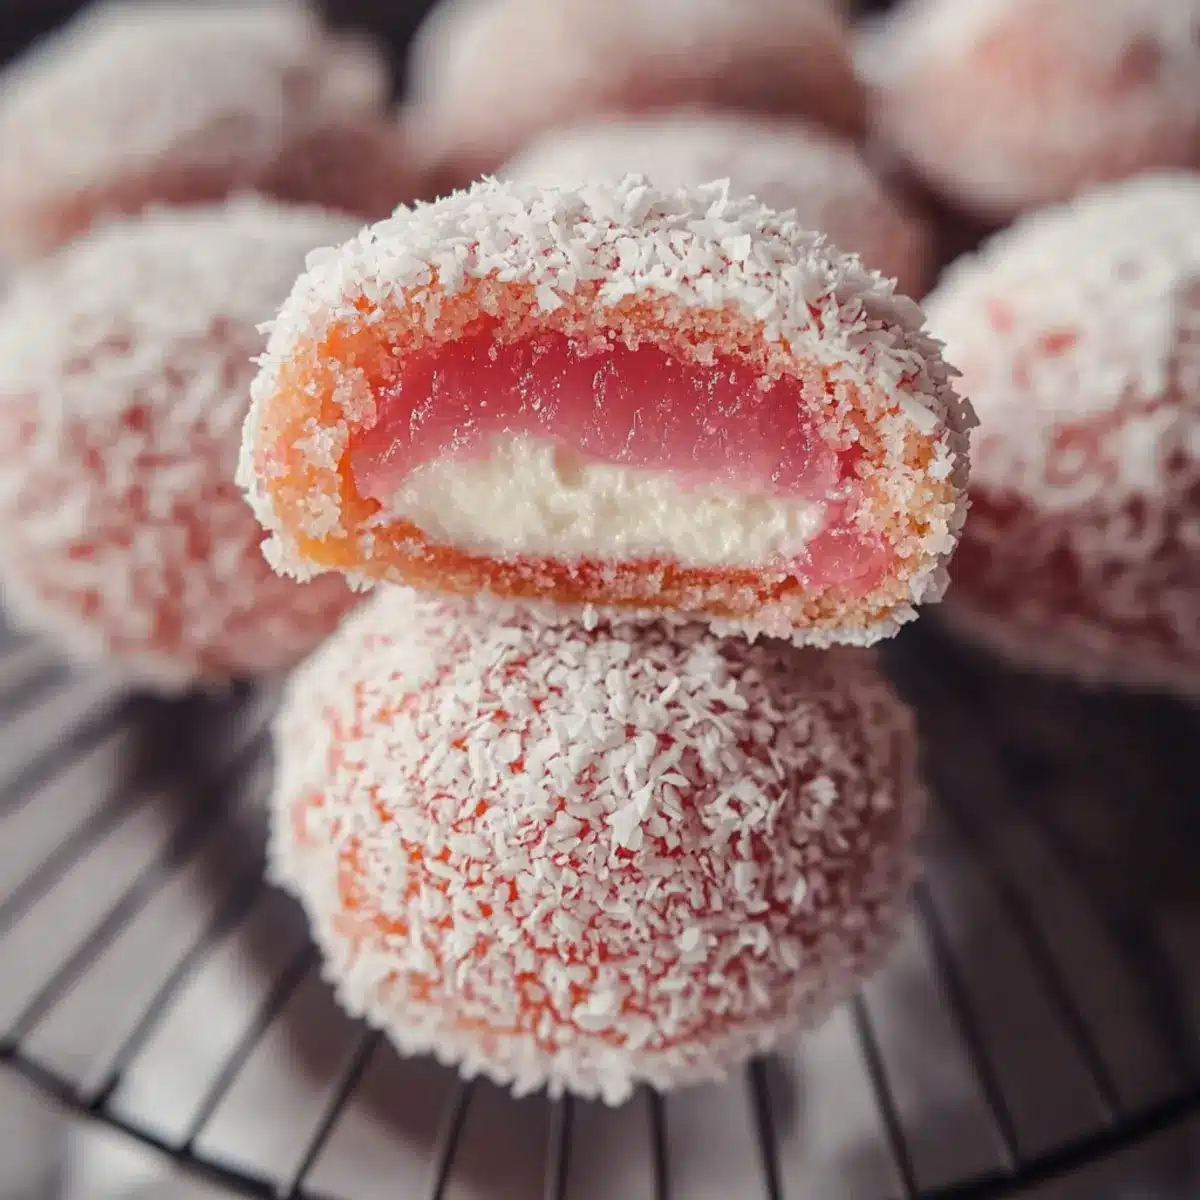
Why Are Jelly Cakes So Loved?
Nostalgic Delight: Nothing brings back childhood memories like these adorable Classic Australian Jelly Cakes, perfect for afternoon tea gatherings.
Simple to Make: With just a few accessible ingredients, you can craft these delightful treats without a fuss.
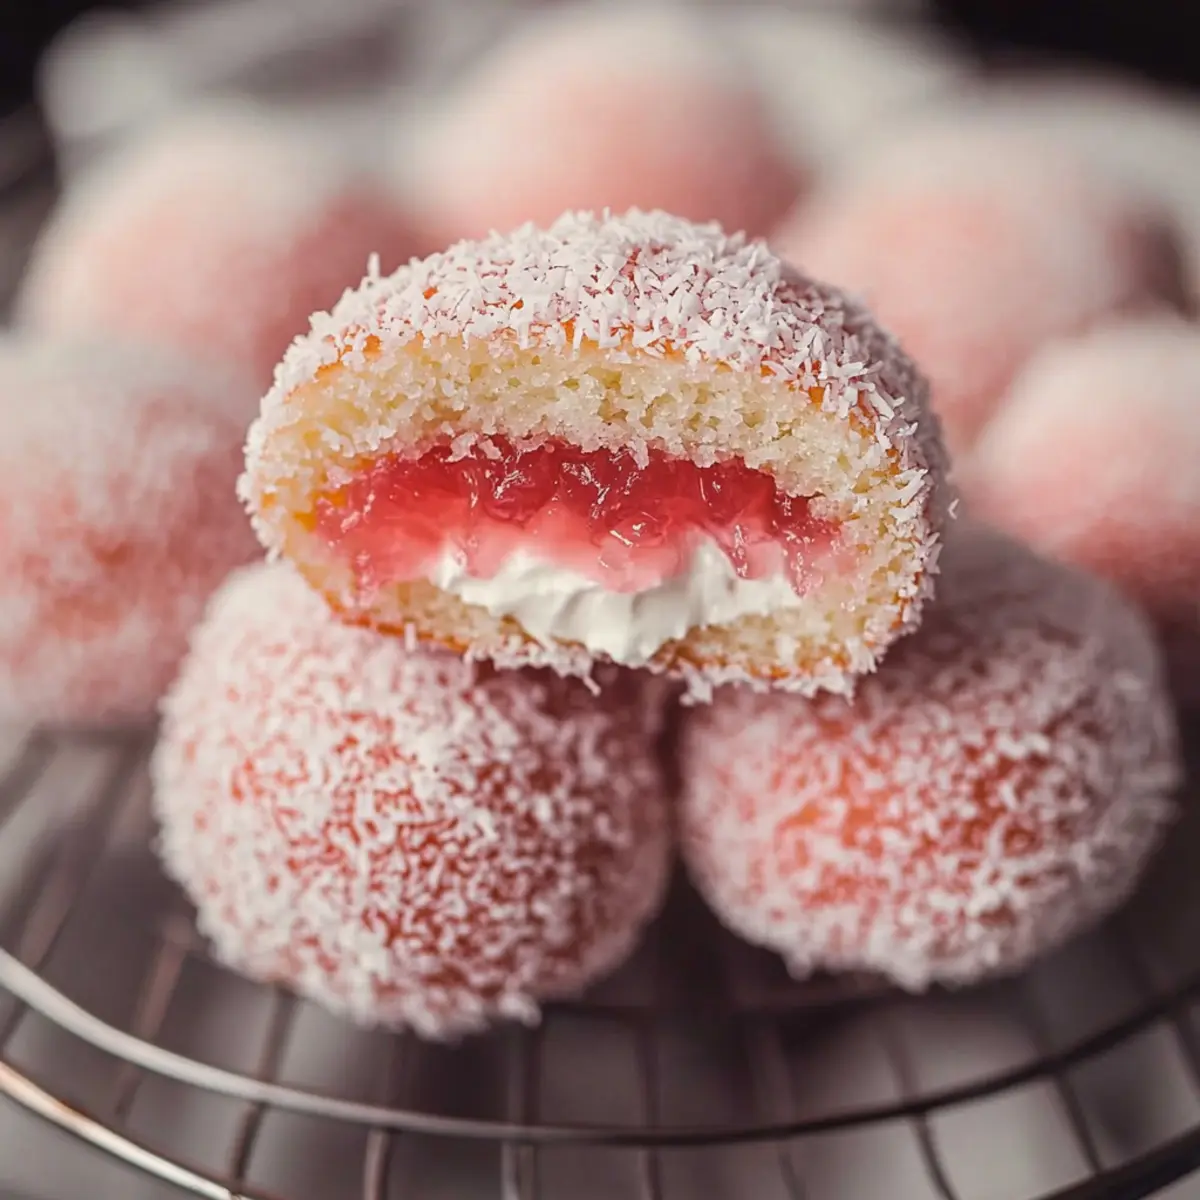
Visual Appeal: The striking jelly coating and snowy coconut garnish make these cakes not only delicious but stunning on any dessert table.
Versatile Fun: Customize them with different jelly flavors or add festive sprinkles for various occasions, ensuring they fit perfectly at any event.
Crowd-Pleasing Flavor: With light sponge and creamy filling, these cakes are sure to impress your guests, just like Hot Chocolate Cupcakes would!
Jelly Cakes Ingredients
For the Sponge Cakes
• Butter (126g) – Adds richness and moisture to the cakes; make sure it’s at room temperature for easier mixing.
• Caster Sugar (100g) – Sweetens the sponge while helping create a light texture; can be substituted with granulated sugar if needed.
• Eggs (2, lightly beaten) – Provide structure and moisture; ensure they are at room temperature for better incorporation.
• Vanilla Extract (1 tsp) – Enhances the cake’s flavor; use pure vanilla extract for the best taste.
• Self-Raising Flour (200g) – The primary dry ingredient that gives the cake its rise; substitute with all-purpose flour and baking powder if unavailable.
• Milk (125ml) – Adds necessary moisture; ensure it’s at room temperature; you can use non-dairy milk for alternatives.
For the Jelly Coating
• Raspberry Jelly Crystals (85g, 1 pkt) – Provides the distinctive jelly coating and flavor; feel free to experiment with other jelly flavors for variety.
• Boiling Water (1 cup) – Dissolves the jelly crystals for a smooth coating.
• Cold Water (1 cup) – Helps set the jelly to the perfect consistency.
For the Filling
• Chantilly Cream (1 cup) – Adds a rich, fluffy filling; you can substitute with whipped coconut cream for a non-dairy option.
For the Coating
• Desiccated Coconut (120g, 1½ cups) – Coats the jelly cakes, providing delightful texture and appearance that complements the jelly cakes beautifully.
Step‑by‑Step Instructions for Classic Australian Jelly Cakes
Step 1: Prepare Jelly Coating
Begin by dissolving 85g of raspberry jelly crystals in 1 cup of boiling water. Stir the mixture until the crystals are completely dissolved, then add 1 cup of cold water. Refrigerate the jelly for 1-2 hours, or until it thickens to the consistency of a syrup. This jelly coating will later give your classic Australian Jelly Cakes their delightful sweetness and vibrant color.
Step 2: Make Sponge Cakes
Preheat your oven to 180°C (350°F) while you prepare the sponge batter. Grease your patty pans and set them aside. In a large mixing bowl, cream together 126g of softened butter and 100g of caster sugar until the mixture is light and fluffy. Gradually add 2 lightly beaten eggs and 1 tsp of vanilla extract, mixing well after each addition to ensure everything is incorporated smoothly.
Step 3: Combine Dry Ingredients
Sift in 200g of self-raising flour to the butter mixture, alternating with 125ml of room-temperature milk. Gently fold the flour and milk into the batter until just combined—be careful not to overmix. You want your mixture to be smooth and airy for the best texture. Spoon the batter evenly into your prepared patty pans, filling each about two-thirds full.
Step 4: Bake the Cakes
Place the filled patty pans in your preheated oven and bake for around 15 minutes, or until they turn golden brown and spring back when lightly pressed. Keep an eye on your classic Australian Jelly Cakes to avoid overbaking. Once done, remove them from the oven and let them cool in the pans for a few minutes before transferring to a wire rack to cool completely.
Step 5: Trim and Level Cakes
Once your sponge cakes are cooled completely, it’s time to level them off. Using a serrated knife, gently trim the domes from the tops of the cakes to create an even surface. This will allow for better stacking later when assembling your classic Australian Jelly Cakes. Set the cakes aside after trimming, ready for their creamy filling.
Step 6: Prepare Chantilly Cream
In a medium bowl, whip 1 cup of chilled cream with 2 tbsp of caster sugar and 1 tsp of vanilla extract until soft peaks form. The cream should be thick enough to hold its shape but still fluffy. This delicious Chantilly cream will provide a rich filling to your classic Australian Jelly Cakes, ensuring each bite is creamy and delightful.
Step 7: Assemble the Cakes
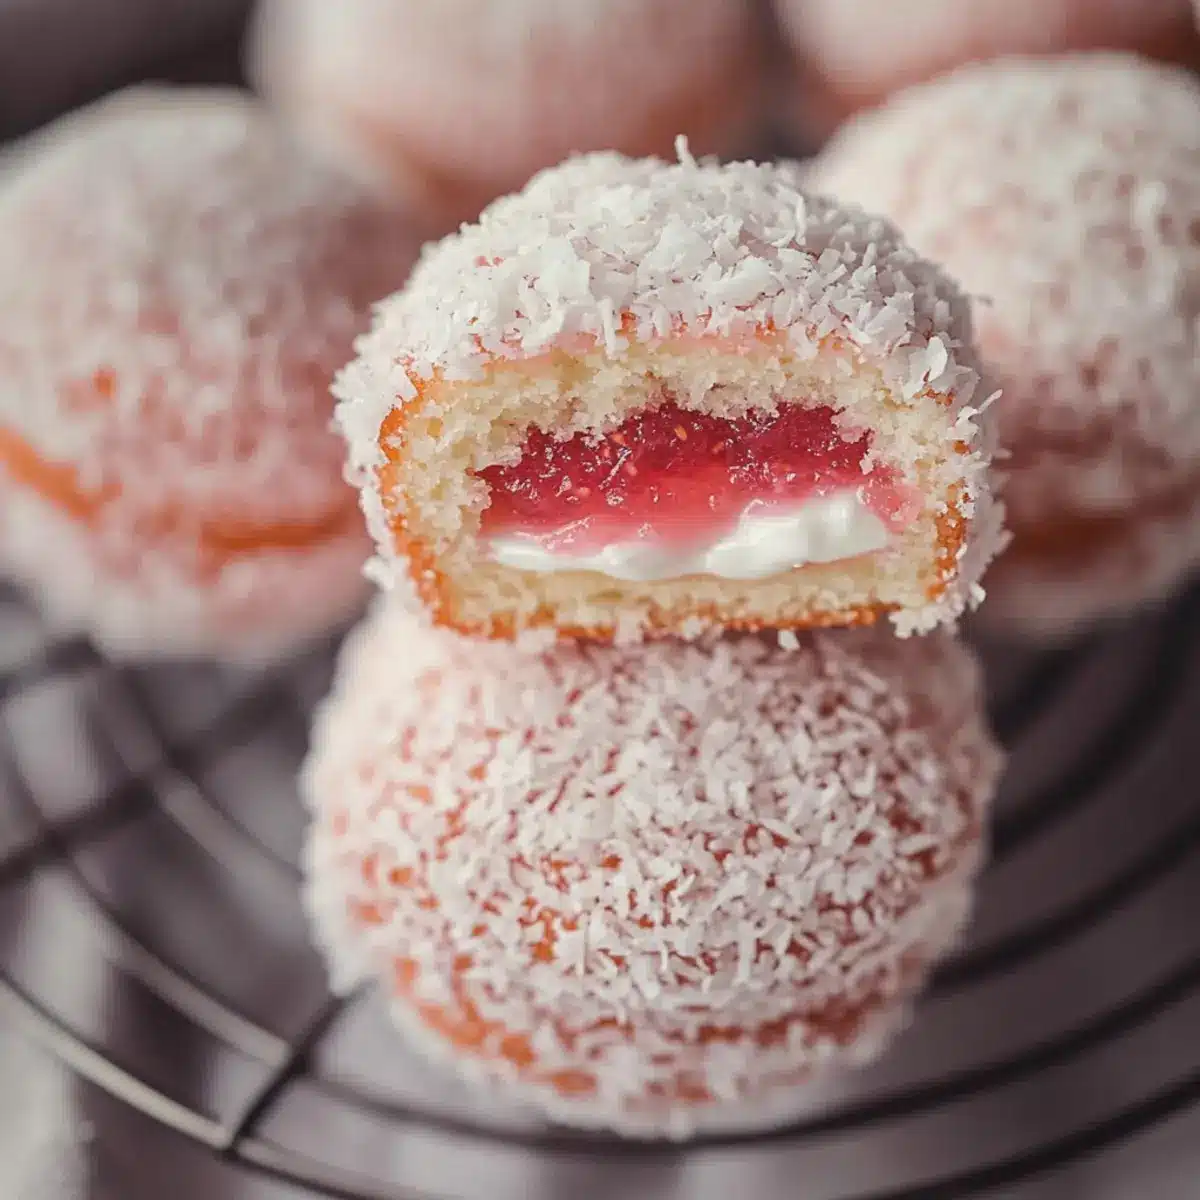
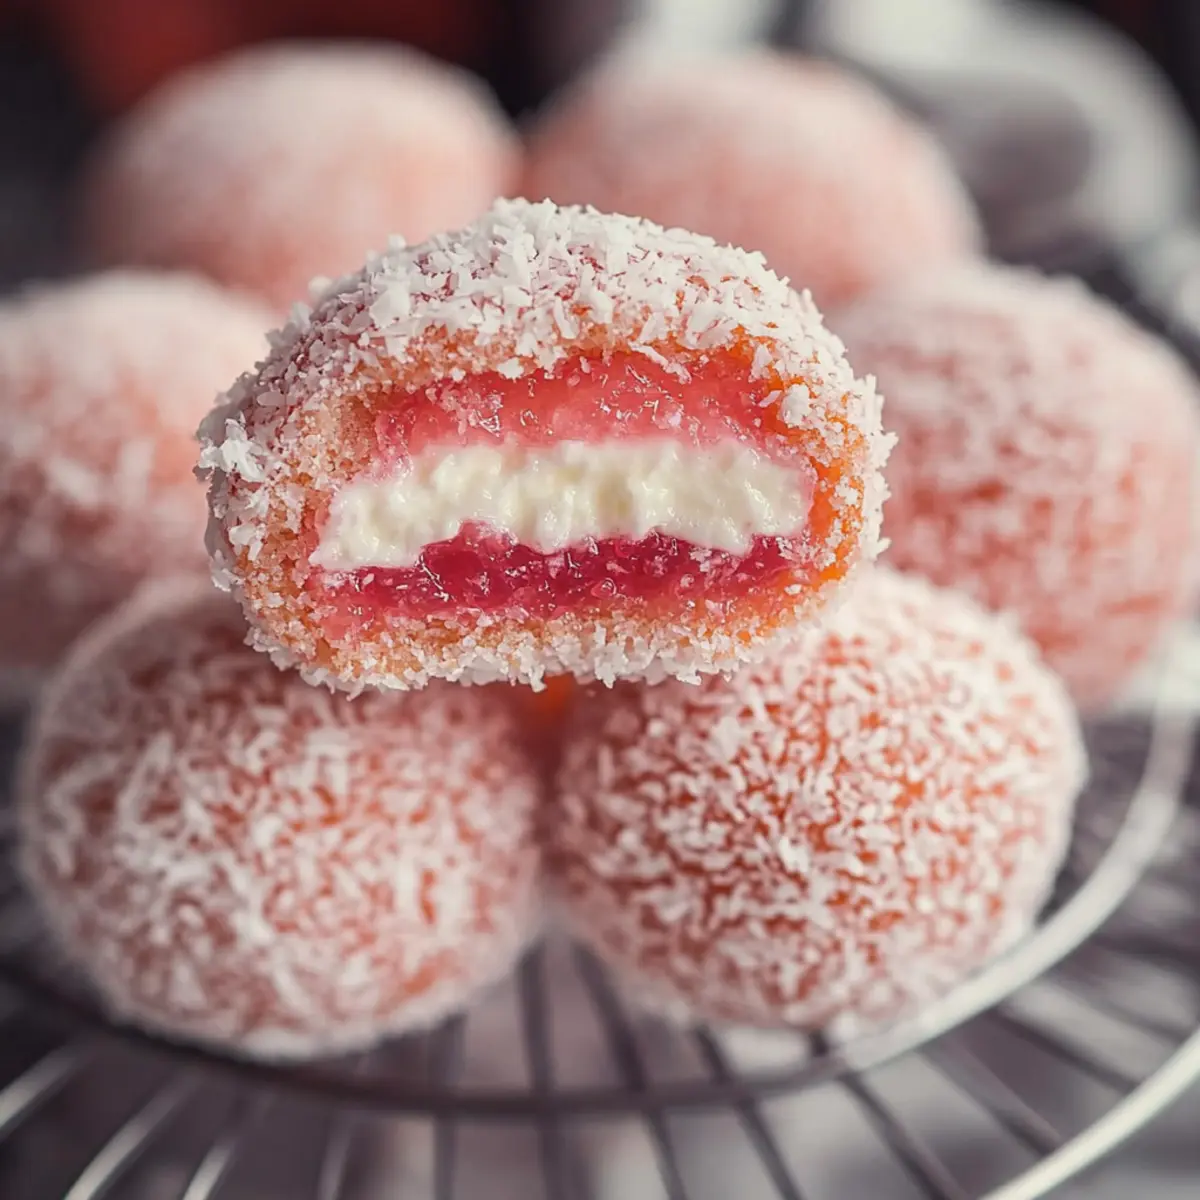
Take each leveled sponge cake and dip it gently in the thickened jelly coating, allowing any excess to drip off. Next, roll the jelly-coated cakes in 120g of desiccated coconut for a snowy appearance. Once coated, pipe or spread a generous layer of Chantilly cream between two of the cakes, creating sweet and creamy little sandwiches that embody the charm of classic Australian Jelly Cakes.
Step 8: Chill and Serve
After assembling your Jelly Cakes, place them in the refrigerator for at least 30 minutes to set the jelly and firm up the cream. This step is crucial for the flavors to meld beautifully. Once ready, serve these nostalgic treats at your afternoon tea or special occasion, and relish in their delightful presentation and taste.
Expert Tips for Jelly Cakes
- Jelly Consistency: Check that the jelly is partially set before dipping the cakes; this ensures a smooth coating that adheres well without making a mess.
- Room Temperature Ingredients: Always use room-temperature butter and eggs; this helps create a lighter sponge cake, resulting in a fluffier texture for your Jelly Cakes.
- Even Layers: Trim the domes off the cooled sponge cakes for uniformity, making them easier to stack and ensuring each bite is filled with cream.
- Coconut Coating: Roll the dipped cakes in desiccated coconut right after jelly coating for better adhesion; this step adds delightful crunch and visual appeal.
- Same-Day Serving: For the best flavor and texture, serve Jelly Cakes on the same day they are assembled; the cake may absorb moisture from the jelly over time.
Make Ahead Options
These Classic Australian Jelly Cakes are perfect for meal prep, allowing you to streamline your dessert-making process! You can prepare the sponge cakes up to 24 hours in advance—simply bake, cool, and store them in an airtight container at room temperature. The Chantilly cream can also be whipped and refrigerated for the same timeframe, just be sure to keep it well-covered to maintain its texture. For the jelly coating, you can prepare it up to 3 days ahead; keep it covered in the fridge until you’re ready to dip the cakes. When it’s time to serve, just assemble the cakes by dipping them in jelly, rolling in coconut, and filling with cream, and you’ll enjoy deliciously nostalgic treats that simplify your entertaining efforts.
Jelly Cakes Variations & Substitutions
Feel free to explore these delicious twists and substitutions, enhancing your Jelly Cakes experience just the way you like it!
-
Gluten-Free: Substitute self-raising flour with a gluten-free blend to enjoy these cakes without gluten while maintaining that lovely texture.
-
Non-Dairy: Use non-dairy milk and whip together coconut cream for the filling, making it accessible for those who are lactose intolerant.
-
Flavor Swap: Try substituting raspberry jelly crystals with passionfruit or mango flavors for a tropical spin; each will add a unique twist to your classic treat.
-
Fruity Additions: Incorporate fresh berries or diced fruit within the Chantilly cream to pack each bite with bursts of flavor. Strawberries or blueberries would work fabulously here.
-
Elevated Decoration: Consider topping each cake with edible flowers or candied fruits for a stunning presentation—perfect for impressing guests at parties!
-
Gourmet Touch: Infuse the sponge batter with lemon or orange zest for a refreshing citrus note that beautifully complements the jelly and cream layer.
-
Spicy Kick: For adventurous palates, add a pinch of cayenne or chili powder to the jelly, giving your cakes a subtle heat that contrasts nicely with the sweetness.
-
Chocolate Variation: Drizzle melted chocolate over the top after coating them, adding both a rich flavor and a tempting visual appeal—ideal for chocoholics!
As you enjoy these variations, don’t forget to check out how they compare to other mouthwatering desserts, like Cranberry Orange Cupcakes or Chocolate Peppermint Cupcakes, for even more inspiration!
How to Store and Freeze Jelly Cakes
Fridge: Keep assembled Jelly Cakes in an airtight container in the fridge for up to 2 days. This helps maintain their freshness, though the jelly coating may weep slightly over time.
Freezer: For longer storage, freeze unassembled sponge cakes without the jelly and cream. Wrap them tightly in plastic wrap and foil, where they can last up to 3 months.
Reheating: If you freeze the sponge cakes, allow them to thaw in the fridge overnight before assembly. Avoid reheating once they’ve been coated, as this may alter the texture.
Presentation: It’s best to assemble Jelly Cakes fresh; however, if made in advance, store them ready for serving to keep them looking their best.
What to Serve with Classic Australian Jelly Cakes?
Indulge in a delightful afternoon spread that perfectly complements these nostalgic treats, igniting cherished memories.
-
Fresh Berries: A medley of tart raspberries and strawberries brings a vibrant freshness that balances the sweetness of the jelly cakes.
-
Elegant Tea Selection: A pot of Earl Grey or Darjeeling tea enhances the experience, inviting soothing warmth with each sip alongside your sweet treats.
-
Light Sandwiches: Mini cucumber or smoked salmon sandwiches offer a savory contrast, providing a fulfilling bite that perfectly complements the light sponge cakes.
-
Chilled Lemonade: The zesty, refreshing notes of homemade lemonade cleanse the palate, making your dessert moment feel extra special.
-
Whipped Cream Topping: A dollop of lightly sweetened whipped cream paired with the cakes adds creaminess and enriches the overall flavor.
-
Chocolate Truffles: Indulging in rich chocolate truffles brings a luxurious element, contrasting the lightness of the jelly cakes and leaving your guests wanting more.
Perfectly planning these pairings elevates your afternoon tea experience, making each bite a testament to the joy of sharing delicious moments with loved ones.
Classic Australian Jelly Cakes Recipe FAQs
What type of butter should I use for the sponge cakes?
I recommend using unsalted butter for the best flavor. Ensure it’s at room temperature to make the creaming process easier and to help create that fluffy, light texture in your sponge cakes.
How can I tell if my jelly is ready for coating the cakes?
Absolutely! The jelly should be partially set, meaning it should resemble a thick syrup. You can test it by dipping a spoon in; if drips slowly fall off, it’s perfect for dipping! This consistency ensures that your jelly cakes are beautifully coated without a runny mess.
How do I store leftover Jelly Cakes?
To keep your assembled Jelly Cakes fresh, store them in an airtight container in the fridge for up to 2 days. Just be aware that the jelly coating may weep slightly over time, affecting the texture, but they’ll still be delicious!
Can I freeze Jelly Cakes?
Yes, you can freeze the unassembled sponge cakes! Wrap each cake tightly in plastic wrap and then in foil to prevent freezer burn. They can last up to 3 months in the freezer. When you’re ready to enjoy them, thaw them in the fridge overnight before assembling to maintain their quality.
Are Jelly Cakes suitable for those with dietary restrictions?
Definitely! You can make adjustments based on dietary needs; substitute eggs with flaxseed meal for vegan options or swap the dairy milk with almond or oat milk for a non-dairy alternative. Always double-check your jelly crystals for potential allergens, as some brands may contain gluten or artificial ingredients.
Deliciously Nostalgic Jelly Cakes for Your Afternoon Tea
Ingredients
Equipment
Method
- Dissolve raspberry jelly crystals in boiling water, stir until dissolved, then add cold water and refrigerate for 1-2 hours.
- Preheat oven to 180°C (350°F). Grease patty pans. Cream butter and sugar until fluffy, then add eggs and vanilla.
- Sift self-raising flour into butter mixture, alternating with milk, and gently fold until just combined.
- Spoon batter into prepared patty pans and fill about two-thirds full. Bake for 15 minutes or until golden brown.
- Cool the cakes in pans for a few minutes, then transfer to wire rack to cool completely.
- Trim the domes off the cooled sponge cakes to create an even surface.
- Whip chilled cream with sugar and vanilla until soft peaks form.
- Dip each sponge cake in thickened jelly, roll in desiccated coconut, and pipe cream between two cakes.
- Chill assembled Jelly Cakes in the refrigerator for at least 30 minutes before serving.
Leave a Reply