
On a sizzling summer afternoon, the last thing I want is to indulge in overly sweet treats that leave me feeling guilty. Enter my homemade Cherry Creamsicles — a vibrant blend of luscious cherries and creamy vanilla that not only satisfies my sweet tooth but also aligns with my commitment to wholesome, real food without refined sugar. These delightful popsicles are perfect for those warm days, offering a refreshing escape with minimal prep time. Plus, they’re gluten-free and can easily be made dairy-free with just a simple substitution. Are you ready to take a stroll down memory lane and create a delicious treat that’s just as good for the body as it is for the soul? Let’s dive in!
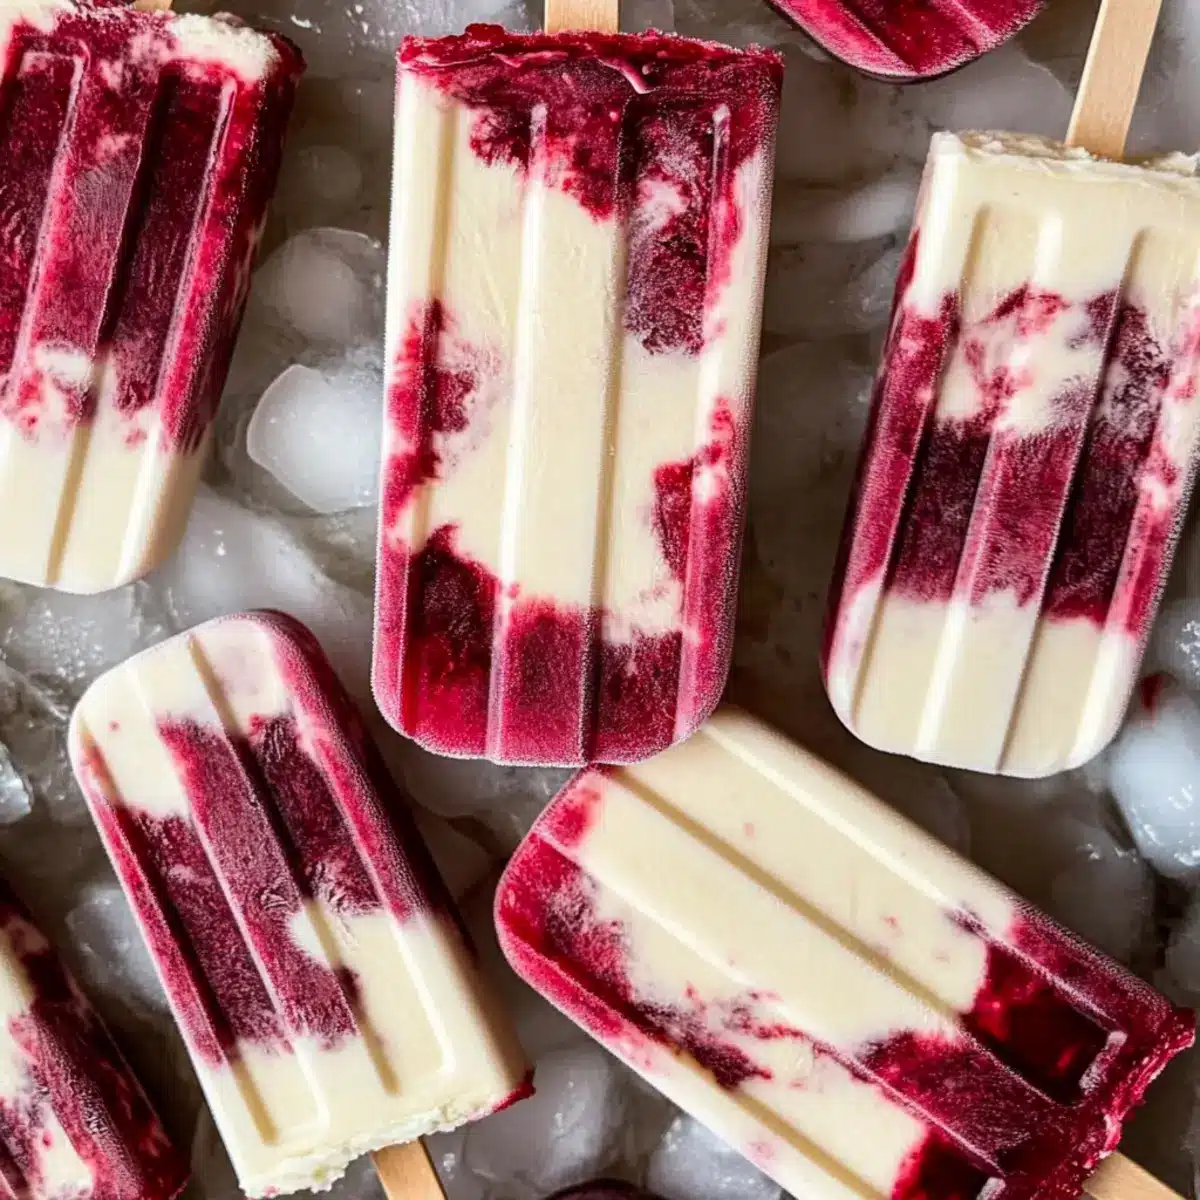
Why Cherry Creamsicles Are a Must-Try?
Guilt-Free Indulgence: These Cherry Creamsicles are not only delicious but also made without any refined sugars, perfect for health-conscious dessert lovers.
Simple Ingredients: With just a handful of wholesome components, you can whip up these popsicles quickly, making them an excellent weekend project.
Customizable for Everyone: Whether you’re choosing a vegan option with coconut cream or mixing in your favorite fruits like peaches, this recipe is versatile to fit your dietary needs.
Cooling Summer Treat: The creamy texture combined with the vibrant cherry flavor makes these popsicles a refreshing way to beat the summer heat.
Nostalgic Flavors: Every bite will transport you back to childhood summers, bringing joy to both kids and adults alike.
Quick Freezing Time: With just 6-8 hours in the freezer, you can quickly satisfy your cravings and enjoy them in no time! Don’t forget to check out my other refreshing recipes, like Christmas Cherry Fizz, perfect for making any gathering special!
Cherry Creamsicles Ingredients
For the Cherry Base
• Organic Cherries – Provides sweetness and fruity flavor; thawed frozen cherries can be used in place of fresh.
• Coconut Water/Filtered Water – Acts as a base to blend with cherries; any mild liquid can work if coconut water is unavailable.
For the Creamy Layer
• Raw Cream/Organic Whipping Cream – Adds creaminess and richness; for a dairy-free alternative, use coconut cream from full-fat coconut milk.
• Organic Vanilla Extract – Enhances flavors with a warm, aromatic note; pure extract is recommended for best results.
• Raw Light-Colored Honey – Natural sweetener contributing to flavor and texture; maple syrup can be used for a vegan alternative.
These delightful Cherry Creamsicles will not only captivate your taste buds but also provide a guilt-free treat on a warm day!
Step‑by‑Step Instructions for Cherry Creamsicles
Step 1: Chill the Mixing Bowl
Begin by placing a large mixing bowl in your refrigerator for about 15-20 minutes. This step ensures your bowl is chilled, helping the cream whip up light and fluffy for your Cherry Creamsicles. While the bowl chills, you can prep the cherries and other ingredients for a seamless workflow.
Step 2: Prepare the Cherry Base
If using frozen cherries, allow them to thaw completely. Once thawed, combine the cherries with 1/4 cup of coconut water in a blender. Blend for about 30 seconds, or until you achieve a smooth and vibrant cherry puree. This will be the delicious fruity layer in your Cherry Creamsicles.
Step 3: Whip the Cream
Remove the chilled mixing bowl from the refrigerator and add the raw cream, organic vanilla extract, and raw light-colored honey. Using an electric mixer, whip the mixture on medium speed for about 3-5 minutes. Look for a thick and fluffy consistency, ensuring the cream forms soft peaks ideal for layering in your Cherry Creamsicles.
Step 4: Assemble the Popsicles
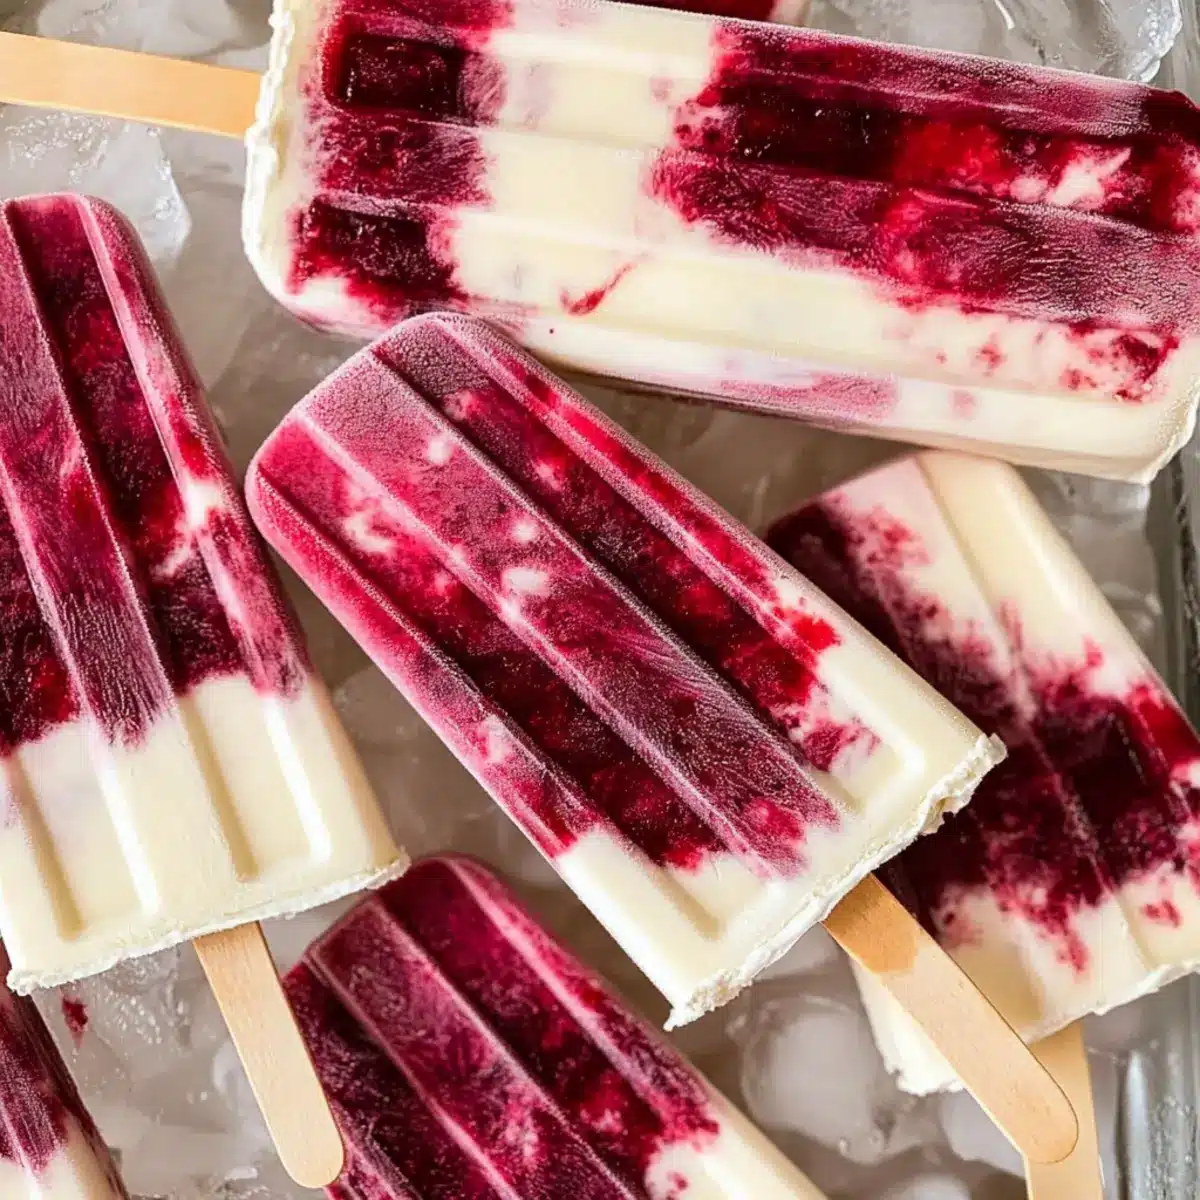
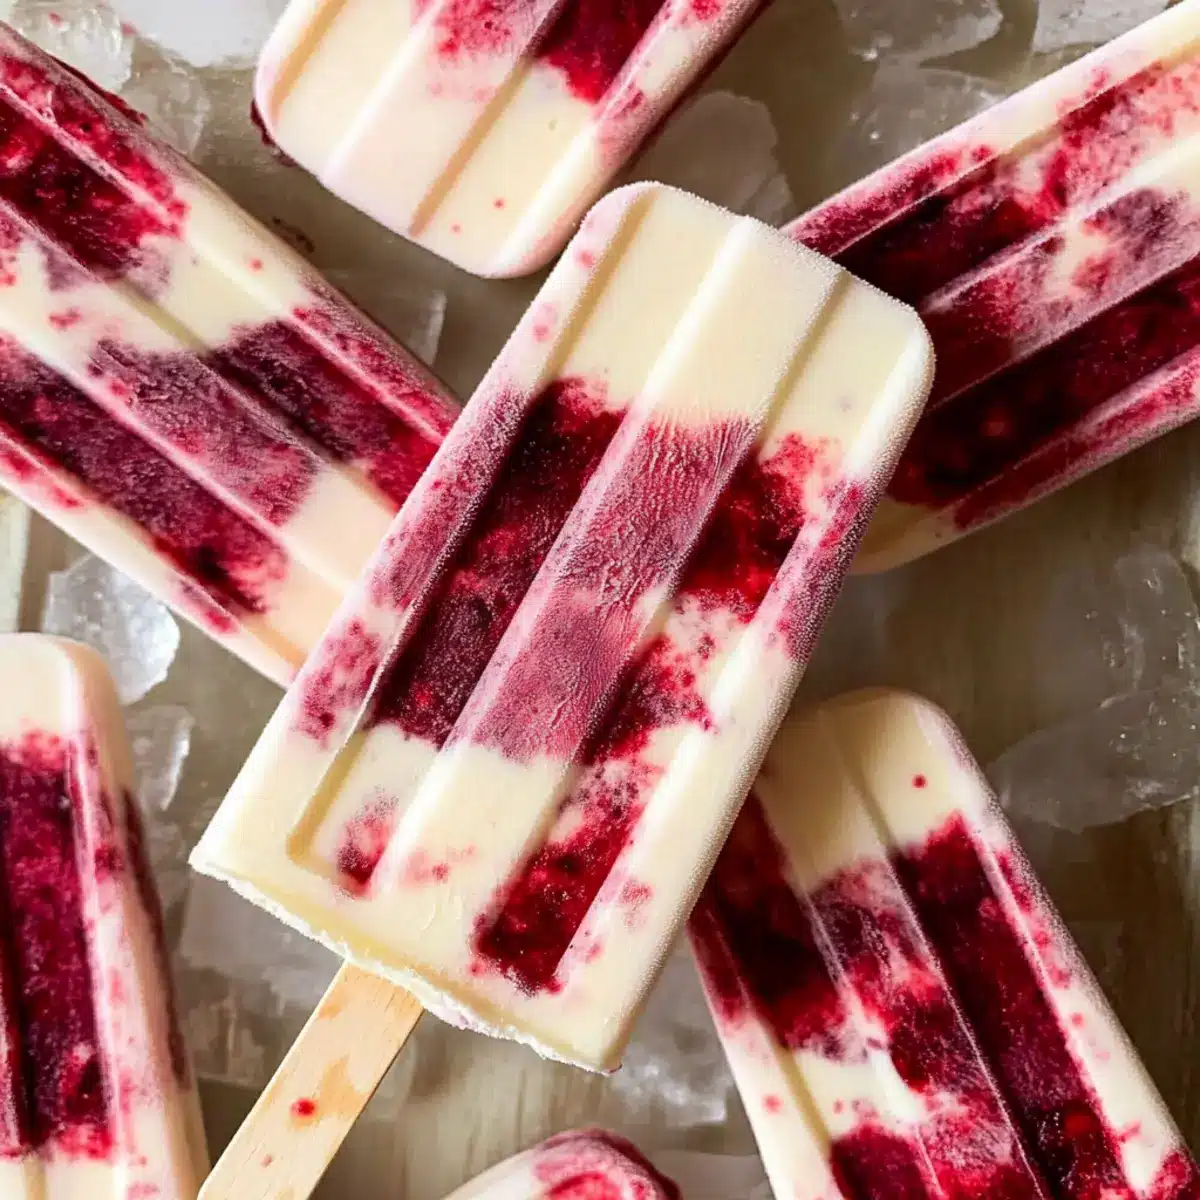
Grab your popsicle molds and begin assembling your treat. Start by spooning a layer of whipped cream into the molds, followed by a layer of the cherry puree. Alternate layers for a beautiful marbled effect, tapping the molds gently on the counter between layers to ensure they settle evenly.
Step 5: Freeze the Mixture
Once filled, carefully transfer the assembled molds to the freezer. Allow them to freeze for a minimum of 6-8 hours, preferably overnight. This ensures that your Cherry Creamsicles are fully set, achieving that perfect icy texture for a refreshing summer treat.
Step 6: Release the Popsicles
When ready to serve, remove the molds from the freezer. To release your Cherry Creamsicles, run warm water over the outside of the molds for about 30 seconds. Gently pull the popsicles out, taking care not to break them, and enjoy the delightful swirl of flavors in every bite!
Make Ahead Options
These Cherry Creamsicles are perfect for meal prep enthusiasts seeking a refreshing treat! You can prepare the cherry puree and whipped cream layers up to 24 hours in advance, storing them separately in airtight containers in the refrigerator. Be sure to keep the whipped cream chilled to maintain its fluffy texture. When you’re ready to serve, simply layer the cherry mixture and whipped cream into the popsicle molds and freeze for at least 6-8 hours or preferably overnight. This way, you’ll have delicious Cherry Creamsicles ready to enjoy on short notice, making busy weeknights a little sweeter!
How to Store and Freeze Cherry Creamsicles
Fridge: Store leftover Cherry Creamsicles in an airtight container for up to 2 days if you plan to eat them quickly. However, for best texture, freezing is recommended.
Freezer: Keep your Cherry Creamsicles in a sealed container or parchment paper-wrapped molds for up to 2 weeks. For optimal flavor and texture, consume them within one week of freezing.
Releasing Popsicles: To enjoy, run the molds briefly under warm water to easily release your Cherry Creamsicles. This will help preserve their shape and texture.
Thawing: If frozen solid, allow the Cherry Creamsicles to sit at room temperature for a few minutes before serving. This will make them easier to bite into without losing their delicious shape!
Cherry Creamsicles Variations & Substitutions
Feel free to play with these Cherry Creamsicles, customizing them to fit your taste and dietary needs for a truly delightful experience!
-
Dairy-Free: Swap raw cream for coconut cream from full-fat coconut milk to create a creamy, indulgent version without dairy. You’ll still enjoy that luscious texture!
-
Sweetness Swap: Use pure maple syrup instead of honey for a vegan-friendly sweetener, enhancing the flavor while sticking to wholesome ingredients. Keep in mind maple syrup can add a unique depth of flavor beyond just sweetness.
-
Fruit Fusion: Replace cherries with other stone fruits, such as peaches or plums, for unique and exciting flavor variations that celebrate summer’s bounty. Each fruit brings its own sweetness and toasty notes that make the popsicles even more delightful.
-
Add Zest: Incorporate a tablespoon of lime juice to brighten the cherry flavor and add a refreshing zesty twist to your popsicles. The zing of lime balances the sweetness beautifully!
-
Creamy Coconut: Use full-fat coconut milk in place of the whipping cream for an entirely coconut-flavored experience. This creamy layer will bring a tropical essence to every bite!
-
Minty Fresh: Toss in a handful of fresh mint leaves while blending the cherries for a cool, refreshing touch that complements the sweetness of the fruit perfectly. It brings a new layer of aroma that dances on your palate!
-
Chocolate Drizzle: After freezing, dip your Cherry Creamsicles in melted dark chocolate for an extra indulgent treat. Just let the chocolate harden before enjoying—it’s like dessert magic!
For more creative ideas that can elevate your treats, check out my flavorful Christmas Cherry Fizz or seasonal recipes that embrace fresh ingredients and vibrant flavors. Each recipe is designed with love—enjoy your culinary journey!
Expert Tips for Cherry Creamsicles
• Chill Everything: Make sure both your cream and mixing bowl are very cold. This step is crucial for achieving that light, fluffy consistency your Cherry Creamsicles need.
• Smooth Purée: Use a high-speed blender to create a completely smooth cherry puree. This will prevent any icy chunks in your popsicles and ensure a creamy texture when frozen.
• Layering Technique: When layering the whipped cream and cherry mixture, tap the molds gently on the counter. This helps settle the layers and creates that beautiful marbled effect without air pockets.
• Mold Material Matters: If you have both metal and plastic molds, choose metal. They release the popsicles more easily, reducing the risk of breakage and frustration during serving.
• Storage Smart: Store your Cherry Creamsicles in a sealed container for optimal freshness. While they last up to two weeks in the freezer, enjoy them within one week for the best texture and flavor.
What to Serve with Cherry Creamsicles
Imagine a sun-soaked afternoon with the sweet aroma of cherries lingering in the air, perfectly complemented by refreshing sides and delightful beverages.
-
Fresh Fruit Salad: A vibrant mix of seasonal fruits like watermelon and blueberries enhances the fruity flavor of the creamsicles, making a refreshing pairing for hot days.
-
Grilled Chicken Skewers: Juicy marinated chicken skewers add protein and savory depth, balancing the sweetness of the Cherry Creamsicles beautifully.
-
Coconut Rice: The subtle sweetness and creamy nature of coconut rice align with the cherry treat, while providing a unique texture contrast.
-
Minty Lemonade: A zesty, invigorating drink that cuts through the sweetness, minty lemonade refreshes your palate after indulging in creamy popsicles.
-
Chocolate-Dipped Pretzels: The salty crunch complements the sweet, chilled treats perfectly. It’s a fun juxtaposition that keeps everyone coming back for more!
-
Dark Chocolate Bark: A rich, bittersweet chocolate treat adds a decadent touch that enriches the dessert experience without overwhelming those delightful cherry flavors.
Enjoy these pairings to create an unforgettable summer spread that embodies the joy of homemade flavors!
Cherry Creamsicles Recipe FAQs
What types of cherries should I use for the best flavor?
Using fresh organic cherries is ideal as they provide the best sweetness and flavor for your Cherry Creamsicles. If fresh cherries aren’t available, you can substitute with thawed frozen cherries, which will work perfectly when blended.
How do I store leftover Cherry Creamsicles?
Store your Cherry Creamsicles in a sealed container in the freezer for up to 2 weeks. For the best texture and flavor, I recommend enjoying them within one week of freezing for maximum deliciousness!
Can I freeze these Cherry Creamsicles for longer periods?
While it’s best to consume your Cherry Creamsicles within a week for optimal taste, they can technically be kept in the freezer for up to 2 months. Just be sure they’re well-wrapped in parchment paper or in a sealed container to prevent freezer burn.
What can I do if my popsicles are too hard to remove from the mold?
Don’t worry! If your Cherry Creamsicles are stubborn, simply run warm water over the outside of the molds for about 30 seconds. This should loosen them up, making it easy to pull them out without compromising their shape.
Are these Cherry Creamsicles suitable for those with dairy allergies?
Absolutely! You can easily make a dairy-free version of these Cherry Creamsicles by substituting raw cream with full-fat coconut cream. This simple swap ensures those avoiding dairy can still indulge in this creamy, fruity delight!
How can I add variety to my Cherry Creamsicles?
Get creative! You can experiment with different fruits like peaches or apricots for unique flavors. Adding a splash of lime juice or whole mint leaves can also give your Cherry Creamsicles a refreshing twist. The more the merrier in flavor combinations!
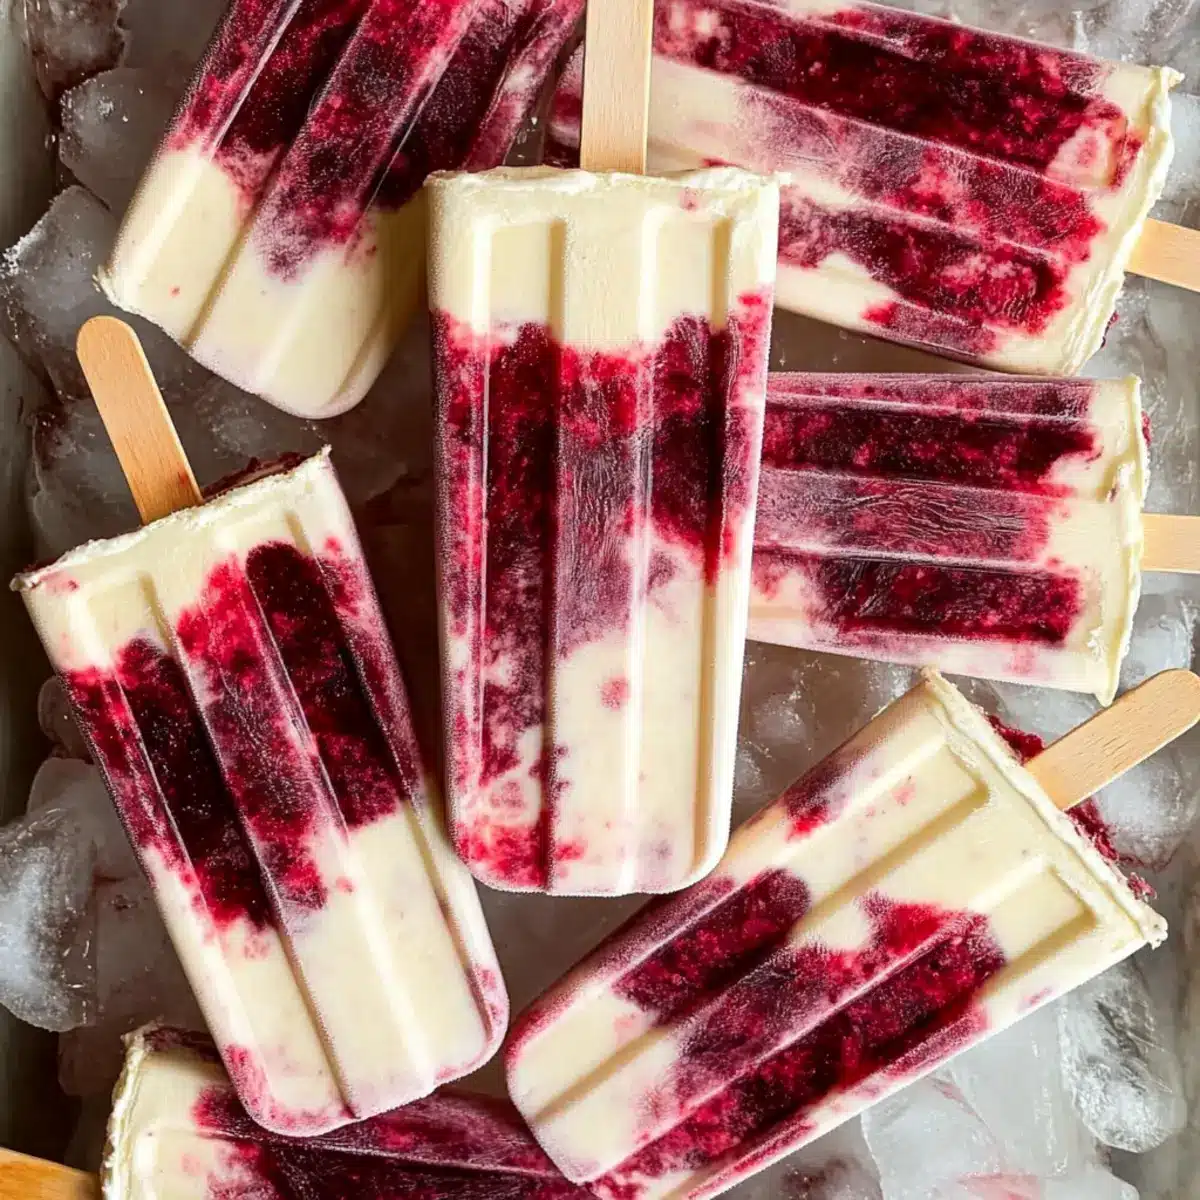
Cherry Creamsicles: Guilt-Free Summer Bliss Awaits!
Ingredients
Equipment
Method
- Chill the Mixing Bowl: Place a large mixing bowl in the refrigerator for about 15-20 minutes.
- Prepare the Cherry Base: Thaw cherries if frozen, then blend with coconut water for a smooth puree.
- Whip the Cream: In the chilled bowl, whip the cream, vanilla extract, and honey until thick and fluffy.
- Assemble the Popsicles: Spoon whipped cream and cherry puree into molds, alternating layers.
- Freeze the Mixture: Transfer molds to the freezer for at least 6-8 hours, preferably overnight.
- Release the Popsicles: Run molds under warm water for 30 seconds to release popsicles.
Leave a Reply