
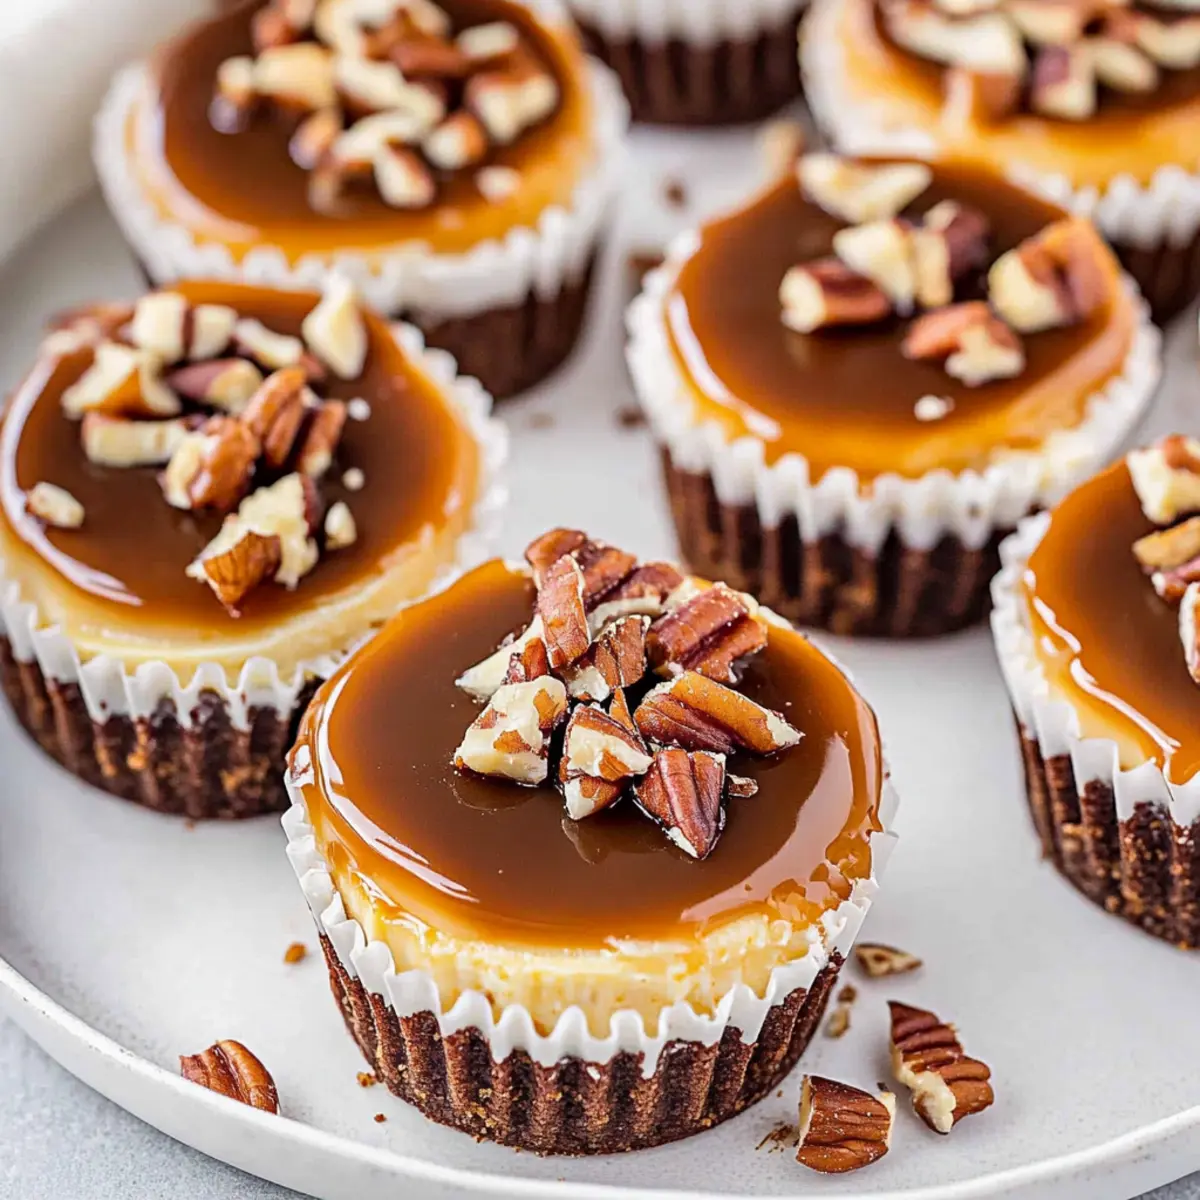
As I stood in my kitchen, I was transported back to a sunlit day, warm caramel and rich chocolate swirl filling the air. That’s the magic of these Mini Turtle Cheesecakes! The combination of creamy cheesecake, velvety chocolate ganache, and crunchy nuts wrapped in a graham cracker crust offers a quick and delightful way to satisfy any sweet tooth. These no-bake wonders are not only perfect for grab-and-go occasions but also crowd-pleasers at parties or cozy family get-togethers. Who knew such elegance could come together in little cups without requiring hours in the kitchen? Ready to impress your loved ones with these irresistible mini desserts? Let’s dive into the sweet adventure of making your very own Mini Turtle Cheesecakes!
Why Are Mini Turtle Cheesecakes So Irresistible?
Decadent Flavors: These mini turtle cheesecakes combine rich chocolate and warm caramel, creating a taste sensation that feels indulgent yet approachable.
Effortless Preparation: With a no-bake method, these treats are perfect for anyone looking to whip up something delicious without the fuss.
Versatile Treats: Their small size makes them ideal for any occasion, from kid-friendly snacks to upscale dinner parties.
Quick to Make: Spend less time in the kitchen with a recipe that comes together in no time at all, allowing you to enjoy the sweeter moments in life.
Crowd Favorite: These delightful bites are sure to impress at gatherings, just like my Mini Beef Wellington that always garners compliments!
Mini Turtle Cheesecakes Ingredients
For the Crust
• Graham Cracker Crumbs – Base for the crust, providing a crisp texture; substitute with digestive biscuits for a similar effect.
• Unsalted Butter – Binds the crust together and adds richness; use coconut oil for a dairy-free option.
For the Cheesecake Filling
• Full Fat Cream Cheese – Creates a rich, creamy cheesecake filling; low-fat cream cheese can be used but may impact texture.
• Granulated Sugar – Sweetens the cheesecake; coconut sugar can be a substitute for a less processed option.
• Vanilla Extract – Adds depth to the flavor; pure vanilla extract is preferred for best results.
• Large Eggs – Provides structure and stability to the cheesecake; for egg-free, use 1/4 cup unsweetened applesauce per egg.
For the Toppings
• Jarred Caramel Sauce – Enhances flavor with sweetness; can use homemade or store-bought options.
• Chocolate Ganache – Adds richness; made with semi-sweet chocolate chips and heavy cream; dairy-free chocolate can be used for a vegan alternative.
• Chopped Nuts (e.g., Pecans) – Adds a crunchy texture; can be swapped with walnuts or almonds.
Step‑by‑Step Instructions for Mini Turtle Cheesecakes
Step 1: Preheat and Prepare
Preheat your oven to 350°F (175°C) and prepare a muffin pan by lining it with paper liners. This will make it easy to remove the mini turtle cheesecakes once they’re set. Make sure to have all your ingredients ready to create a smooth and enjoyable cooking experience.
Step 2: Make Crust
In a mixing bowl, combine graham cracker crumbs and melted butter until the mixture resembles coarse sand. Using about 1-2 tablespoons of this crust mix, press it firmly into the bottom of each lined muffin cup. Bake the crust for approximately 5 minutes until golden and fragrant, then remove from the oven and let them cool completely.
Step 3: Prepare Cheesecake Filling
In a large mixing bowl, beat the full-fat cream cheese and granulated sugar together until the texture is smooth and creamy, which should take about 1-2 minutes. Next, gently mix in the vanilla extract and large eggs until just incorporated—be careful not to over-mix, as this could cause cracks in your mini turtle cheesecakes later.
Step 4: Fill and Bake
Carefully divide the cheesecake filling evenly among the baked crusts, filling each muffin cup right to the top. Place the pan back into the preheated oven and bake for 15-17 minutes. You’ll know they’re done when the centers are slightly jiggly but firm. This finish assures a creamy texture while maintaining their shape.
Step 5: Cool
Once baked, allow the mini turtle cheesecakes to cool to room temperature in the pan. Afterward, transfer them to the refrigerator to chill for at least 4 hours, ideally overnight. This step is crucial, as it helps them set properly and enhances the flavors, making your sweet treats irresistible.
Step 6: Garnish
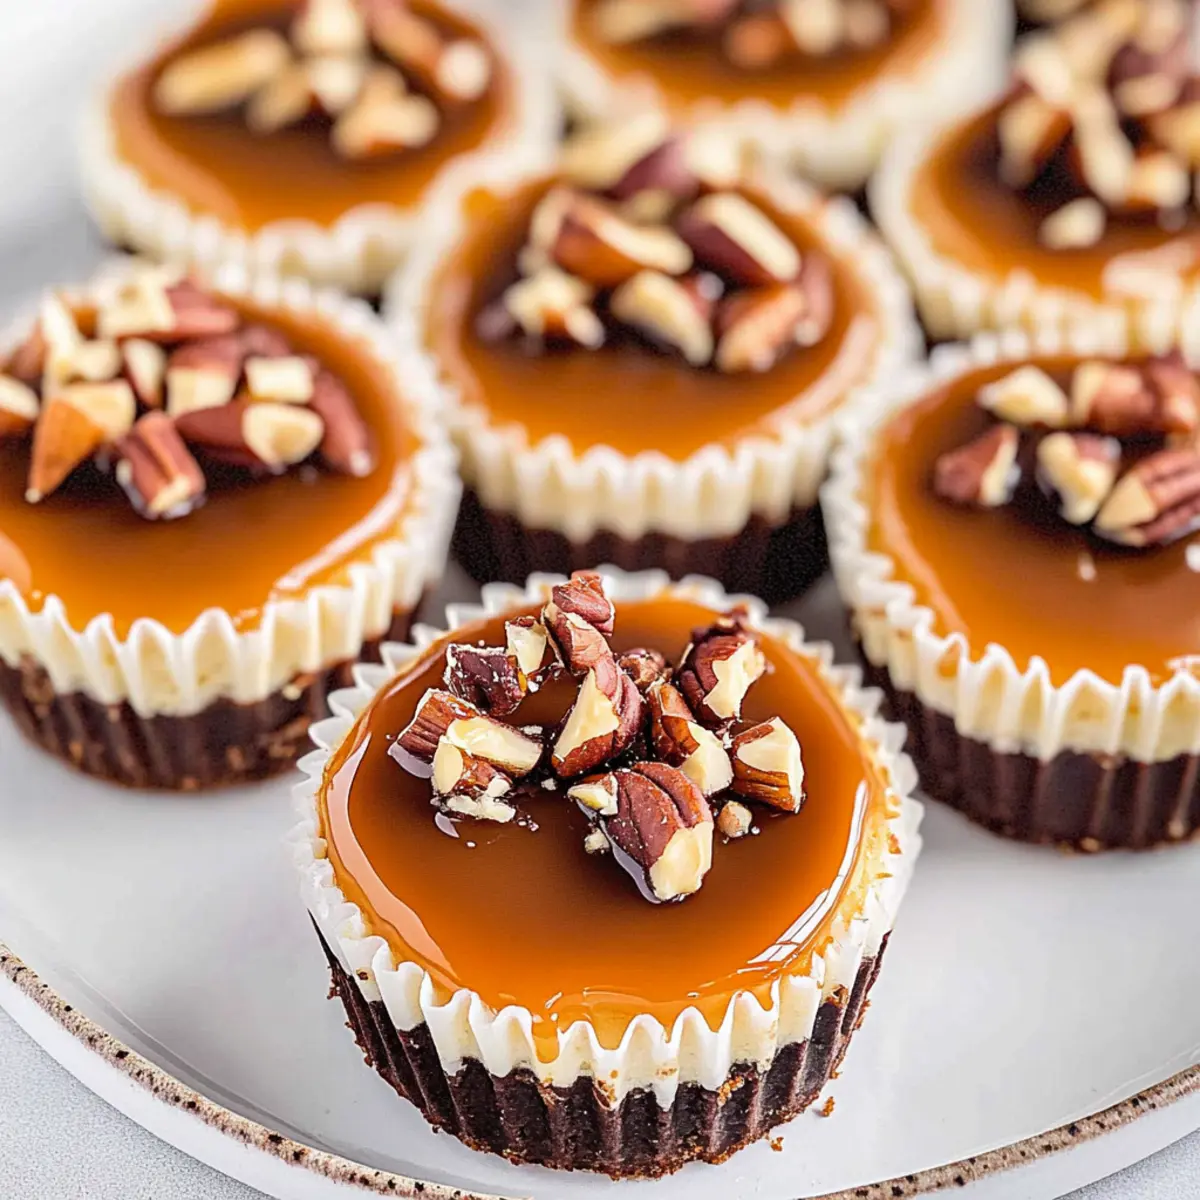
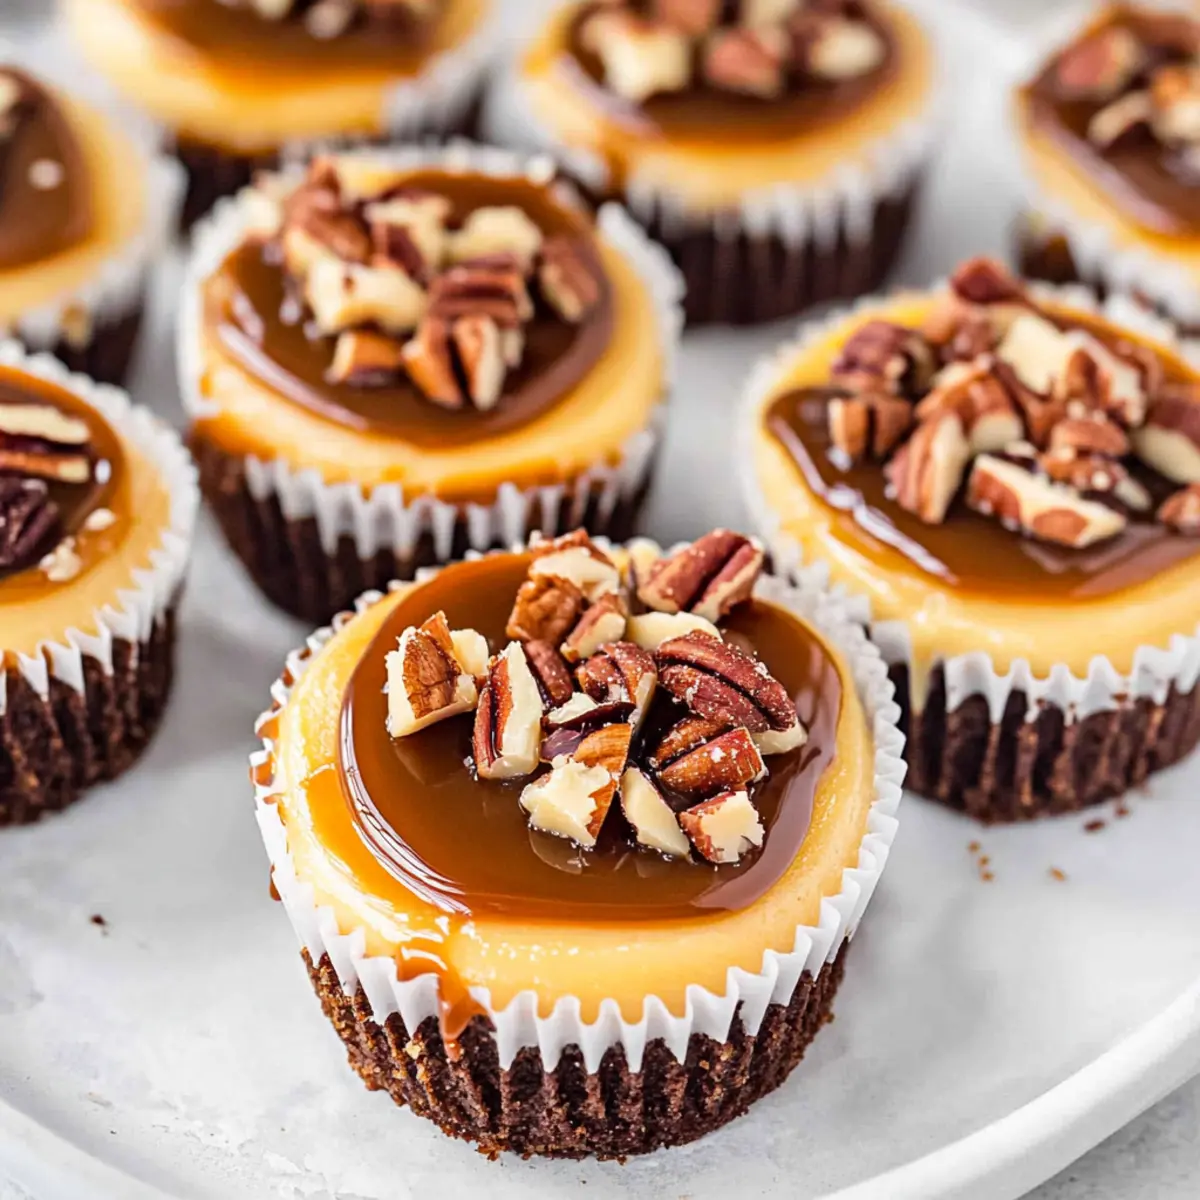
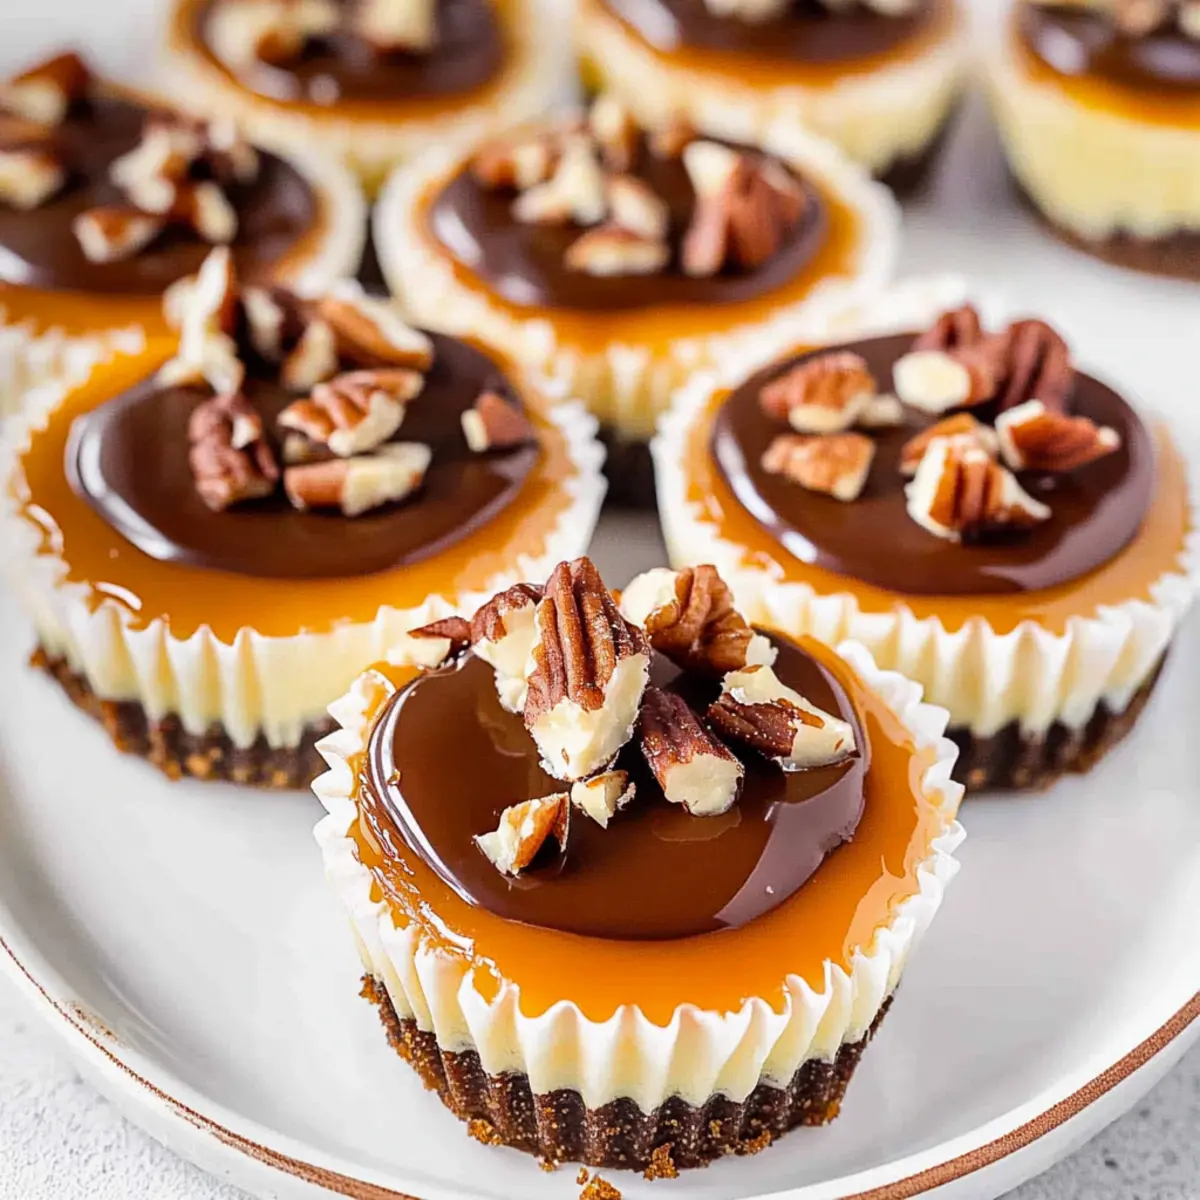
Before serving your delicious mini turtle cheesecakes, generously drizzle each one with jarred caramel sauce and chocolate ganache. Finish them off with a sprinkle of chopped nuts for added crunch. These delightful toppings bring together the entire flavor profile, turning these cheesecakes into an indulgent delight!
Mini Turtle Cheesecakes Variations & Substitutions
Feel free to get creative and customize these mini turtle cheesecakes to suit your taste buds!
- Nut-Free: Omit the nuts from both the crust and topping for a smooth texture and to keep it safe for nut allergies.
- Dairy-Free: Use coconut cream instead of cream cheese and dairy-free chocolate for a creamy delight that everyone can enjoy.
- Flavor Boost: Add a pinch of sea salt or a splash of espresso to the cheesecake filling to enhance the chocolate flavor and create a more complex taste.
- Fruit Topping: Swap out caramel for a luscious raspberry or strawberry sauce for a bright, fruity contrast to the rich cheesecake.
- Add Spices: Mix in a touch of cinnamon or nutmeg within the crust for a warm flavor that pairs beautifully with the creamy filling.
- Graham Cracker Alternatives: Try using crushed vanilla wafer cookies or gluten-free cookies for the crust to cater to dietary preferences.
- Different Extracts: Experiment with mint or orange extracts in place of vanilla for a fresh flavor profile that dances on your palate.
- Mini Beef Wellington Pairing: Serve these alongside my irresistible Mini Beef Wellington for an elegant appetizer and dessert duo that guests will love!
Make Ahead Options
These Mini Turtle Cheesecakes are perfect for busy weeknights and can beautifully save you time! You can prepare the crust by mixing graham cracker crumbs and melted butter up to 24 hours in advance; just store them in the muffin pan until you’re ready to bake. The cheesecake filling can be made and refrigerated for up to 3 days. When you’re ready to serve, simply bake the prepped crusts and then fill them with the chilled cheesecake mixture. Allow them to cool and chill as instructed for that perfectly creamy texture. Just remember, topping them with caramel, ganache, and nuts should be done right before serving to keep everything fresh and delightful!
What to Serve with Mini Turtle Cheesecakes?
Pair these delightful mini desserts with various treats and flavors to create a memorable dining experience.
- Fresh Berries: Add a refreshing touch with strawberries or raspberries; their tartness balances the sweetness of the cheesecakes beautifully.
- Ice Cream: A scoop of vanilla or coffee ice cream can elevate the dessert by adding a creamy, cold contrast to the rich flavors.
- Chocolate-Covered Pretzels: The salty crunch of pretzels harmonizes with the sweet turtles, providing a satisfying texture shift in every bite.
- Espresso or Coffee: Serve alongside a strong cup of espresso; the bitterness complements the sweetness, making it a perfect after-dinner treat.
- Whipped Cream: A dollop of freshly whipped cream can lighten the dessert and gives a lovely, airy texture that contrasts with the dense cheesecake.
- Nutty Caramel Sauce: Enhance the indulgence with an extra drizzle of caramel; this layered addition amplifies the sweetness and crunch of the cheesecake.
- Sparkling Water: A light sparkling beverage cleanses the palate, making room for another delicious bite of those creamy mini turtle cheesecakes.
Expert Tips for Mini Turtle Cheesecakes
- Chill Time Matters: Refrigerating the mini turtle cheesecakes overnight allows flavors to meld beautifully; rushing this step may result in a less rich taste.
- Avoid Overmixing: When combining cream cheese and sugar, mix until smooth; overmixing can introduce air, leading to cracks during baking.
- Use Fresh Ingredients: Always opt for fresh cream cheese and eggs for the best texture and flavor in your mini turtle cheesecakes.
- Right Bake Time: Check your cheesecakes a minute or two before the timer ends; they should be slightly jiggly but firm when done.
- Perfect Toppings: Wait until just before serving to add caramel, ganache, and nuts; this keeps them fresh and prevents sogginess.
How to Store and Freeze Mini Turtle Cheesecakes
Fridge: Keep your mini turtle cheesecakes in an airtight container in the refrigerator for up to one week. This preserves their creamy texture and delicious flavor.
Freezer: For longer storage, you can freeze them for up to 3 months without toppings. Wrap each cheesecake tightly in plastic wrap and place them in a freezer-safe container.
Thawing: When ready to enjoy, thaw the frozen cheesecakes in the refrigerator overnight. This will help maintain their delightful consistency.
Reheating: These treats are best served chilled, so there’s no need to reheat! Just add your toppings before serving for a fresh taste.
Mini Turtle Cheesecakes Recipe FAQs
What type of graham crackers are best for the crust?
Absolutely! Regular graham crackers are perfect for creating that delightful crust, but you can also use digestive biscuits if you prefer a slightly different flavor and texture. Just make sure they are finely crushed for an even consistency.
How long can I store my mini turtle cheesecakes in the refrigerator?
You can keep your mini turtle cheesecakes in an airtight container in the fridge for up to one week. Just remember to enjoy them within that timeframe to savor their creamy texture at its best.
Can I freeze the mini turtle cheesecakes?
Yes, you can freeze them for up to 3 months! Simply wrap each cheesecake tightly in plastic wrap and place them in a freezer-safe container. When you’re ready to enjoy, just thaw them in the refrigerator overnight for an ideal texture.
What if my cheesecake cracks while baking?
No worries! This can happen if the batter is overmixed or if the cheesecakes are baked too long. To prevent this, mix your batter gently and check for doneness about 1-2 minutes before the suggested baking time. A slight jiggle in the center is a good sign they’re set perfectly!
Are these mini turtle cheesecakes safe for people with nut allergies?
If you’re serving guests with nut allergies, it’s best to skip the chopped nuts altogether or substitute with nut-free alternatives, such as crushed cereal or coconut flakes, to maintain that lovely crunch without the allergy risk.
What should I do if my cheesecake doesn’t set properly?
If you find your mini turtle cheesecakes haven’t set as well as you’d like, ensure that they’ve cooled fully at room temperature before refrigerating. If they still seem too soft, consider refrigerating them for a longer duration to allow them to firm up.
Indulge in No-Bake Mini Turtle Cheesecakes for Sweet Bliss
Ingredients
Equipment
Method
- Preheat your oven to 350°F (175°C) and prepare a muffin pan by lining it with paper liners.
- In a mixing bowl, combine graham cracker crumbs and melted butter until the mixture resembles coarse sand.
- Using about 1-2 tablespoons of this crust mix, press it firmly into the bottom of each lined muffin cup.
- Bake the crust for approximately 5 minutes until golden and fragrant, then remove from the oven and let them cool completely.
- In a large mixing bowl, beat the full-fat cream cheese and granulated sugar together until smooth.
- Gently mix in the vanilla extract and eggs until just incorporated.
- Carefully divide the cheesecake filling evenly among the baked crusts.
- Place the pan back into the oven and bake for 15-17 minutes until the centers are slightly jiggly but firm.
- Allow the mini turtle cheesecakes to cool to room temperature in the pan.
- Transfer them to the refrigerator to chill for at least 4 hours, ideally overnight.
- Before serving, drizzle each cheesecake with caramel sauce and chocolate ganache, and sprinkle with chopped nuts.
Leave a Reply