
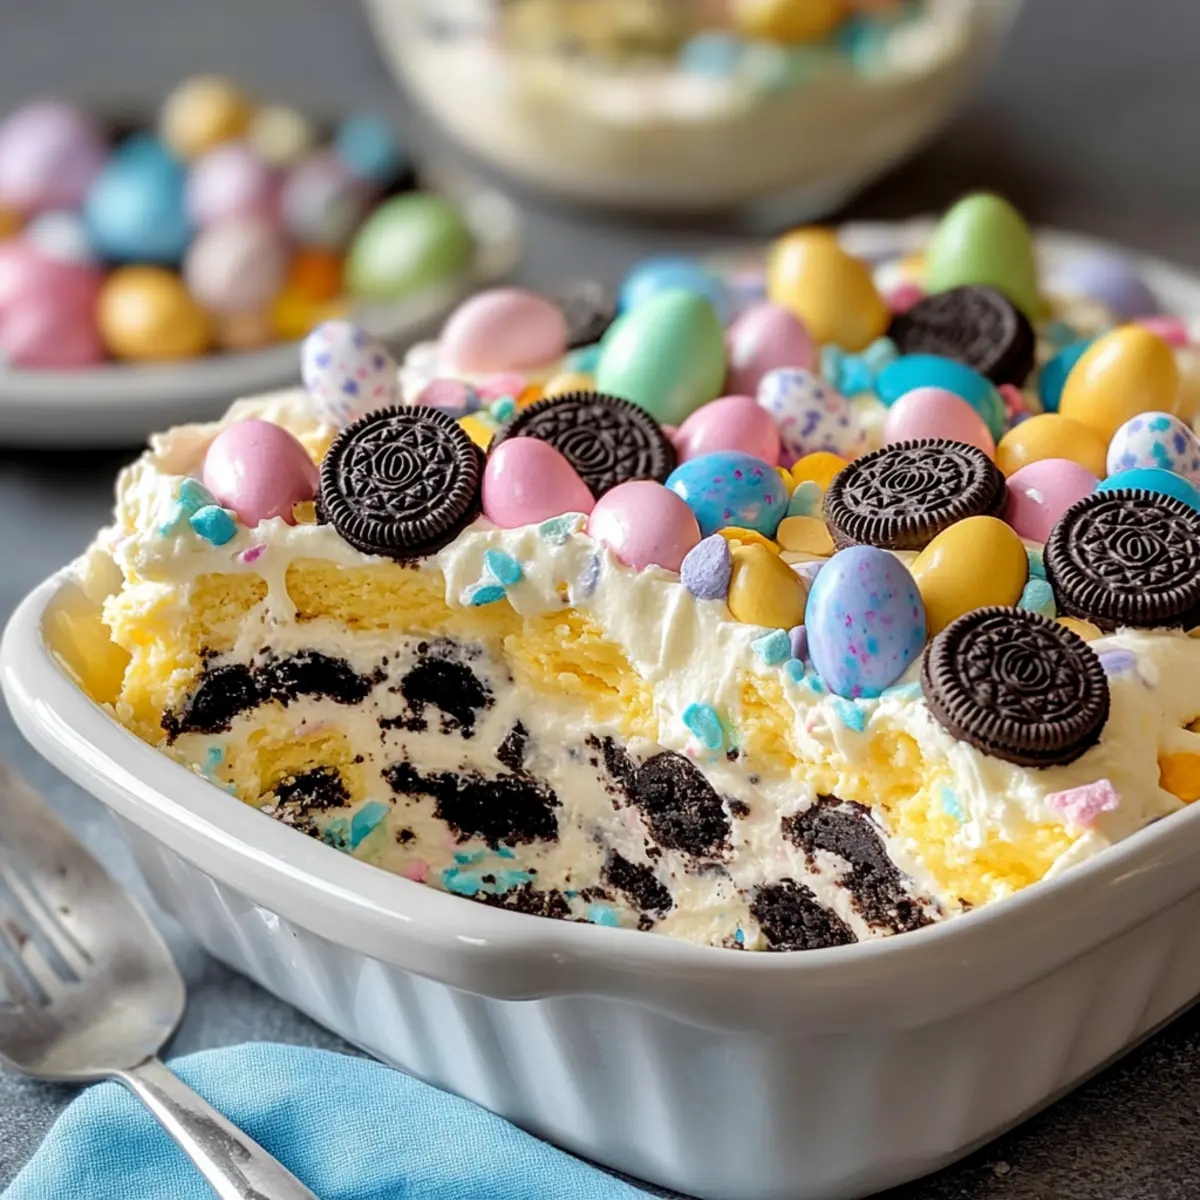
Spring has a magical way of inviting us to gather and celebrate, and what better dessert to bring to the table than the delightful Easter Oreo Cookie Casserole? This no-bake wonder is not only a showstopper with its colorful layers of crunchy Oreos, creamy filling, and whimsical pastel candies, but it also comes together in just 15 minutes! Perfect for busy families and playful get-togethers, this easy dessert ensures everyone—especially the kids—will leave with smiles and full tummies. Plus, since there’s no baking involved, you can focus on creating joyful memories rather than stressing over the oven! Curious about how to whip up this festive treat? Let’s dive in!
Why is this dessert so irresistible?
Easy to Make: The Easter Oreo Cookie Casserole requires just 15 minutes of prep time, making it a breeze for anyone, even if you’re short on time.
No-Bake Delight: No ovens are needed, so you can skip the hassle and focus on celebrating with loved ones.
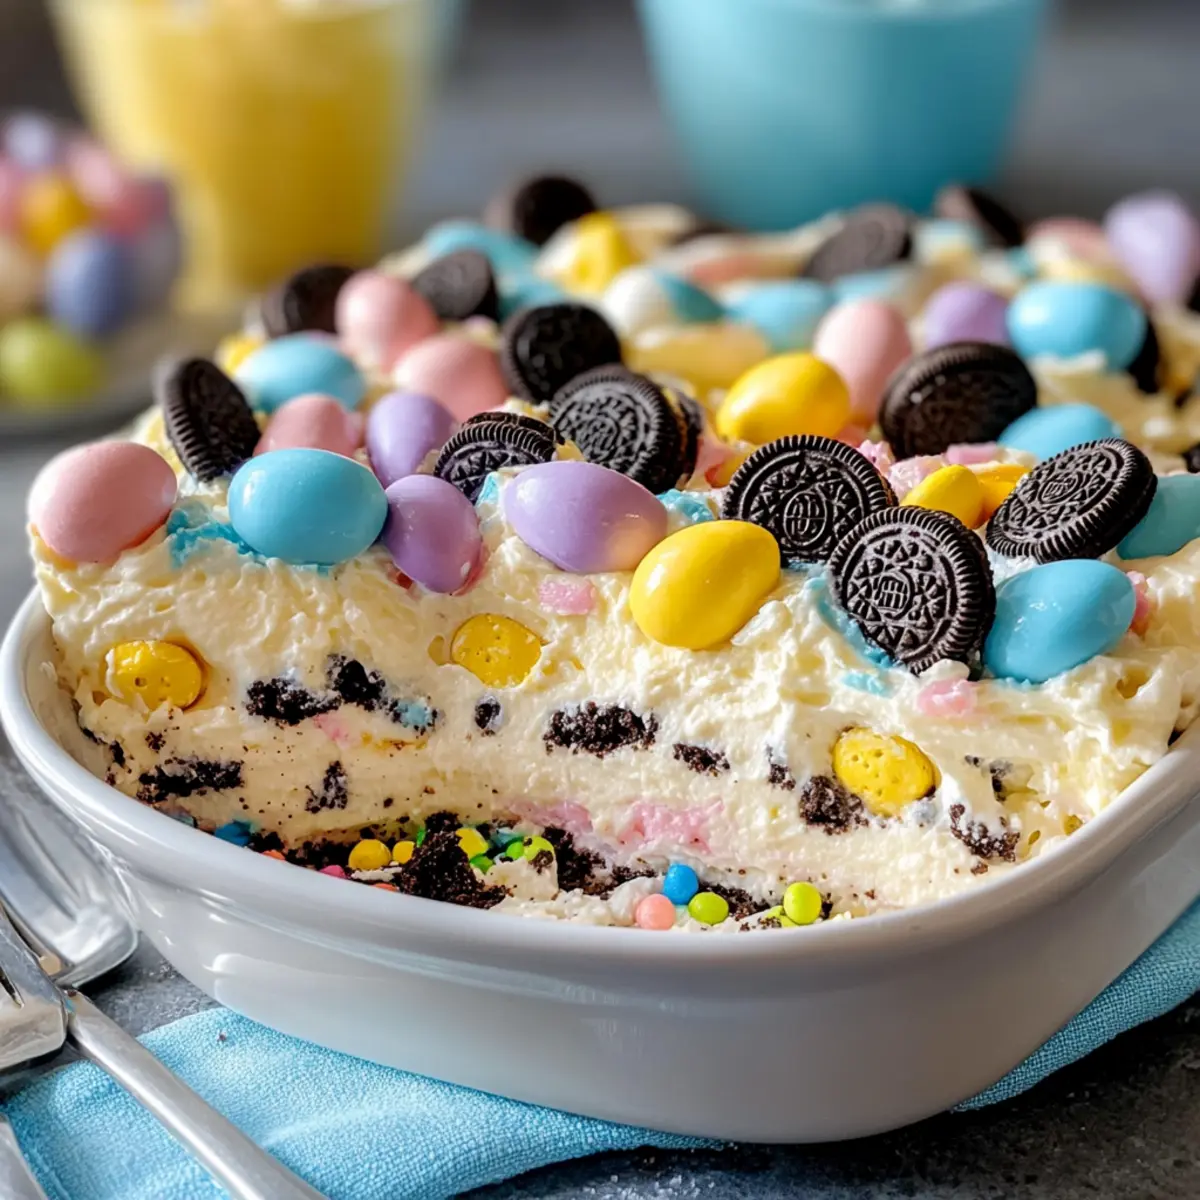
Kid-Friendly Fun: With its colorful layers and candy toppings, this dessert is sure to delight kids and adults alike, bringing joy to any gathering.
Versatile Variations: Swap in different cookies or toppings to customize it for any occasion, just like how you might create a festive version of our Zesty Orange Cookie.
Crowd-Pleasing Favorite: Its rich, creamy filling paired with crunchy Oreos ensures it’s a hit at parties and gatherings, just like my popular Vegetarian Comfort Casserole.
Whimsical Presentation: Serve in a clear trifle bowl to showcase the delightful layers and create an eye-catching centerpiece on your dessert table!
Easter Oreo Cookie Casserole Ingredients
For the Base Layer
• Oreo Cookies – A crunchy, chocolatey foundation for this no-bake delight; you can use any chocolate sandwich cookies for a fun twist.
For the Cream Filling
• Cream Cheese – Provides a rich and creamy texture; remember to let it soften for easy mixing.
• Unsalted Butter – Adds an extra layer of richness; make sure it’s softened for the best results.
• Powdered Sugar – Sweetens and thickens the filling; regular sugar can work in a pinch but will require more mixing.
• Whipped Topping – Lightens the cream mixture for a fluffy texture; feel free to substitute with whipped coconut cream for a dairy-free option.
For the Toppings
• Pastel Candy-Coated Chocolates – Brings festive color and a bit of crunch; replace with seasonal candies to suit your theme.
• Mini Oreos and Extra Candies – Perfect for garnishing the top, adding visual appeal to this eye-catching Easter Oreo Cookie Casserole.
Step‑by‑Step Instructions for Easter Oreo Cookie Casserole
Step 1: Crush the Oreos
Begin by taking about 25 Oreo cookies and placing them in a large zip-top bag. Using a rolling pin, crush them into coarse chunks, leaving some larger pieces for texture. This creates the crunchy base layer for your Easter Oreo Cookie Casserole. Reserve about 5 cookies for topping later.
Step 2: Prepare the Cream Filling
In a mixing bowl, add the softened cream cheese and unsalted butter. Using a hand mixer, beat them together on medium speed until the mixture is smooth and creamy, about 2–3 minutes. This step ensures a rich texture for the filling that will complement the Oreos perfectly.
Step 3: Sweeten the Mixture
Gradually add powdered sugar to the cream cheese and butter mixture while continuing to mix on low speed. Blend until well combined, approximately 1 minute. This will sweeten the filling and give it a thick consistency. Scrape down the sides of the bowl with a spatula as needed to incorporate all ingredients.
Step 4: Fold in Whipped Topping
Now, gently fold in the thawed whipped topping into the cream filling using a spatula. Be careful not to deflate the mixture; you want to maintain that light and fluffy texture. This adds a delightful creaminess that will beautifully layer into your Easter Oreo Cookie Casserole.
Step 5: Layer the Cookies
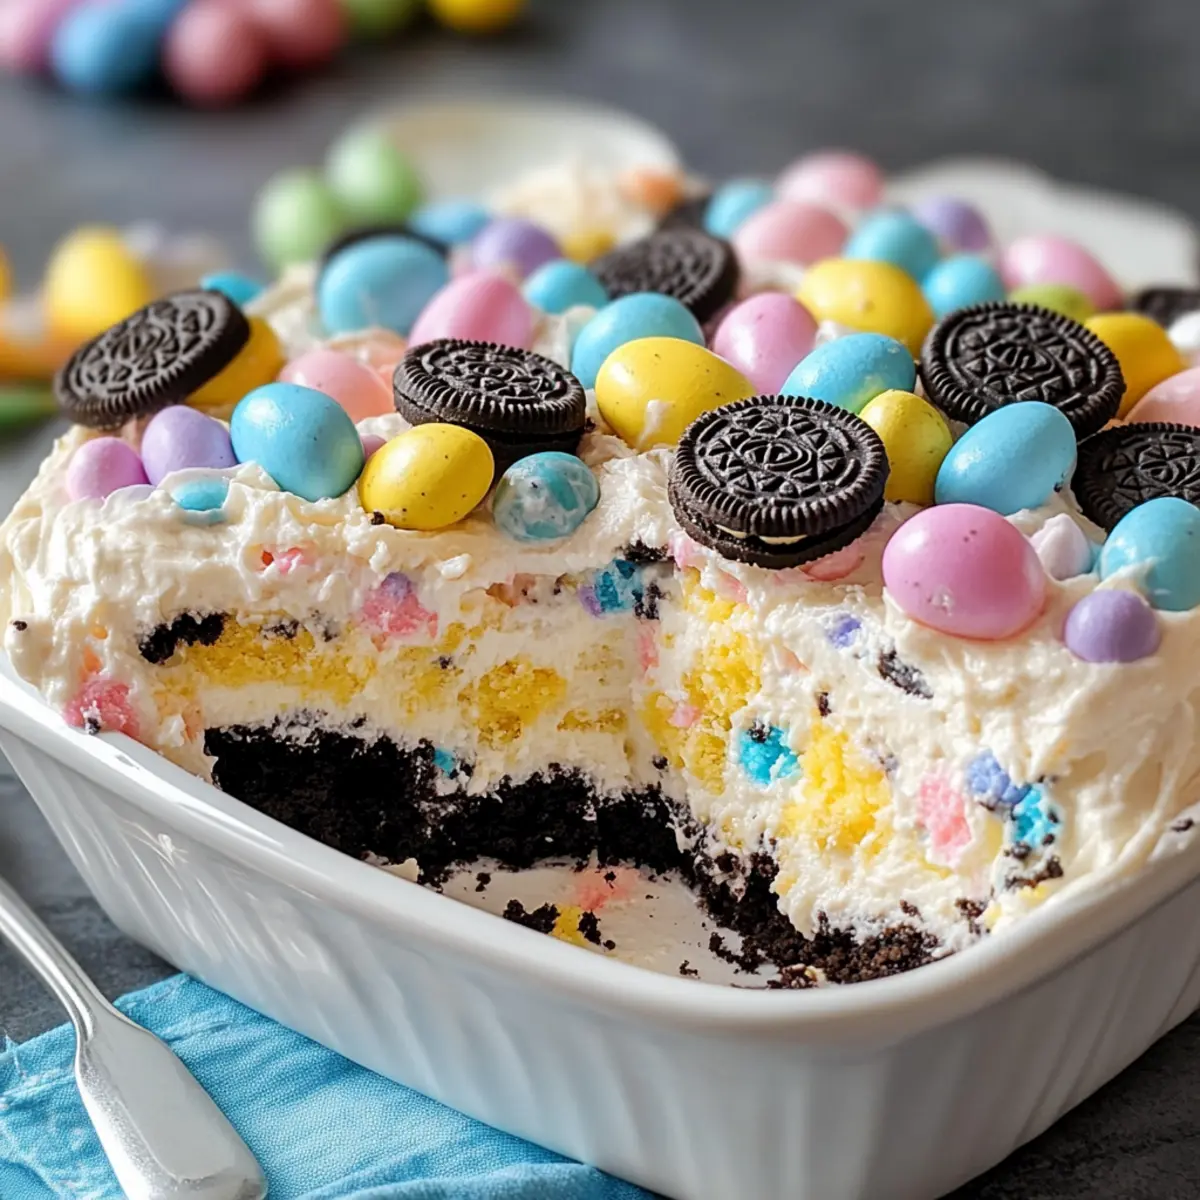
In a clear serving dish or trifle bowl, begin layering by placing half of your crushed Oreos at the bottom. Spread them out evenly, creating a solid foundation for the casserole. Ensuring an even layer of cookies will provide a satisfying crunch in each serving.
Step 6: Add the Cream Filling
Spoon half of the cream filling mixture over the Oreo layer, gently spreading it to cover the cookies completely. The creamy filling should be smooth without any gaps. This decadent layer is what makes the Easter Oreo Cookie Casserole so delightful and rich.
Step 7: Sprinkle with Candies
Next, sprinkle a generous layer of pastel candy-coated chocolates over the cream filling. This colorful addition not only enhances the visual appeal but also adds a fun crunchy element that kids will adore. Make sure they are evenly distributed for a delightful surprise in every bite.
Step 8: Repeat Layers
Repeat the layering process with the remaining crushed Oreos and cream filling. Start with the second half of the Oreos, followed by the last of the cream mixture. This creates a beautiful two-layered effect that will amaze everyone when served.
Step 9: Final Touches
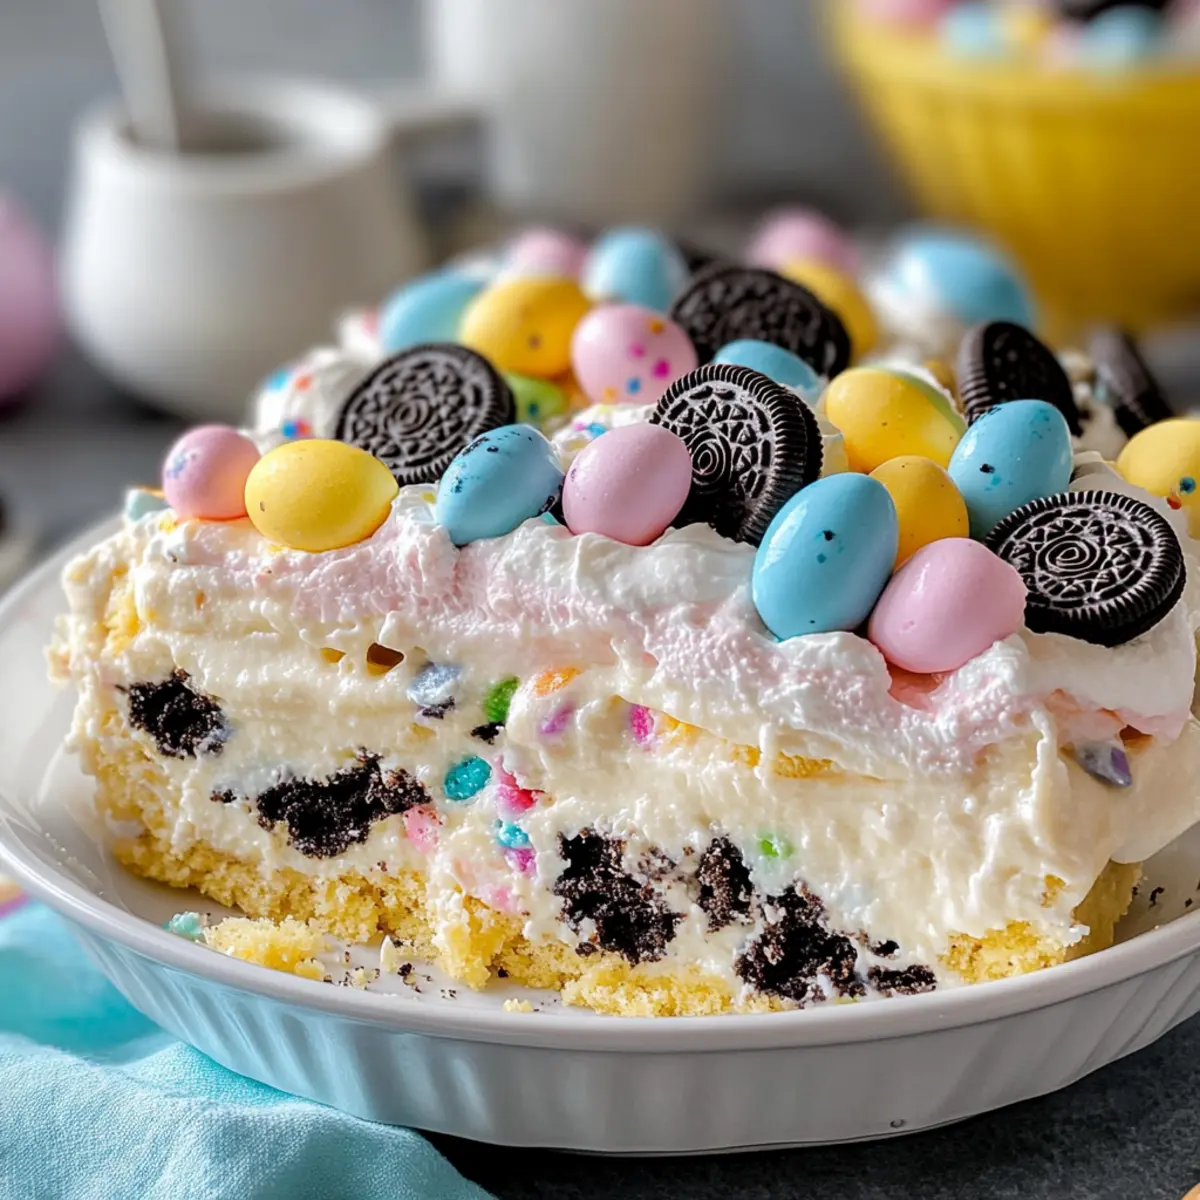
Finish off your Easter Oreo Cookie Casserole with the reserved crushed Oreos and mini candies sprinkled generously on top. This not only adds visual appeal but also delicious crunchiness.
Step 10: Chill Before Serving
Cover the assembled casserole with plastic wrap and refrigerate for at least 1 hour. Chilling helps the layers set and meld together, enhancing the flavors of the Easter Oreo Cookie Casserole. The final texture should be firm yet creamy when served.
What to Serve with Easter Oreo Cookie Casserole
Imagine a joyful gathering filled with laughter and deliciousness, where every bite of your no-bake masterpiece brings happiness to family and friends.
- Fresh Fruit Salad: Bright, zesty berries and melon provide a refreshing contrast to the rich, creamy casserole, enhancing every indulgent bite.
- Chocolate-Dipped Strawberries: These sweet treats echo the playful vibe of your dessert and add a touch of elegance to your table.
- Whipped Cream: A dollop of fluffy whipped cream on top creates a delightful creaminess that complements the layers and balances sweetness.
- Cold Milk: Chilled milk pairs perfectly, echoing childhood memories and making every spoonful of your casserole even more enjoyable.
- Sparkling Lemonade: This refreshing, citrusy drink adds a bubbly, fun element to your gathering and cuts through the richness of the dessert.
- Mini Cupcakes: These cute, bite-sized treats provide a variety of flavors, appealing to the festive spirit while not overpowering the primary dessert.
- Chocolate Ice Cream: Pairing with a scoop of rich chocolate ice cream creates a heavenly combination that makes your dessert a real celebration.
- Coffee: A warm, aromatic cup of coffee offers balance, enhancing the sweet flavors and providing a comforting finish to your meal.
Expert Tips for Easter Oreo Cookie Casserole
-
Prep Ahead: Make the casserole the night before to enhance flavor melding. This lets the ingredients settle together, resulting in a more cohesive dessert.
-
Soften Ingredients: Ensure cream cheese and butter are fully softened before mixing. This prevents lumps and guarantees a smooth and creamy Easter Oreo Cookie Casserole.
-
Chill Wisely: Chill your casserole for at least 1 hour, but avoid over-chilling, which can negatively impact the texture of the cookies. Enjoy it within 8-10 hours for best quality.
-
Visual Appeal: Use a clear serving dish to showcase the colorful layers. A trifle bowl not only makes the dessert visually enticing but also highlights the fun, festive ingredients.
-
Mind the Toppings: Add delicate toppings, like candies, just before serving to keep them fresh and crunchy. This ensures every bite is as delightful as the first!
Easter Oreo Cookie Casserole Variations
Feel free to customize your Easter Oreo Cookie Casserole to suit your taste and needs with these fun variations!
-
Peanut Butter Twist: Substitute Oreos with peanut butter cookies for a nutty flavor that pairs perfectly with the creamy filling.
-
Dairy-Free Delight: Use vegan cream cheese and whipped coconut cream to create a fully dairy-free masterpiece everyone can enjoy.
-
Fruit Layering: Add fresh strawberries or raspberries in between layers for a refreshing burst of flavor that brightens up the dessert.
-
Chocolate Lovers: Incorporate chocolate pudding into the cream mixture for an even richer chocolate experience, perfect for those choco-holics!
-
Minty Fresh: Use mint Oreos instead of regular ones for a refreshing, mint-infused treat that’s perfect for spring gatherings.
-
Colorful Sprinkles: Mix in some colorful sprinkles into the cream filling to elevate the festive look, making it especially fun for kids.
-
Additional Crunch: Add crushed nuts, such as pecans or walnuts, to the cookie layers for an exciting textural contrast that adds extra crunch.
-
Caramel Drizzle: Top the casserole with a luscious drizzle of caramel sauce before serving for a sweet, gooey addition that everyone will love.
Don’t hesitate to explore these ideas, and for more delicious recipes, check out my Marshmallow Swirl Cookies or our festive Christmas Sugar Cookies!
Make Ahead Options
For busy home cooks, the Easter Oreo Cookie Casserole is an excellent make-ahead dessert that can save you time while still impressing your guests! You can prepare the cream filling and layer it with the crushed Oreos up to 24 hours in advance, ensuring all those delicious flavors meld beautifully. Just assemble the casserole as instructed, cover it tightly with plastic wrap, and refrigerate. To maintain the best texture, avoid adding delicate toppings like pastel candies until you’re ready to serve. When it’s time for dessert, simply garnish and present—your Easter Oreo Cookie Casserole will be just as delightful and festive, making your celebration a breeze!
How to Store and Freeze Easter Oreo Cookie Casserole
Fridge: Store covered in the refrigerator for up to 4 days. For the best texture and flavor, consume within the first couple of days.
Freezer: While it’s best enjoyed fresh, you can freeze the Easter Oreo Cookie Casserole for up to 2 months. Wrap it tightly in plastic wrap, then aluminum foil to prevent freezer burn.
Thawing: To enjoy, transfer the casserole to the fridge to thaw overnight. Avoid refreezing once thawed to maintain quality.
Serving: Add fresh toppings just before serving for the best texture and appearance. This keeps the festive presentation intact!
Easter Oreo Cookie Casserole Recipe FAQs
How do I choose the right Oreos for this recipe?
Absolutely! Original Oreo cookies work perfectly, but feel free to experiment with different varieties like peanut butter or mint-flavored Oreos for a unique twist. Just ensure whatever cookie you choose has a similar structure for best texture.
What’s the best way to store any leftovers?
Very! You can store your Easter Oreo Cookie Casserole covered in the refrigerator for up to 4 days. Just be mindful that the texture is best enjoyed within the first couple of days as it will soften over time.
Can I freeze the Easter Oreo Cookie Casserole?
Yes! If you need to make it in advance, you can freeze it for up to 2 months. Make sure to wrap it tightly in plastic wrap and then in aluminum foil to prevent freezer burn. Just remember to label it with the date!
What should I do if my cream filling is lumpy?
Don’t worry! If your cream filling turns out lumpy, it’s often due to the cream cheese not being softened enough. Simply let it sit at room temperature for a bit longer, then re-mix it at medium speed until smooth. You can add a splash of milk if needed to help combine the mixture better.
Can I make this dessert dairy-free?
Absolutely! For a dairy-free version, use vegan cream cheese and whipped coconut cream in place of regular cream cheese and whipped topping. This way, everyone can enjoy this Easter Oreo Cookie Casserole, regardless of dietary restrictions.
Is this dessert safe for pets?
Not at all! The ingredients in this casserole, especially chocolate from the Oreos, are not safe for pets. It’s best to keep this delightful treat strictly for human consumption, ensuring our furry friends stay safe!
Easter Oreo Cookie Casserole: No-Bake Delight for Spring Fun
Ingredients
Equipment
Method
- Crush the Oreos: Place about 25 Oreo cookies in a zip-top bag and crush them into coarse chunks.
- Prepare the Cream Filling: Mix softened cream cheese and unsalted butter until smooth.
- Sweeten the Mixture: Gradually add powdered sugar and blend until well combined.
- Fold in Whipped Topping: Gently fold thawed whipped topping into the cream filling.
- Layer the Cookies: In a clear dish, layer half of the crushed Oreos at the bottom.
- Add the Cream Filling: Spoon half of the cream filling over the Oreo layer.
- Sprinkle with Candies: Add a layer of pastel candy-coated chocolates over the cream filling.
- Repeat Layers: Layer remaining crushed Oreos and cream filling.
- Final Touches: Sprinkle reserved crushed Oreos and mini candies on top.
- Chill Before Serving: Cover and refrigerate for at least 1 hour before serving.
Leave a Reply