
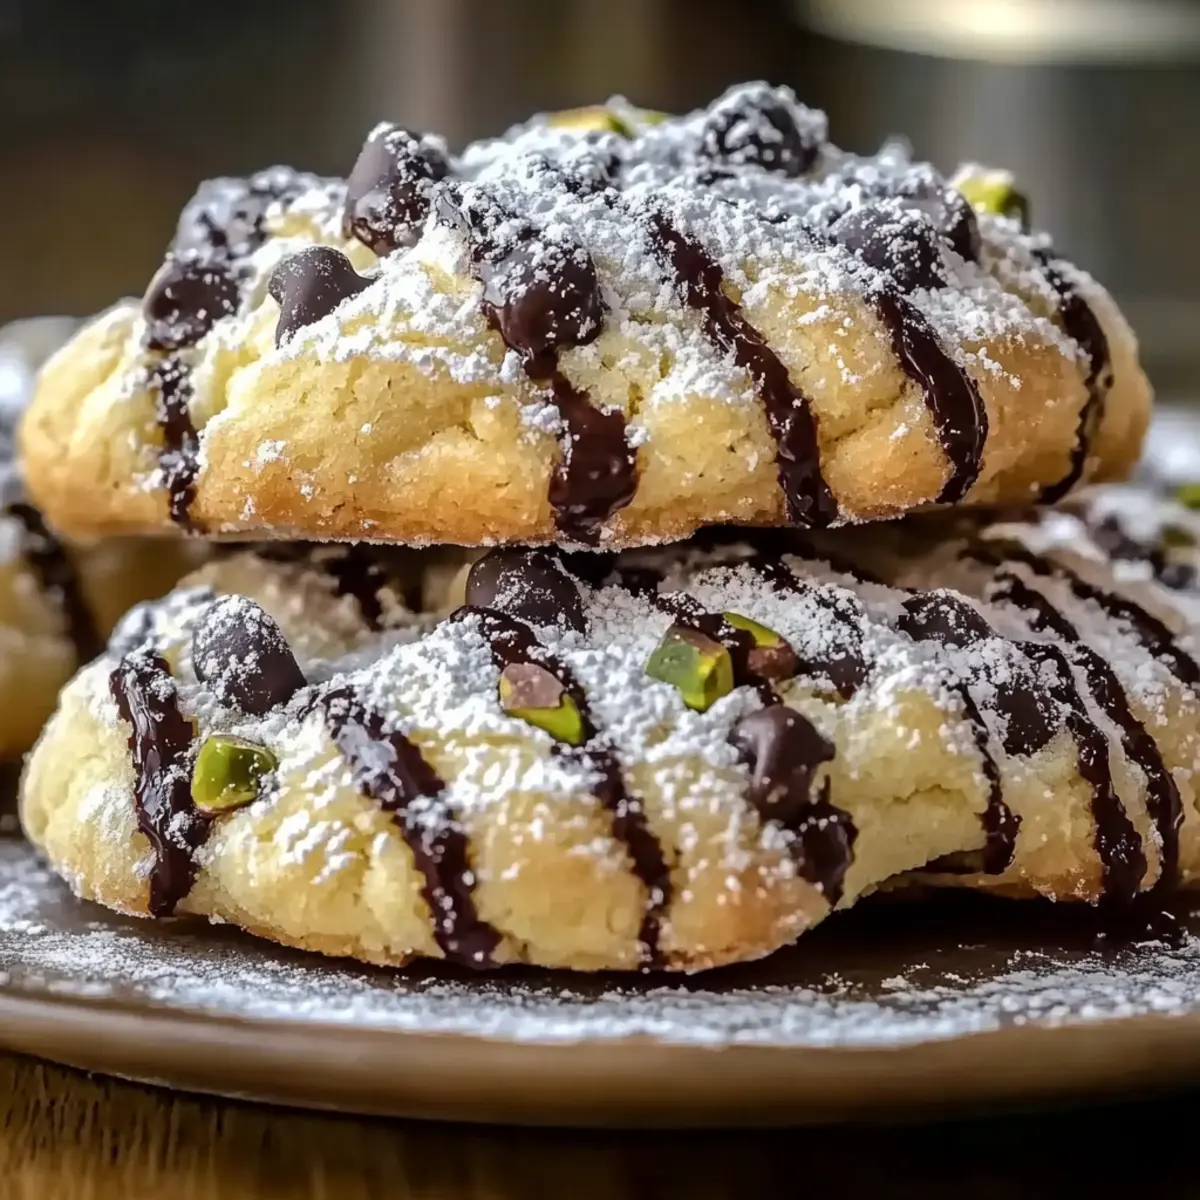
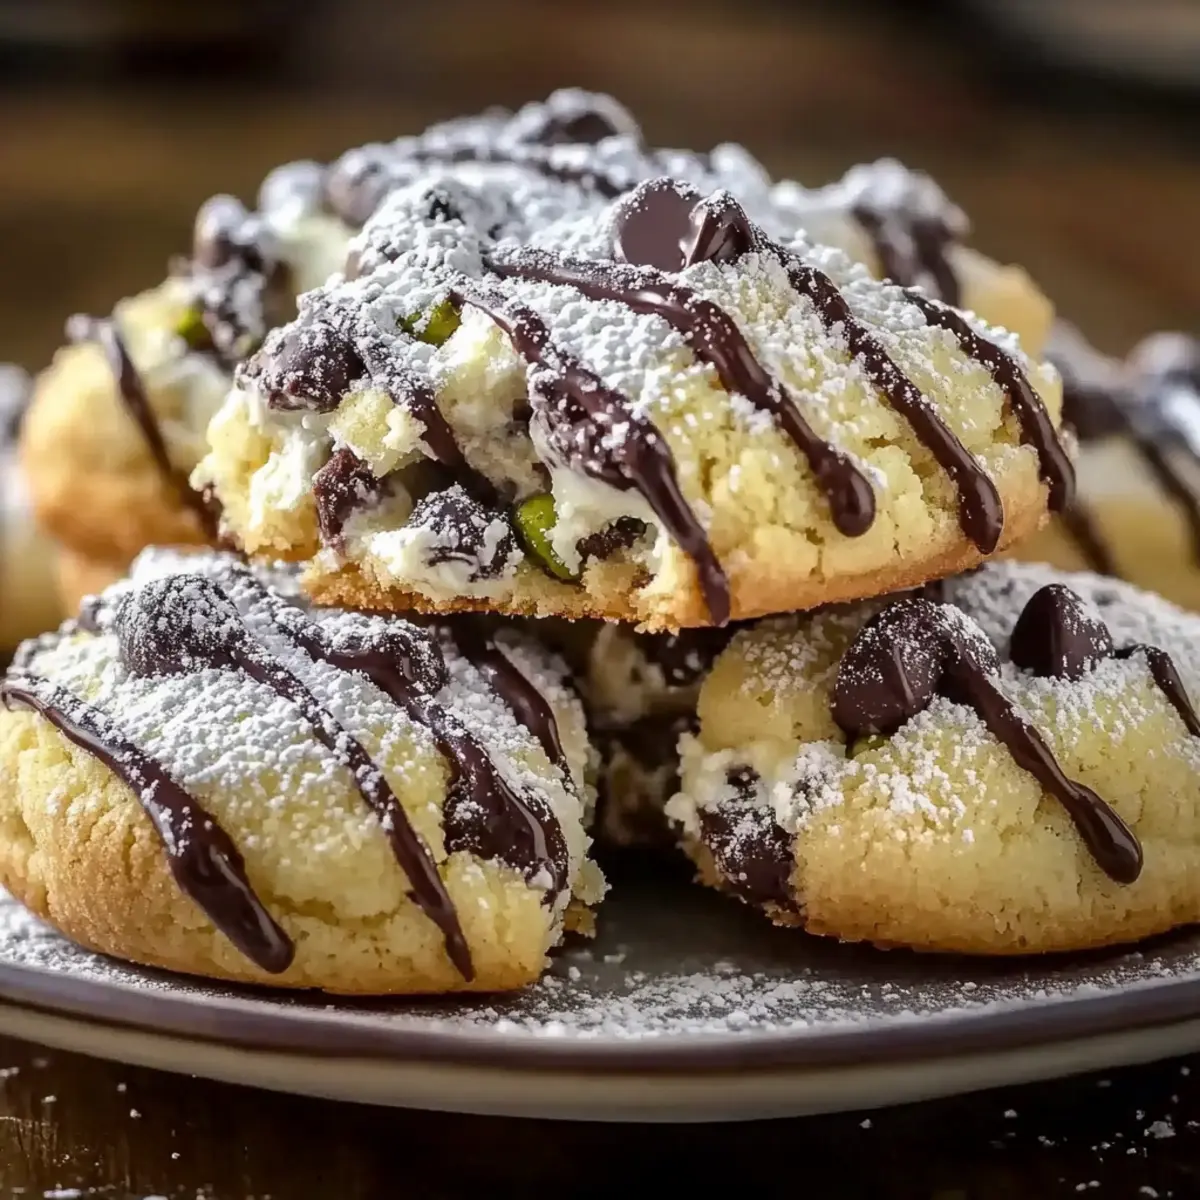
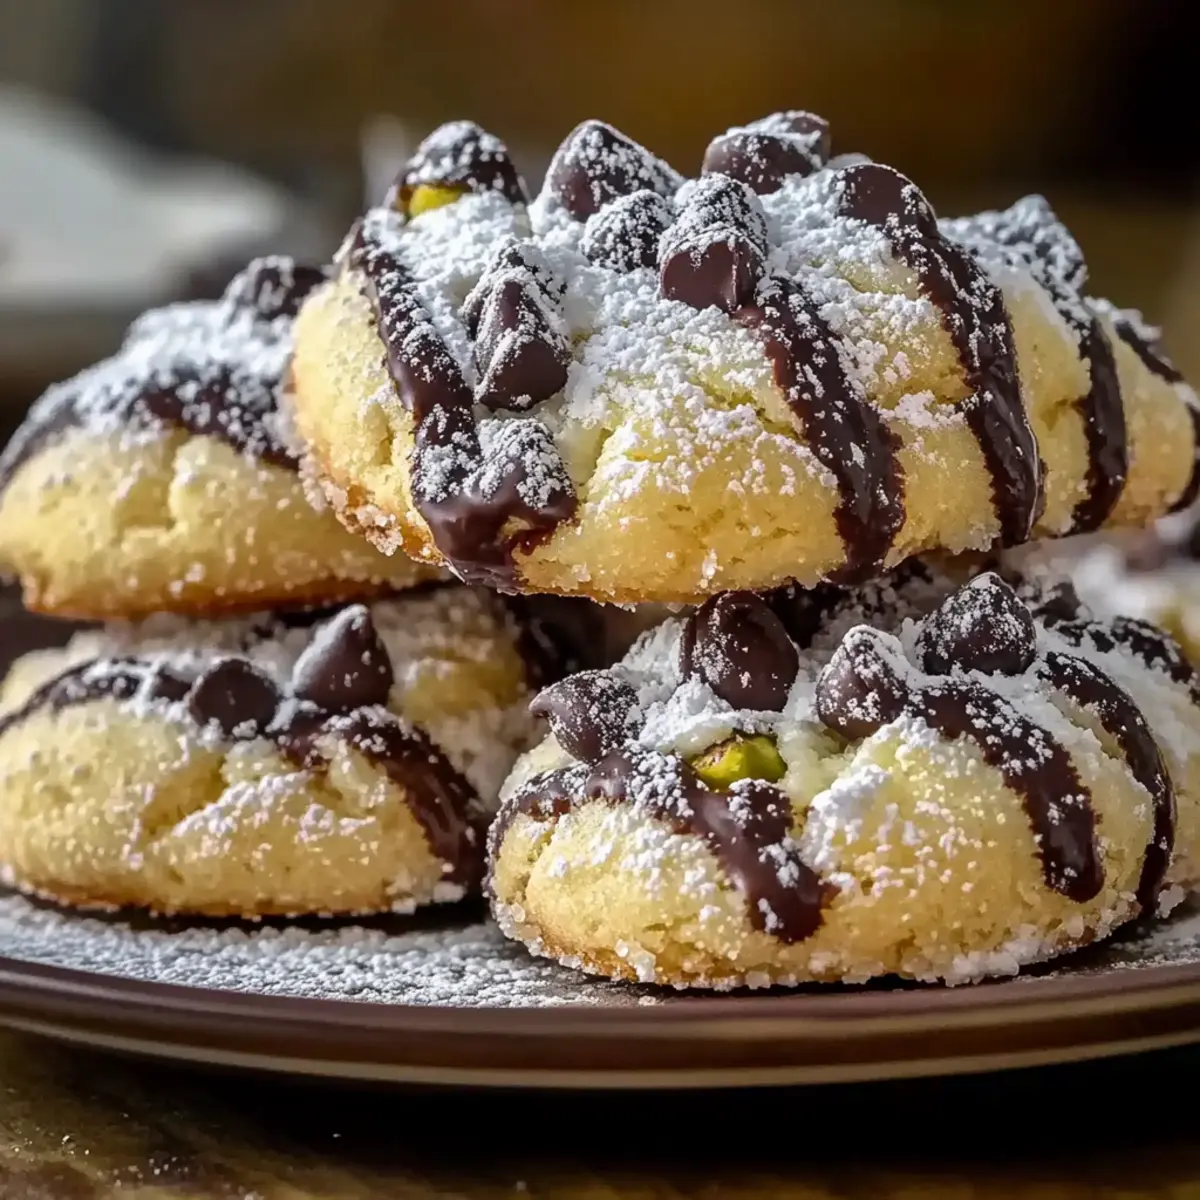
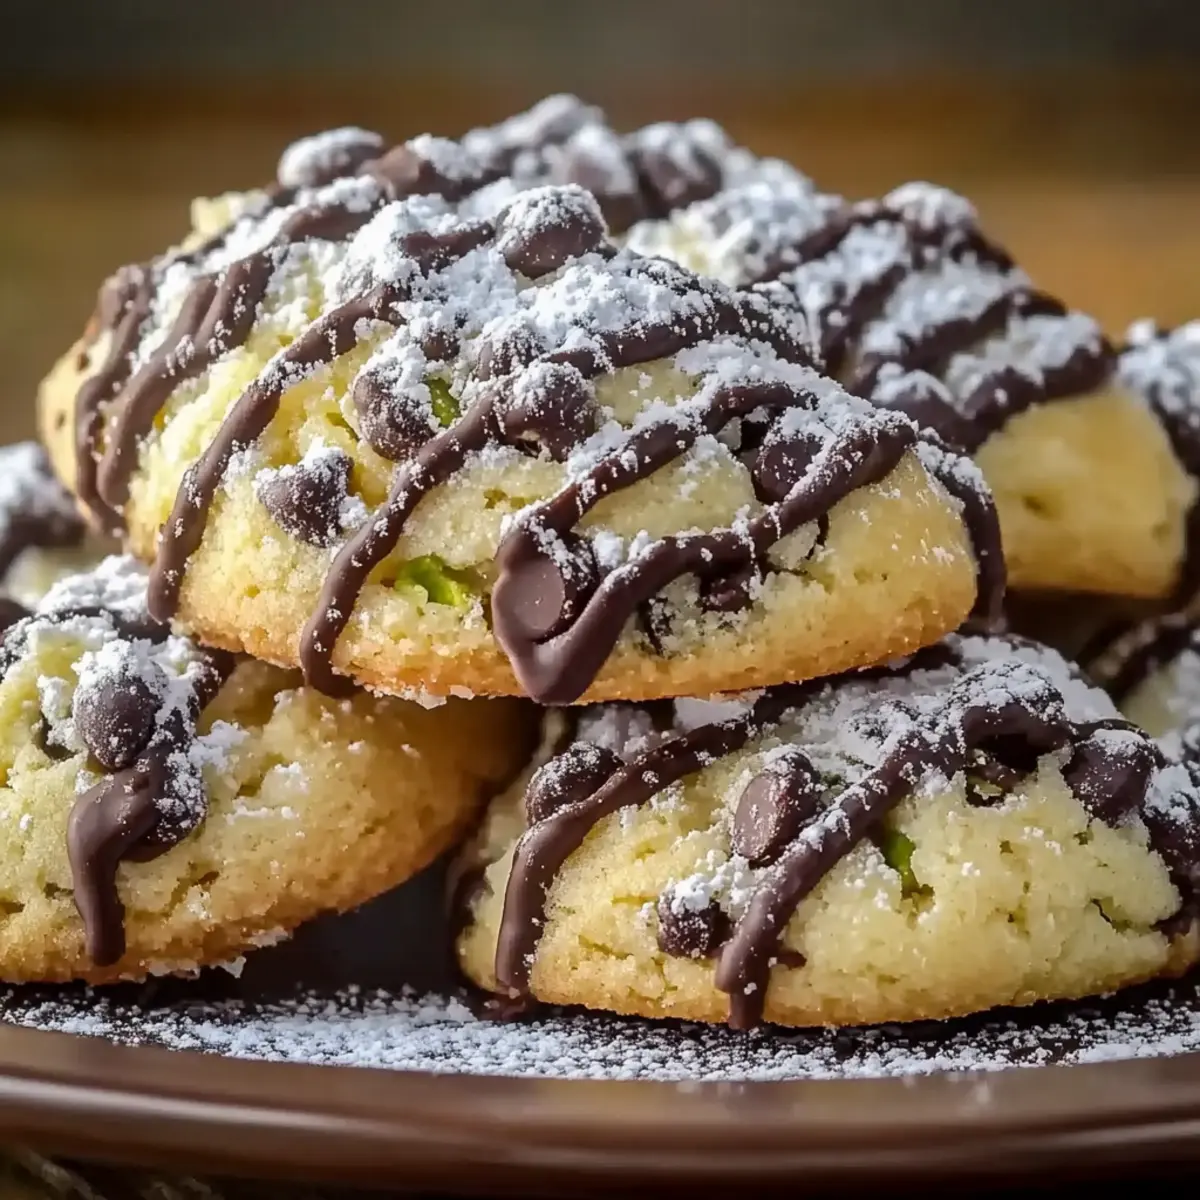
“Did you ever wonder if a cookie could capture an entire culinary tradition?” That’s the delightful essence of Cannoli Cookies, where the beloved Italian dessert is transformed into a handheld treat that’s perfect for any occasion. With a simple six-step process, these cookies blend the crispy texture of a delicate shell with a creamy ricotta filling, evoking sweet memories of family gatherings and festive days. Not only are they a breeze to whip up, but they also make for a stunning dessert that’s sure to impress your guests. Plus, with options to customize the filling, you can easily make them your own. Are you ready to dive into a world of deliciousness that honors the rich heritage of Italian baking? Let’s create some Cannoli Cookies together!
Why Will You Love Cannoli Cookies?
Tradition, These Cannoli Cookies bring the classic Italian dessert right to your kitchen, allowing you to indulge in its rich flavors without any fuss. Easy to make, the straightforward six-step process makes it perfect for both novice and experienced bakers alike. Versatile fillings let you experiment with mini chocolate chips, dried fruits, or nuts, providing endless delicious combinations. Crowd-pleaser, whether at family gatherings or holidays, these cookies are sure to wow anyone with their unique taste and appearance. For more delightful cookie ideas, consider trying Hot Chocolate Cookies or Kitchen Sink Cookies. Get ready to impress!
Cannoli Cookies Ingredients
• Everything you need for delightful cookies!
For the Dough
- All-Purpose Flour – Essential for structure; sift it for a lighter texture.
- Granulated Sugar – Adds sweetness to balance the ricotta; enhances browning.
- Large Egg – Acts as a binding agent to hold everything together.
- Vanilla Extract – Elevates flavor and adds warmth; choose pure for the best taste.
- Lemon Zest – Brightens the dough with a refreshing aroma; can swap for orange zest.
For the Filling
- Ricotta Cheese (¼ cup) – Provides moisture and classic cannoli flavor; use room temperature for a smoother mix.
- Mini Chocolate Chips – Brings texture and rich sweetness; can be replaced with dried fruit if desired.
- Chopped Pistachios – Adds a delightful crunch and nutty flavor; substitute almonds for variation.
For Garnish
- Powdered Sugar – Dust after baking for extra sweetness and an appealing presentation.
Create these Cannoli Cookies to satisfy your sweet cravings while celebrating the spirit of Italian baking!
Step‑by‑Step Instructions for Cannoli Cookies
Step 1: Preheat the Oven
Begin by preheating your oven to 350°F (175°C). This ensures your Cannoli Cookies will bake evenly and achieve that perfect golden brown hue. While the oven warms up, gather your mixing bowls and measuring utensils to keep the process seamless.
Step 2: Prepare the Dry Ingredients
In a large mixing bowl, whisk together the all-purpose flour and granulated sugar until they are thoroughly combined, creating a light, airy mixture. This step should take about a minute of gentle whisking. Proper blending of these ingredients will contribute to the delightful texture of your Cannoli Cookies.
Step 3: Mix the Wet Ingredients
In a separate bowl, blend together the ricotta cheese, large egg, vanilla extract, and lemon zest until the mixture is creamy and smooth. Use a whisk or electric mixer for about 2-3 minutes to ensure the mixture is well incorporated. This delicious filling brings the essence of classic cannoli into your cookies.
Step 4: Combine the Ingredients
Gradually add the dry flour mixture to the wet ingredients, stirring gently until a soft dough forms. This should take about 3-4 minutes of folding, just until you no longer see dry flour. Avoid overmixing to keep your Cannoli Cookies tender and delightful.
Step 5: Let the Dough Rest
Cover the dough with plastic wrap and allow it to rest for 30 minutes at room temperature. This crucial step helps relax the gluten, which will result in tender cookies. Use this time to prepare your baking sheets to keep the momentum going.
Step 6: Prepare the Baking Sheets
Line two baking sheets with parchment paper to prevent the Cannoli Cookies from sticking during baking. This ensures an easy release and a beautiful presentation. Having everything prepared in advance sets you up for an enjoyable baking experience.
Step 7: Roll Out the Dough
Once rested, roll out the dough on a floured surface to about ¼ inch thick. Use a sharp knife or pizza cutter to cut the dough into rectangles, approximately 2×3 inches each. The shapes should be even to ensure uniform baking, showcasing the charming nature of your Cannoli Cookies.
Step 8: Make the Filling
In a mixing bowl, combine the remaining ricotta, mini chocolate chips, and chopped pistachios. Mix them together until the ingredients are distributed evenly, creating a rich filling that enhances your Cannoli Cookies with delightful textures and flavors.
Step 9: Assemble the Cookies
Take a rectangle of dough, place a spoonful of the filling on one half, and then fold the other half over to create a pocket. Pinch the edges securely to seal in the filling, ensuring that your Cannoli Cookies will stay intact while baking.
Step 10: Bake the Cookies
Carefully place the filled cookies on the prepared baking sheets and bake for 15-18 minutes, or until they are golden brown around the edges. Keep an eye on them towards the end to prevent over-browning, achieving that perfect crispy exterior.
Step 11: Cool and Dust
Once baked, let the cookies cool on the baking sheets for about 5 minutes before transferring them to a wire rack. Allow them to cool completely, then dust with powdered sugar for an elegant finish. The sweet contrast against the crispy shells creates a beautiful presentation for your Cannoli Cookies.
Storage Tips for Cannoli Cookies
-
Room Temperature: Store your Cannoli Cookies in an airtight container for up to 3 days to maintain their delightful texture and crispness.
-
Fridge: If you plan to keep them for a longer time, you can refrigerate the cookies for up to a week. Just be sure to separate layers with parchment paper to prevent sticking.
-
Freezer: These cookies freeze well for up to 1 month. Place them in a freezer-safe container, using parchment paper between layers. To enjoy, simply thaw at room temperature or reheat briefly in the oven.
-
Reheating: For the freshest taste, reheat cookies in a preheated oven at 350°F (175°C) for 5-7 minutes before serving. This will revive their crispy exterior.
What to Serve with Cannoli Cookies?
Elevate your dessert experience by pairing these delightful Cookies with delicious accompaniments that enhance their nostalgic flavors.
-
Rich Espresso: The boldness of espresso beautifully complements the sweetness of Cannoli Cookies, creating a perfect balance of flavors.
-
Sweet Dessert Wine: A glass of sweet dessert wine, like Vin Santo or Moscato, enriches the experience with its fruity notes, making every bite even more decadent.
-
Pistachio Ice Cream: The creamy texture of pistachio ice cream mirrors the cookie’s filling while adding a luxurious touch; a delightful treat for any palate.
-
Chocolate Dipping Sauce: Melted dark chocolate for dipping adds an indulgent twist, enhancing the rich layers of flavor in each bite. Every dunk becomes a mini celebration!
-
Fresh Berries: A medley of juicy strawberries and blueberries introduces a refreshing contrast to the cookies’ sweetness, elevating the overall dessert experience.
-
Lemon Sorbet: The zesty coolness of lemon sorbet cleanses the palate, offering a bright contrast that highlights the citrus undertones of Cannoli Cookies.
-
Milk: A classic glass of milk pairs perfectly, enhancing the taste and texture of the cookies while evoking childhood memories of sweet treats with a glass of cold goodness.
Expert Tips for Cannoli Cookies
-
Room Temperature Ricotta: Ensure your ricotta is at room temperature for a smoother filling. Cold ricotta can lead to a lumpy mixture, impacting flavor and texture.
-
Gentle Mixing: Do not overmix the dough; gently fold the ingredients to maintain tenderness. Overworking the dough can cause tough cookies instead of light, crispy ones.
-
Uniform Shapes: Cut the dough into even rectangles (about 2×3 inches) for consistent baking. Irregular shapes can lead to unevenly cooked Cannoli Cookies, affecting their texture.
-
Monitor Baking Time: Keep a close eye on the cookies as they bake. They should be golden brown at the edges; overbaking will dry them out.
-
Filling Variations: Get creative with your filling! Try substituting the mini chocolate chips with dried fruit or nuts for diverse flavor profiles that elevate your Cannoli Cookies.
Make Ahead Options
These Cannoli Cookies are perfect for busy weeknights or special occasions when you want to impress without the last-minute rush! You can prepare the dough up to 24 hours in advance; simply wrap it tightly in plastic wrap and refrigerate. Additionally, the filling can be made ahead and stored in an airtight container for up to 3 days. To maintain their delightful texture, assemble and bake the cookies just before serving. When you’re ready to enjoy, roll out the chilled dough, fill with your prepped mixture, and bake as directed. You’ll have fresh, gourmet Cannoli Cookies that taste as delicious as if they were made that day!
Cannoli Cookies Variations & Substitutions
Feel free to explore these delightful twists on Cannoli Cookies that invite your creativity to shine through in every baked treat.
- Gluten-Free: Swap all-purpose flour with a gluten-free blend to enjoy a similar texture while accommodating gluten sensitivities.
- Nut-Free: Replace pistachios with sunflower seeds for a nut-free option, offering a delicious crunch without the allergens.
- Fruitful Delight: Incorporate dried cherries or apricots into the filling for a fruity burst; the sweet and tart contrast complements the creamy ricotta beautifully.
- Zesty Orange: Use orange zest instead of lemon zest to infuse a warm citrus note that brings out the sweetness of the filling.
- Dairy-Free: Substitute ricotta with a plant-based cream cheese or blended silken tofu for a luscious, dairy-free alternative that retains creaminess.
- Bold Chocolate: For an extra chocolate hit, add cocoa powder to the dough or drizzle melted dark chocolate over the cooled cookies.
- Spicy Twist: Sprinkle a touch of cinnamon or nutmeg into the dough for a warming spice that adds depth to the flavor profile.
- Layered Goodness: Create a layered cookie by placing two rectangles with filling in between instead of folding, offering a sandwich-style treat that satisfies in multiple bites.
These variations allow for endless experimentation, reminiscent of various delightful cookie experiences. For more inspiration, feel free to check out Kitchen Sink Cookies or consider making rich and indulgent Hot Chocolate Cookies. Happy baking!
Cannoli Cookies Recipe FAQs
What type of ricotta cheese should I use for Cannoli Cookies?
Absolutely! You should choose whole milk ricotta for the best flavor and creaminess. Ensure it’s properly drained and, ideally, at room temperature to achieve a smooth mixture when combined. This will make your filling luscious and prevent it from being grainy or lumpy, which can affect the overall texture of your Cannoli Cookies.
How should I store Cannoli Cookies?
To keep your Cannoli Cookies at their best, store them in an airtight container at room temperature for up to 3 days. If you have leftovers, adding parchment paper between layers will help prevent them from sticking together. For longer storage, refrigerate them for up to a week, or freeze for up to 1 month.
Can I freeze Cannoli Cookies?
Yes, you can freeze Cannoli Cookies! To do this, allow the cookies to cool completely after baking. Then, layer them in a freezer-safe container with parchment paper between each layer to avoid sticking. When you’re ready to enjoy them, simply thaw at room temperature or reheat in the oven at 350°F (175°C) for about 5-7 minutes for that fresh-baked taste.
What if the dough is too sticky or dry?
If your dough feels too sticky, it might be due to humidity or over-measuring the flour. You can add a little more flour, one tablespoon at a time, until it reaches a manageable consistency. Conversely, if the dough is too dry, try adding a tiny splash of milk or a bit more ricotta, mixing gently until it comes together. Remember, the more the merrier when it comes to experimenting, so don’t hesitate to adjust as needed!
Are Cannoli Cookies suitable for people with allergies?
These Cannoli Cookies contain gluten and dairy, primarily from the all-purpose flour and ricotta cheese, so they may not be suitable for individuals with celiac disease or lactose intolerance. For a gluten-free option, you can experiment with a gluten-free 1:1 flour blend. If dairy is a concern, consider using a dairy-free ricotta made from nuts or tofu that has been blended smooth to mimic that creamy texture. Always check labels for hidden allergens!
How long do Cannoli Cookies stay fresh?
When stored properly, Cannoli Cookies can stay fresh for about 3 days at room temperature. If refrigerated, they can last up to a week. However, for optimal taste and texture, it’s best to enjoy them within the first few days after baking!
Delicious Cannoli Cookies to Satisfy Your Sweet Cravings
Ingredients
Equipment
Method
- Preheat your oven to 350°F (175°C).
- In a large mixing bowl, whisk together the all-purpose flour and granulated sugar.
- In a separate bowl, blend together the ricotta cheese, large egg, vanilla extract, and lemon zest until creamy.
- Gradually add the dry flour mixture to the wet ingredients, stirring until a soft dough forms.
- Cover the dough with plastic wrap and allow it to rest for 30 minutes at room temperature.
- Line two baking sheets with parchment paper.
- Roll out the dough to about ¼ inch thick and cut into rectangles (approximately 2x3 inches).
- In a mixing bowl, combine the ricotta, mini chocolate chips, and chopped pistachios.
- Take a rectangle of dough, place a spoonful of the filling, and fold over to create a pocket.
- Pinch the edges securely to seal.
- Place filled cookies on baking sheets and bake for 15-18 minutes, or until golden brown.
- Allow to cool for 5 minutes before dusting with powdered sugar.
Leave a Reply