
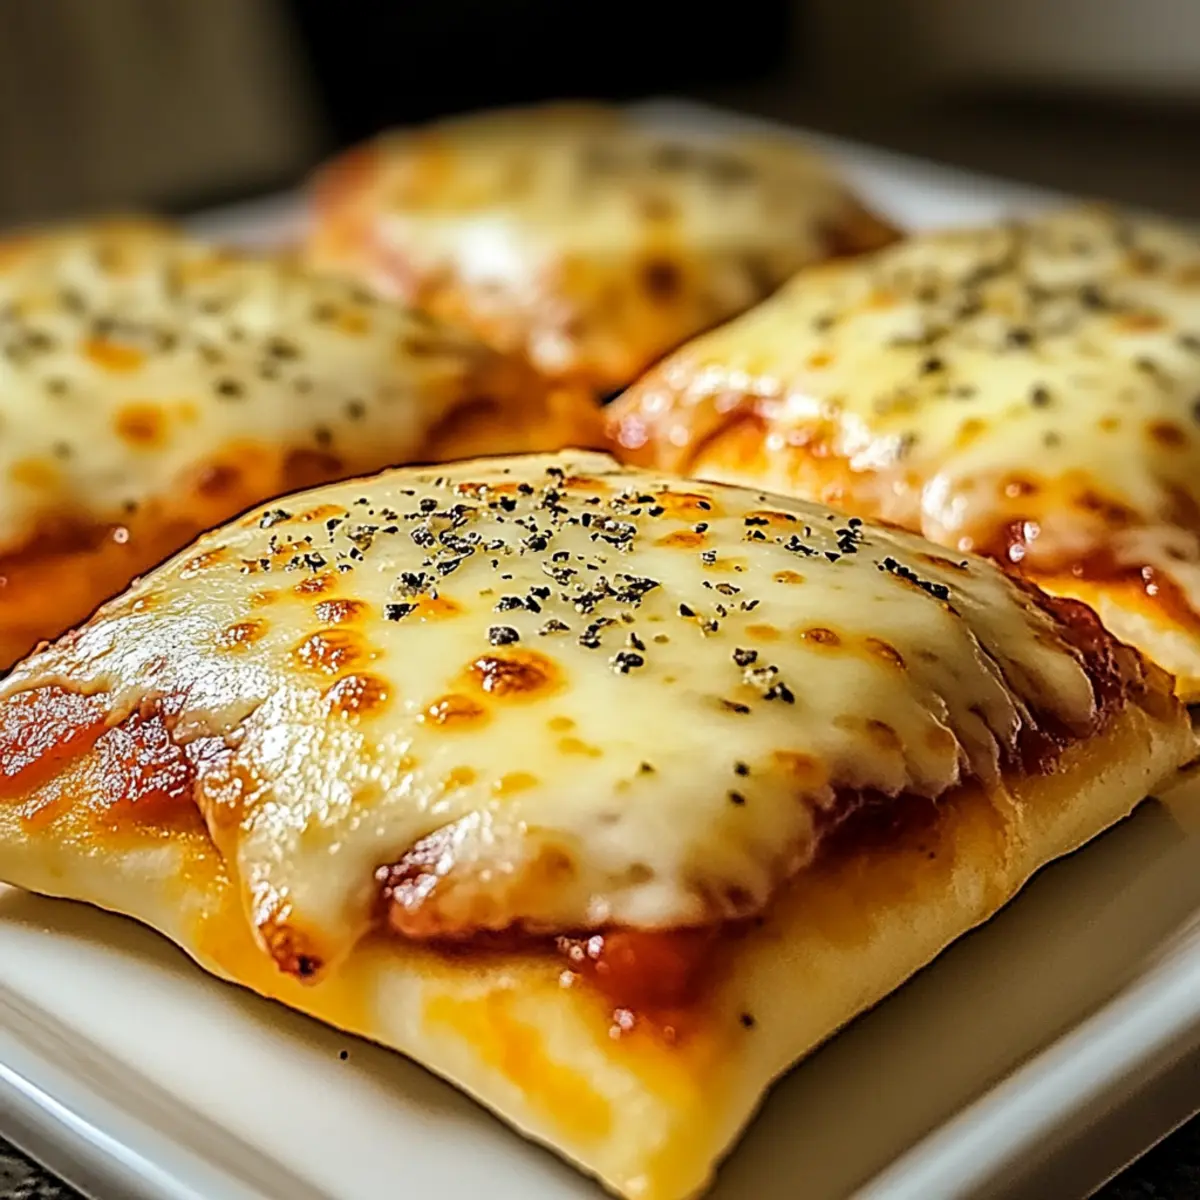
As I pulled the first batch of Homemade Cheesy Pizza Pockets out of the oven, the golden, crispy aroma wrapped around me like a warm hug. These little pockets of joy not only bring back the nostalgia of childhood snack time, but they also offer a customizable twist that makes them perfect for any craving. With just a few simple ingredients, this kid-friendly recipe ensures a stress-free dinner or snack, leaving you plenty of time to enjoy life’s little moments. Whether you’re packing them for lunchboxes or diving into them right from the tray, these cheesy delights are a tasty way to escape the fast-food cycle. So, what fillings will you choose for your own delicious, personalized pizza pockets?
Why You’ll Love Homemade Cheesy Pizza Pockets
Family-Friendly Fun: Everyone in your family can get involved in crafting their own unique pizza pockets, making dinner a delightful and interactive experience.
Customization Galore: With endless options for fillings and dough types, you can cater to every taste—switch it up with veggies, different cheeses, or even fresh herbs for a gourmet touch!
Quick & Easy: These pockets can be whipped up in no time, meaning you can serve a hot, homemade meal without hours in the kitchen.
Perfect for Meal Prep: Freeze extras for future snack attacks or lunchboxes, just like you would with my Cheesy Ranch Potatoes—a time-saver that never compromises on taste!
Ultimate Comfort Food: Each bite brings the warm, gooey satisfaction of classic pizza, wrapped up in a crispy exterior that will have both kids and adults asking for seconds.
A Nostalgic Treat: Enjoy the flavors of your childhood while creating new memories, whether you serve them at a party, for game night, or just because you feel like indulging!
Homemade Cheesy Pizza Pockets Ingredients
For the Dough
- Crescent Dough – Use this for a buttery and flaky texture that melts in your mouth.
- Pizza Dough – A classic option for those who prefer a chewier bite.
For the Filling
- Mozzarella Cheese – The key to that gooey, melty goodness; feel free to swap with cheddar or dairy-free cheese.
- Marinara Sauce – Adds moisture and rich flavor; you can substitute with pizza sauce or any favorite dipping sauce.
- Toppings (pepperoni, veggies, etc.) – Personalize with your favorite ingredients; fresh basil or olives can add a delightful twist.
For Sealing
- Egg – Brushing the edges helps seal the dough, but can be left out if you’re crimping with a fork.
These homemade cheesy pizza pockets are not only delicious but are also perfect for customizing to fit every palate!
Step‑by‑Step Instructions for Homemade Cheesy Pizza Pockets
Step 1: Prep the Dough
Begin by preheating your oven to 375°F (190°C). On a clean, lightly floured surface, roll out your chosen dough, whether it’s crescent or pizza dough. If using crescent dough, carefully separate it into triangles; for pizza dough, roll it into a flat circle. Aim for about 1/8 inch thickness to ensure a chewy yet crispy result for your homemade cheesy pizza pockets.
Step 2: Fill the Pockets
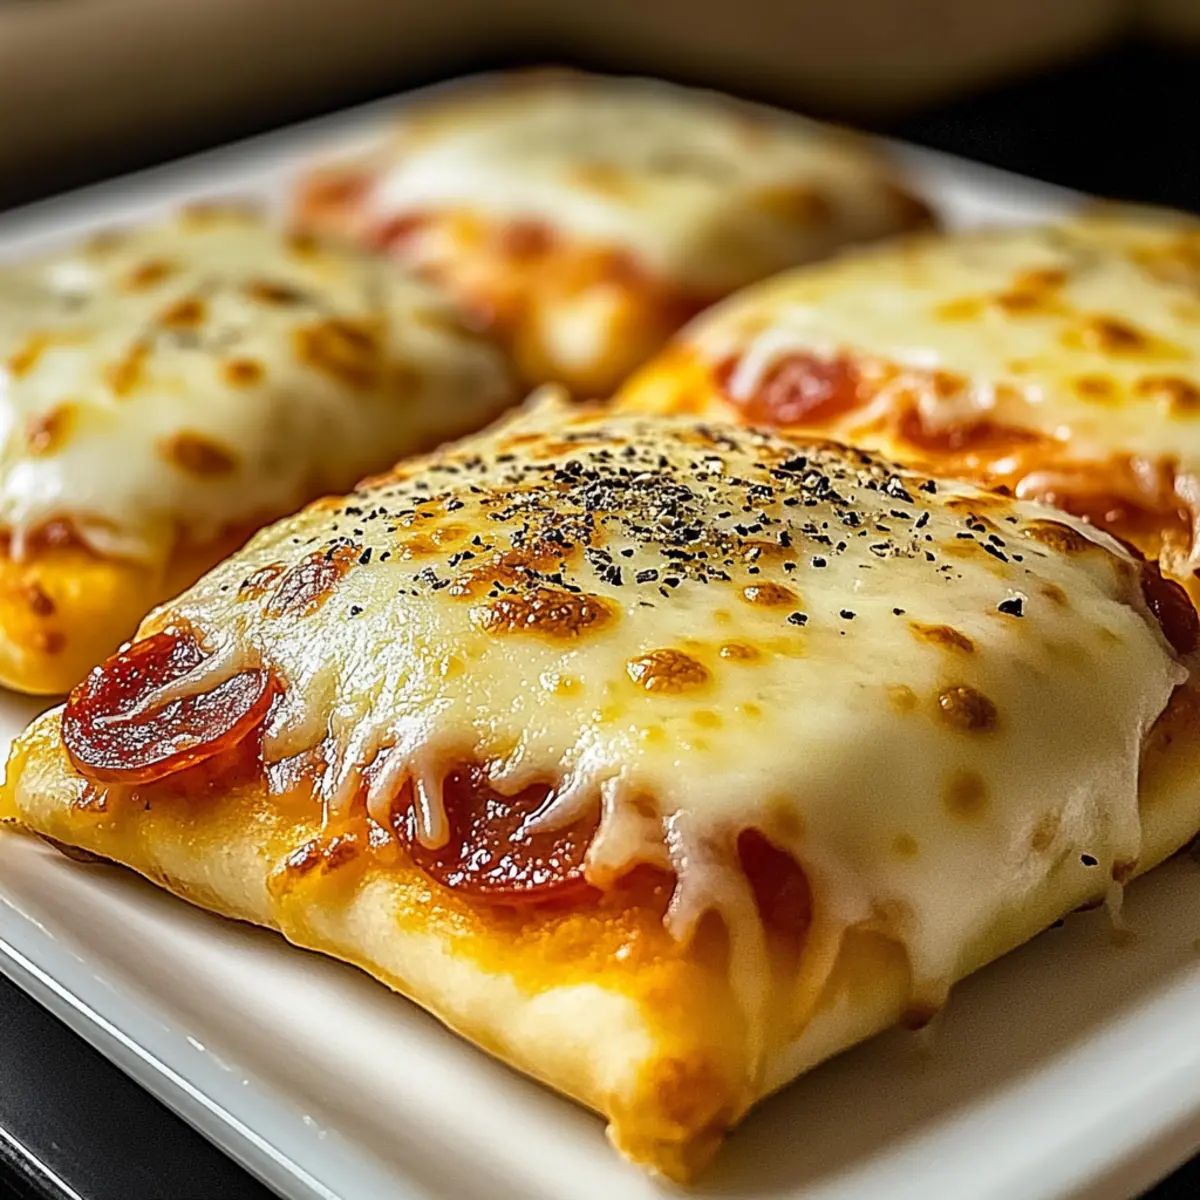
Next, take each dough piece and place a generous handful of shredded mozzarella cheese on one half, leaving space at the edges. Add any desired toppings like pepperoni or chopped veggies, followed by a spoonful of marinara sauce for added flavor and moisture. Make sure not to overload the filling to prevent any spills during cooking.
Step 3: Seal the Edges
After filling, fold the dough over to create a pocket. Press the edges firmly with your fingers to seal it shut. For extra security, use a fork to crimp the edges, creating a pretty design while ensuring everything stays inside. If desired, brush the tops with beaten egg for a rich, golden color when baked, giving your homemade cheesy pizza pockets an irresistible shine.
Step 4: Bake the Pockets
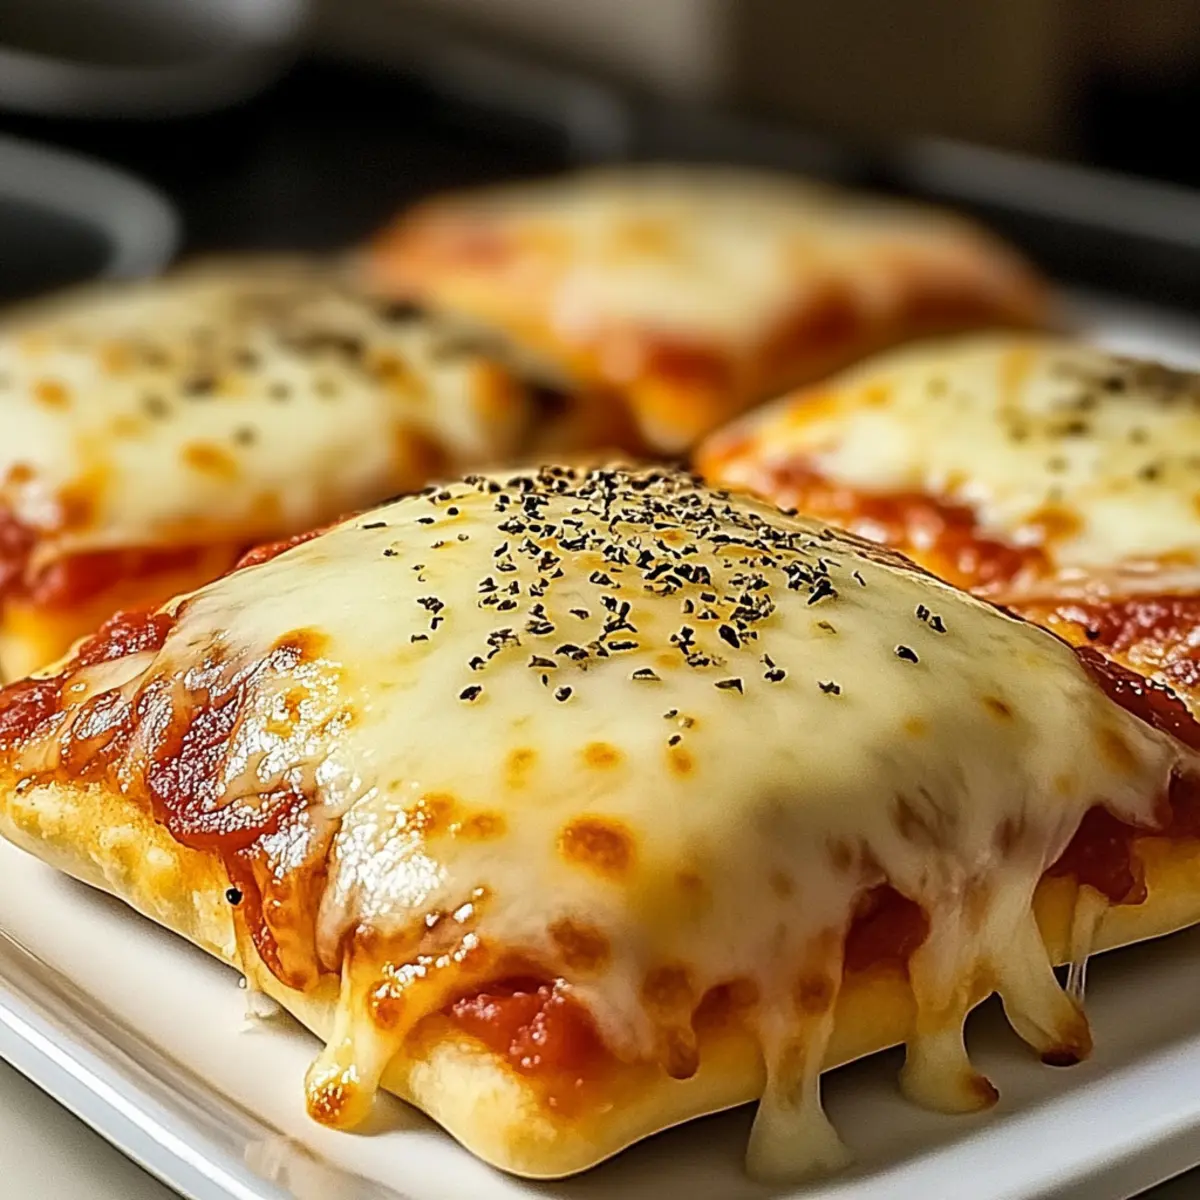
Place the sealed pizza pockets on a baking sheet lined with parchment paper. Bake them in the preheated oven for about 15-20 minutes. You’ll know they’re ready when they turn a beautiful golden brown and emit a deliciously cheesy aroma. If you’re using air fryer, preheat it to 375°F (190°C) and cook for 8-10 minutes, flipping halfway for an even cook.
Step 5: Cool & Serve
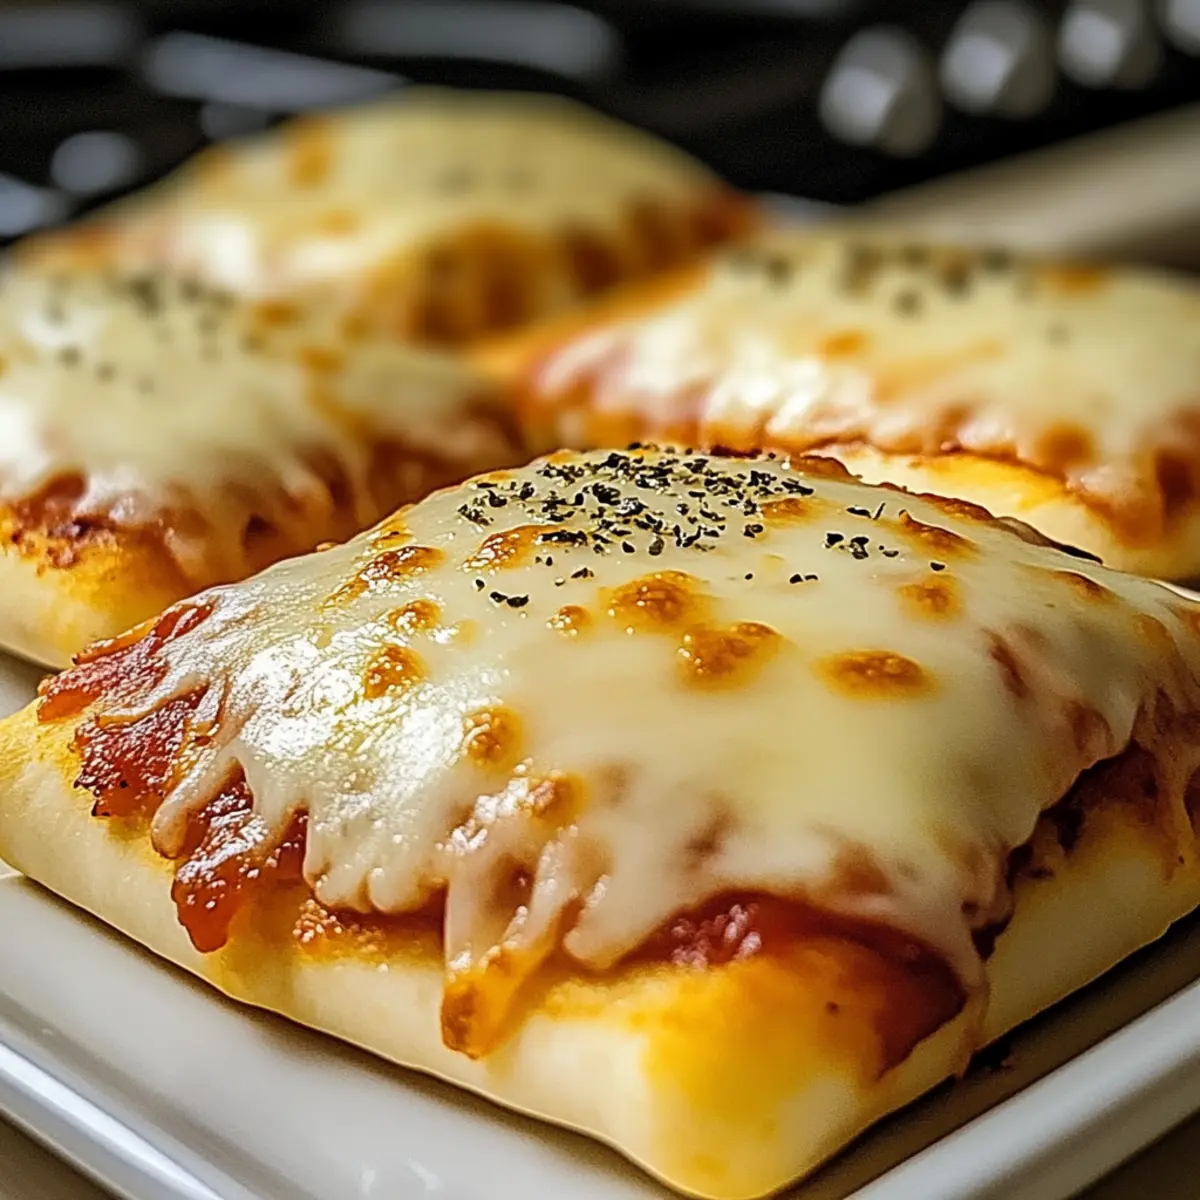
Once baked, carefully remove your homemade cheesy pizza pockets from the oven and let them cool on the baking sheet for about 5 minutes. This cooling time will help the cheese set a little, making for a more enjoyable bite. Serve them warm with extra marinara sauce or your favorite dipping sauce, perfect for sharing and savoring together.
Make Ahead Options
These Homemade Cheesy Pizza Pockets are perfect for meal prep enthusiasts! You can prepare the filling— mozzarella, marinara, and your favorite toppings—up to 3 days in advance, storing it in an airtight container in the refrigerator. If you’d like, you can assemble the entire pockets and freeze them uncooked for up to 3 months. To maintain quality, ensure they are tightly sealed to prevent freezer burn. When ready to enjoy, simply bake from frozen at 375°F (190°C) for about 20-25 minutes, or until golden brown, for delicious, fresh results without the wait! Perfect for busy weeknights, these make-ahead pizza pockets will save you time while still delivering that cozy, homemade flavor.
Homemade Cheesy Pizza Pockets Variations
Feel free to play with this recipe and make it suit your taste buds—let your creativity shine in the kitchen!
- Dairy-Free: Substitute mozzarella with dairy-free cheese options like almond or coconut-based products for a creamy filling without the dairy.
- Protein-Packed: Try adding grilled chicken or crumbled sausage for a heartier version. This will transform your pockets into a satisfying meal full of flavor.
- Pesto Twist: Swap marinara sauce for pesto to introduce a fragrant herbaceous flavor that pairs beautifully with cheese! It’s a fresh, tasty change that can delight your palate.
- Veggie Boost: Load up with extra veggies like spinach, mushrooms, or bell peppers for added nutrition and a colorful presentation. Each bite will deliver a crunch that contrasts beautifully with the melty cheese.
- Sweet & Savory: Mix in some fruit like diced pineapple or apples with the cheese for a sweet-tart experience that adds an unexpected delight to your pizza pocket.
- Spicy Kick: Add sliced jalapeños or crushed red pepper flakes to the filling for a subtle heat that makes each bite more exciting. The contrast of flavors will keep everyone coming back for more!
- Different Doughs: Experiment with whole wheat or gluten-free dough for a healthier twist that still delivers on taste and texture. It can be a fun way to include more variety in your cooking routine.
For those who enjoy different flavor profiles, consider serving these delightful pockets alongside alternatives like my Sausage Spinach Pizza or a cheesy twist on potatoes, such as my Cheesy Taco Potatoes. Your creativity knows no bounds!
How to Store and Freeze Homemade Cheesy Pizza Pockets
Room Temperature: Store any leftover pizza pockets on a cooling rack for up to 2 hours. If longer, wrap in foil and store in a cool place.
Fridge: Keep leftovers in an airtight container for up to 3 days. Reheat in the oven or air fryer for a crispy finish, ensuring they retain that cheesy goodness.
Freezer: For longer storage, freeze uncooked pizza pockets on a baking sheet until solid, then transfer to a freezer bag. These can last for up to 2 months and be baked from frozen.
Reheating: If reheating cooked pockets from the fridge, aim for around 10 minutes in a 350°F oven to keep them crispy while warming through.
What to Serve with Homemade Cheesy Pizza Pockets
Elevate your family dinner with delightful sides and treats that perfectly complement these cheesy, comforting bites.
-
Crispy Garlic Bread: The buttery, garlicky flavor pairs beautifully with the cheesy pockets and adds a crunchy element to your meal.
-
Fresh Garden Salad: A colorful mix of greens and veggies adds a refreshing crunch that balances the richness of the pizza pockets.
-
Creamy Ranch Dressing: Serve as a dipping sauce for an extra layer of flavor; its coolness contrasts perfectly with the warm cheesy filling.
-
Vegetable Platter: Offer a variety of crunchy vegetables with hummus or ranch for a wholesome and fun side to balance the meal.
-
Fruit Skewers: Sweet, juicy bites of fruit are a delightful and refreshing addition, brightening up the table and pleasing kids and adults alike.
-
Sparkling Lemonade: This zesty drink adds a refreshing sparkle to the meal, making it feel extra special and inviting.
-
Oven-Baked Sweet Potato Fries: Their natural sweetness and crispiness create a delightful contrast to the savory pizza pockets, enhancing the overall flavor experience.
With these pairings, you’ll craft a memorable meal that satisfies all ages while keeping the spirit of homemade comfort alive!
Tips for the Best Homemade Cheesy Pizza Pockets
• Dough Choice Matters: Choose crescent dough for a flaky texture and pizza dough for a chewier bite. Both work beautifully!
• Fill Sparingly: Avoid overfilling your pockets; excessive filling can lead to spills and unsealed edges. Keep it to a handful for best results.
• Sealing Technique: Make sure to press the edges firmly when sealing. Using a fork not only seals but adds a fun design too!
• Freezing Instructions: Prepare extra pizza pockets and freeze them uncooked. Bake from frozen to enjoy fresh treats anytime with minimal effort.
• Flavor Combinations: Don’t hesitate to explore flavor combinations! From classic pepperoni to fresh spinach and feta, your homemade cheesy pizza pockets can reflect your favorite pizza toppings.
Homemade Cheesy Pizza Pockets Recipe FAQs
What type of dough works best for pizza pockets?
Absolutely! You can choose between store-bought crescent dough for a buttery, flaky texture or traditional pizza dough for a chewier bite. If you’re feeling adventurous, even homemade dough can be used. Each type offers a delicious foundation for your homemade cheesy pizza pockets, so it really depends on your preferred texture!
How long can I store leftover pizza pockets?
Very! Leftover pizza pockets can be stored in an airtight container in the refrigerator for up to 3 days. When reheating, I recommend using the oven or air fryer for about 10 minutes at 350°F (175°C) to maintain that delightful crispiness.
Can I freeze uncooked pizza pockets?
Absolutely! To freeze uncooked pizza pockets, place them on a baking sheet lined with parchment paper until they’re solid, about 1-2 hours. Then, transfer them to a freezer-safe bag or container. They can last for up to 2 months! Bake them straight from frozen without thawing. Just be sure to add a few extra minutes to the cooking time!
What if my pizza pockets are leaking during baking?
Oh no! If you find that your pockets are leaking, it’s often due to overfilling. To avoid this, keep the filling to a generous handful and ensure the edges are securely sealed by pressing firmly and crimping with a fork. If leakage occurs, don’t worry too much; it happens to the best of us. Just enjoy the deliciousness anyway!
Are these pizza pockets allergen-friendly?
I often make these pizza pockets adaptable for dietary preferences! You can use dairy-free cheese, gluten-free dough, or even load them up with veggies for a vegan option. Just double-check your topping choices to ensure they fit any allergies you may have—it’s a fun way to cater to everyone’s tastes!
Homemade Cheesy Pizza Pockets That Kids Will Love
Ingredients
Equipment
Method
- Preheat your oven to 375°F (190°C) and prepare your chosen dough on a floured surface.
- Place a handful of mozzarella cheese, your chosen toppings, and marinara sauce on one half of each dough piece.
- Fold the dough over to create a pocket and seal the edges firmly, using a fork for crimping if desired.
- Place the sealed pockets on a baking sheet lined with parchment paper and bake for about 15-20 minutes.
- Cool the pockets on the baking sheet for about 5 minutes before serving them warm with marinara sauce.
Leave a Reply