
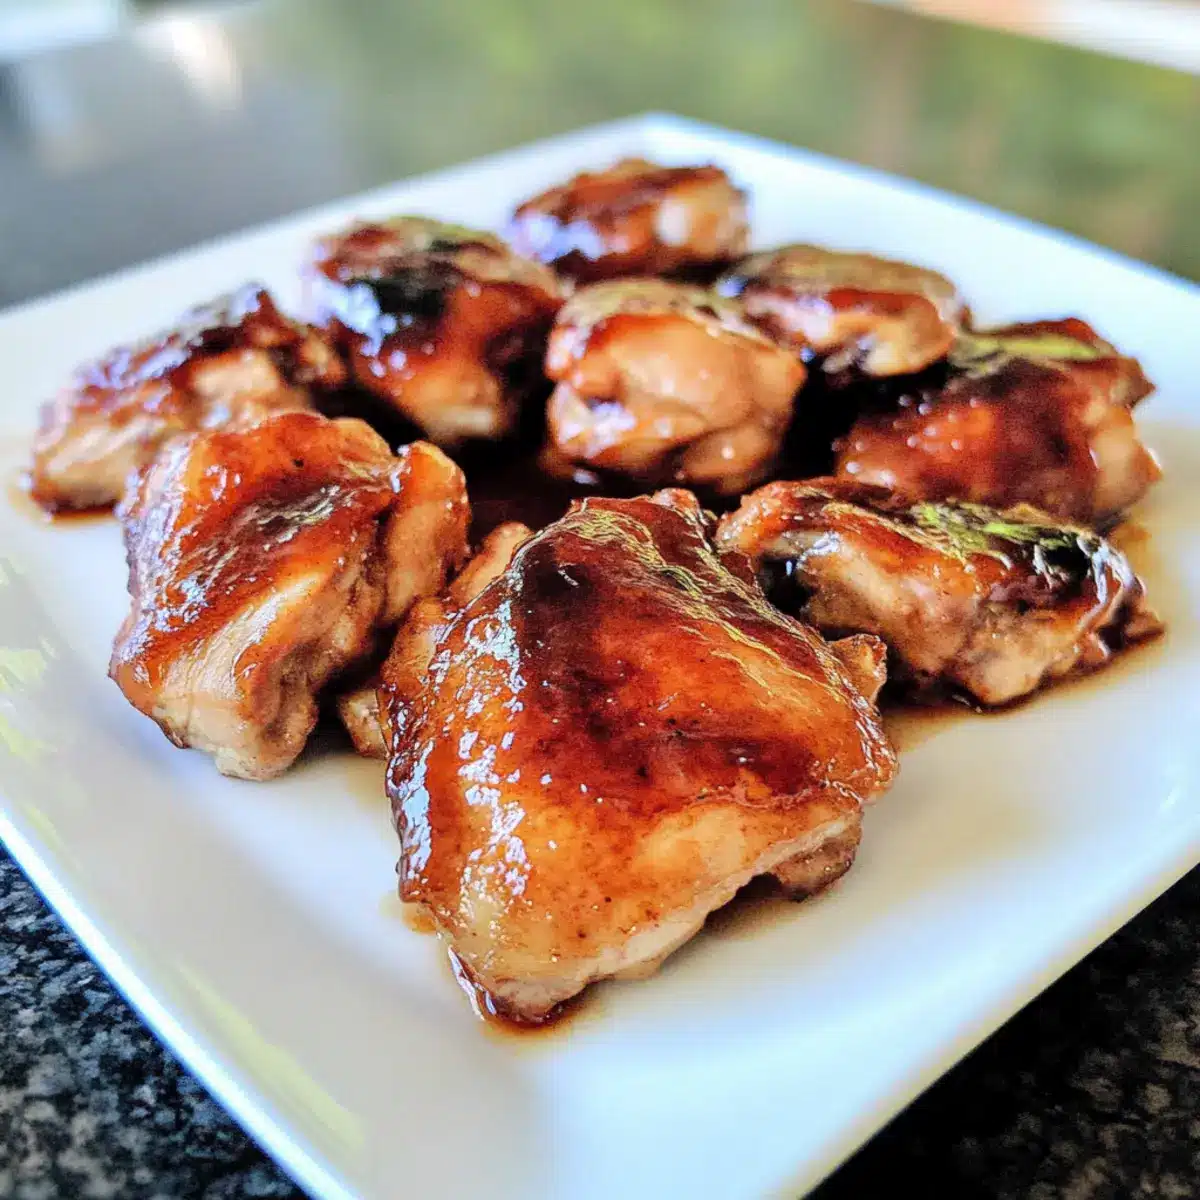
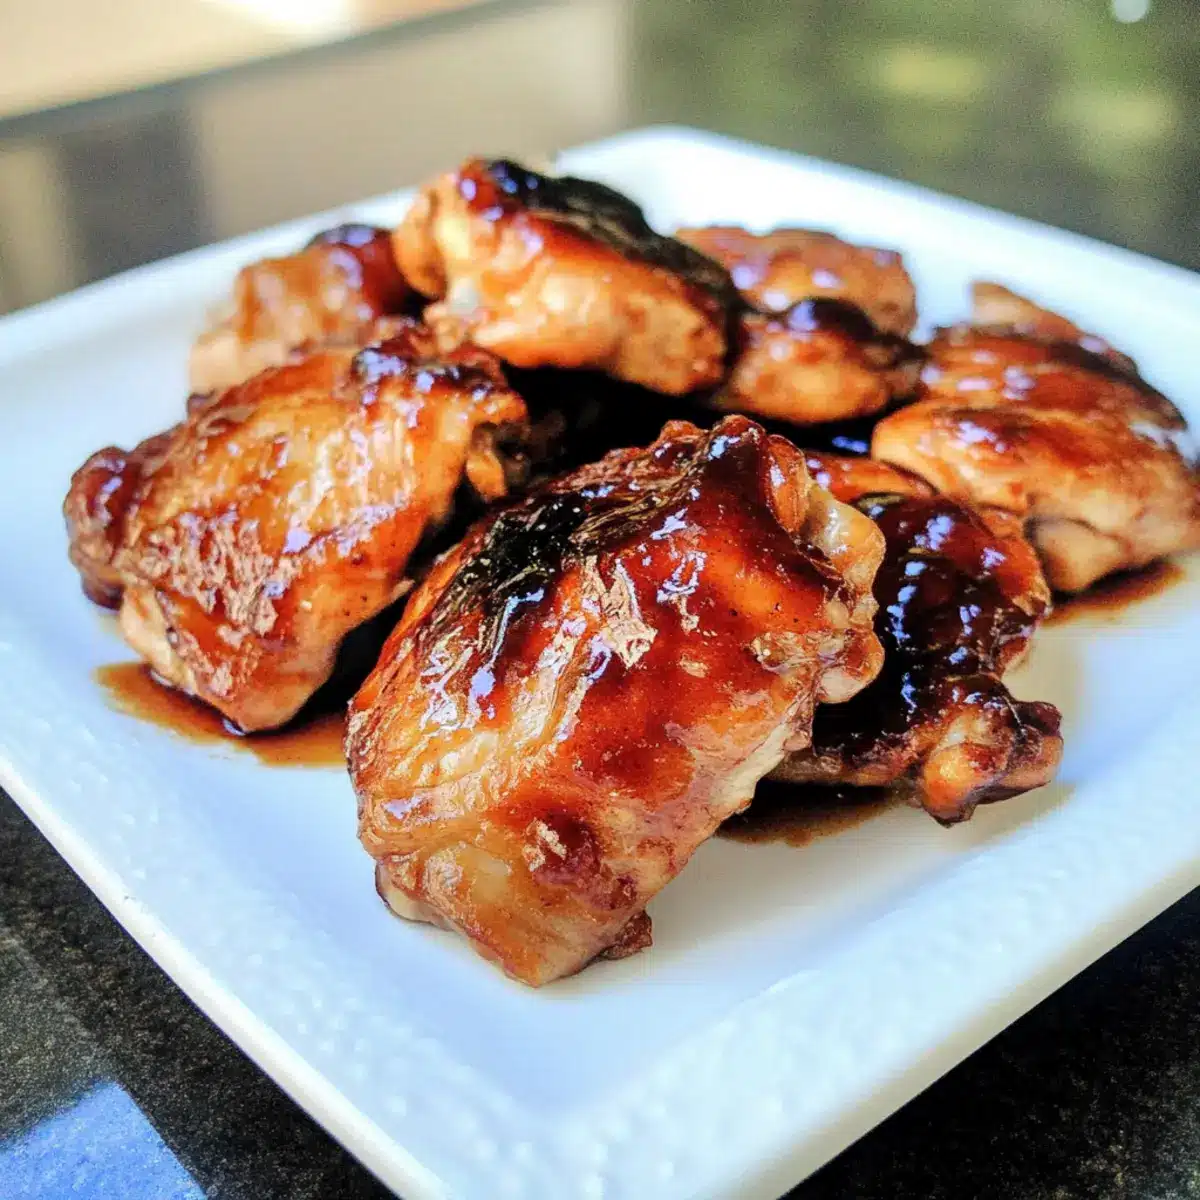
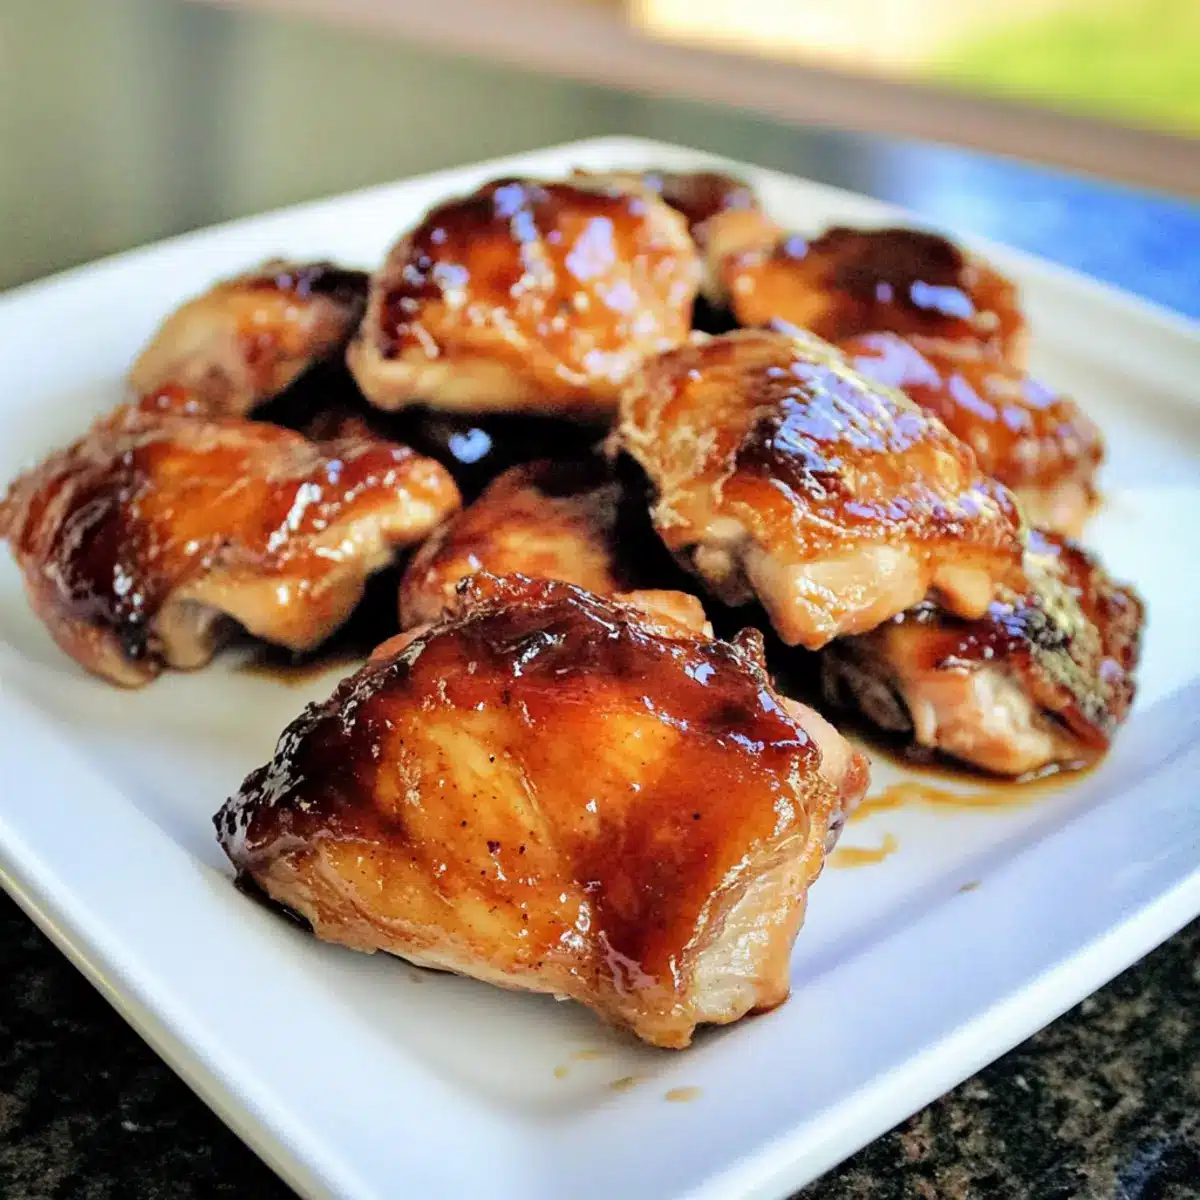
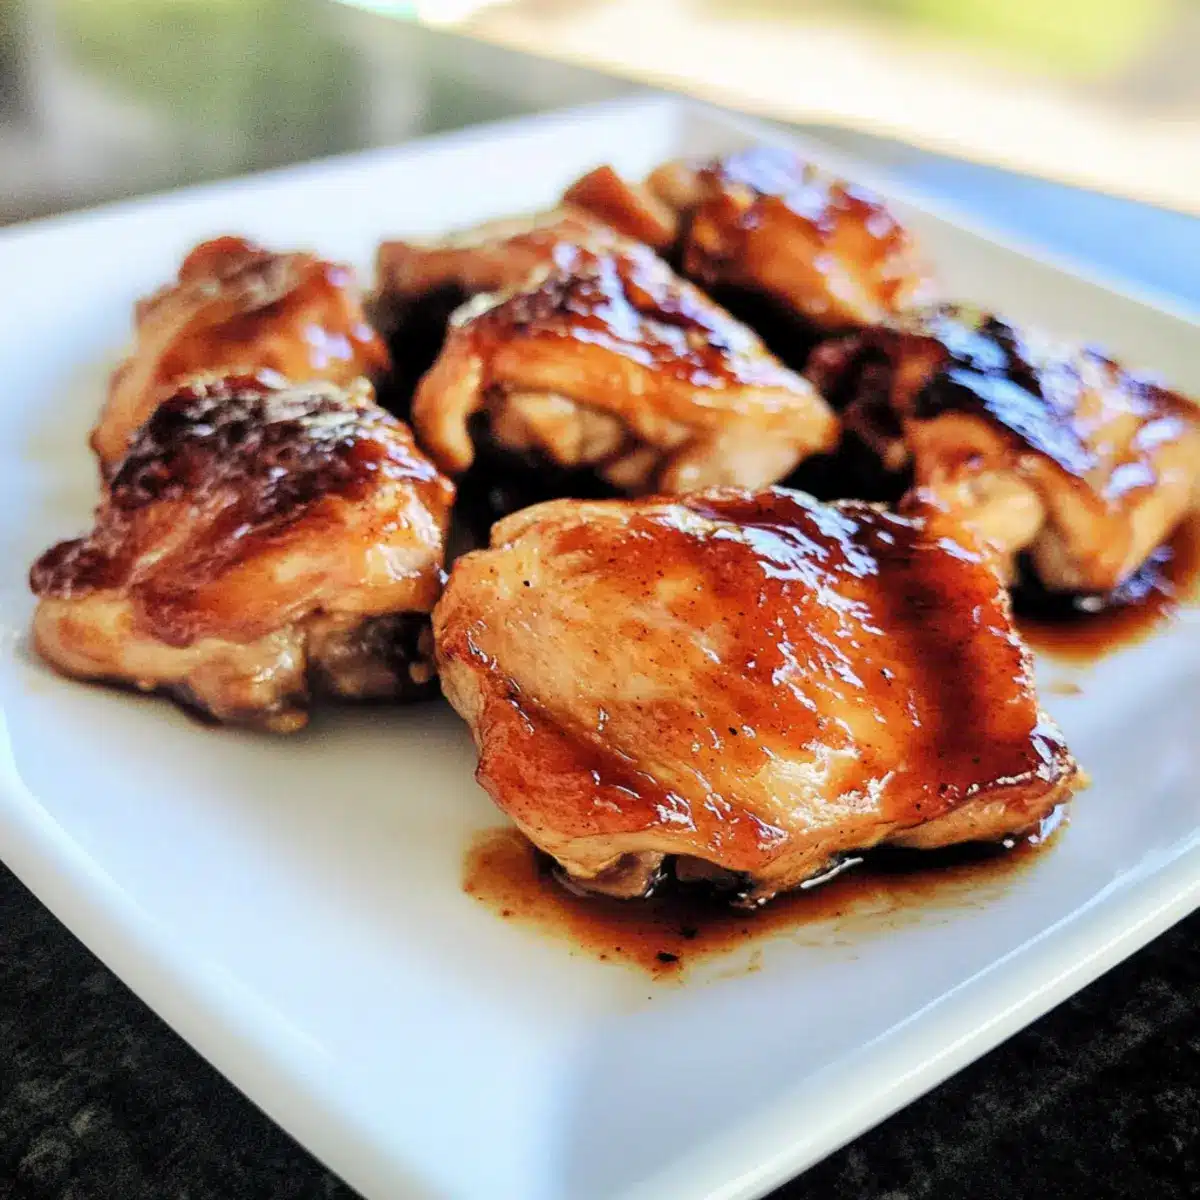
The sizzling sound of chicken searing on the grill transports me back to warm summer nights filled with laughter and good food. One of my all-time favorites to whip up is Honey BBQ Chicken, a delightful meal that marries tender boneless chicken thighs with a homemade sweet and tangy BBQ sauce. Perfect for those chaotic weeknights, this dish comes together in just 25 minutes, making it an ideal quick meal for busy families. Plus, the juicy flavor and sticky glaze ensure it’s a hit with both kids and adults, transforming dinner into a celebration. Are you ready to bring some barbecue bliss to your kitchen? Let’s dive into making this delectable dish together!
Why is Honey BBQ Chicken a Must-Try?
Quick Meal Solution: This Honey BBQ Chicken is a lifesaver for busy weeknights, coming together in just 25 minutes!
Finger-Licking Good: The blend of sweet honey and tangy BBQ sauce creates an irresistible flavor that everyone loves.
Cooking Versatility: Whether you choose to grill, bake, or air fry, this recipe adapts perfectly to your kitchen needs.
Family Favorite: Its juicy texture and sticky glaze ensure a meal that will please even the pickiest eaters in the household!
Easy to Customize: Add your favorite sides like coleslaw or corn on the cob for a complete dinner experience that’ll make everyone happy.
Honey BBQ Chicken Ingredients
• Discover the essential components for making a delightful Honey BBQ Chicken meal that your family will love!
For the BBQ Sauce
- Garlic – Provides aromatic flavor; use minced or granulated garlic for convenience.
- Ketchup – Acts as the base of the BBQ sauce, bringing sweetness and tang to the dish.
- Honey – Sweetens the sauce beautifully; can be substituted with brown sugar for a different flavor.
- Worcestershire Sauce – Adds depth and richness; don’t skip this essential ingredient!
- Hot Sauce – Provides a hint of heat; feel free to adjust the amount based on your spice preference.
- Black Pepper – Enhances overall flavor; freshly ground pepper will yield the best taste.
- Dark Brown Sugar – Adds sweetness and a rich color; light brown sugar can be used as an alternative.
- Lemon Juice – Freshens the BBQ sauce; bottled lemon juice is a handy substitute if you’re in a pinch.
For the Chicken
- Chicken Thighs – The star of the dish, boneless and skinless for tenderness; chicken breasts can be substituted if desired.
- Avocado Oil – Ideal for cooking the chicken; can replace with any neutral oil like canola or vegetable oil.
- Salt – Enhances the flavor; essential for seasoning the chicken properly.
- Garlic Powder – Adds an extra layer of garlic flavor for more deliciousness.
This fantastic Honey BBQ Chicken recipe is going to elevate your family dinners to a whole new level of flavor!
Step‑by‑Step Instructions for Honey BBQ Chicken
Step 1: Prepare the Sauce
In a small saucepan, heat 1 teaspoon of oil or butter over medium heat. Sauté minced garlic until it becomes golden brown, about 1-2 minutes. Next, add 2 cups of ketchup, ½ cup of honey, 1 tablespoon Worcestershire sauce, ½ teaspoon hot sauce, ½ tablespoon black pepper, ¼ cup dark brown sugar, and 2 tablespoons of lemon juice. Simmer the mixture for 10-15 minutes, stirring occasionally, until it becomes bubbly and thickens slightly.
Step 2: Prepare the Chicken
While the sauce is simmering, coat 3 pounds of boneless skinless chicken thighs with 3 tablespoons of avocado oil. This oil will help the chicken get that beautiful sear. Season the thighs generously with 1 teaspoon of salt, ½ tablespoon of black pepper, and 1 teaspoon of garlic powder. Ensure the seasonings cover the chicken well for a flavorful Honey BBQ Chicken.
Step 3: Cook the Chicken
Preheat your grill to high heat, aiming for around 400°F. Once hot, place the seasoned chicken thighs on the grill. Cook each side for approximately 4-5 minutes until they develop a nice golden brown sear. Use a meat thermometer to check for doneness; the chicken should reach an internal temperature of 155°F before applying the BBQ sauce.
Step 4: Add the Sauce and Finish Cooking
Once the chicken has reached 155°F, generously brush your simmered BBQ sauce over each thigh. Continue cooking the chicken until it reaches the safe internal temperature of 165°F, which should take another 5-7 minutes. Keep an eye on the chicken to avoid flare-ups and ensure it gets that deliciously sticky glaze from the Honey BBQ sauce.
Step 5: Serve the Dish
Remove the Honey BBQ Chicken from the grill and let it rest for a couple of minutes. This resting period allows the juices to redistribute, keeping the chicken moist. Serve the chicken warm with additional BBQ sauce on the side for dipping, and enjoy your delightful meal!
Helpful Tricks for Honey BBQ Chicken
- Thaw Properly: Ensure your chicken thighs are fully thawed before cooking; this helps them cook evenly and retain their juiciness.
- Simmer the Sauce Longer: For a richer flavor, simmer the BBQ sauce longer, stirring frequently to avoid burning. This is key for perfect Honey BBQ Chicken!
- Use a Meat Thermometer: Always check internal temperatures; there’s no guessing game when you want your chicken perfectly cooked at 165°F.
- Rest the Chicken: Let the chicken rest for a few minutes after grilling; this helps the juices redistribute for a moist, flavorful bite.
- Customize Your Spice Level: Adjust the amount of hot sauce in the BBQ sauce to tailor the heat to your family’s liking, ensuring everyone enjoys the meal!
Honey BBQ Chicken Variations You’ll Love
Feel free to play around with this recipe and make it your own—there are so many delicious twists you can experiment with!
- Grilling: Cook the chicken on a preheated grill for that classic smoky flavor; this adds an irresistible char.
- Stovetop Option: Sear the chicken in a cast iron skillet for a crispy outer layer and juicy center; it’s quick and easy!
- Oven Baked: Bake at 400°F for 20-25 minutes, applying BBQ sauce halfway through for extra stickiness.
- Air Fryer: Use the air fryer at 380°F for about 12 minutes; it results in juicy chicken with a crispy exterior that’s hard to resist.
- Spicy Kick: Add extra hot sauce to the BBQ sauce for a fiery flavor; perfect for those who like their meals with a bit of heat!
- Smoky Flavor Boost: Incorporate smoked paprika into your BBQ sauce; it lends a wonderful depth that makes your dish even more exciting.
- Savory Twist: Replace honey with maple syrup for a unique sweetness and depth; it’s a flavorful surprise that will leave everyone wanting more.
- Herb Infused: Mix in fresh herbs like rosemary or thyme into the BBQ sauce for a fresh and fragrant uplift; it’s a delightful way to elevate the dish.
Don’t forget to check out some of my other favorites like Honey Lime Chicken for a zesty variation or Sriracha Honey Salmon if you’re in the mood for fish!
Make Ahead Options
These Honey BBQ Chicken thighs are perfect for meal prep enthusiasts! You can prepare the BBQ sauce up to 3 days in advance and store it in an airtight container in the refrigerator. Additionally, you can season the chicken thighs and refrigerate them for up to 24 hours before cooking, which allows the flavors to meld beautifully. When you’re ready to cook, simply grill the marinated chicken and brush the prepared BBQ sauce on during the last few minutes of grilling. This way, you’ll enjoy delicious, homemade Honey BBQ Chicken with minimal effort, saving you valuable time on busy weeknights while ensuring that the dish is just as flavorful and juicy as when made fresh!
Storage Tips for Honey BBQ Chicken
Fridge: Store leftover Honey BBQ Chicken in an airtight container for up to 3-4 days. This keeps your meal fresh and flavorful!
Freezer: If you want to keep it longer, freeze the chicken in a freezer-safe container for up to 3 months. Thaw overnight in the fridge before reheating.
Reheating: To reheat, place the chicken in the microwave or air fryer. Warm it until it reaches an internal temperature of 165°F to ensure it’s safe and tasty.
Wrapping: For best results, wrap individual pieces in foil for freezing to maintain moisture and prevent freezer burn.
What to Serve with Honey BBQ Chicken?
Looking to create a full, mouthwatering spread alongside your Honey BBQ Chicken? Let’s make your dinner unforgettable!
- Creamy Coleslaw: A crunchy, tangy side that adds a refreshing contrast to the sweet and sticky BBQ chicken. This classic combo lights up the table!
- Corn on the Cob: Grilled or boiled, sweet corn on the cob is a summertime delight that pairs perfectly with the smoky flavors of BBQ chicken.
- Garlic Bread: Soft, buttery garlic bread complements the rich flavors of the chicken, making it a cozy addition that everyone will love.
- Macaroni and Cheese: Creamy and cheesy, this dish adds comfort to the meal, balancing out the bold flavors of the Honey BBQ Chicken.
- Roasted Vegetables: Colorful roasted vegetables give a healthy crunch and are a great way to sneak in some nutrients alongside the delicious chicken.
- Baked Beans: Sweet and savory baked beans are the perfect side, echoing the barbecue feel while enhancing your hearty dinner.
- Potato Salad: This classic side dish provides a creamy and cool complement to the sticky chicken, making every bite delightful.
- Mango Salsa: Fresh, zesty mango salsa adds a vibrant, tropical twist that delicately offsets the sweetness of the chicken, delighting your taste buds!
- Lemonade or Iced Tea: Pair your meal with refreshing drinks like lemonade or sweet iced tea for a satisfying finish that’s light and invigorating.
Honey BBQ Chicken Recipe FAQs
What type of chicken is best for Honey BBQ Chicken?
I recommend using boneless skinless chicken thighs for the juiciest results, as they stay tender during cooking. However, boneless chicken breasts work as an alternative if you prefer a leaner cut.
How can I tell if my chicken is cooked properly?
It’s essential to use a meat thermometer! Chicken should reach an internal temperature of 165°F for safe consumption. Insert the thermometer into the thickest part of the chicken, avoiding bones for the most accurate reading.
What if I have leftover Honey BBQ Chicken?
Absolutely! Store leftover chicken in an airtight container in the fridge for 3-4 days. You can reheat it in the microwave or air fryer—just ensure it gets back to an internal temperature of 165°F before serving.
Can I freeze Honey BBQ Chicken?
Yes, you can! To freeze, place the cooled chicken in a freezer-safe container, separating pieces with parchment paper to avoid sticking. It can be frozen for up to 3 months. Thaw overnight in the refrigerator before reheating.
What should I serve with Honey BBQ Chicken?
The more the merrier! This dish pairs beautifully with classic sides like coleslaw, corn on the cob, or a fresh garden salad. You can even serve it over rice for a heartier meal.
How can I adjust the spice level in my BBQ sauce?
If you’re looking for a milder sauce, you can reduce or omit the hot sauce. Conversely, for more heat, feel free to add extra hot sauce or even incorporate diced jalapeños for a zesty kick.
Sweet and Tangy Honey BBQ Chicken for Quick Family Dinners
Ingredients
Equipment
Method
- In a small saucepan, heat 1 teaspoon of oil or butter over medium heat. Sauté minced garlic until it becomes golden brown, about 1-2 minutes. Next, add 2 cups of ketchup, ½ cup of honey, 1 tablespoon Worcestershire sauce, ½ teaspoon hot sauce, ½ tablespoon black pepper, ¼ cup dark brown sugar, and 2 tablespoons of lemon juice. Simmer the mixture for 10-15 minutes, stirring occasionally, until it becomes bubbly and thickens slightly.
- While the sauce is simmering, coat 3 pounds of boneless skinless chicken thighs with 3 tablespoons of avocado oil. Season the thighs generously with 1 teaspoon of salt, ½ tablespoon of black pepper, and 1 teaspoon of garlic powder.
- Preheat your grill to high heat, aiming for around 400°F. Place the seasoned chicken thighs on the grill and cook each side for approximately 4-5 minutes until they develop a nice golden brown sear.
- Once the chicken has reached 155°F, generously brush your simmered BBQ sauce over each thigh. Continue cooking until it reaches 165°F, which should take another 5-7 minutes.
- Remove the Honey BBQ Chicken from the grill and let it rest for a couple of minutes before serving warm.
Leave a Reply