
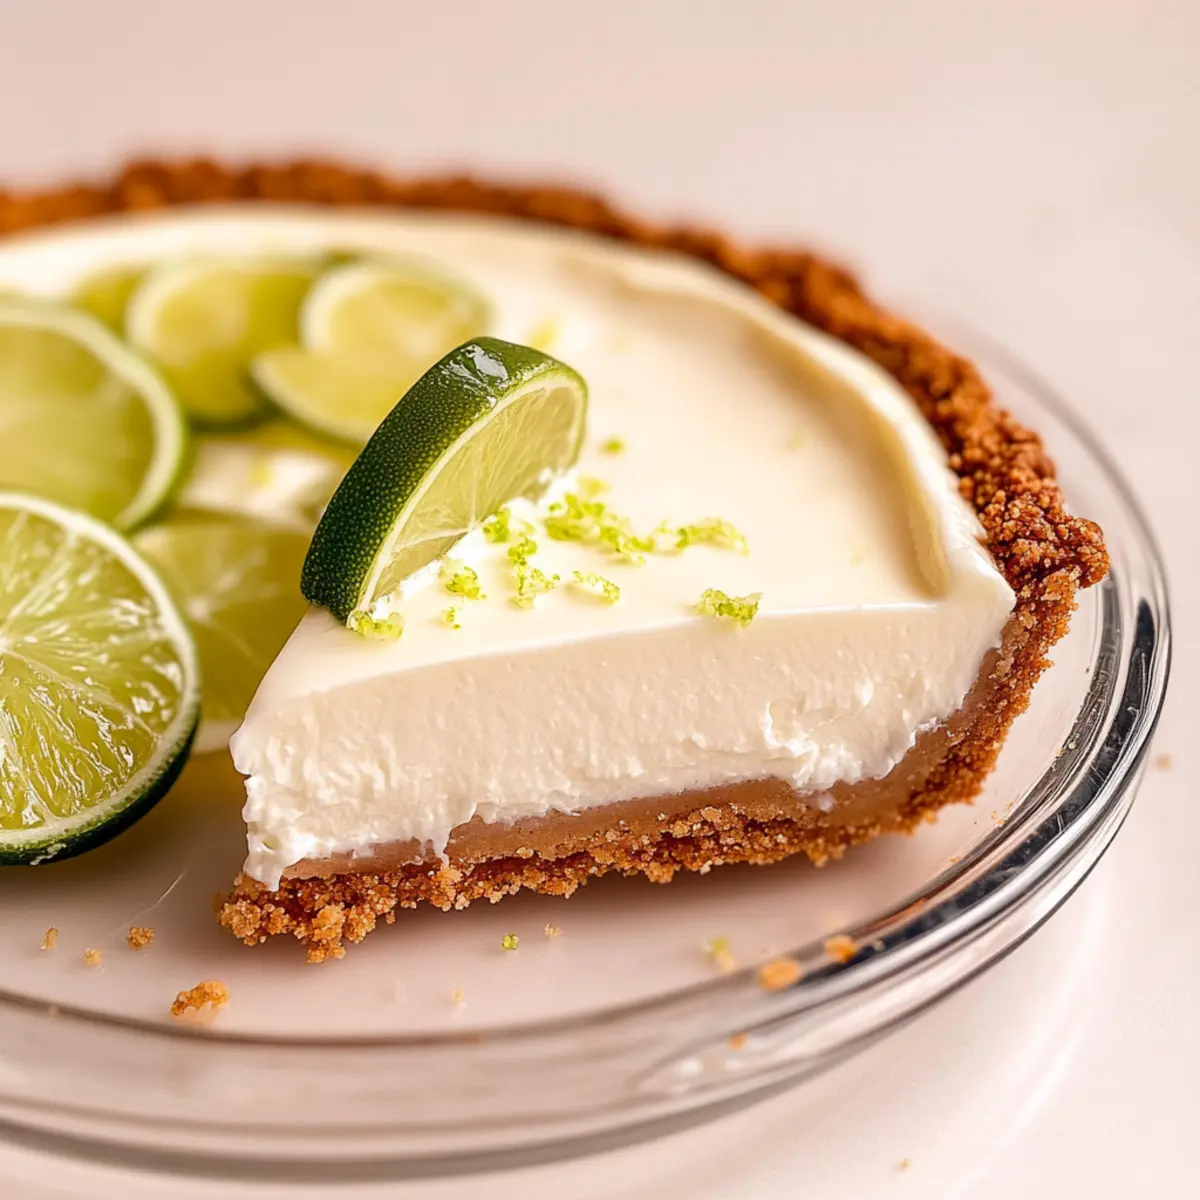
The first bite of this No-Bake Key Lime Pie is like a refreshing escape to a sun-soaked beach, where tangy meets sweet in a delightful dance of flavor. With its velvety creamy filling and a thick graham cracker crust, this dessert is not only a favorite for warm days but also a lifesaver for busy schedules—no oven required! Whether you’re treating guests or satisfying a midnight craving, this pie captures the essence of summer in every slice while keeping prep quick and hassle-free. So, are you ready to whisk together a taste of the tropics? Let’s dive into this easy recipe that’s sure to brighten your day!
Why will you adore this pie?
Creamy, Velvety Goodness: The filling is silky smooth, cutting through the heat of summer with a delightful, quick burst of flavor.
No-Bake Convenience: You’re just a few simple steps away from a delicious treat—no oven fuss! Ideal for those busy days when you crave something sweet.
Zesty Flavor Explosion: Made with fresh key lime juice, this pie balances the perfect amount of tartness and sweetness, ensuring each bite is a refreshing delight.
Perfect for Gatherings: This dessert is bound to impress your guests. Whether you’re hosting a barbecue or an intimate dinner, it’s a guaranteed crowd-pleaser.
Quick Prep Time: Whip up this pie in no time; it’s perfect for anyone who loves homemade sweets but isn’t keen on time-consuming baking.
Ready to pair this with some Honey Lime Chicken for an unforgettable meal? Trust me, you won’t regret it!
Key Lime Pie Ingredients
-
For the Filling
• Key Lime Juice – Essential for that tangy flavor; fresh is best, but bottled is a fine substitute if you add fresh zest.
• Gelatin – Sets your pie and gives it structure; stick to regular granulated for best results.
• Cream Cheese – Adds a luxurious richness to the filling that you’ll love.
• Sweetened Condensed Milk – Provides that perfect balance of sweetness and creaminess; quality matters here!
• Sugar – Helps counterbalance the tartness; feel free to adjust for your taste. -
For the Crust
• Graham Cracker Crumbs – Forms a thick, buttery base; don’t overbake your crust!
• Unsalted Butter – Binds the crust together; make sure it’s melted and measured perfectly.
• Salt – A little salt enhances flavor; Diamond Crystal is best, but adjust if using Morton’s.
With these ingredients at hand, you’re one step closer to crafting an irresistible Key Lime Pie that’s sure to brighten your day!
Step‑by‑Step Instructions for No-Bake Key Lime Pie
Step 1: Prepare the Crust
Start by combining graham cracker crumbs, melted unsalted butter, and sugar in a mixing bowl. Use a fork to blend the ingredients until fully incorporated and crumbly. Next, pack this mixture tightly into the bottom and up the sides of a 9-inch pie dish. Place the crust in the freezer for 15 minutes to firm up before adding the filling.
Step 2: Bloom Gelatin
In a small bowl, mix the gelatin with cold milk and let it sit for about 5 minutes to bloom. After blooming, gently heat the mixture in the microwave for 15-30 seconds until the gelatin dissolves completely. Stir thoroughly to ensure no lumps remain; this is crucial for the creamy texture of your No-Bake Key Lime Pie.
Step 3: Make Filling
In a large mixing bowl, blend the cream cheese until smooth using an electric mixer. Gradually add the sweetened condensed milk and key lime juice, mixing until your filling is creamy and well-combined. Carefully fold in the dissolved gelatin mixture, ensuring it’s evenly distributed without overmixing. Your filling should be smooth and luscious, invitingly creamy.
Step 4: Assemble Pie
Retrieve the frozen graham cracker crust and pour the creamy filling into it, spreading it evenly with a spatula. Make sure the filling reaches the edges for a clean look. Once filled, gently tap the pie dish on the counter to release any air bubbles, ensuring a perfect texture in your No-Bake Key Lime Pie.
Step 5: Chill
Cover the pie loosely with plastic wrap and refrigerate it for at least 6 hours, or until set. This chilling time allows the filling to firm up beautifully, resulting in a silky texture that holds its shape when sliced. The vibrant key lime flavor will deepen during this waiting period, enhancing your delicious dessert.
Step 6: Serve
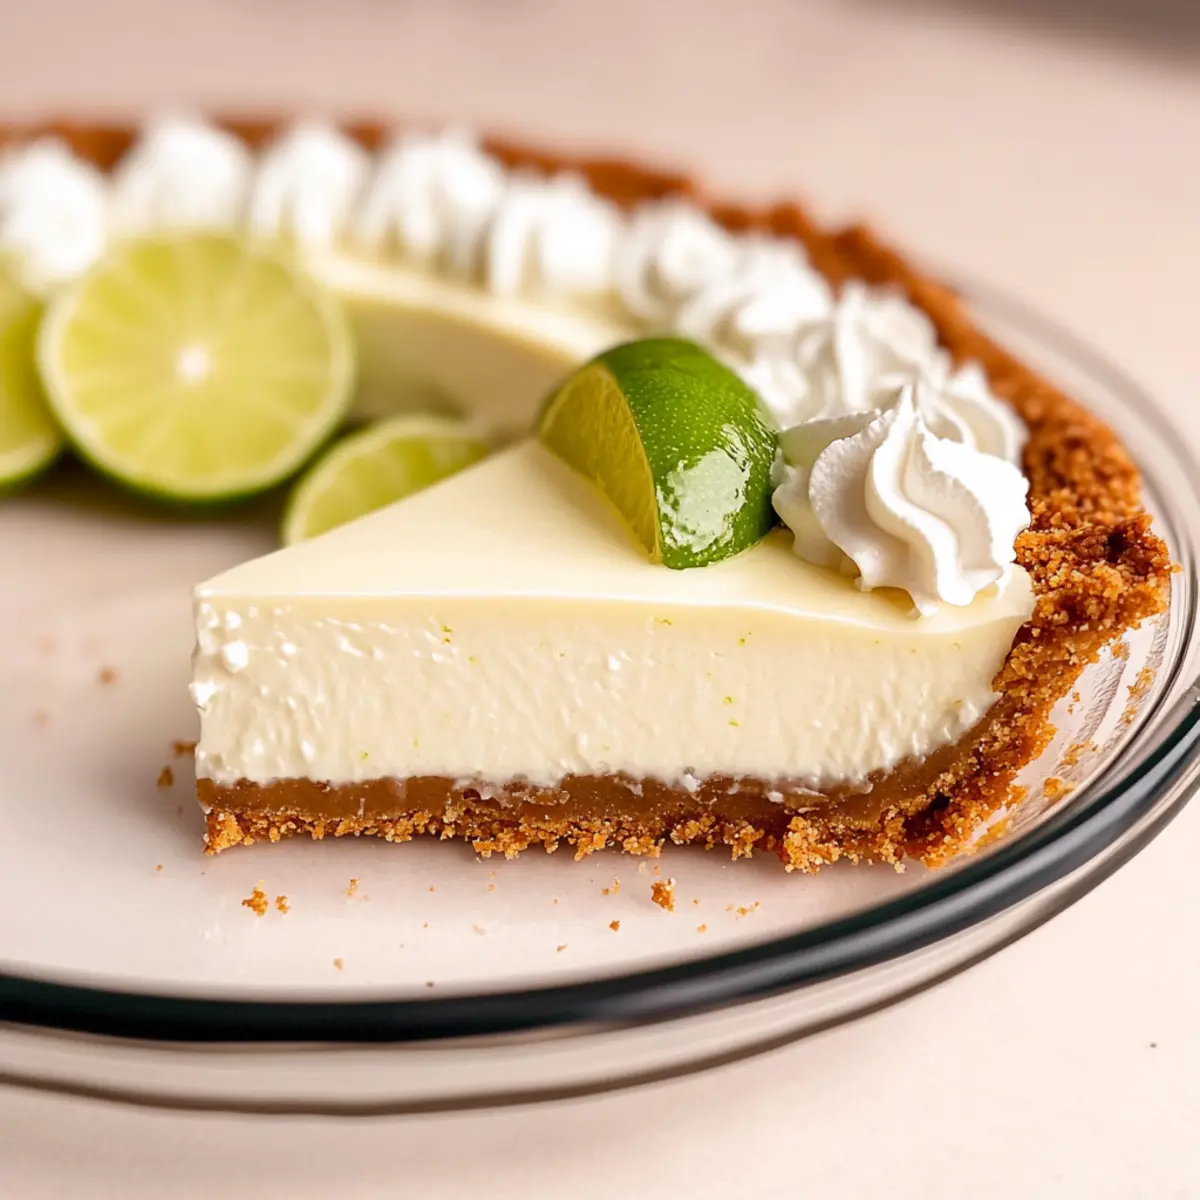
Before serving your No-Bake Key Lime Pie, add a generous topping of whipped cream for a delightful contrast. If desired, garnish with fresh lime zest or slices for an eye-catching presentation. Slice carefully with a sharp knife, and enjoy the refreshing burst of citrus goodness in every bite!
Make Ahead Options
These No-Bake Key Lime Pies are a fantastic choice for meal prep! You can prepare the graham cracker crust up to 3 days in advance; simply freeze it after packing tightly into the pie dish. The filling can be made up to 24 hours ahead of time—just blend your ingredients as directed, pour into the crust, and refrigerate. To maintain the pie’s creamy texture and vibrant flavor, cover it tightly with plastic wrap to prevent any absorption of odors from the fridge. When you’re ready to enjoy, simply top with whipped cream and garnish before serving. This way, you’ll savor a refreshing dessert with minimal effort!
What to Serve with No-Bake Key Lime Pie
Elevate your dessert experience by pairing your slice of sunshine with delightful accompaniments that enhance its refreshing flavor.
-
Tangy Whipped Cream: A dollop of lightly sweetened whipped cream adds a creamy texture and complements the pie’s zesty lime flavor beautifully.
-
Fresh Berries: Serve with a mix of juicy strawberries or blueberries; their sweetness contrasts nicely with the tartness of the pie.
-
Coconut Macaroons: These chewy coconut treats enhance the tropical vibe while offering a delightful textural contrast to the creamy filling.
-
Key Lime Sorbet: Cool and refreshing, this sorbet makes for a perfect palate cleanser between bites and echoes the pie’s bright flavor profile.
-
Mint Leaves: A sprig of fresh mint not only colors your plate but also invigorates the dish with an aromatic freshness, balancing the citrus notes.
-
Sparkling Water with Lime: Keep it light and refreshing with some fizzy drinks, adding a splash of lime for that extra tang that complements the dessert.
-
Ginger Snap Cookies: The spice of ginger snaps adds a beautifully bold flavor element, creating an exciting contrast with the pie’s creamy sweet-tart appeal.
-
Limeade: Pairing it with a glass of homemade or store-bought limeade elevates the flavor experience, offering a sweet and tangy sip that echoes your dessert.
Expert Tips for Perfect Key Lime Pie
-
Use Fresh Juice: Always opt for fresh key lime juice when possible. It’s the secret to capturing that vibrant, tangy flavor.
-
Bloom Gelatin Properly: Ensure gelatin is completely dissolved, as any lumps can ruin your creamy filling’s smooth texture. Gently warm if needed.
-
Chill Wisely: Don’t skip the chilling time! Adequate refrigeration is crucial for setting the filling to ensure clean, beautiful slices of your Key Lime Pie.
-
Measure Ingredients Accurately: Precision in measuring sugar and butter can make a big difference in flavor balance and crust texture.
-
Pack the Crust Firmly: For a sturdy base, firmly pack the graham cracker crust mixture. This will help it stay together when slicing your pie.
Key Lime Pie Variations & Substitutions
Feel free to get creative with this delightful Key Lime Pie recipe—there are so many ways to make it uniquely yours!
-
Regular Limes: Substitute regular lime juice if key limes aren’t available; the flavor will still be zesty and refreshing.
-
Dairy-Free: Use silken tofu blended until smooth in place of cream cheese for a vegan-friendly filling. It creates a creamy treat without dairy!
-
Graham Cracker Alternative: Try crushed vanilla wafers or shredded coconut for the crust base to bring a new flavor twist and interesting texture.
-
Sweetener Swap: For a healthier option, use honey or agave syrup instead of granulated sugar. This will add a subtle sweetness without processing.
-
Flavored Whipped Toppings: Elevate your pie by using coconut, chocolate, or vanilla-flavored whipped cream for an exciting flavor contrast.
-
Fruity Layers: Add a layer of fresh fruit or a dollop of lime curd before topping with whipped cream to enhance flavor complexity and texture.
-
Spicy Kick: Incorporate a pinch of cayenne pepper into the filling for a surprising hint of heat that deepens the flavor profile and excites the palate.
-
Chill with Style: Instead of traditional whipped cream, garnish the pie with whipped coconut cream for a tropical flair, reminiscent of sandy beaches and sunny days.
So, why not try your hand at making those tasty twists? Whether you’re serving it at a gathering or enjoying a slice alone, every variation promises to delight! And if you’re looking for more delicious meal ideas, check out my Turkey Enchiladas Ready.
Storage Tips for Key Lime Pie
Fridge: Store the No-Bake Key Lime Pie covered in the refrigerator for up to 5 days. This keeps it fresh while allowing the flavors to develop further.
Freezer: Freezing is not recommended, as it may alter the creamy texture of the filling. If you must, wrap it tightly in plastic wrap and foil for up to 2 months.
Serving: When ready to serve, thaw in the fridge overnight if frozen. Garnish with whipped cream before enjoying each refreshing slice!
Reheating: This pie is best enjoyed chilled, so no reheating is necessary. Just slice and savor the creamy, zesty goodness!
No-Bake Key Lime Pie Recipe FAQs
How do I choose the right key limes?
Absolutely! For the best flavor, opt for fresh, juicy key limes that are slightly firmer to the touch. Look for ones that are bright yellow-green in color and avoid those with dark spots or wrinkles. If key limes are unavailable, regular limes can work fine as a substitute, but the taste will vary slightly.
How should I store my No-Bake Key Lime Pie?
Very! You can store your No-Bake Key Lime Pie covered in the refrigerator for up to 5 days. This keeps the filling fresh and allows the flavors to meld beautifully. For optimal freshness, make sure to wrap it tightly in plastic wrap or place it in an airtight container.
Can I freeze the No-Bake Key Lime Pie?
I recommend against it! Freezing this pie may alter its creamy texture, likely making it grainy once thawed. However, if you find it necessary, securely wrap the pie in plastic wrap and then foil it to prevent freezer burn. It can last up to 2 months in the freezer. When you’re ready to enjoy, thaw it in the fridge overnight before serving.
Why is my filling grainy?
Oh no! A grainy filling is often due to undissolved gelatin. Make sure you bloom the gelatin correctly and warm the mixture gently until completely dissolved. If lumps appear, you can warm the mixture slightly more to help the gelatin fully dissolve, stirring continuously.
Does this recipe contain any allergens?
Absolutely! This No-Bake Key Lime Pie contains common allergens including dairy (cream cheese and sweetened condensed milk) and gluten (graham crackers). For gluten-free options, you can substitute the graham cracker crumbs with gluten-free alternatives. Always check the labels of your ingredients to confirm they meet any dietary needs.
What do I do if my pie doesn’t set?
Very simple! If your pie doesn’t set properly, it could be due to insufficient chilling time or the gelatin not being completely dissolved. If you notice it’s still not firm after chilling, you can try refrigerating it longer or gently reheating the filling slightly (not boiling) and add more bloomed gelatin before cooling it again.
Irresistible Key Lime Pie with Creamy Snap and No Baking!
Ingredients
Equipment
Method
- Start by combining graham cracker crumbs, melted unsalted butter, and sugar in a mixing bowl. Blend until fully incorporated and crumbly. Pack mixture into a 9-inch pie dish and place in the freezer for 15 minutes.
- Mix gelatin with cold milk in a small bowl and let it sit for 5 minutes to bloom. Heat in the microwave for 15-30 seconds until gelatin dissolves completely.
- In a large mixing bowl, blend cream cheese until smooth. Gradually add sweetened condensed milk and key lime juice, mixing until creamy. Fold in dissolved gelatin mixture.
- Pour filling into the frozen crust, spreading evenly. Tap the pie dish on the counter to release any air bubbles.
- Cover the pie with plastic wrap and refrigerate for at least 6 hours until set.
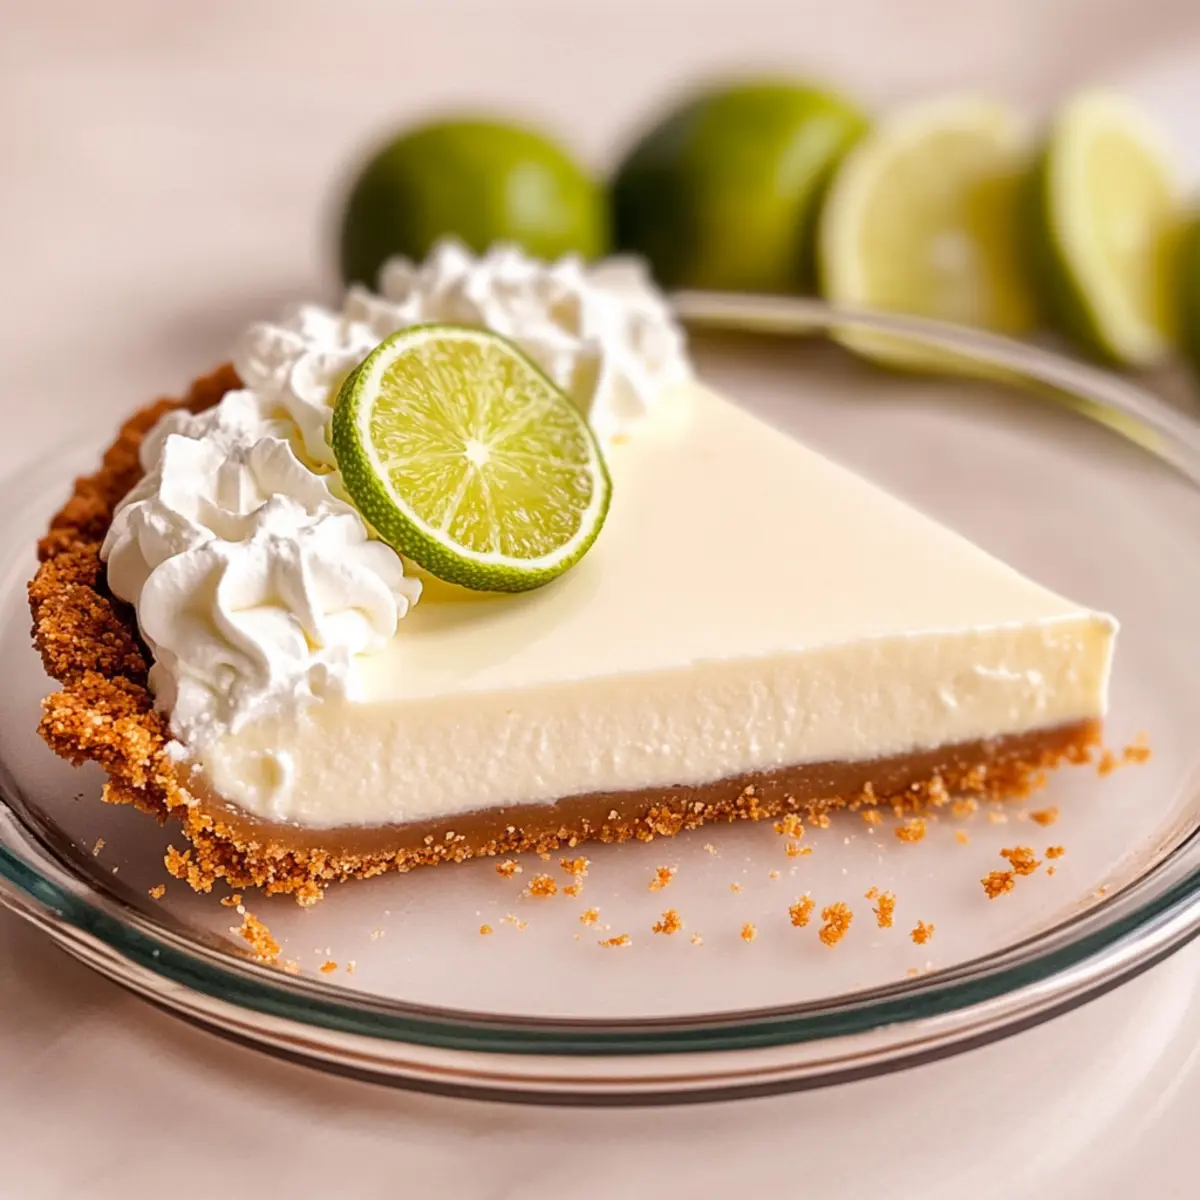
- Before serving, top with whipped cream and garnish with lime zest or slices.
Leave a Reply