
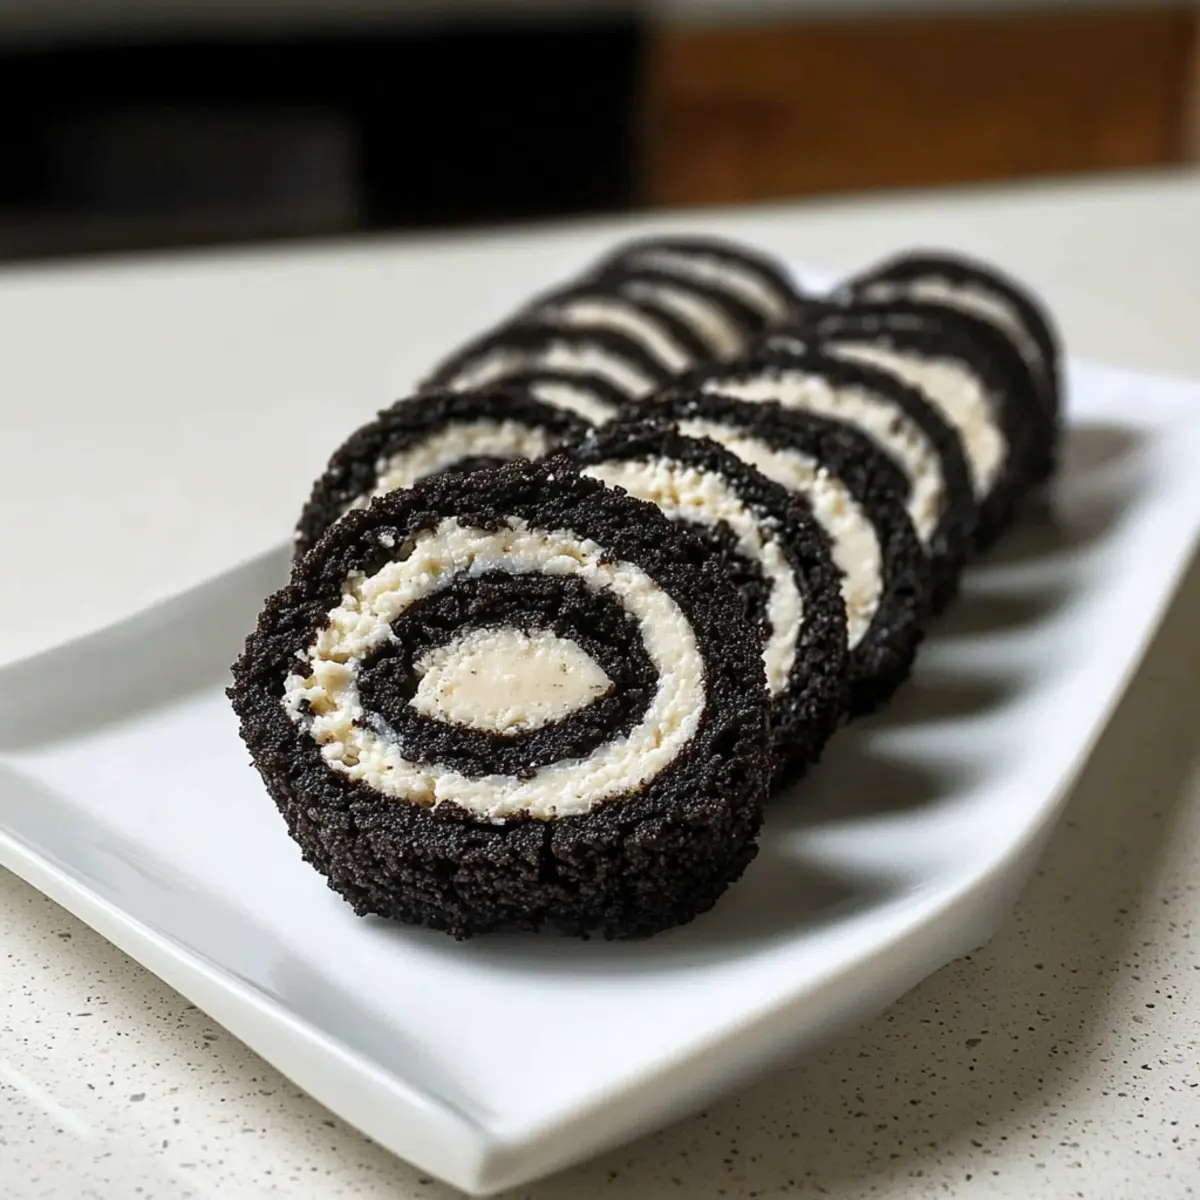
Have you ever wondered how to take a classic cookie and give it a fun twist? Enter Oreo Sushi, the ultimate no-bake treat that’s as fun to make as it is to eat! This delightful recipe transforms those beloved Oreo cookies into whimsical sushi-style rolls that can charm your friends and family at any gathering. Not only is it incredibly easy to whip up, but it’s also a vegetarian-friendly dessert that’s sure to impress. With the versatility to mix in various Oreo flavors—from classic to mint or even birthday cake—this is a creative spin on snacking that everyone will love. So, are you ready to roll up something delicious?
Why is Oreo Sushi So Appealing?
Easy to Make: This no-bake recipe allows for quick preparation, perfect for those who want to impress without spending hours in the kitchen.
Colorful and Fun: Personalize your Oreo Sushi rolls using different flavored Oreos, creating vibrant and eye-catching treats that are sure to delight guests.
Versatile Options: Feel free to experiment with various fillings or toppings—think sprinkles or drizzles of chocolate for extra flair!
Crowd-Pleasing: Ideal for parties, this dessert caters to all ages, making it a fantastic addition to any gathering, from kids’ birthdays to festive get-togethers.
Storage-Friendly: Make them ahead of time and keep them in the fridge—this treat only gets better after a chill! For more delicious ideas, don’t forget to check out my other easy dessert recipes.
Oreo Sushi Ingredients
• Dive into the delightful world of Oreo Sushi with these simple, fun ingredients!
For the Dough
- Oreo Cookies – The star of the show, providing the rich flavor and structure; feel free to mix in different Oreo flavors for a tasty twist!
- Milk – Helps bind the crushed cookies into a malleable dough; any type will do, including your favorite dairy-free milk.
For the Filling
- Reserved Cream Filling – The luscious center that gives each bite its creamy goodness; don’t forget to mix it with a bit of milk for a smooth texture!
Optional Toppings
- Sprinkles – Add a pop of color and fun to your sushi; choose your favorite seasonal or themed sprinkles for extra flair!
- Chocolate Drizzle – A delicious finishing touch that complements the sweetness of the Oreo Sushi—perfect for those chocolate lovers!
Now grab your ingredients and prepare to roll up this easy and delightful Oreo Sushi that will surely be the talk of the party!
Step‑by‑Step Instructions for Oreo Sushi
Step 1: Prepare the Oreos
Start by separating the Oreo cookies from their cream fillings; set the cream aside for later. Next, crush the Oreo cookies in a food processor until they resemble fine crumbs, about 30 seconds of processing on high. The mixture should be powdery and uniform, making it easy to form a dough in the next step.
Step 2: Form the Dough
In the same food processor, add most of the milk to the crushed Oreos and blend until a soft dough forms, which should take about 20 seconds. If the mixture is too crumbly, gradually add more milk, one tablespoon at a time, until it holds together and has a smooth texture, similar to cookie dough.
Step 3: Shape the Dough
Lay out a piece of plastic wrap on your counter and transfer the dough onto it. Using your hands, flatten and shape the dough into a rectangular slab about 1/4 inch thick, ensuring it is even throughout. This will be the base for your Oreo Sushi, so make sure the edges are well-defined and smooth.
Step 4: Add Filling
In a small bowl, mix the reserved cream filling with the remaining milk until smooth and creamy, achieving a consistency that’s easy to spread. Carefully spread this cream mixture evenly over the surface of the rolled-out dough, leaving a small border around the edges to prevent overflow when rolling.
Step 5: Roll Up
Using the plastic wrap as a guide, carefully lift one edge of the dough and start to roll it tightly into a log shape, tucking in the cream filling as you go. Continue rolling until you’ve reached the end of the dough, ensuring it maintains a uniform shape—this will be your fabulous Oreo Sushi log!
Step 6: Slice & Serve
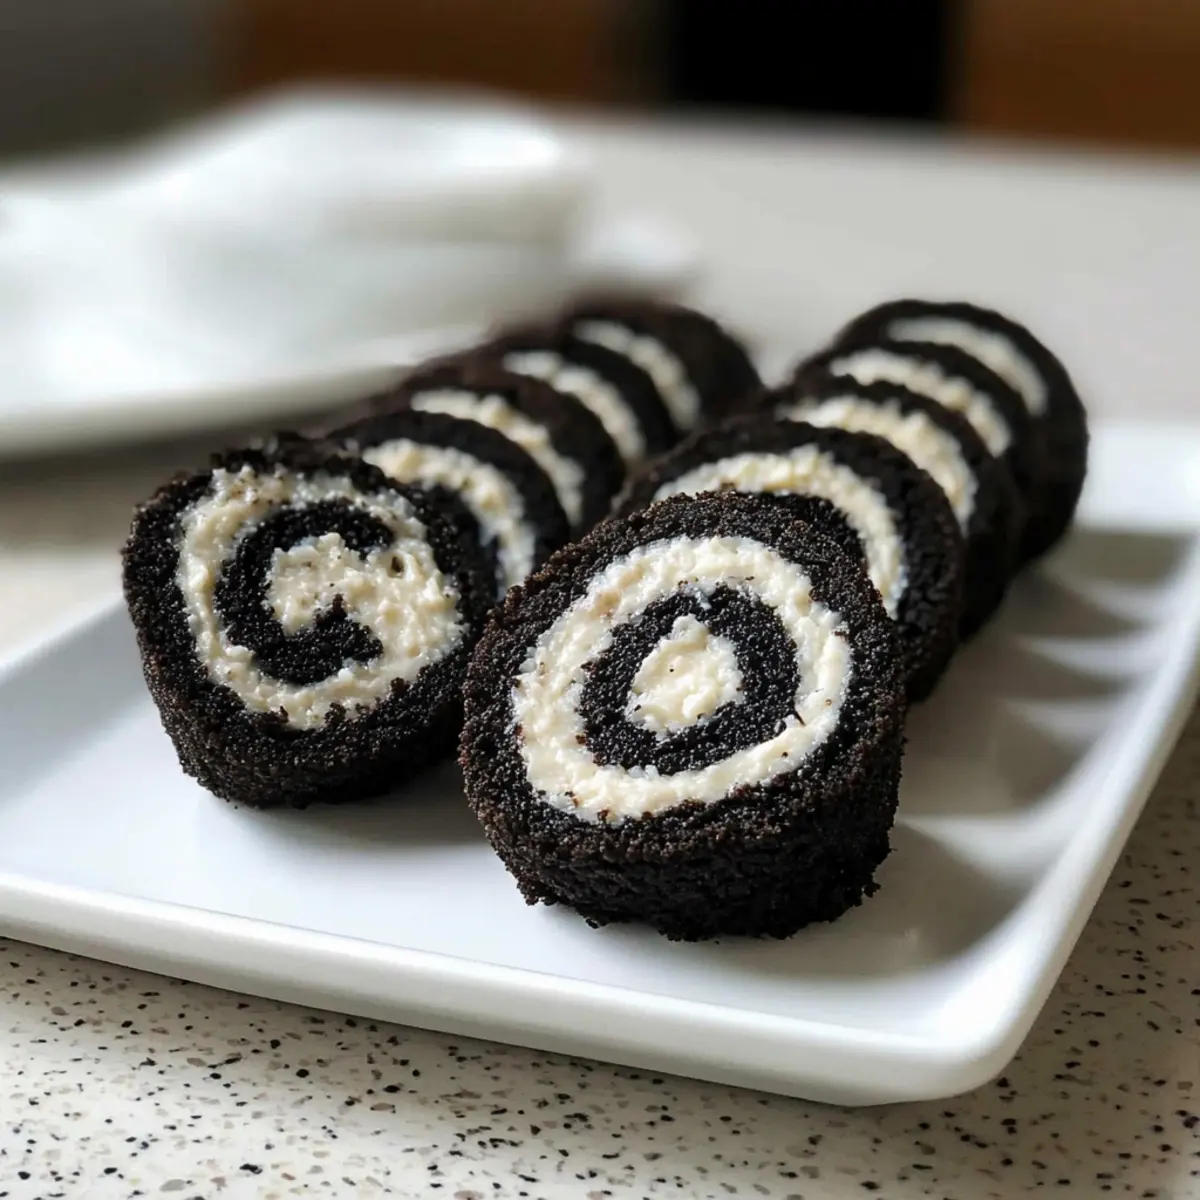
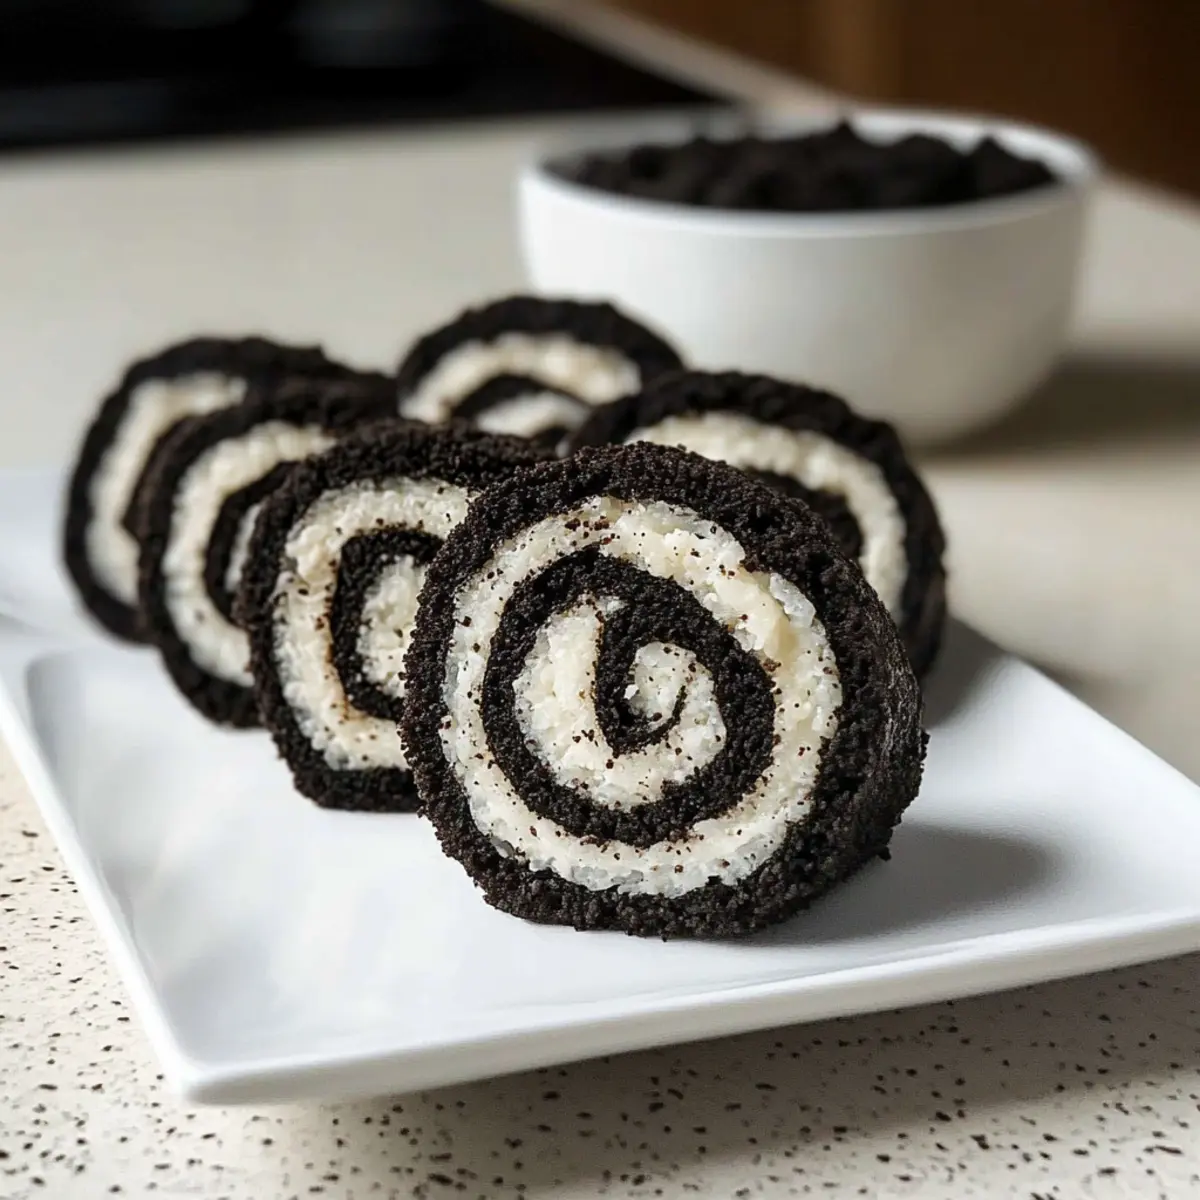
Once your log is complete, wrap it tightly in the plastic wrap and refrigerate for at least 30 minutes to firm up the dough. After chilling, remove the log from the refrigerator and slice it into sushi-style pieces using a gentle sawing motion, making sure each slice showcases the creamy filling for a delightful presentation.
Oreo Sushi Variations & Substitutions
Feel free to explore these fun twists and make this delightful recipe truly your own!
- Minty Delight: Substitute classic Oreos with mint-flavored Oreos for a refreshing twist that’s perfect for the holidays.
- Golden Goodness: Use golden Oreos for a sweeter and slightly buttery flavor that pairs beautifully with the creamy filling.
- Birthday Bash: Celebrate every day by opting for birthday cake Oreos, adding a festive touch with sprinkles to the filling.
- Dairy-Free: Swap regular milk for almond or coconut milk, and ensure your chosen Oreos are dairy-free for a delicious vegan treat.
- Crunchy Twist: Mix in chopped nuts or crushed pretzels in the filling for a delightful crunch and added texture.
- Spicy Surprise: Drizzle a little spicy chocolate sauce over the cut rolls to introduce a surprising kick to the sweetness.
- Fruit Fusion: Incorporate diced strawberries or bananas into the filling for a fruity burst that adds a fresh twist to your Oreo Sushi.
- Chocolate Lovers: Use chocolate-flavored Oreos and elevate the experience by drizzling melty chocolate on top for extra indulgence.
Let your creativity shine with these variations, and be sure to check out my easy dessert recipes for more delightful ideas!
Make Ahead Options
These Oreo Sushi rolls are perfect for meal prep, allowing you to save time during busy weeks! You can prepare the dough and the filling up to 24 hours in advance; simply store the rolled log in an airtight container in the refrigerator to keep it fresh. By chilling the log, the flavors meld together beautifully, enhancing the overall taste. When you’re ready to serve, take it out, slice it into pieces using a gentle sawing motion, and your delicious Oreo Sushi will be just as delightful as when they were freshly made. This way, you can effortlessly impress family and friends with minimal last-minute effort!
Expert Tips for Oreo Sushi
-
Dough Consistency: Adjust your milk gradually to achieve the perfect texture. If it’s too dry, it won’t hold together; if too sticky, chill it before slicing.
-
Cutting Technique: Use a gentle sawing motion when slicing the roll. This ensures you don’t squash the Oreo Sushi and keeps it looking pretty for serving.
-
Chill Time: Be patient! Allowing the sushi log to chill for at least 30 minutes helps improve the texture and makes slicing much easier.
-
Flavor Play: Don’t hesitate to experiment with different Oreo flavors for a unique twist. Mint, birthday cake, or seasonal Oreos can make your sushi even more exciting!
-
Presentation: To impress, finish with optional toppings like sprinkles or a chocolate drizzle. A little extra flair can elevate your Oreo Sushi even further!
What to Serve with Oreo Sushi
Create a whimsical dessert spread that enhances the fun flavors of this unique treat.
-
Chilled Fruit Salad: A refreshing mix of seasonal fruits adds a crispy texture and natural sweetness to balance the richness of the Oreo Sushi.
-
Vanilla Ice Cream: Creamy and cold, this classic treat enhances the dessert experience, providing a contrasting temperature and flavor that your guests will adore.
-
Chocolate Dipping Sauce: A warm, luscious chocolate dip can add an indulgent touch, allowing for a delightful play of flavors and textures in each bite.
-
Whipped Cream: Light and fluffy, a dollop of whipped cream on the side brings a cloud-like elegance, perfect for dipping or pairing with your sushi rolls.
-
Matcha Tea: The earthy notes of matcha work beautifully with sweet desserts, providing a calming contrast that elevates your dessert experience and impresses guests.
-
Sparkling Water: Effervescent and refreshing, a fizzy drink can cleanse the palate between bites, making for a delightful dessert course that keeps everyone wanting more.
-
Mini Cupcakes: Provide a whimsical touch to your spread with mini cupcakes in playful flavors. They make for a fun accompaniment that complements the playful nature of Oreo Sushi.
How to Store and Freeze Oreo Sushi
Fridge: Store your Oreo Sushi in an airtight container for up to 5 days. The chilling process can enhance the flavor and texture, making it even more enjoyable!
Freezer: If you want to save some for later, wrap the log tightly in plastic wrap and place it in a freezer-safe container. It can be frozen for up to 2 months.
Thawing: To enjoy frozen Oreo Sushi, simply transfer it to the refrigerator for a few hours or overnight before slicing. Avoid using the microwave as it may alter the texture.
Reheating: There’s no need to reheat this treat; serve it cold for the best experience with your delightful Oreo Sushi!
Oreo Sushi Recipe FAQs
Can I use different flavors of Oreos for this recipe?
Absolutely! This recipe is quite versatile, and you can experiment with any Oreo variation you like. Whether it’s mint, birthday cake, or even seasonal flavors, incorporating different Oreos will give your sushi rolls a unique zing!
How should I store leftover Oreo Sushi?
You can store your Oreo Sushi in an airtight container in the refrigerator for up to 5 days. Just keep in mind that chilling may enhance the flavors! Ensure it’s tightly packed to prevent it from drying out.
Can I freeze Oreo Sushi?
Yes, you can freeze Oreo Sushi! Wrap the log tightly in plastic wrap and place it in a freezer-safe container. It can be frozen for up to 2 months. For best results, let it thaw in the refrigerator for a few hours before slicing, avoiding the microwave as it might change the texture.
What can I do if my dough is too dry or too sticky?
If your dough is too dry, gradually add more milk, one tablespoon at a time, until it reaches a dough-like consistency. On the other hand, if it’s too sticky, chill the log in the refrigerator for about 30 minutes; this will help firm it up and make slicing easier.
Are there any dietary considerations with Oreo Sushi?
Great question! Make sure you check the ingredient labels for any allergies, especially if you’re serving to others. If you’re focusing on a dairy-free option, verify that the Oreos used are dairy-free and substitute any regular milk with alternatives like almond, soy, or oat milk. Enjoy with peace of mind!
Delightful Oreo Sushi Rolls: No-Bake Fun for Everyone
Ingredients
Equipment
Method
- Separate Oreo cookies from their cream fillings; set cream aside. Crush cookies in a food processor until they resemble fine crumbs (about 30 seconds).
- In the food processor, add most of the milk to the crushed Oreos and blend until a soft dough forms (about 20 seconds).
- Transfer the dough onto plastic wrap, flatten and shape into a rectangular slab about 1/4 inch thick.
- Mix reserved cream filling with remaining milk until smooth. Spread this cream mixture evenly over the dough, leaving a small border.
- Using the plastic wrap as a guide, roll the dough tightly into a log shape, tucking in the cream filling as you go.
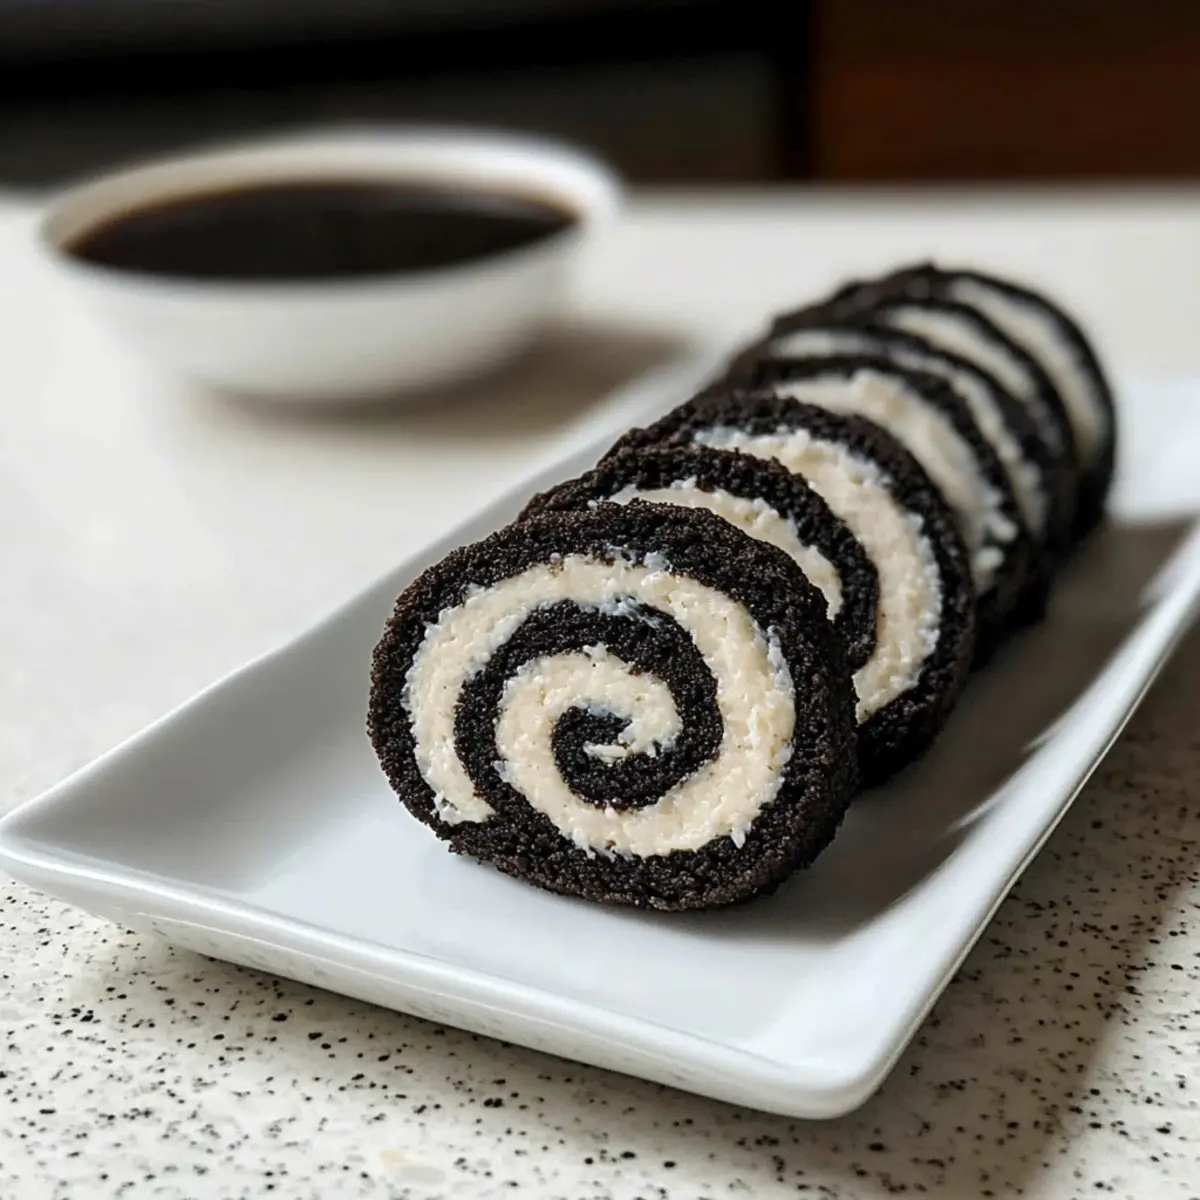
- Wrap the log in plastic wrap and refrigerate for at least 30 minutes. Slice into sushi-style pieces before serving.
Leave a Reply