
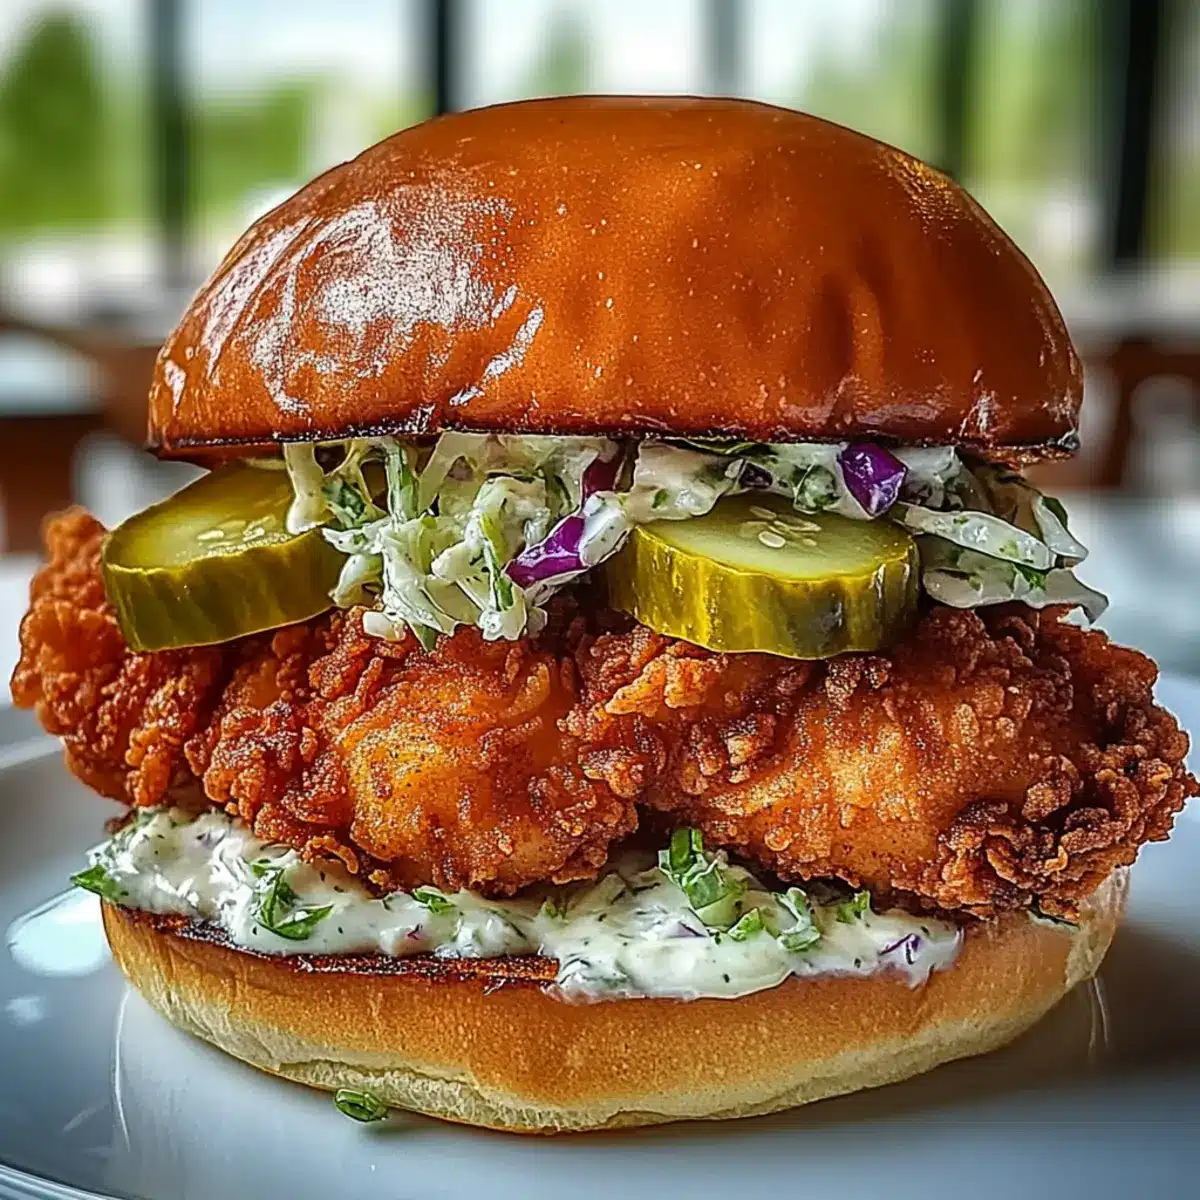
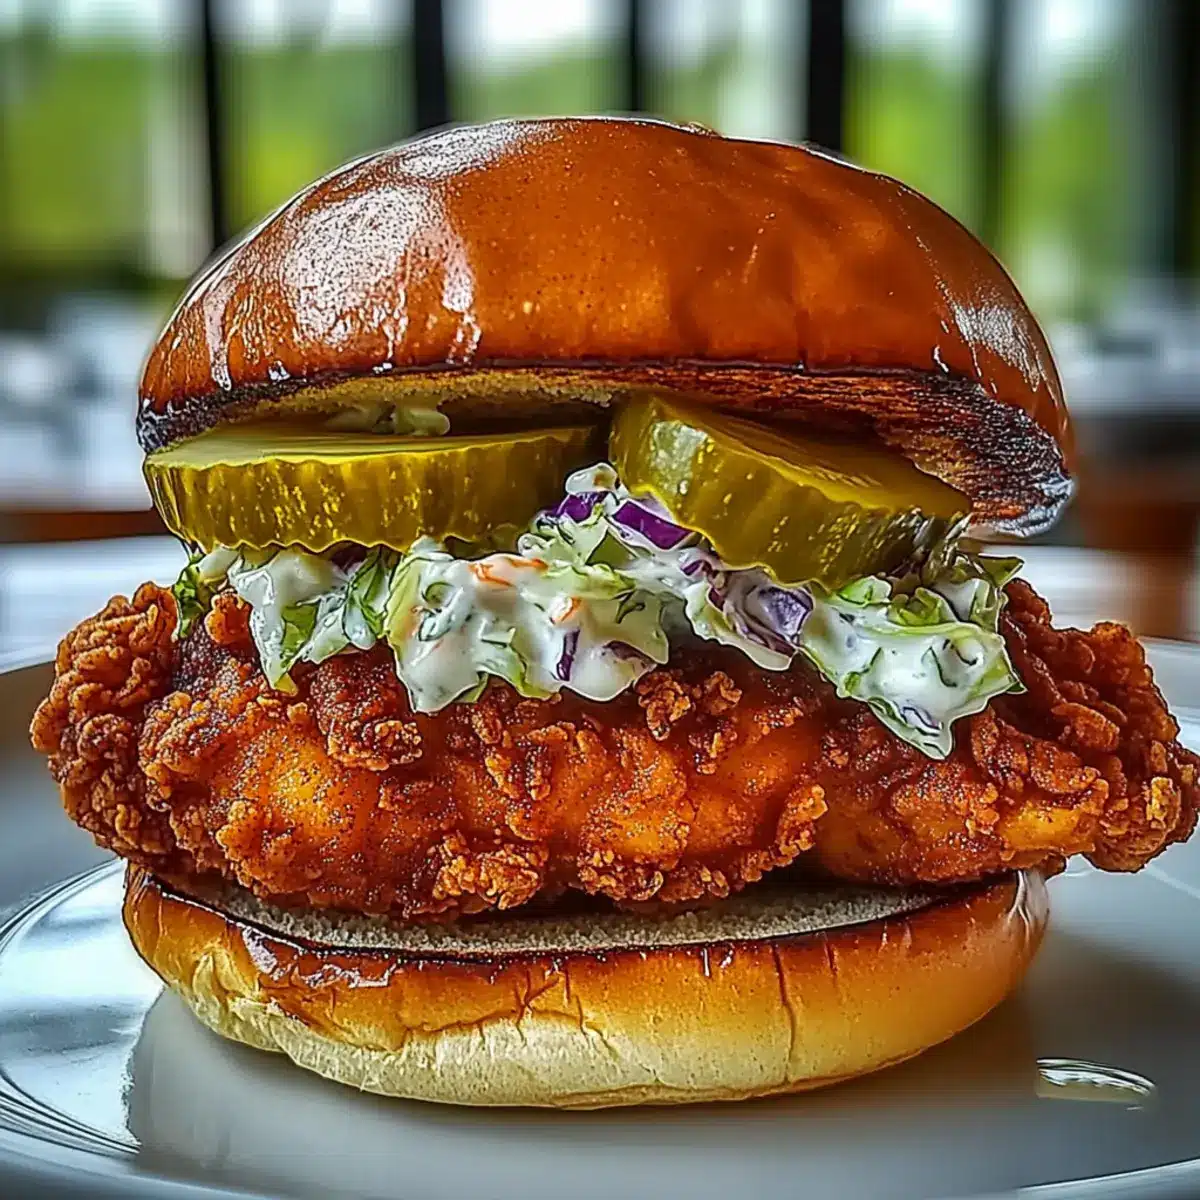
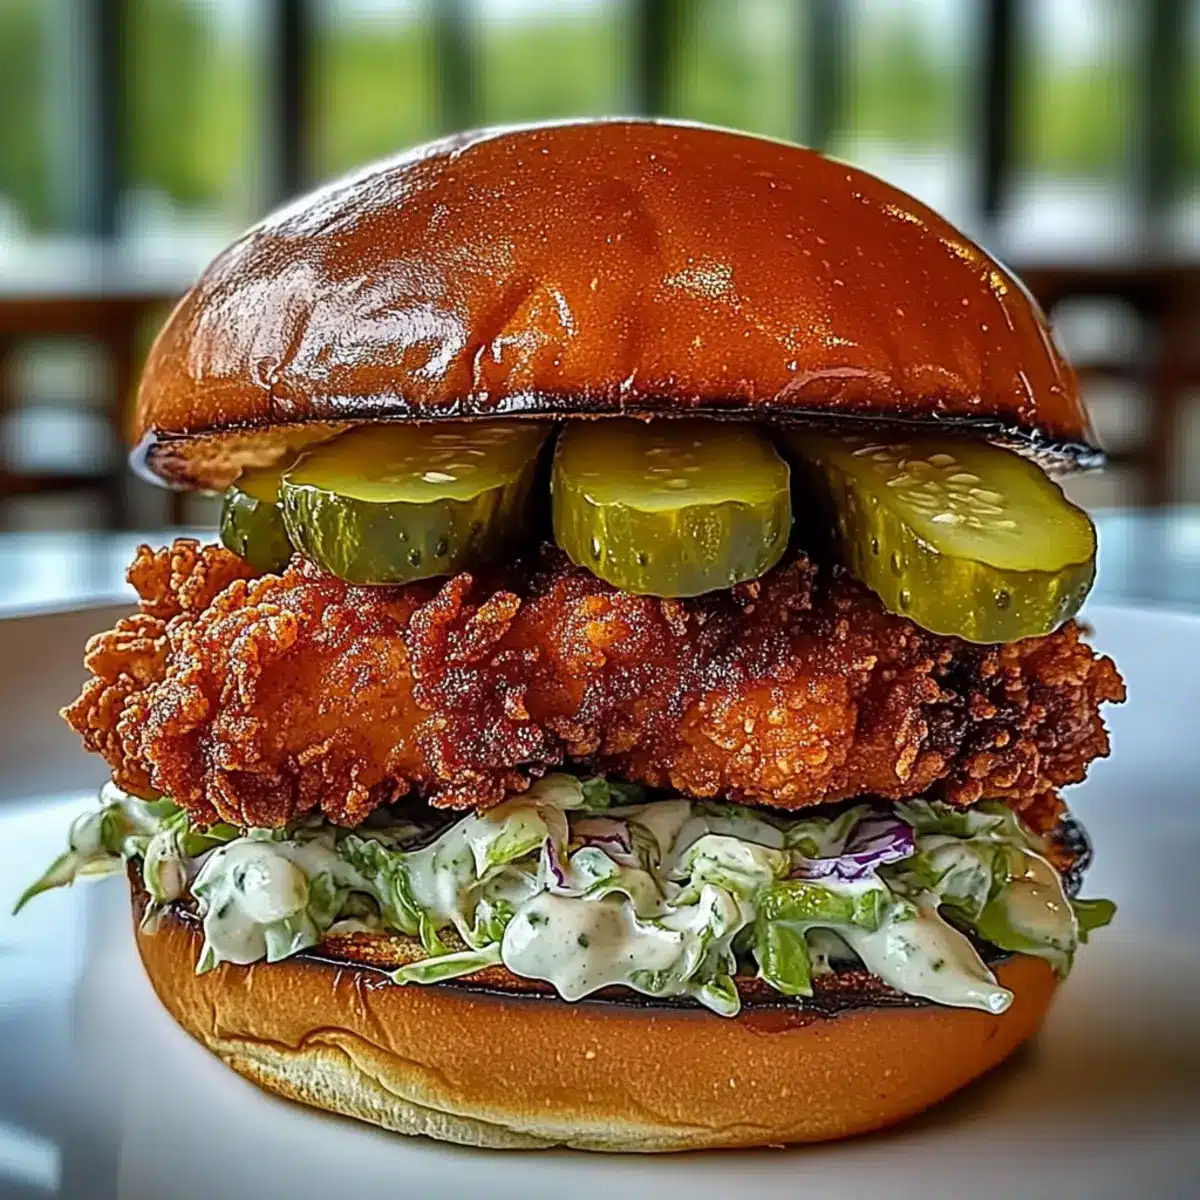
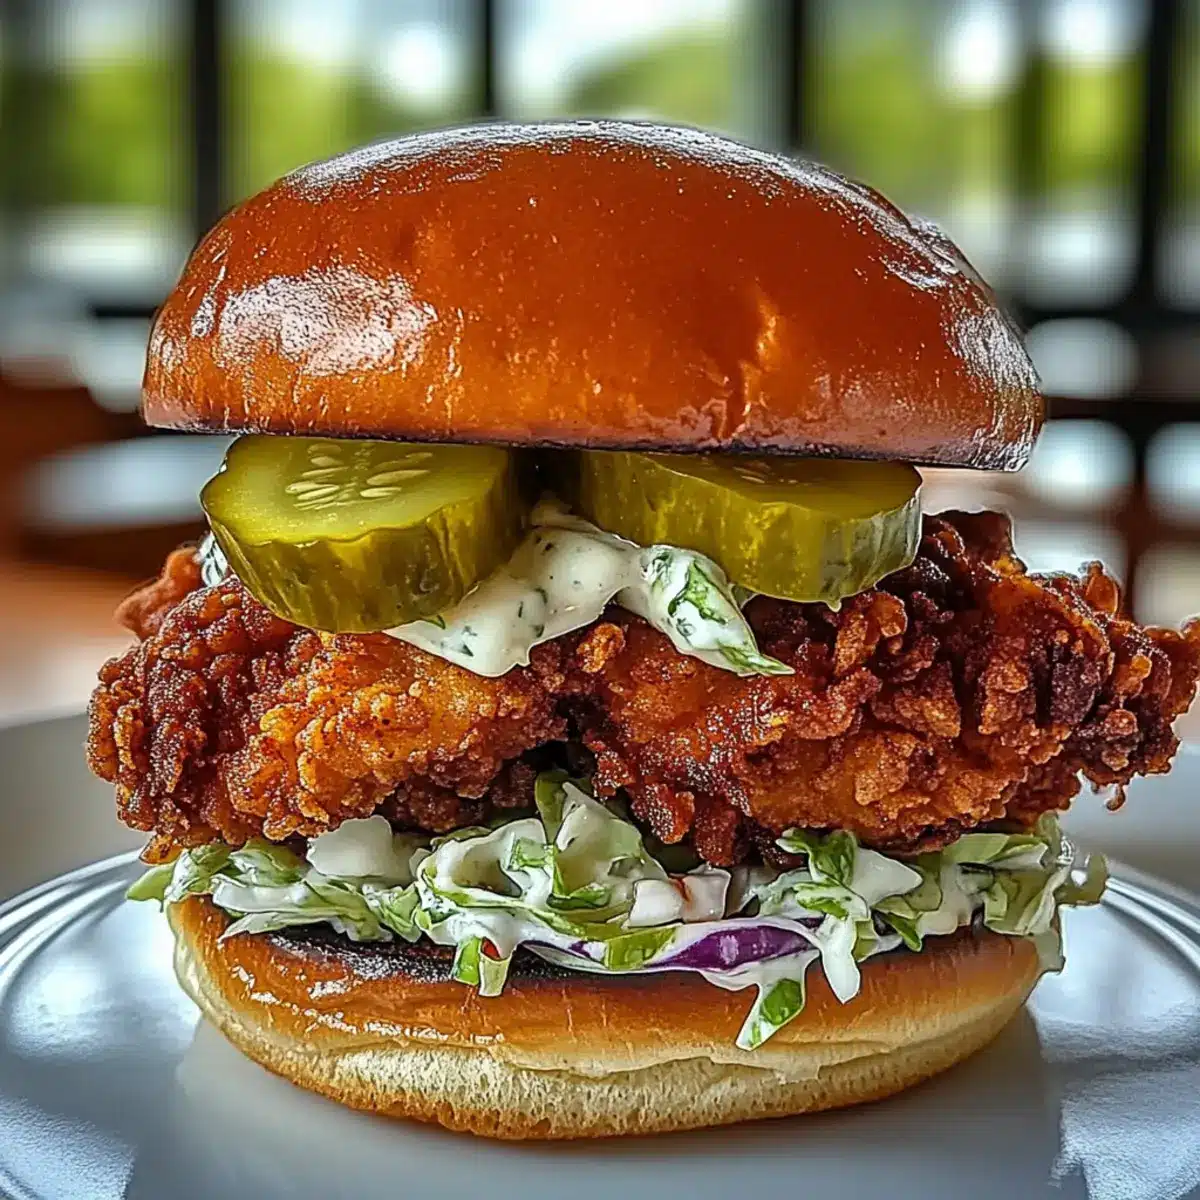
The scent of frying chicken wafted through the air, a nostalgic reminder of Sunday dinners that turned into family feasts. This Crispy Pickle Brined Fried Chicken Sandwich is my homage to those days—a scrumptious treat that’s perfect for an easy dinner or game-day celebration. What sets it apart? The tangy pickle juice transforms ordinary chicken into a juicy, flavorful delight while ensuring every bite is crispy perfection. Not only is this sandwich a crowd-pleaser, but it’s also a breeze to make—ideal for those hectic evenings when comfort food is a must. Imagine sinking your teeth into the crispy chicken, combined with creamy slaw and zesty pickles, all cradled in a soft brioche bun. Ready to add some joy to your kitchen? Let’s dive into this delightful recipe!
Why Is This Chicken Sandwich Special?
Bold Flavor: The secret lies in the pickle juice brine, infusing each piece of chicken with mouthwatering tanginess that’s hard to resist.
Easy Preparation: This recipe is perfect for busy weeknights, allowing you to whip up a satisfying meal in under an hour.
Textural Delight: Experience the crispy golden coating paired with creamy slaw and crunchy pickles—every bite is a melody of textures!
Versatile Options: Feel free to switch up the pickles or even go for an air-fried version of the chicken for a healthier twist.
Crowd-Pleasing: This sandwich is a guaranteed hit at any gathering, reminiscent of classic diner favorites but made right in your kitchen. Pair it with some crispy fries or a fresh side salad for the ultimate meal! Whether you’re serving family or friends, they’ll be asking for seconds!
Pickle Brined Fried Chicken Ingredients
• Elevate your sandwich game with these!
For the Chicken
- Chicken Thighs – Juicy and flavorful; boneless thighs work best, but chicken breasts can also be used if pounded to even thickness.
- Dill Pickle Juice – The star of the show; it acts as a brine, tenderizing the chicken while imparting tangy flavor.
- Buttermilk – Enhances chicken tenderness and promotes a beautifully crispy coating.
For the Coating
- All-Purpose Flour – Key for achieving that golden-brown, crunchy exterior.
- Cornstarch – Lightens the flour mixture for extra crispy results.
- Cajun Seasoning – Adds a sprinkle of heat; adjust according to your spice preferences.
- Garlic Powder & Paprika – Bring additional savory depth to the coating.
For the Sandwich Assembly
- Brioche Buns – Soft and slightly sweet, they perfectly balance the flavors of the filling.
- Mayonnaise – Provides a creamy layer on the bun that complements the crispy chicken.
- Green Leaf Lettuce – Adds a refreshing crunch and a pop of color.
- Coleslaw Mix – A crunchy and moist component made with shredded cabbage and carrots.
- Apple Cider Vinegar – Gives the slaw a delightful tang.
- Sugar, Salt & Pepper – Used to enhance and balance the goodies in the slaw.
- Thick-Cut Dill Pickles – Adds extra crunch and brininess to the sandwich.
- Fresh Chives (Optional) – Offers a mild oniony note as a garnish.
For Frying
- Oil – Choose peanut, canola, or vegetable oil for frying. It needs to be hot enough for perfect crispiness to crown your pickle brined fried chicken sandwich!
Step‑by‑Step Instructions for Pickle Brined Fried Chicken Sandwich
Step 1: Marinate the Chicken
Begin by marinating your chicken thighs in dill pickle juice, ensuring they are fully submerged. Cover the bowl and refrigerate for at least 1 hour or, for deeper flavor, overnight. This crucial step transforms your chicken into the hero of the Pickle Brined Fried Chicken Sandwich, tenderizing it while infusing it with delicious tang.
Step 2: Prepare the Slaw
In a medium bowl, combine the coleslaw mix with 3 tablespoons of mayonnaise, apple cider vinegar, sugar, salt, and pepper. Mix well until all ingredients are incorporated, and the slaw is creamy. Cover and let it chill in the refrigerator until you’re ready to assemble your sandwich. This cooling time allows the flavors to meld beautifully.
Step 3: Make the Coating
In a shallow dish, whisk together the all-purpose flour, cornstarch, Cajun seasoning, garlic powder, and paprika. This seasoned mixture is essential for creating the crunchy outer layer of your fried chicken. When the chicken is fully marinated, pat it dry thoroughly before dredging each piece in the coating, ensuring every inch is covered.
Step 4: Heat the Oil
In a large, heavy-bottomed skillet or deep fryer, heat oil to 350°F (175°C). A deep fry thermometer will help maintain the desired temperature. Carefully place the coated chicken thighs in the hot oil in batches, ensuring not to overcrowd the skillet. Fry for 5-6 minutes on each side until golden brown, with an internal temperature reaching at least 165°F (75°C).
Step 5: Drain the Fried Chicken
Once the chicken is beautifully golden, use tongs to remove the pieces from the skillet and place them on a wire rack. This prevents steam from making the coating soggy, preserving the crispiness crucial for your Pickle Brined Fried Chicken Sandwich. Allow the chicken to rest while you prepare the buns.
Step 6: Toast the Buns
While the chicken rests, slice your brioche buns in half and place them on a baking sheet. Toast in the oven at 350°F (175°C) for about 5 minutes or until lightly golden. This soft, slightly sweet bun adds a perfect complement to the savory fried chicken and will cradle all your delicious fillings perfectly.
Step 7: Assemble Your Sandwich
Spread a generous layer of mayonnaise on the bottom half of each toasted brioche bun. Layer with crisp green leaf lettuce, followed by a piece of your golden fried chicken. Top it with a scoop of the chilled slaw, thick-cut dill pickles, and fresh chives if desired. Cap it with the top bun and your Pickle Brined Fried Chicken Sandwich is ready to be devoured!
Make Ahead Options
These Pickle Brined Fried Chicken Sandwiches are perfect for meal prep enthusiasts! You can marinate the chicken thighs in dill pickle juice up to 24 hours in advance, allowing the flavors to deeply penetrate for maximum tenderness. The coleslaw can be mixed together and stored in the refrigerator for up to 3 days; just give it a quick stir before serving to restore its creamy consistency. To maintain the crispy coating, fry the chicken just before assembling the sandwiches; this ensures they stay perfectly crunchy. When ready to enjoy, simply toast the brioche buns, layer with mayonnaise, lettuce, fried chicken, and slaw for delightful, easy dinners on those busy weeknights!
What to Serve with Crispy Pickle Brined Fried Chicken Sandwich
Elevate your dining experience by pairing this mouthwatering sandwich with delightful side dishes crafted to complement its rich flavors.
- Crispy French Fries: Perfectly seasoned fries are a classic companion, adding a satisfying crunch to balance the sandwich’s juicy filling.
- Refreshing Coleslaw: A side of slaw brings additional crunch and acidity, echoing the flavors in the sandwich’s slaw while keeping things light.
- Sweet Potato Wedges: Their natural sweetness contrasts beautifully with the savory chicken, creating a harmonious blend of flavors and textures.
- Tangy Pickle Chips: For pickle enthusiasts, a side of crispy pickle chips enhances the tangy notes already present in your sandwich—it’s a flavor match made in heaven!
- Garden Salad: Fresh greens with a zesty vinaigrette will add a refreshing element alongside the rich, crispy sandwich, lightening up the meal.
- Craft Beer or Lemonade: Complement the hearty flavors with a chilled craft beer for a balanced pairing or a refreshing lemonade for a sweet contrast.
- Chocolate Chip Cookies: End the meal on a sweet note with warm chocolate chip cookies—melty, delicious, and loved by everyone!
Helpful Tricks for Pickle Brined Fried Chicken Sandwich
-
Perfect Marinade Time: Marinate the chicken for at least 1 hour but preferably overnight for the best flavor infusion and tenderness in your pickle brined fried chicken sandwich.
-
Crispy Coating: After dredging in the flour mixture, press the breading firmly onto the chicken to ensure it adheres well and leads to a crispy finish.
-
Oil Temperature: Always check that your oil is heated to 350°F (175°C) before frying. Too low, and the chicken will absorb excess oil; too high, and it may burn before cooking through.
-
Resting Period: Place fried chicken on a wire rack instead of paper towels to maintain its crunch. This prevents steam from softening the crispy coating.
-
Assemble Just Before Serving: For optimal crunch in your sandwich, assemble your pickle brined fried chicken sandwich just before serving, allowing the coating to stay crispy and fresh.
-
Versatile Ingredient Swaps: Don’t hesitate to try different pickles, or air-fry the chicken for a healthier take while still achieving great flavor and texture!
Pickle Brined Fried Chicken Variations
Get ready to make this delicious recipe your own with some fun twists and swaps!
-
Spicy Heat: Add chopped jalapeños to your slaw for a zesty kick that brightens every bite. The heat perfectly complements the crispy fried chicken.
-
Gluten-Free: Use almond flour or a gluten-free flour blend in the coating to enjoy the same amazing crunch without the gluten. You’ll hardly notice the difference!
-
Crispy Skin Lovers: Try the skin-on chicken thighs if you want an extra layer of crispy goodness. Just ensure they’re well-seasoned for the maximum flavor experience.
-
Cheesy Delight: Sprinkle shredded cheese (like cheddar or pepper jack) onto the fried chicken just before serving. The melted cheese adds a wonderful creaminess to each bite.
-
Herbed Version: Incorporate fresh herbs, such as thyme or rosemary, into your slaw for a fragrant burst of flavor that elevates your picnic sandwiches.
-
Baked Option: Bake the chicken at 400°F (200°C) for about 25-30 minutes for a healthier twist. Just spray with oil for a crispy finish without frying!
-
Pickle Swap: Swap in bread-and-butter pickles for a sweeter variety that balances the sandwich’s tangy elements beautifully. Your taste buds will thank you!
-
Tangy Slaw Twist: Add shredded apples or diced pears to your slaw mix for a hint of sweetness that offsets the savory chicken, creating an exciting juxtaposition of flavors.
Once you’ve settled on your variations, don’t forget to pair your sandwich with some crispy fries or a chilled garden salad. And if you’re seeking more inspiration, check out my recipes for Cajun Chicken Sloppy or a comforting Mushroom Asparagus Chicken dish!
How to Store and Freeze Pickle Brined Fried Chicken Sandwich
Room Temperature: Leftover fried chicken should be consumed within 2 hours of cooking to stay safe and fresh.
Fridge: Store leftover fried chicken separately from buns and toppings in an airtight container for up to 3 days. This helps maintain their individual textures.
Freezer: For long-term storage, freeze the fried chicken in a freezer-safe container or bag for up to 3 months. Thaw in the fridge before reheating for best results.
Reheating: When ready to enjoy, reheat the chicken in the oven at 375°F (190°C) for about 10-15 minutes or in an air fryer to restore crispiness before assembling your pickle brined fried chicken sandwich.
Crispy Pickle Brined Fried Chicken Sandwich Recipe FAQs
What type of chicken works best for this recipe?
I recommend using boneless skinless chicken thighs as they are juicy and flavorful, ensuring your sandwich is tender. If you prefer chicken breasts, make sure to pound them to an even thickness to prevent uneven cooking.
How long can I store leftovers and how should I do it?
Store any leftover fried chicken separately from the buns and toppings in an airtight container in the fridge for up to 3 days. This helps maintain the sandwich’s texture. Be sure to reheat chicken gently to preserve its crispy coating.
Can I freeze the fried chicken? How should I do it?
Absolutely! To freeze, place the cooled fried chicken in a freezer-safe container or resealable bag, making sure it’s airtight. It can stay frozen for up to 3 months. When you’re ready to enjoy it, thaw the chicken overnight in the fridge and reheat it in the oven or air fryer to restore its crispy texture.
What should I do if my chicken isn’t crispy?
If your chicken turns out less crispy, ensure your oil is at the right temperature of 350°F (175°C) before frying. If the oil is too hot or too cool, it may affect the coating. Additionally, pressing the breading firmly onto the chicken before frying can help. Lastly, placing the cooked chicken on a wire rack instead of paper towels prevents steam from softening the coating.
Are there any dietary considerations I should keep in mind?
Yes, if you’re cooking for guests with allergies or dietary restrictions, make sure to note that this recipe uses buttermilk, which contains dairy. For gluten-free options, substitute with gluten-free flour and a gluten-free seasoning blend. Additionally, check the ingredients in store-bought pickles and mayonnaise to avoid potential allergens.
Can I make this sandwich ahead of time? And if so, how?
Certainly! You can prepare the slaw and fry the chicken in advance. To do this, mix the slaw ingredients and refrigerate—doing this up to a day ahead will enhance the flavors. Fry the chicken and allow it to cool before storing it in the fridge. When ready to serve, reheat the chicken in the oven or air fryer, toast the buns, and assemble your Crispy Pickle Brined Fried Chicken Sandwich just before eating for the best results.
Crispy Pickle Brined Fried Chicken Sandwich Bliss at Home
Ingredients
Equipment
Method
- Marinate the Chicken: Marinate chicken thighs in dill pickle juice, cover, and refrigerate for at least 1 hour or overnight.
- Prepare the Slaw: Combine coleslaw mix with mayonnaise, apple cider vinegar, sugar, salt, and pepper in a medium bowl. Mix well and chill.
- Make the Coating: Whisk together flour, cornstarch, Cajun seasoning, garlic powder, and paprika in a shallow dish. Pat dry marinated chicken and dredge in the coating.
- Heat the Oil: Heat oil to 350°F (175°C) in a skillet. Fry coated chicken thighs in batches for 5-6 minutes each side until golden brown.
- Drain the Fried Chicken: Remove chicken and place on a wire rack to retain crispiness.
- Toast the Buns: Slice brioche buns and toast in the oven at 350°F (175°C) for about 5 minutes or until lightly golden.
- Assemble Your Sandwich: Spread mayonnaise on the bottom bun, layer lettuce, fried chicken, slaw, pickles, and chives, then cap with the top bun.
Leave a Reply