
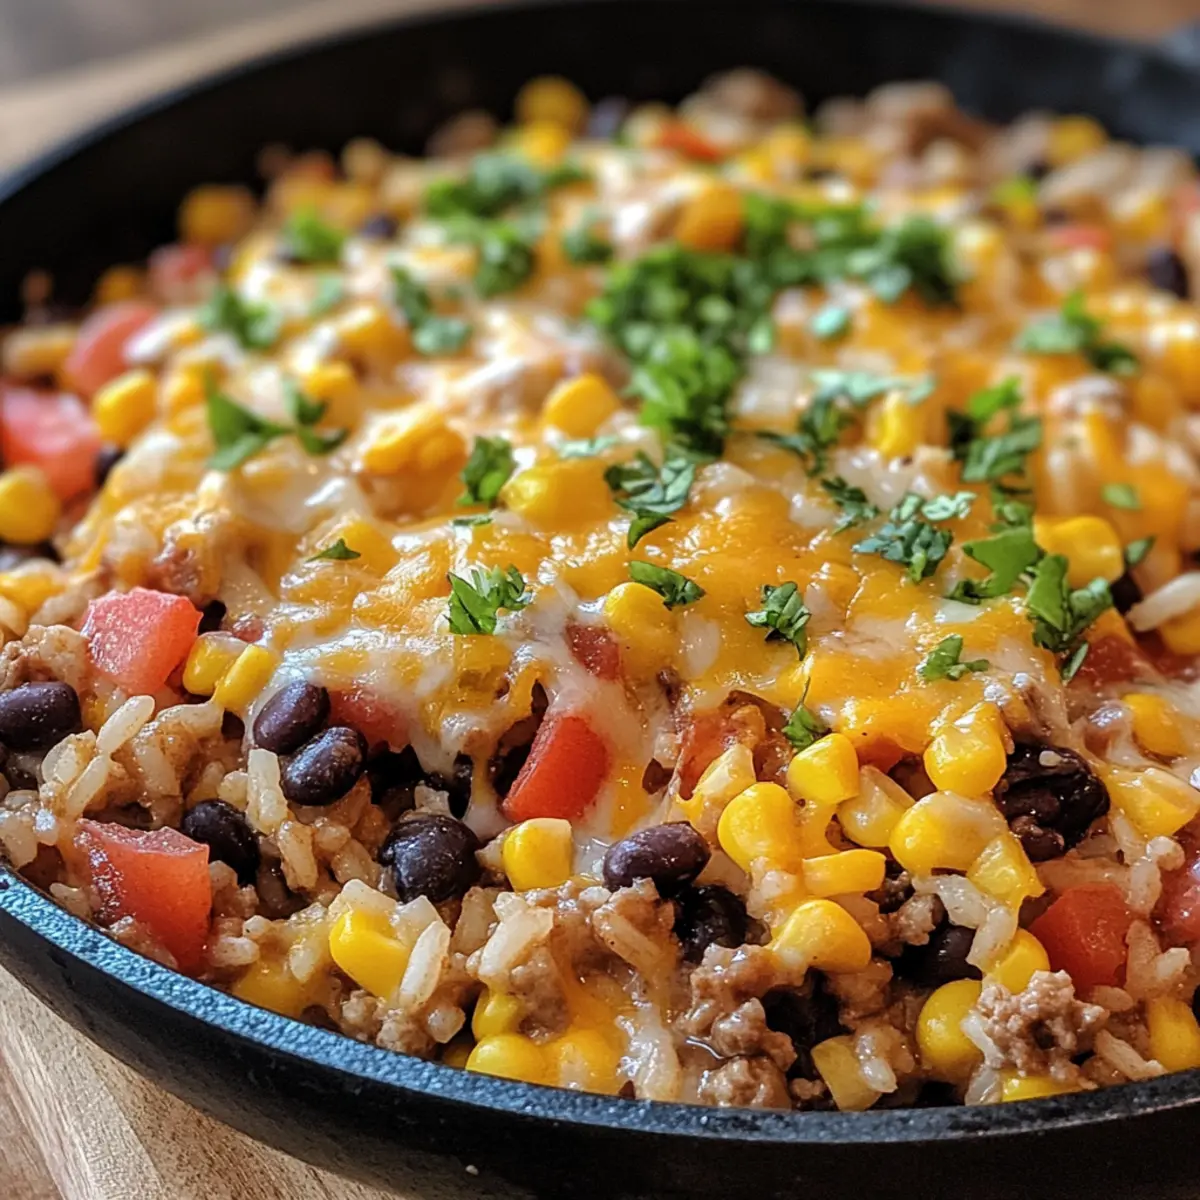
As the aromas of seasoned beef and melted cheese waft through the kitchen, I can’t help but feel a sense of anticipation. This Cheesy Taco Rice Skillet is my secret weapon for turning busy weeknights into a fiesta of flavor. In less than 30 minutes, you can whip up a quick, one-pan meal that’s both gluten-free and high in protein. Bursting with vibrant ingredients like black beans and sweet corn, this comforting dish not only pleases the palate but also brings everyone to the table. And let’s face it, who doesn’t love a good taco twist? Are you ready to dive into this cheesy goodness?
Why Is This Cheesy Skillet a Must-Try?
Simplicity at Its Best: With just one pan and under 30 minutes, this dish is as easy to prepare as it is delicious, making it perfect for busy weeknights.
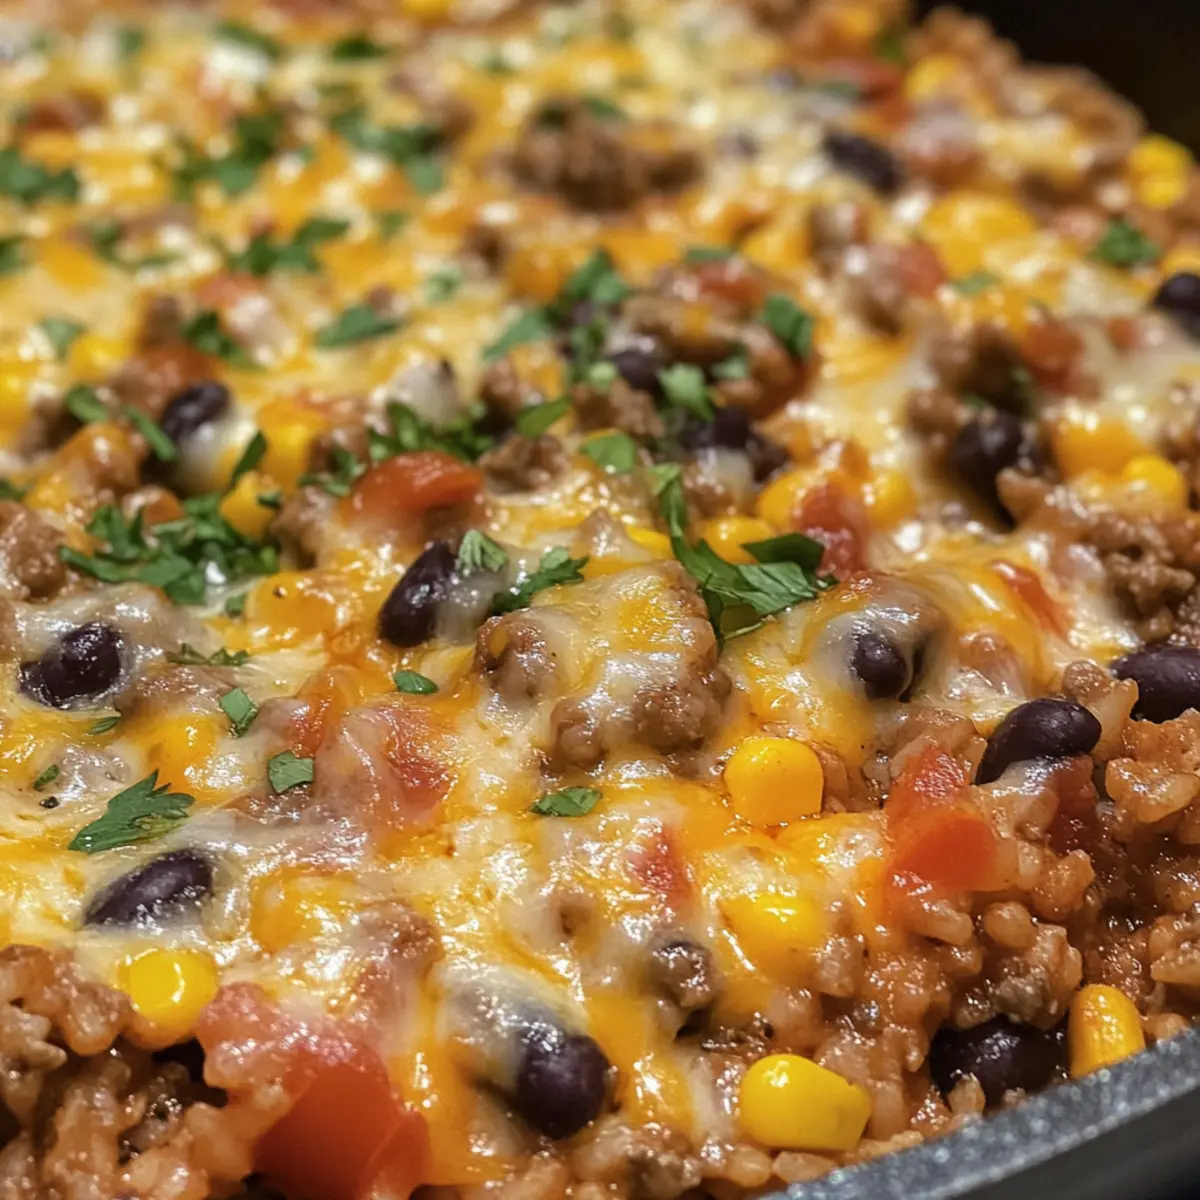
Flavor Explosion: The blend of taco seasoning, sweet corn, and gooey cheese offers a satisfying burst of flavor in every bite.
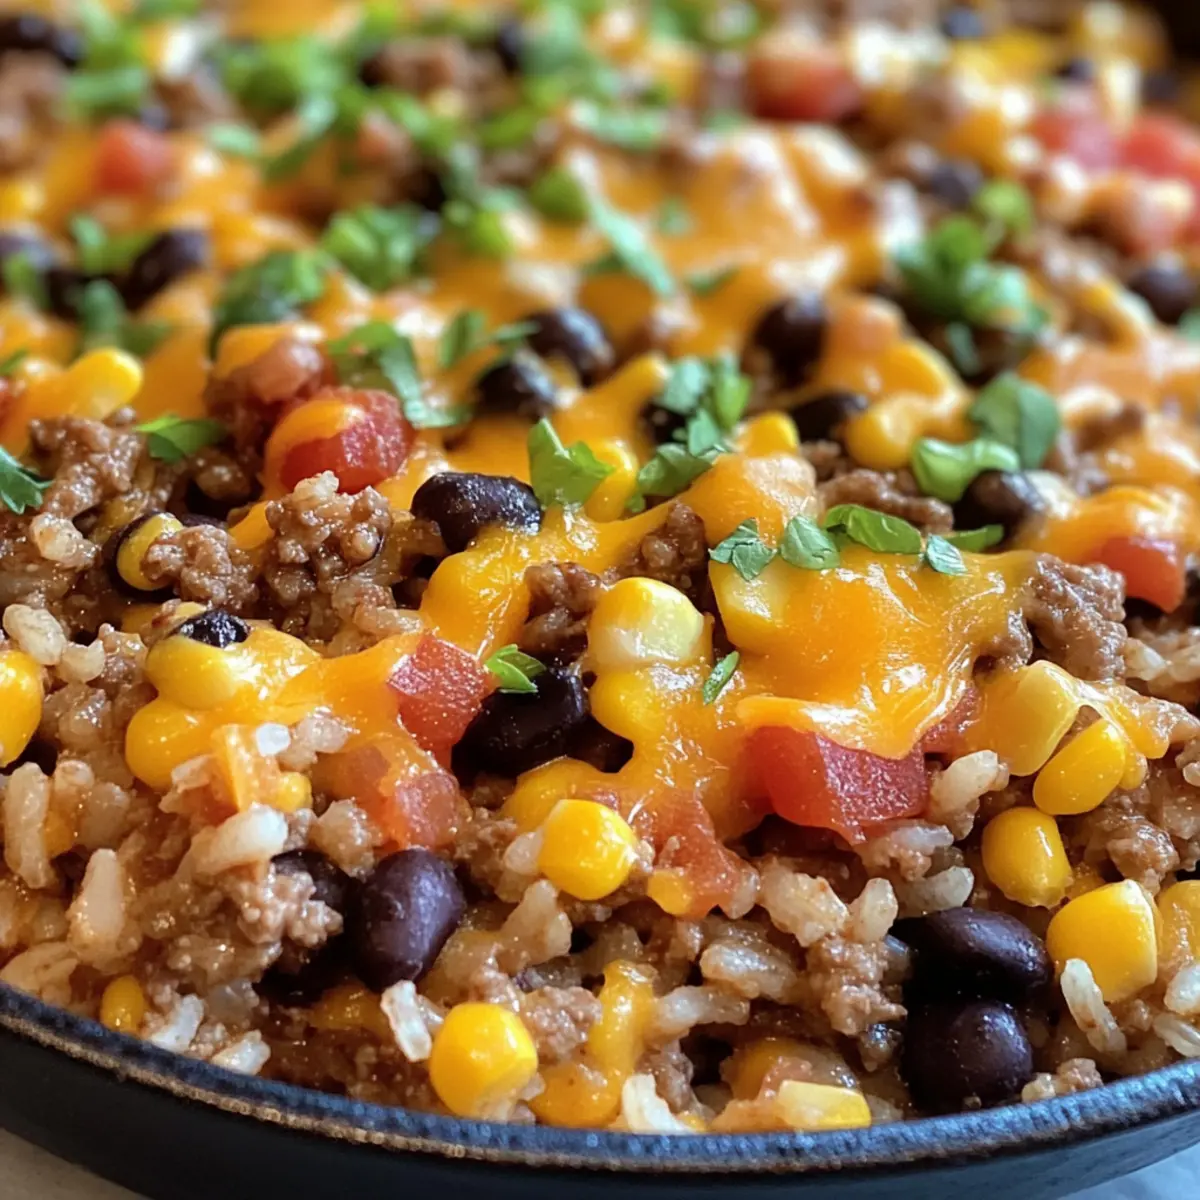
Healthy Comfort: Packed with lean ground beef and black beans, this Cheesy Taco Rice Skillet is a high-protein meal that doesn’t compromise on taste, ensuring you can indulge guilt-free.
Versatility: Feel free to customize your skillet with your favorite ingredients, whether it’s swapping beef for chicken or adding vibrant veggies.
Crowd-Pleaser: This dish is destined to be a hit at your dinner table, appealing to both kids and adults alike—perfect alongside some Honey Garlic Skillet or Cheesy Taco Potatoes for a complete meal!
Meal Prep Friendly: Leftovers store well, making it an ideal candidate for meal prepping. Enjoy hearty servings all week long without the fuss!
Cheesy Taco Rice Skillet Ingredients
For the Skillet
- Lean Ground Beef – Adds protein and richness; you can swap for ground turkey or a meat substitute for a lighter option.
- Onion – Brings flavor and sweetness; shallots can be used for a milder taste.
- Taco Seasoning – Infuses classic taco flavors; homemade seasoning can ensure it’s gluten-free.
- Prepared Salsa – Adds moisture and zesty flavor; choose your heat level, from mild to spicy.
- Black Beans – Contributes fiber and protein; canned or freshly cooked both work well.
- Sweet Corn – Adds texture and sweetness; fresh or frozen can substitute for canned corn.
- Diced Tomatoes with Green Chiles – Provides acidity and a zesty kick; fresh diced tomatoes can be used for quality.
- Ready Rice – Maintains simplicity and quick prep; substitute with cooked long-grain or brown rice if preferred.
- Colby Jack Cheese – Offers creaminess and flavor; consider using freshly shredded mozzarella or cheddar.
For Garnishing
- Optional Garnishes – Fresh cilantro, sliced avocado, sour cream, and crushed tortilla chips enhance flavors and textures beautifully, giving that extra touch to your Cheesy Taco Rice Skillet.
Step‑by‑Step Instructions for Cheesy Taco Rice Skillet
Step 1: Cook Beef and Onion
Heat a large oven-safe skillet over medium heat, lightly greasing it with cooking spray. Add 1 pound of lean ground beef and 1 chopped onion, cooking until the beef is browned and the onion is translucent, about 8-10 minutes. Stir occasionally, breaking up the meat until it’s cooked through and no longer pink.
Step 2: Combine Ingredients
Once the beef and onion are ready, sprinkle in your taco seasoning and pour in your prepared salsa. Mix well to combine, followed by adding 1 can of drained black beans, 1 cup of undrained corn, and 1 can of diced tomatoes with green chiles. Let the mixture simmer for 5-6 minutes until most of the liquid has absorbed, creating a thick filling.
Step 3: Add Rice and Cheese
Stir in 2 cups of prepared ready rice, ensuring it’s fully integrated into the skillet mixture. Spread the rice evenly throughout the skillet, allowing the flavors to meld together. Then, sprinkle 2 cups of shredded Colby Jack cheese over the top, creating a cheesy layer that will melt beautifully.
Step 4: Broil
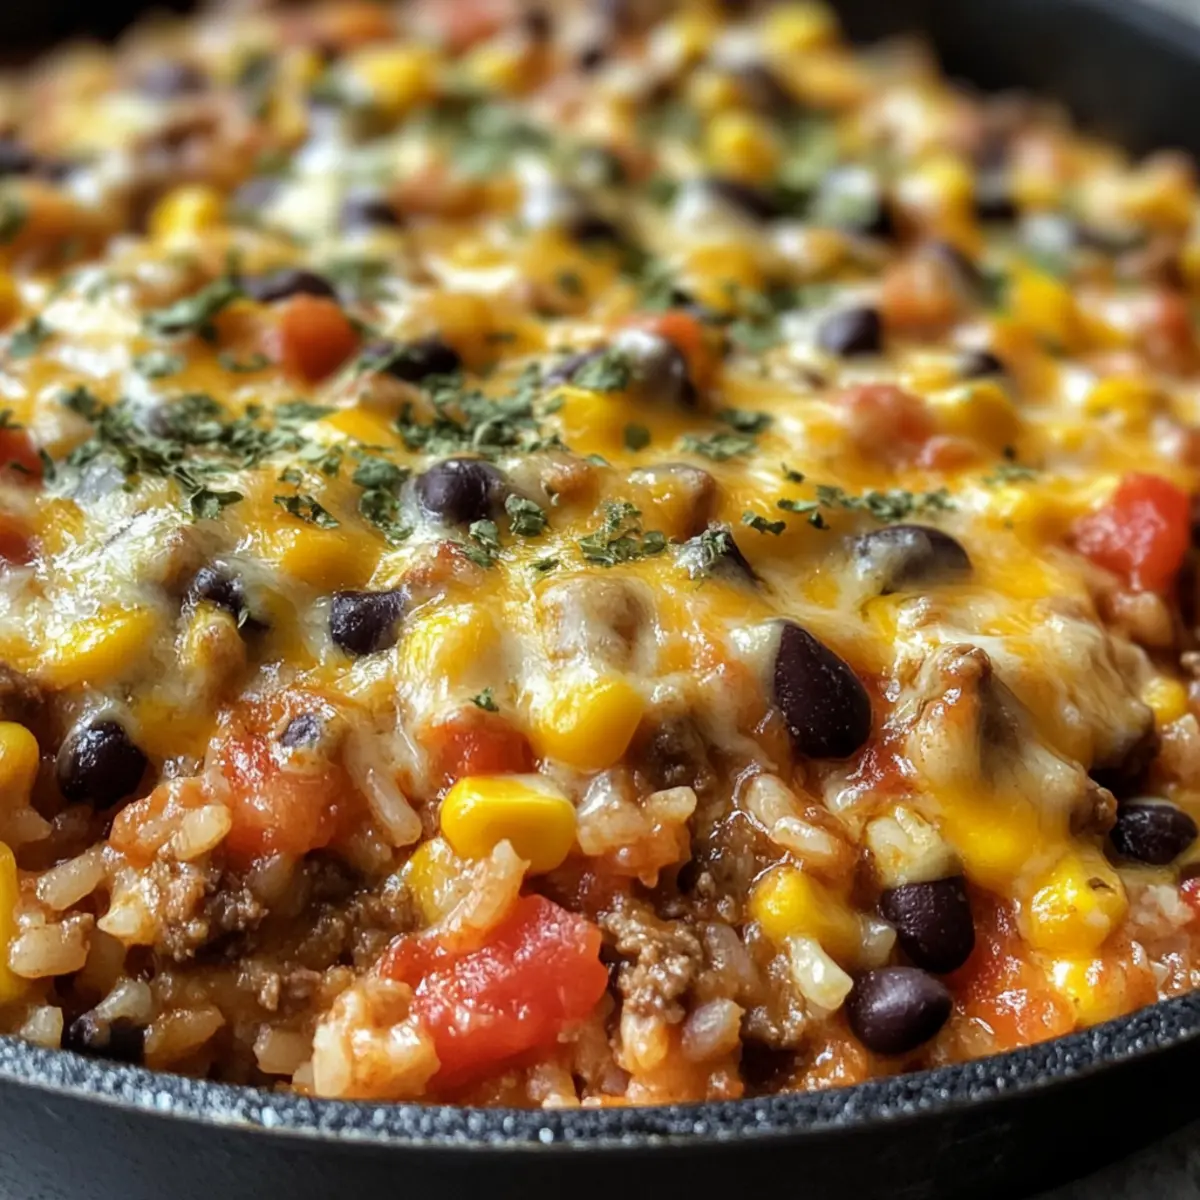
Transfer the skillet to your oven and position it under the broiler on high for about 1 minute. Keep a close eye on the cheese as it melts; you’re looking for a bubbly and golden finish. The heat will create that irresistible cheesy crust that defines your Cheesy Taco Rice Skillet.
Step 5: Serve
Once the cheese is perfectly melted, remove the skillet from the oven, allowing it to cool for a moment. Garnish your Cheesy Taco Rice Skillet with fresh cilantro and prepare optional toppings like sliced avocado, sour cream, and crushed tortilla chips. Serve hot and enjoy the delightful flavors!
Cheesy Taco Rice Skillet Variations
Feel free to experiment with these fun and delicious twists that will make this dish uniquely yours!
-
Chicken Swap: Replace ground beef with shredded chicken for a lighter option that’s just as tasty. This gives a whole new flavor dimension while keeping it protein-packed.
-
Vegetarian Delight: Opt for a selection of beans or quinoa instead of meat. Combine black beans and pinto beans for a hearty, satisfying vegetarian dish that doesn’t skimp on the goodness.
-
Extra Cheese: Use a blend of your favorite cheeses, like mozzarella, pepper jack, or even blue cheese for a delightful surprise! The melty combination can elevate the dish to cheesy perfection.
-
Spicy Kick: Add diced jalapeños or a splash of hot sauce to kick it up a notch. Just a little heat will enhance those taco flavors every bite you take!
-
Veggie Boost: Toss in extra vegetables like bell peppers, spinach, or zucchini to make it more nutritious. Sautéing them with the onions beforehand will deepen their flavor.
-
Cauliflower Rice: For a low-carb alternative, swap out regular rice for cauliflower rice. It’s a fantastic way to enjoy all the flavors with fewer carbs, perfect for healthy eating!
-
Salsa Variations: Try using a fruit-based salsa, like mango or pineapple, for a sweet contrast to the savory elements. The burst of sweetness will surprise and please your palate.
-
Crunchy Toppings: For added texture, sprinkle some crushed tortilla chips or fried onion bits before serving. This will provide an extra crunch that everyone will love, similar to enjoying the best of both worlds in a comforting and hearty dish!
As you prepare your Cheesy Taco Rice Skillet, think about these variations to truly personalize your meal. You could always serve it with a side of Taco Rice Bowl or pair it with Cheesy Ranch Potatoes for a complete feast!
How to Store and Freeze Cheesy Taco Rice Skillet
Fridge: Store leftovers in an airtight container for up to 3-4 days. This allows the flavors to meld and makes for quick lunch or dinner options.
Freezer: For longer storage, freeze the Cheesy Taco Rice Skillet for up to 2-3 months. Use a freezer-safe container and ensure it’s tightly sealed.
Thawing: Thaw overnight in the refrigerator before reheating. This keeps the texture of the cheese and ingredients intact.
Reheating: Reheat in the microwave or over low heat on the stove, adding a splash of water if necessary to keep it moist. Enjoy the cheesy goodness once more!
Expert Tips for Cheesy Taco Rice Skillet
Perfect Cheese Melt: Always use freshly shredded cheese instead of pre-packaged. It melts beautifully and enhances the dish’s texture and flavor.
Heat Control: Monitor the broiler closely—cheese can go from bubbling to burnt in seconds! Remove once it’s lightly golden.
Flavor Boost: Sauté diced bell peppers and a minced garlic clove with the onion for an extra layer of flavor in your Cheesy Taco Rice Skillet.
Bean Varieties: If black beans aren’t to your taste, feel free to substitute with pinto beans or even chickpeas for a unique twist!
Vegetarian Option: For a meat-free version, replace the ground beef with extra beans or a meat substitute, and watch the protein stay high!
Make Ahead: Prepare the beef mixture in advance—store it in the fridge and simply add cheese and broil when ready to serve.
Make Ahead Options
These Cheesy Taco Rice Skillets are perfect for meal prep! You can cook the ground beef and onion combination up to 24 hours in advance, storing it in the refrigerator to keep it fresh. The rice, beans, and veggies can also be prepped ahead and mixed together; simply combine them in a separate airtight container for up to 3 days. To maintain quality, refrigerate all components separately and assemble them just before broiling—this ensures the cheese melts evenly and the dish is just as delicious as when freshly made. When ready to serve, just combine everything in the skillet, top with cheese, and broil for 1 minute until bubbly. Enjoy the time-saving benefits of a hearty, homemade meal any night of the week!
What to Serve with Cheesy Taco Rice Skillet
As you savor each bite of this vibrant dish, consider these delightful pairings to create a complete meal that will enchant your taste buds.
-
Warm Tortillas: Soft, warm tortillas serve as perfect scoops for the cheesy skillet, allowing for an interactive dining experience.
-
Crispy Tortilla Chips: Their crunch complements the creamy textures and adds a satisfying element to every mouthful.
-
Fresh Guacamole: Creamy and rich, guacamole enhances the flavors of the skillet while providing a refreshing contrast to the spices.
-
Zesty Lime Wedges: A squeeze of fresh lime brightens the flavors, cutting through the richness for a refreshing finish.
-
Mexican Street Corn: Sweet and savory, this dish sprinkled with cheese and chili powder pairs beautifully, adding extra texture and flavor.
-
Spanish Rice Salad: A light, tangy rice salad brings vibrant colors and flavors to the table, creating a well-rounded meal experience.
-
Pico de Gallo: Fresh, crisp, and loaded with flavor, this salsa serves as a delightful topping that brightens your skillet with its freshness.
-
Margaritas: A classic accompaniment, this refreshing cocktail enhances the festive vibe of taco night and perfectly complements the dish’s spices.
-
Churros: Conclude your meal with these fluffy, sweet pastries dusted in cinnamon sugar for a delightful dessert that everyone will love.
Cheesy Taco Rice Skillet Recipe FAQs
What type of ground beef should I use for this recipe?
I recommend using lean ground beef, as it offers richness without excessive grease. If you’re looking for a lighter option, feel free to substitute it with ground turkey or even a plant-based meat alternative.
How should I store leftovers of the Cheesy Taco Rice Skillet?
Store any leftovers in an airtight container in the refrigerator for up to 3-4 days. This allows you to enjoy the flavors for multiple meals without hassle!
Can I freeze the Cheesy Taco Rice Skillet?
Absolutely! You can freeze the Cheesy Taco Rice Skillet for up to 2-3 months. Just make sure to use a freezer-safe container and seal it tightly. For best results, thaw it overnight in the refrigerator when you’re ready to enjoy it again.
What should I do if my cheese isn’t melting properly?
If your cheese isn’t melting well, it’s often due to using pre-shredded cheese. For the best melt, always use freshly shredded cheese from a block. If you’re broiling and it’s taking too long, be sure to keep a close eye on it, as cheese can burn quickly!
Are there any dietary considerations for this dish?
Yes, this recipe is quite versatile! It’s gluten-free, provided you use gluten-free taco seasoning and salsa. For those with dairy allergies, you could try dairy-free cheese options to achieve that gooey texture. Additionally, make sure to check that all canned ingredients are labeled gluten-free and free from allergens if needed.
Can I make this dish vegetarian?
Certainly! To create a vegetarian version of the Cheesy Taco Rice Skillet, simply omit the ground beef and either add more black beans or substitute it with a meat alternative like lentils or crumbled tempeh. This still keeps the protein content high while allowing everyone to enjoy a delicious meal!
Cheesy Taco Rice Skillet: Your Quick Comfort Food Delight
Ingredients
Equipment
Method
- Heat a large oven-safe skillet over medium heat, lightly greasing it with cooking spray. Add the beef and onion, cooking until browned.
- Sprinkle in the taco seasoning and pour in the salsa. Mix well, then add the black beans, corn, and tomatoes. Simmer for 5-6 minutes.
- Stir in the prepared ready rice and spread it evenly. Sprinkle cheese on top.
- Transfer to the oven under the broiler for about 1 minute until bubbly and golden.
- Remove from oven, garnish with cilantro and serve hot.
Leave a Reply