
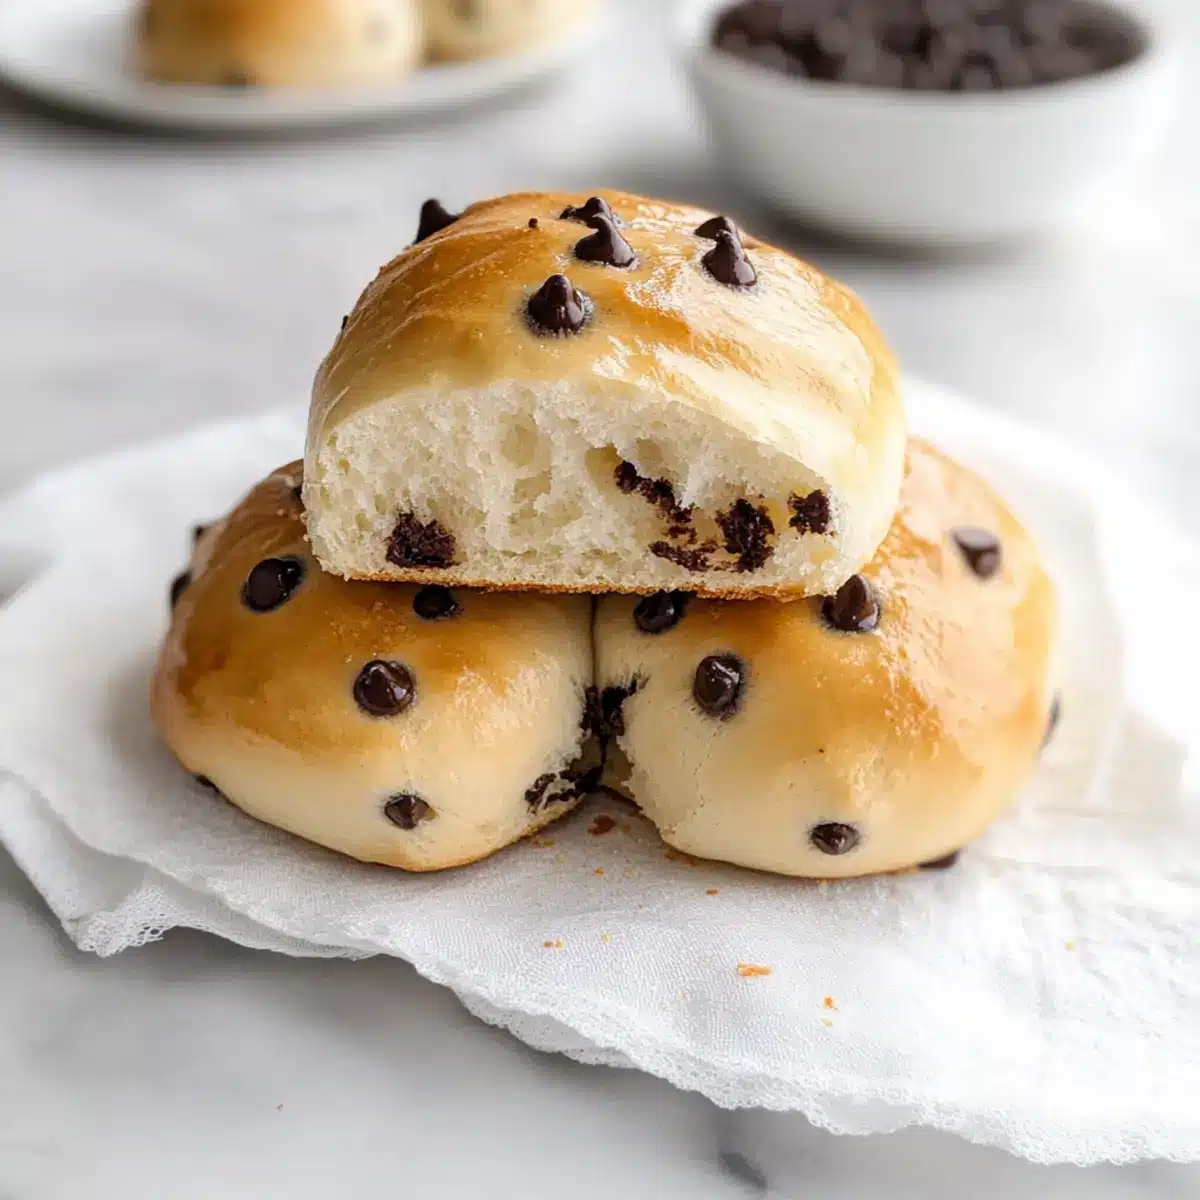
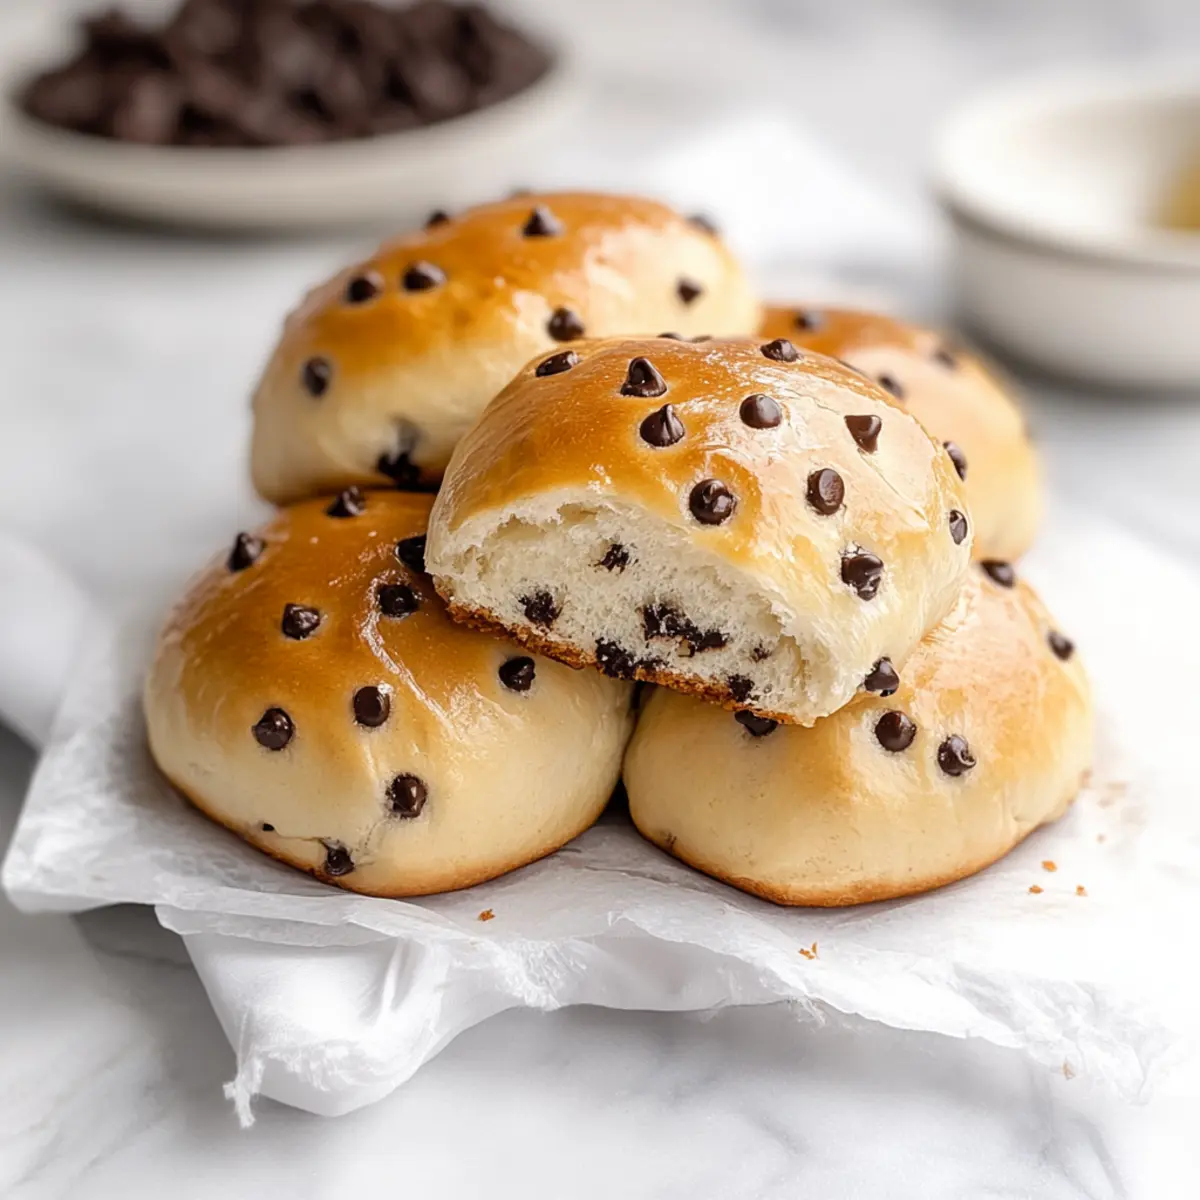
As I stood in my kitchen, the comforting warmth of freshly baked bread filled the air, transporting me back to the bustling bakeries of my childhood. Introducing you to my take on these delightful treats: The Fluffiest Chocolate Chip Milk Buns. With their light, airy texture and a touch of sweet chocolate, these buns are more than just a snack—they’re a hug in edible form. This recipe is perfect for those moments when you crave homemade goodness without spending hours in the kitchen. Plus, they stay soft for days, making them an ideal choice for families and food lovers alike. Are you ready to dive into a world of fluffy indulgence that will have everyone asking for seconds? Let’s get baking!
Why Are These Buns So Irresistibly Fluffy?
Fluffiness: These Chocolate Chip Milk Buns are crafted to be the fluffiest you’ve ever tasted, thanks to a perfect blend of warm milk and enriched dough.
Melt-in-Your-Mouth: Each bite is a delightful experience, as the combination of chocolate and soft texture transcends regular snacking into something extraordinary.
Quick and Easy: Even novice bakers will appreciate how straightforward the process is; you’ll impress family and friends with minimal effort!
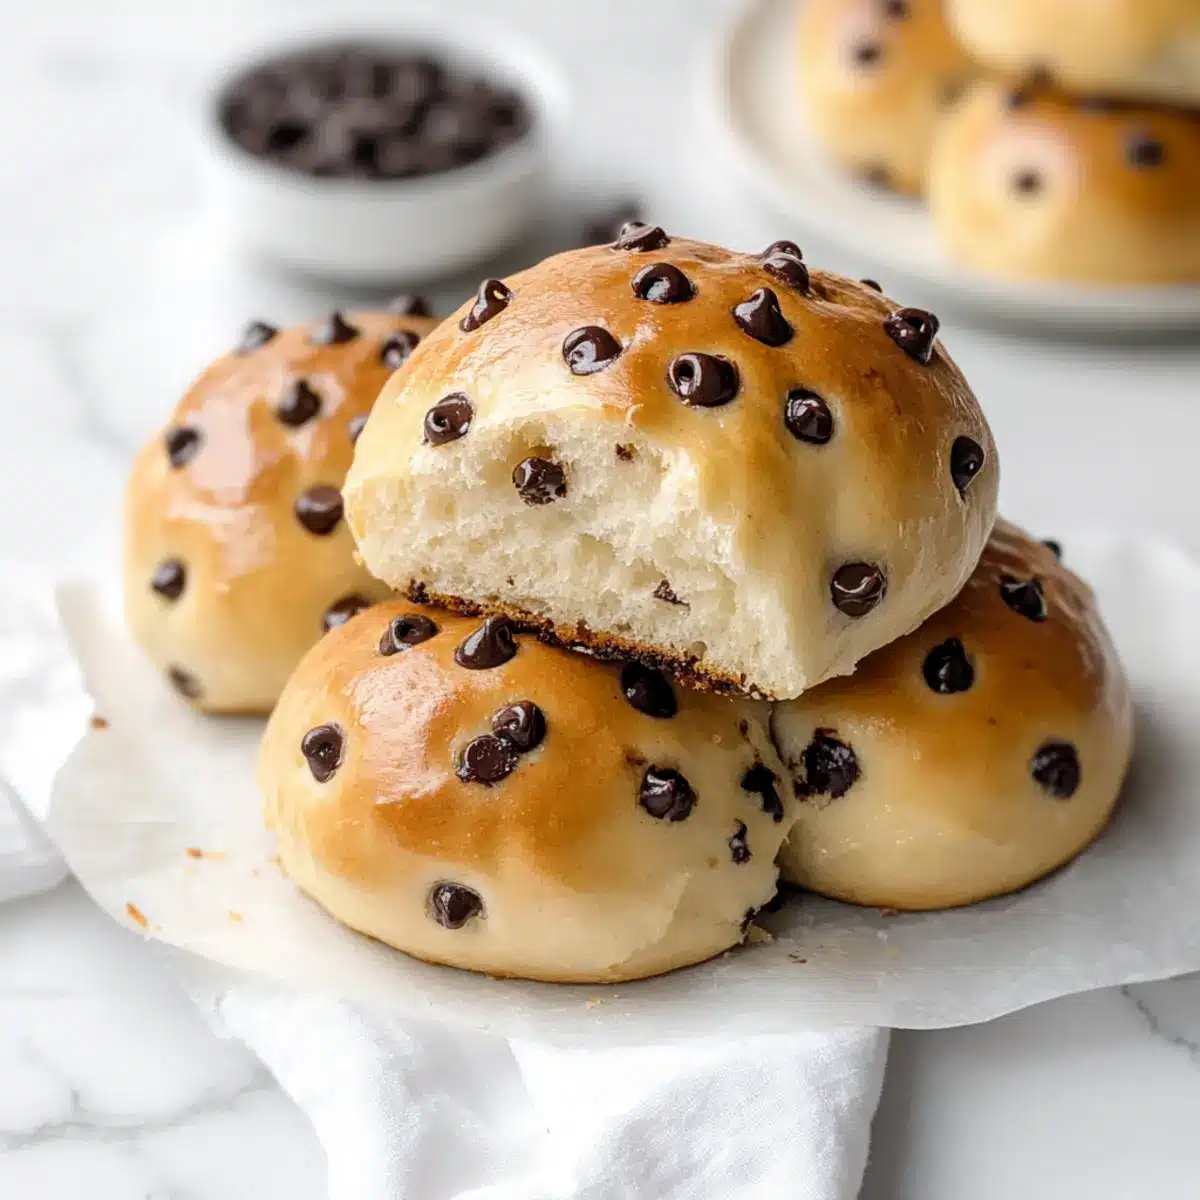
Crowd-Pleaser: These buns are the perfect addition to any gathering—serve them warm with butter or enjoy as a sweet treat at brunch!
Flavor Versatility: Experiment with different fillings—try dried fruits or flavored extracts for a unique twist, just like in my other recipes for White Chocolate Peppermint Cookies or Orange Chocolate Christmas Truffles.
Chocolate Chip Milk Buns Ingredients
For the Bun Dough
• All-purpose flour – Provides the structure and stability for the buns; bread flour can be used for a chewier texture.
• Whole milk (warm) – Adds moisture and richness, essential for achieving fluffy Chocolate Chip Milk Buns; use warm milk (approx. 40°C) to activate the yeast.
• Unsalted butter – Enriches the dough for a softer texture; can be used either softened or melted.
• Fresh yeast (or active dry yeast) – The fermentation agent that helps the dough rise; substitute with 7g or 1 packet of active dry yeast instead of fresh.
• Granulated sugar – Provides sweetness and aids in the activation of the yeast.
• Baking powder – Contributes to the leavening process for extra fluffiness; approximately half a packet is used.
• Salt – Enhances the overall flavor of the dough.
For the Chocolate Addition
• Chocolate chips – Adds delightful bursts of sweetness in every bite; can be replaced with raisins or dried cranberries for a variation.
For the Glaze
• Vanilla extract – Infuses the dough with a rich flavor, enhancing the overall taste.
• Milk (reserved for glazing) – Creates a shiny, soft crust on the buns, sealing in their deliciousness.
Step‑by‑Step Instructions for The Fluffiest Chocolate Chip Milk Buns
Step 1: Yeast Prep
In a mixing bowl, whisk together warm milk, fresh yeast, granulated sugar, softened butter, and vanilla extract until well combined. Allow this mixture to sit for about 10 minutes until it becomes foamy, indicating that the yeast is activated. This step is crucial for developing the fluffiness of your Chocolate Chip Milk Buns.
Step 2: Mix & Knead
Add baking powder, all-purpose flour, and salt to the yeast mixture. Combine the ingredients until a dough forms, then turn it out onto a floured surface. Knead the dough for about 5-10 minutes until it becomes smooth and elastic, which is key to achieving that airy texture in your buns.
Step 3: Incorporate Chocolate
Once your dough is ready, gently fold in the chocolate chips using your hands or a spatula. Make sure the chocolate is evenly distributed throughout the dough to maximize those delightful bursts of sweetness in every bite of your Chocolate Chip Milk Buns.
Step 4: First Rise
Place the dough in a greased bowl, ensuring it’s coated lightly with oil to prevent sticking. Cover the bowl tightly with plastic wrap or a clean kitchen towel, then let it rise in a warm place for about 1 hour, or until it doubles in size. This step is essential for that cloud-like fluffiness.
Step 5: Shape
Once the dough has risen, gently punch it down to release the air. Transfer it to a floured surface and divide it into 10 equal portions. Roll each portion into a smooth ball, ensuring each Chocolate Chip Milk Bun is uniform in size for even baking.
Step 6: Second Proof
Arrange the dough balls on a parchment-lined baking tray, leaving space for them to expand. Cover the tray with a towel and let the buns rise for another 20 minutes at room temperature. During this time, they’ll puff up beautifully, preparing for that final bake.
Step 7: Preheat & Bake
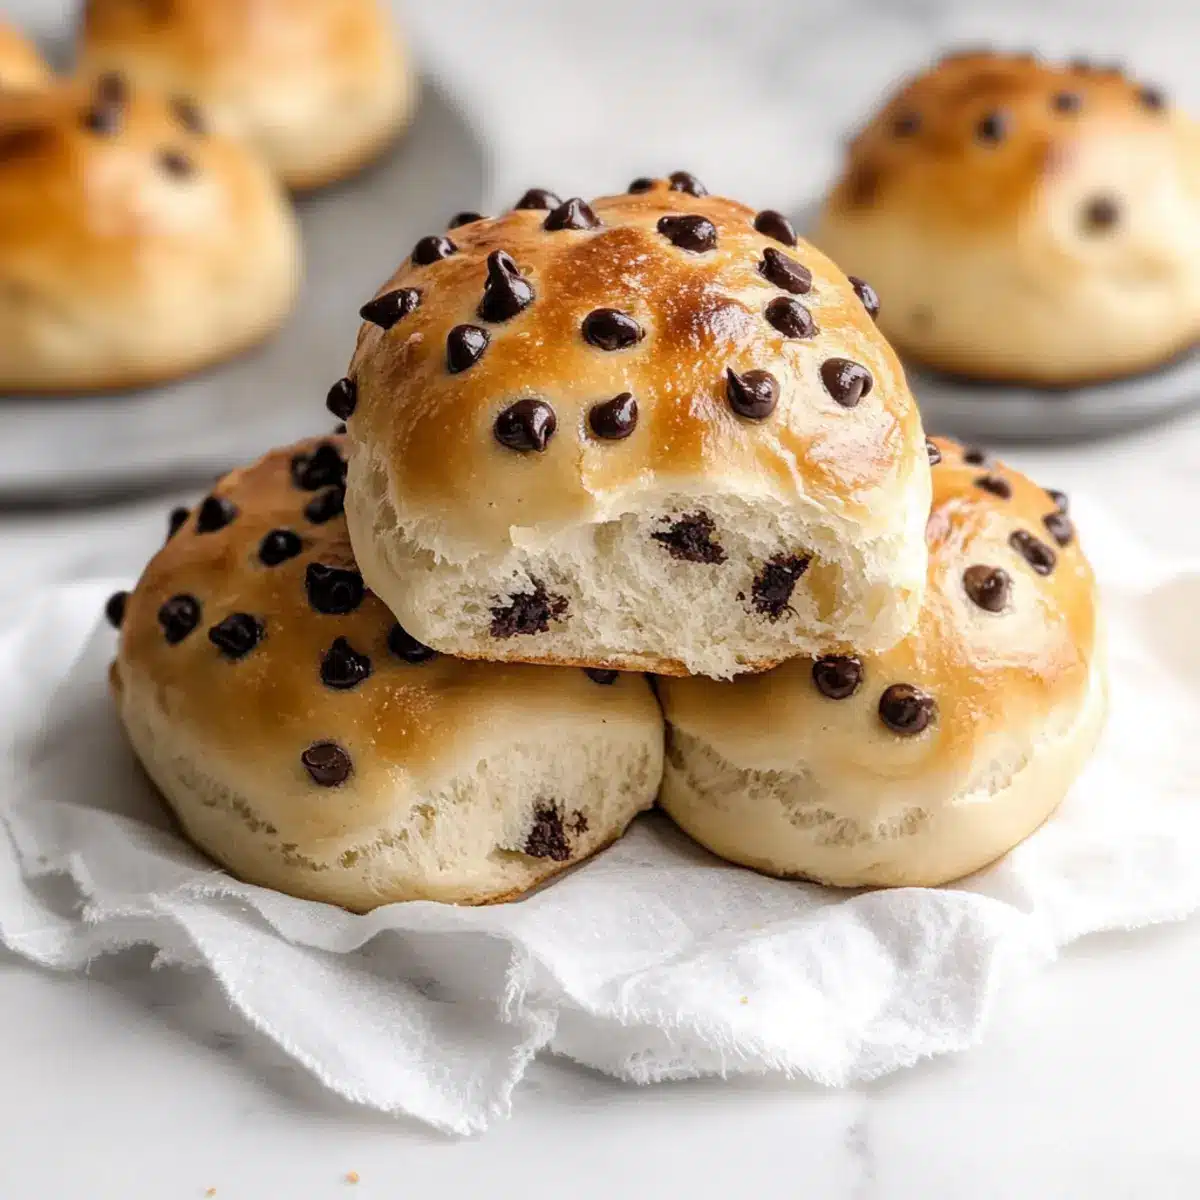
Preheat your oven to 190°C (374°F). Once preheated, brush the tops of your risen buns generously with reserved milk to achieve a shiny crust. Bake the buns for 20-25 minutes until they are golden brown and sound hollow when tapped on the bottom, ensuring a perfect texture.
Step 8: Final Glaze
Immediately after removing the Chocolate Chip Milk Buns from the oven, brush the tops again with a little milk. This step gives the buns a glossy finish and softens the crust, making them irresistible while they cool.
Step 9: Cool
Allow the buns to cool for a few minutes on a wire rack before serving. This helps maintain their fluffiness and improves the overall texture. Serve warm or at room temperature, and enjoy the delightful softness and sweetness of your homemade Chocolate Chip Milk Buns!
Make Ahead Options
These Fluffiest Chocolate Chip Milk Buns are perfect for meal prep enthusiasts! You can make the dough up to 24 hours in advance. Simply complete steps 1 through 4, then cover the bowl tightly and refrigerate the dough. This slow fermentation enhances the flavor and keeps the dough light and fluffy. When you’re ready to bake, allow the dough to come to room temperature (about 30 minutes), then proceed with shaping and the second proof (steps 5 and 6). To maintain that delightful softness, brush the tops with milk before baking. You’ll have the same delicious results with minimal effort, making busy weeknights a breeze!
What to Serve with The Fluffiest Chocolate Chip Milk Buns
Warm, freshly baked buns bring an irresistible warmth to any meal, perfectly complemented by delightful pairings that enhance their fluffy sweetness.
-
Creamy Butter: A generous spread of creamy butter melts into the warm buns, adding a rich flavor that elevates every bite.
-
Honey Drizzle: A drizzle of honey adds a luscious sweetness, balancing the chocolate while providing a comforting touch.
-
Fresh Berries: Plump, juicy berries like strawberries or raspberries offer a burst of freshness that contrasts beautifully with the rich buns.
-
Vanilla Ice Cream: The cold, creamy texture of vanilla ice cream creates a delightful contrast against the soft warmth of the Milk Buns, perfect for dessert.
-
Chocolate Hazelnut Spread: Slathering these buns with chocolate hazelnut spread takes them to another decadent level, creating a sweet, indulgent snack.
-
Lemonade or Iced Tea: Refreshing lemonade or iced tea serves as a light, zesty beverage that cuts through the sweetness, making every bite enjoyable.
-
Decaf Coffee or Tea: For a comforting treat, pair your buns with a cup of decaf coffee or herbal tea, enhancing the overall warmth of the experience.
This variety of accompaniments transforms simple Chocolate Chip Milk Buns into a complete and unforgettable meal for any occasion!
Chocolate Chip Milk Buns Variations
Feel free to get creative and customize these buns to match your cravings or dietary needs—each twist makes them uniquely yours!
-
Dried Fruits: Swap chocolate chips for raisins or dried cranberries for a deliciously fruity version. This change provides a natural sweetness and chewiness that pairs beautifully with the soft dough.
-
Nut-Free Options: If you’re looking for a nut-free version, your Chocolate Chip Milk Buns will naturally fit the bill. Simply ensure your chocolate chips don’t contain nuts, or try using carob chips for a different flavor twist.
-
Flavored Extracts: Use almond, coconut, or even orange extract instead of vanilla for extra complexity in flavor. Each extract brings its character, enhancing your buns and sparking conversation at the breakfast table.
-
Mini Buns: Divide the dough into smaller portions for bite-sized buns. Mini versions make lovely snacks or party treats, perfect for sharing or enjoying during a cozy coffee moment.
-
Spiced Up: Add a pinch of cinnamon or nutmeg to the dry ingredients for a warm spice element. These spices harmonize beautifully with the sweetness and will fill your kitchen with inviting aromas.
-
Decadent Chocolate Glaze: Turn up the indulgence by preparing a chocolate glaze to drizzle over the buns instead of the milk glaze. This decadent layer adds a rich finish, elevating your treats to bakery-worthy status.
-
Cheese Infusion: For a savory twist, sprinkle in your favorite cheese (like cheddar or cream cheese bits) alongside the chocolate chips. The combination of sweet and salty makes for a delightful surprise in every bite.
-
Fluffy Chocolate Chip Milk Buns with a Kick: Add some finely chopped jalapeños or red pepper flakes to the dough for a surprising heat that contrasts with the chocolate sweetness. It’s an exciting flavor journey that adventurous eaters will relish!
These delightful variations will surely make your experience with these Chocolate Chip Milk Buns even more enjoyable. And don’t forget to check out Hot Chocolate Cupcakes with Marshmallow Buttercream for more delicious inspirations!
How to Store and Freeze Chocolate Chip Milk Buns
-
Room Temperature: Store the buns in an airtight container at room temperature for up to 3 days to keep them soft and fresh.
-
Fridge: If you must refrigerate, place the buns in an airtight container for up to 5 days, but note that they may lose some fluffiness.
-
Freezer: For longer storage, freeze the cooled Chocolate Chip Milk Buns individually. Wrap each bun in plastic wrap and place them in a freezer bag for up to 1 month.
-
Reheating: When ready to enjoy, reheat the frozen buns in the microwave for 15-20 seconds or until warm for that delightful soft texture.
Expert Tips for Chocolate Chip Milk Buns
-
Yeast Activation: Make sure your milk is warm but not hot—ideally between 100°F to 110°F. Too hot can kill the yeast, affecting the fluffiness of your buns.
-
Kneading Technique: Use the “windowpane test” to check dough readiness: stretch a small piece; it should be thin enough to see light without tearing. This ensures proper gluten development.
-
Measure Flour Accurately: Avoid packing flour into the measuring cup; instead, spoon it gently into the cup and level it off. Using too much can lead to dense Chocolate Chip Milk Buns.
-
Rising Environment: Create a warm rising environment by placing your dough in an oven preheated for 1 minute and then turned off. This helps the dough rise without drafts affecting its fluffiness.
-
Storage Tips: Store leftover buns in an airtight container at room temperature for 2-3 days. For extended freshness, freeze them and reheat for the softest results.
Chocolate Chip Milk Buns Recipe FAQs
What type of flour is best for Chocolate Chip Milk Buns?
I recommend using all-purpose flour for the best structure and stability in your Chocolate Chip Milk Buns. If you prefer a chewier texture, bread flour can be a great alternative too!
How should I store my Chocolate Chip Milk Buns?
These delicious buns should be stored in an airtight container at room temperature for up to 3 days for optimal freshness. If you happen to have leftovers, placing them in the fridge can extend their life to about 5 days, but keep in mind they might lose some of that fluffy texture.
Can I freeze Chocolate Chip Milk Buns?
Absolutely! To freeze your Chocolate Chip Milk Buns, wrap each cooled bun individually in plastic wrap, then place them into a freezer bag. They can be kept for up to 1 month. When you’re ready to enjoy them, simply reheat in the microwave for about 15-20 seconds or until warm.
What’s the best way to ensure my buns rise properly?
Creating a warm and draft-free environment is key! Try preheating your oven for 1 minute, then turning it off, and placing your dough inside covered. This will help maintain the warmth needed for that perfect rise!
Are Chocolate Chip Milk Buns safe for those with nut allergies?
Yes! This recipe is naturally nut-free. However, make sure to check the packaging of your chocolate chips to confirm they are also processed in a nut-free environment, just to be safe.
How do I know if my yeast is active?
To check if your yeast is alive and kicking, combine warm milk, sugar, and yeast in a bowl and let it sit for about 10 minutes. If it becomes foamy and bubbly, your yeast is active and ready to help those buns rise!
Fluffy Chocolate Chip Milk Buns That Just Melt in Your Mouth
Ingredients
Equipment
Method
- In a mixing bowl, whisk together warm milk, fresh yeast, granulated sugar, softened butter, and vanilla extract until well combined. Allow to sit for about 10 minutes until foamy.
- Add baking powder, all-purpose flour, and salt to the yeast mixture. Combine until a dough forms, then knead for about 5-10 minutes until smooth and elastic.
- Gently fold in the chocolate chips, ensuring even distribution throughout the dough.
- Place the dough in a greased bowl and cover with plastic wrap. Let it rise in a warm place for about 1 hour, or until doubled in size.
- Once risen, punch down the dough and divide into 10 equal portions. Roll each into a smooth ball.
- Arrange the dough balls on a parchment-lined baking tray and cover with a towel. Let them rise for another 20 minutes.
- Preheat your oven to 190°C. Brush the tops of the risen buns with reserved milk. Bake for 20-25 minutes until golden brown.
- After baking, brush tops again with a little milk for a glossy finish.
- Allow the buns to cool on a wire rack before serving.
Leave a Reply