
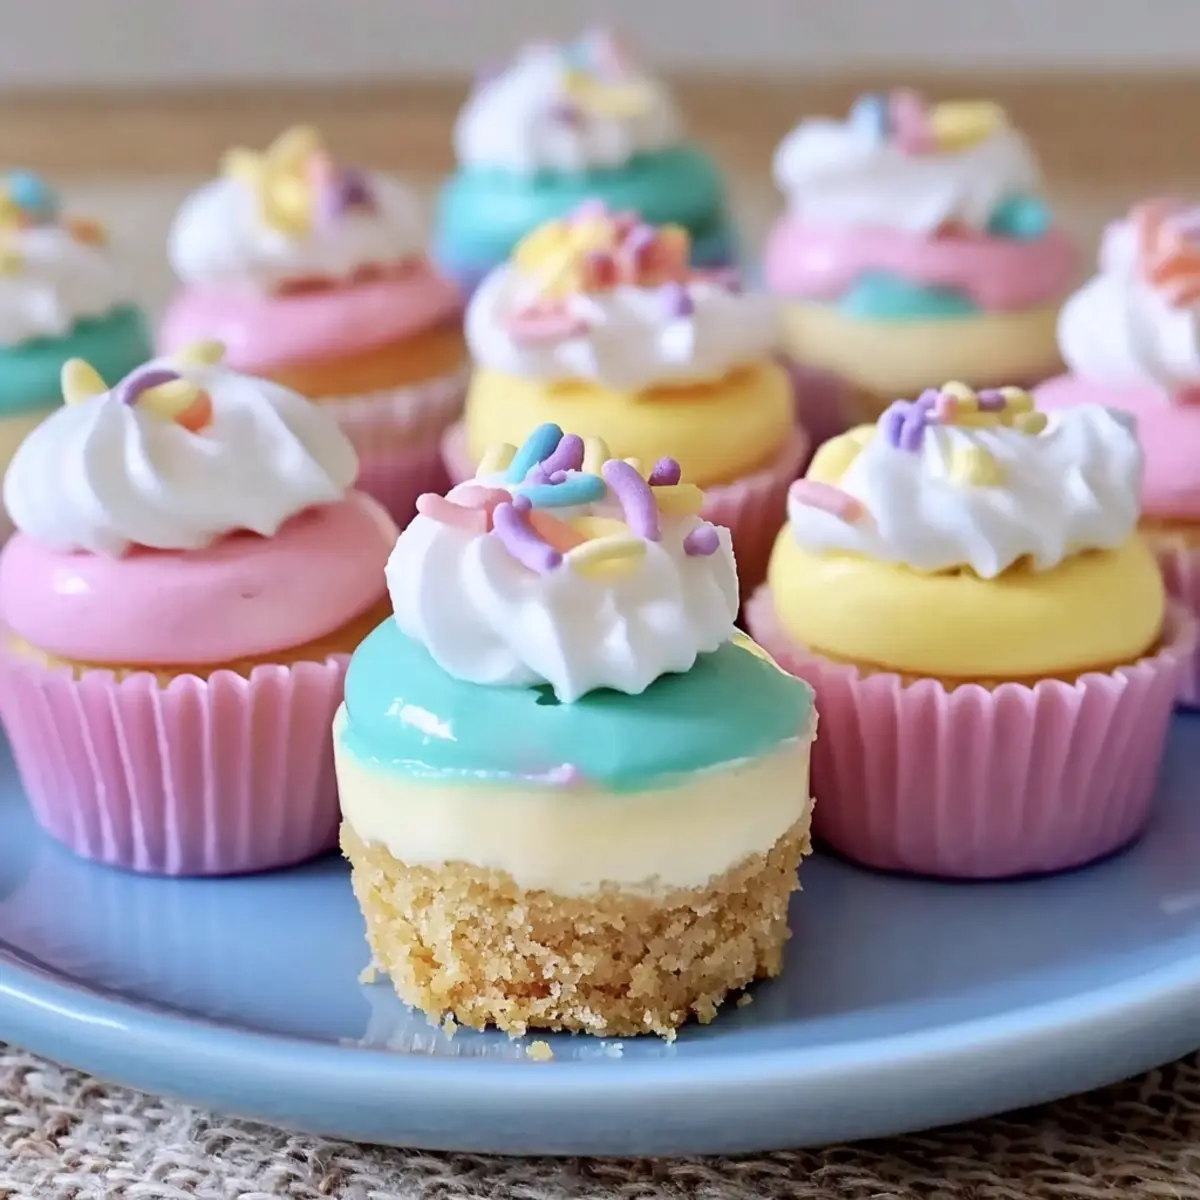
Spring has arrived, and with it comes the delightful aroma of blooming flowers and festive gatherings. As the season transforms, so do our cravings for light, refreshing desserts. Enter the Easter No-Bake Mini Cheesecakes! These vibrant, creamy treats boast a crunchy graham cracker crust that’s perfect for Easter celebrations or just as a sweet escape from everyday life. One of the best parts? They come together in a flash, making them ideal for even the most novice bakers looking to impress. Plus, these beauties are fully customizable with pastel colors that bring a cheerful vibe to your dessert table, making them a true show-stopper. So, are you ready to dive into this no-bake, vegetarian delight that will have your guests reaching for seconds? Let’s get started!
Why are these Mini Cheesecakes a Must-Try?
Simplicity: These Easter No-Bake Mini Cheesecakes come together effortlessly, making them perfect for anyone, regardless of baking experience.
Delightfully Light: The airy whipped cream creates a fluffy texture that beautifully contrasts the crunchy graham cracker crust, resulting in a dessert that feels indulgent yet light.
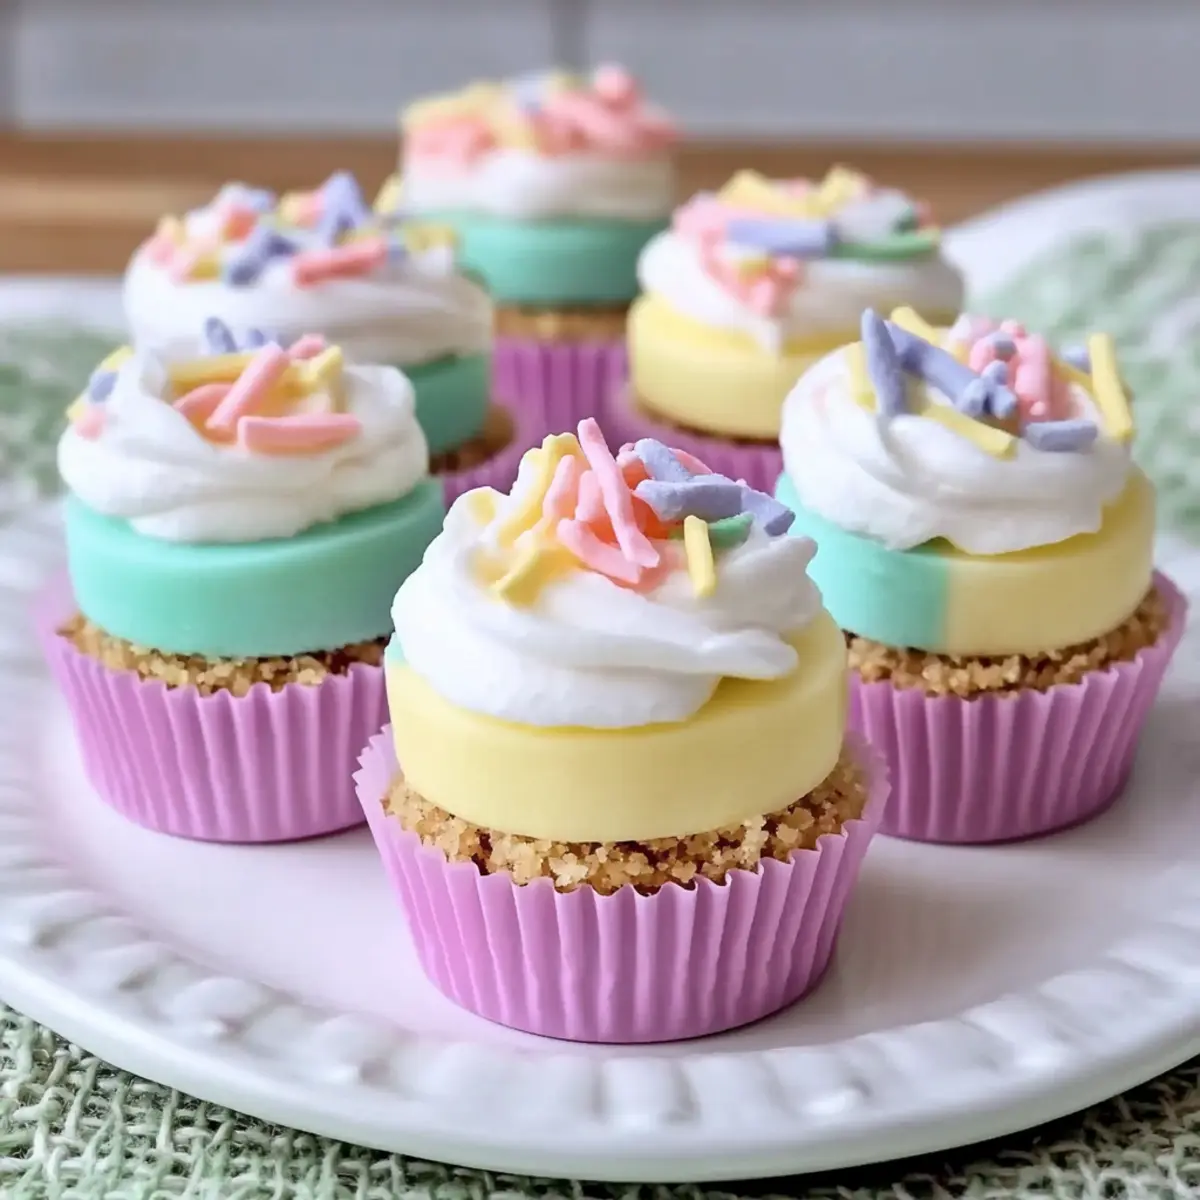
Vibrant Presentation: Their pastel colors not only bring a festive touch to your table but also invite customization—imagine mixing fun colors for each occasion!
Crowd-Pleaser: Whether it’s a family gathering, a potluck, or a spring picnic, these mini cheesecakes are sure to impress and keep everyone coming back for more.
Make Ahead: You can whip them up a day in advance and store them in the fridge, saving you time and effort on busy days.
No need for complex techniques—if you love the idea of a quick, delicious dessert with crowd-appeal, these Mini Beef Wellington bites are another option that complements your Easter festivities!
Easter No-Bake Mini Cheesecakes Ingredients
-
For the Creamy Filling
• Cream Cheese (8 oz, softened) – Provides the base for the cheesecake, yielding a signature creamy tang. Substitution: Mascarpone can be used for a richer flavor.
• Powdered Sugar (1/2 cup) – Adds sweetness, dissolving smoothly for a velvety consistency.
• Vanilla Extract (1 teaspoon) – Enhances the flavors by harmonizing with the cream cheese and sugar.
• Heavy Whipping Cream (1 cup) – Whipped to create lightness and airiness in the cheesecakes. -
For the Crunchy Crust
• Graham Cracker Crumbs – Forms a crunchy crust that complements the creamy filling. Substitution: Digestive biscuits can be used for a different flavor. -
For the Vibrant Touch
• Food Coloring (pastel colors) – Allows for customization and fun, adding seasonal vibrancy to your Easter No-Bake Mini Cheesecakes. -
For Serving
• Mini Cupcake Liners – Essential for serving and enhancing the aesthetic of the individual cheesecakes.
Step‑by‑Step Instructions for Easter No-Bake Mini Cheesecakes
Step 1: Prepare Cream Cheese Mixture
In a mixing bowl, combine 8 ounces of softened cream cheese, ½ cup powdered sugar, and 1 teaspoon vanilla extract. Using an electric mixer, beat on medium speed for about 2-3 minutes until the mixture is incredibly smooth and creamy, with no lumps visible. This will serve as the luscious base for your Easter No-Bake Mini Cheesecakes.
Step 2: Whip Cream
In a separate chilled bowl, pour in 1 cup of heavy whipping cream. Using an electric mixer, whip the cream on high speed for approximately 3-5 minutes, or until stiff peaks form. The cream should hold its shape without collapsing. Be careful not to overwhip, as this can lead to a grainy texture in your cheesecakes.
Step 3: Combine Mixtures
Gently fold the whipped cream into the cream cheese mixture using a rubber spatula. Start by adding a third of the whipped cream to lighten the mixture, then gradually incorporate the rest. This keeps your filling airy, ensuring the final result of your Easter No-Bake Mini Cheesecakes is light and fluffy.
Step 4: Color the Cheesecake
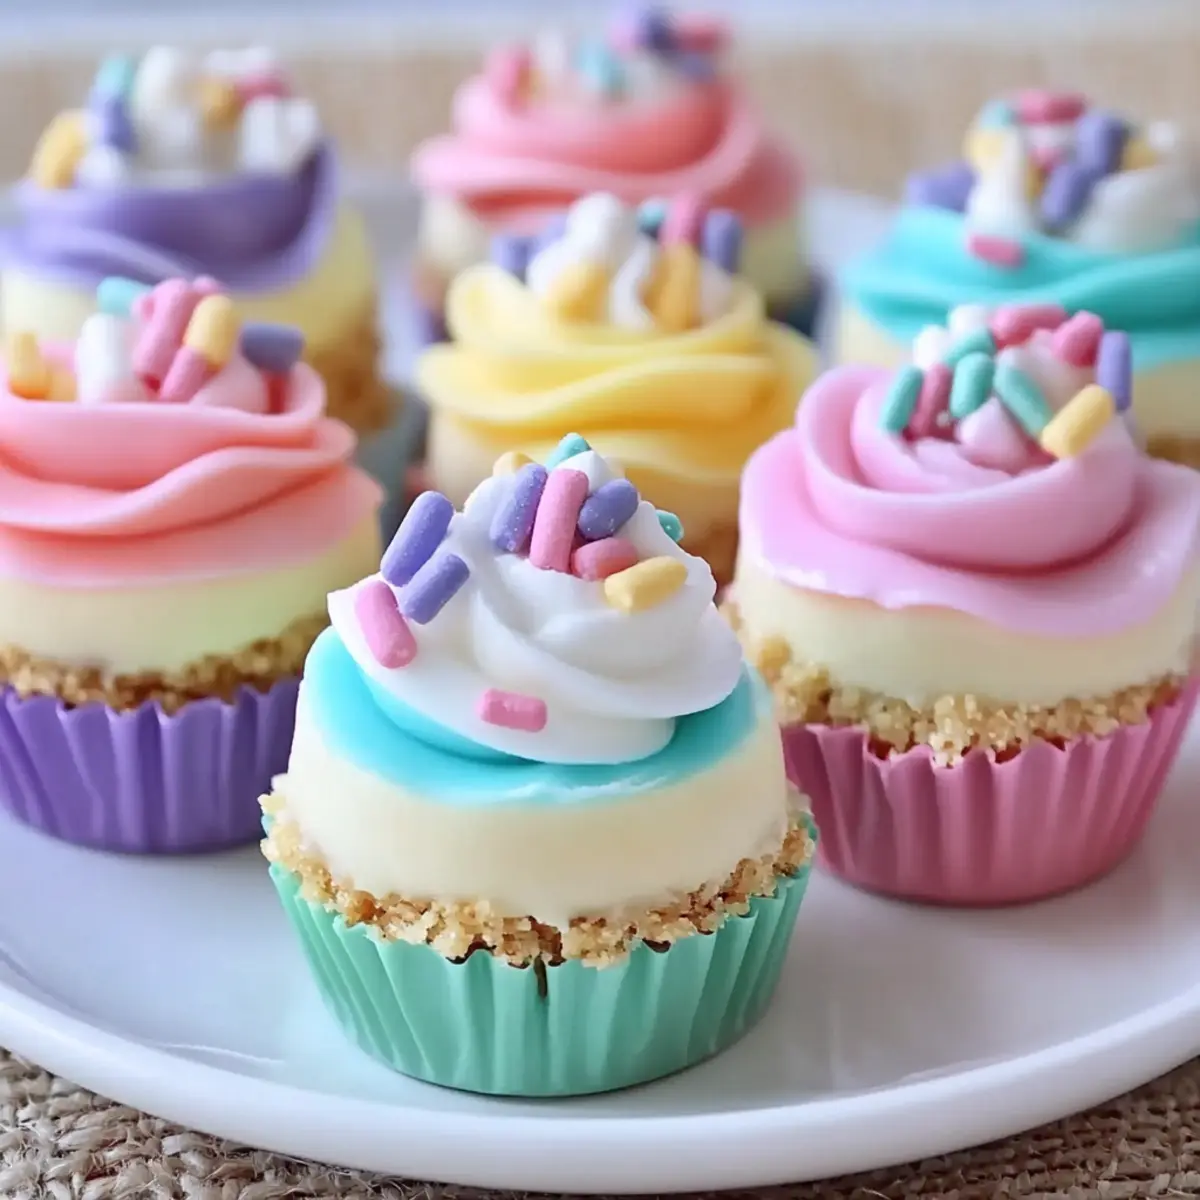
Divide the cheesecake filling into several bowls, based on how many pastel colors you’d like to use. Add food coloring to each bowl, mixing until you achieve your desired pastel shades. This vibrant coloring not only enhances the visual appeal but brings a cheerful touch to your Easter festivities.
Step 5: Layer in Liners
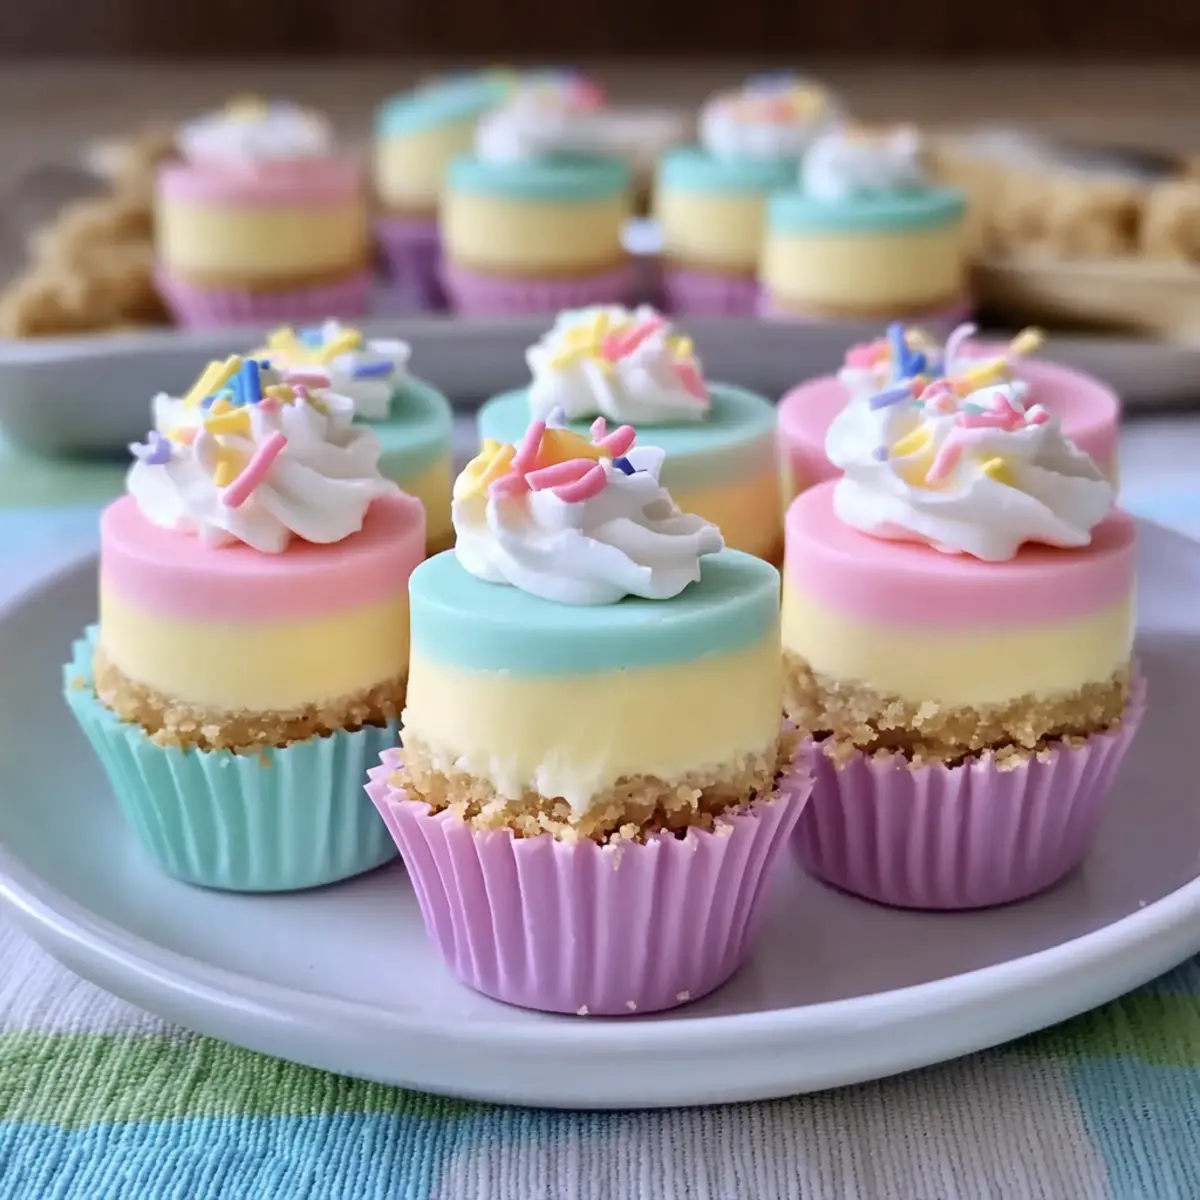
Prepare a muffin tin with mini cupcake liners and begin layering the colored cheesecake mixtures. Start with one color at the bottom, using a spoon to add about a spoonful, then follow with another color. Alternate the colors in each liner until all the mixtures are used, creating a delightful striped effect in your Easter No-Bake Mini Cheesecakes.
Step 6: Chill to Set
Once filled, carefully place your muffin tin in the refrigerator. Chill for at least 4 hours, or until the cheesecakes are firm to the touch. This crucial step will help your mini cheesecakes hold their shape and create a creamy texture everyone will love.
Step 7: Serve
After chilling, gently peel away the cupcake liners from each cheesecake and arrange them on a serving platter. Each bite showcases the beautifully layered colors of your Easter No-Bake Mini Cheesecakes. Serve these lovely treats as a beautiful centerpiece for your spring gatherings, and watch them disappear quickly!
Expert Tips for Easter No-Bake Mini Cheesecakes
-
Room Temperature Cream Cheese: Allow your cream cheese to soften at room temperature for at least 30 minutes. This ensures a smooth blend without lumps in your Easter No-Bake Mini Cheesecakes.
-
Whip Wisely: Be cautious not to overwhip the cream. Aim for stiff peaks, but stop as soon as they form. Overwhipping can lead to a grainy texture in your cheesecake filling.
-
Chilling is Key: Don’t rush the chilling process. Be sure to refrigerate for the full 4 hours to allow the cheesecakes to set properly, ensuring they maintain their shape when served.
-
Color Care: When using food coloring, start with a small amount and gradually increase until you achieve your desired pastel shade. This prevents the colors from becoming too vibrant or overpowering.
-
Layering Techniques: For a fun, striped effect, alternate spoonfuls of each colored mixture carefully in the liners. This not only enhances the look but also creates a delightful surprise with every bite.
What to Serve with Easter No-Bake Mini Cheesecakes
Elevate your festive gatherings with perfect pairings that harmonize beautifully with these delightful desserts.
-
Fresh Berries: Strawberries, blueberries, or raspberries add a burst of freshness and complement the creamy flavors of the cheesecakes. Their natural sweetness balances the richness perfectly.
-
Mint Sprig Garnish: A simple mint sprig on top adds a pop of color and a refreshing scent, enhancing the visual appeal and taste of the mini cheesecakes.
-
Chocolate Sauce Drizzle: For chocolate lovers, a drizzle of rich chocolate sauce offers a decadent contrast to the light cheesecakes, turning every bite into a luscious experience.
-
Lemon Zest Whipped Cream: A dollop of lemon zest-infused whipped cream can brighten the flavors, providing a tangy twist that pairs nicely with the sweet filling.
-
Sparkling Lemonade: A glass of chilled sparkling lemonade refreshes the palate and adds a celebratory fizz that complements the exciting flavors of spring desserts.
-
Coconut Macaroons: For an additional dessert option, these chewy, tropical treats provide a delightful chewiness, enhancing the dreamy textures of the mini cheesecakes while keeping with the festive theme.
-
Ginger Cookies: These spiced cookies can add a wonderful crunch and warming flavor, contrasting nicely with the cool, creamy texture of the Easter No-Bake Mini Cheesecakes.
-
Carrot Cake: Offer small slices of moist carrot cake for an unexpected yet delightful pairing that ties the Easter theme together with its warm spices and cream cheese frosting.
Easter No-Bake Mini Cheesecakes Variations
Feeling adventurous? Let your creativity flow and tailor these mini cheesecakes to suit your unique taste!
-
Fruit-Infused: Add citrus zest or pureed fruits like strawberries or raspberries to the cream cheese mixture for a fresh burst of flavor. This twist makes each bite a refreshing surprise.
-
Crunchy Crust Alternatives: Swap out graham cracker crumbs for crushed oat cookies or pretzels for a delightful salty-sweet experience. The change adds a new texture and depth to your cheesecakes.
-
Chocolate Lovers: Fold in cocoa powder or melted chocolate into the cream mixture for a rich, chocolatey variation. The deep flavor pairs beautifully with the airy texture, making it a decadent treat.
-
Nutty Topper: Garnish the cheesecakes with chopped nuts or nut butter drizzles for a crunch that contrasts perfectly with the silky filling. Almonds or hazelnuts add a cozy, warm touch.
-
Sassy Spices: Sprinkle in a pinch of cinnamon or nutmeg for an unexpected spice kick. These flavors can transform your cheesecakes into an aromatic delight, perfect for spring celebrations!
-
Colorful Layering: Have fun mixing different shades of pastel coloring! Consider layering each cheesecake with complementary colors for a vibrant display that’s sure to impress all your guests.
-
Coconut Twist: Add shredded coconut to the mixture for a tropical flair. This variation introduces a chewiness that beautifully complements the creamy filling.
-
Mini Cheesecake Trends: Don’t forget, these delightful treats can also be turned into larger cheesecakes! Just adjust the chilling time and presentation. If you’re in the mood for something savory, check out these Mini Beef Wellington as a matching appetizer!
Make Ahead Options
These Easter No-Bake Mini Cheesecakes are perfect for meal prep, allowing you to enjoy stress-free entertaining! You can make the cheesecake filling up to 24 hours in advance and store it covered in the refrigerator. To maintain the fluffiness, whip the cream and combine it with the cream cheese mixture just before assembling. Additionally, layer the colored cheesecake mixtures in cupcake liners and refrigerate for up to 3 days before serving, allowing the flavors to meld beautifully. When you’re ready to indulge, simply remove the liners and present them on a platter. This way, you have delightful, restaurant-quality desserts with minimal effort, perfect for busy spring gatherings!
Storage Tips for Easter No-Bake Mini Cheesecakes
-
Room Temperature: These mini cheesecakes should not be left out for more than 2 hours at room temperature to ensure food safety and freshness.
-
Fridge: Store the cheesecakes in an airtight container in the refrigerator for up to 5 days. This will keep them fresh and creamy, ready to delight your taste buds whenever you crave a bite.
-
Freezer: For longer storage, freeze the cheesecakes before adding any toppings. They can be stored in the freezer for up to a month. When ready to serve, thaw overnight in the fridge.
-
Reheating: These Easter No-Bake Mini Cheesecakes are best enjoyed cold or at a slightly cool temperature. Avoid reheating, as they are intended to be a refreshing treat.
Easter No-Bake Mini Cheesecakes Recipe FAQs
How do I select ripe ingredients for the cheesecakes?
Absolutely! When choosing your cream cheese, opt for a brand that feels soft when you press it; this ensures it’s easy to blend. For heavy whipping cream, look for cartons labeled “heavy cream” or “whipping cream,” as they contain higher fat content, yielding the best texture when whipped. If using food coloring, choose gel or liquid food coloring that is vibrant and high-quality for the best results!
How should I store the mini cheesecakes once made?
Very! Store your Easter No-Bake Mini Cheesecakes in an airtight container in the refrigerator for up to 5 days. This keeps them fresh and creamy. It’s perfect for those unexpected sweet cravings throughout the week! Just make sure they are fully chilled before storing, so they maintain their delightful shape.
Can I freeze these mini cheesecakes? How?
Absolutely! For longer storage, you can freeze your mini cheesecakes without the toppings. Place them in an airtight container or wrap each cheesecake individually in plastic wrap, then put them in a freezer-safe bag. They can be stored in the freezer for up to a month. When you’re ready to enjoy, simply thaw them overnight in the fridge, and they will taste as lovely as fresh!
What should I do if my whipped cream doesn’t hold stiff peaks?
No worries! If your whipped cream doesn’t hold stiff peaks, it may not have been whipped enough. Make sure your bowl and beaters are very clean and cold. Try whipping again on high speed for another minute or two. If it’s still runny, unfortunately, you may need to start over; once whipped cream is too soft, it cannot be fixed. Always remember to keep an eye on it while whipping!
Are these cheesecakes suitable for specific dietary needs?
Definitely! The Easter No-Bake Mini Cheesecakes are vegetarian-friendly and can also be made gluten-free by using gluten-free graham cracker crumbs. If you’re looking to make them dairy-free, you can substitute cream cheese with a plant-based cream cheese alternative and use coconut cream in place of heavy whipping cream. Just ensure all your substitutes are suitable for your dietary restrictions!
Easter No-Bake Mini Cheesecakes: Sweet Spring Happiness
Ingredients
Equipment
Method
- In a mixing bowl, combine cream cheese, powdered sugar, and vanilla extract. Beat on medium speed for 2-3 minutes until smooth.
- In a separate bowl, whip the heavy whipping cream on high speed for 3-5 minutes until stiff peaks form.
- Fold the whipped cream into the cream cheese mixture gradually until airy and well combined.
- Divide the filling into bowls and add food coloring to create your pastel shades.
- Layer the colored cheesecake mixtures in mini cupcake liners in a muffin tin.
- Chill the filled muffin tin in the refrigerator for at least 4 hours until set.
- Gently peel away the cupcake liners and serve the cheesecakes on a platter.
Leave a Reply