
There’s something magical about the sound of a sizzling skillet that instantly draws everyone to the kitchen. Today, I’m excited to share my Crispy Lemon Chicken Romano, a delightful dish that transforms humble chicken cutlets into a culinary masterpiece. Coated in a golden panko crust infused with zesty lemon and the rich flavor of Romano cheese, this recipe promises a satisfying crunch and a comforting essence reminiscent of your favorite Italian kitchen. One of the best perks? It’s not only quick to prepare but also delivers a restaurant-quality experience right at home—perfect for those busy weeknights when you want something special without the stress. So, ready to elevate your dinner game? Let’s dive into the joy of cooking this savory delight!
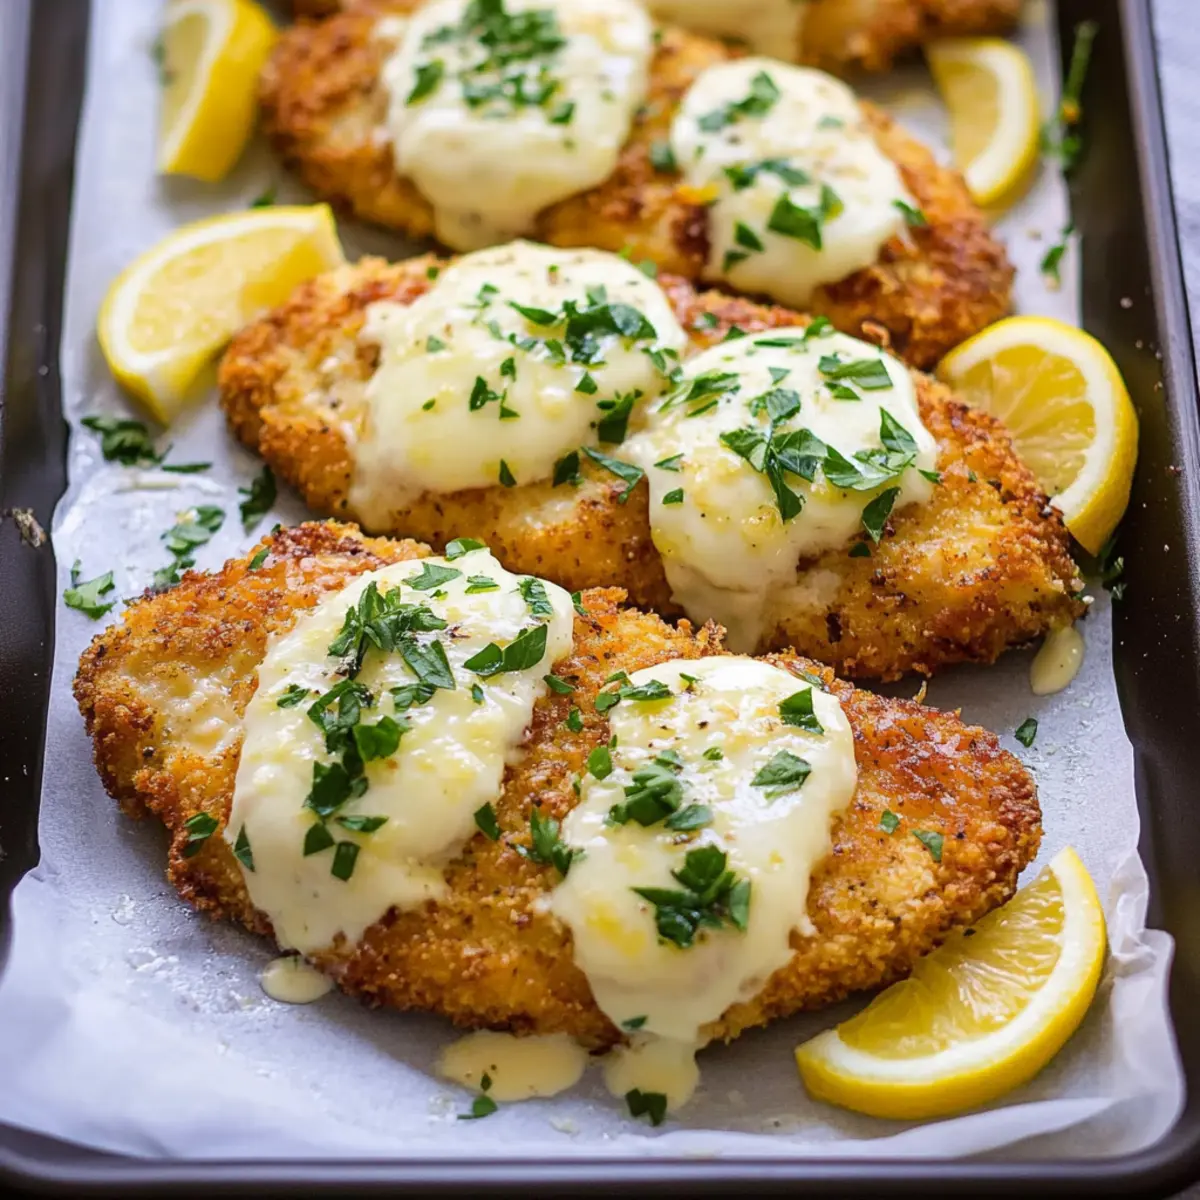
Why is Lemon Chicken Romano a Must-Try?
Comforting Instructions: This recipe keeps things simple! With just a few ingredients, you’ll create a dish that feels fancy enough for a special occasion but is easy enough for any weeknight.
Crispy Texture: The magic lies in the panko coating, giving you a delightful crunch with every bite. Combined with melty cheese, the texture is downright irresistible!
Zesty Flavor: Infused with fresh lemon zest, this dish bursts with tangy goodness that perfectly complements the savory cheese and chicken.
Versatile Dish: Serve it with a light salad or some steamed asparagus for a well-rounded meal that impresses without the fuss. You might also love pairing it with Lemon Garlic Parmesan for an added lemony touch!
Crowd-Pleasing Appeal: Whether it’s a family dinner or entertaining friends, everyone will be asking for seconds. So why not dive in and enjoy all the flavor this Crispy Lemon Chicken Romano has to offer?
Lemon Chicken Romano Ingredients
-
For the Chicken
-
Boneless, Skinless Chicken Breasts – Primary protein source; ensure they are pounded to an even thickness for uniform cooking.
-
Egg – Serves as the adhesive for breading, making sure the panko sticks well.
-
All-Purpose Flour – Used in the egg wash to ensure the breading adheres properly.
-
For the Coating
-
Panko Bread Crumbs – Provides a light, crispy texture that elevates the crunch factor of the dish.
-
Romano Cheese – Delivers a distinct salty and nutty flavor that beautifully complements the chicken.
-
Fresh Oregano – Adds a refreshing, aromatic quality; dried oregano can be used if fresh isn’t available.
-
Lemon Zest – Infuses the chicken with bright citrus notes for a zesty flavor explosion.
-
Garlic Powder – Enhances the flavor without overwhelming the dish.
-
Salt and Pepper – Essential for seasoning the chicken and breading to perfection.
-
For Cooking
-
Olive Oil – Necessary for frying the chicken cutlets and achieving that perfect golden-brown crust.
-
For Serving
-
Whole Milk Mozzarella Cheese – Melts beautifully over the chicken, adding creamy richness.
-
Provolone Cheese – Offers a sharp, tangy flavor that enhances the overall cheese profile.
-
Lemon Wedges – Serve with the chicken for an extra zest when spritzed on top.
-
Fresh Parsley – An optional garnish for a pop of color and a hint of earthiness.
This Lemon Chicken Romano offers a delightful twist on a classic dish, making it a perfect addition to your family favorites!
Step‑by‑Step Instructions for Lemon Chicken Romano
Step 1: Preheat the Oven
Begin by preheating your oven to 350°F (175°C). This will ensure it’s hot enough to melt the cheese perfectly after frying. While the oven heats up, prepare your chicken cutlets. Lightly sprinkle them with salt and let them rest at room temperature for about 10 minutes, allowing for even seasoning.
Step 2: Prepare the Breading Station
In a shallow dish, whisk together one egg and a few tablespoons of all-purpose flour until smooth. In a separate dish, combine panko bread crumbs with grated Romano cheese, fresh oregano, lemon zest, garlic powder, and a pinch of pepper. This flavorful mixture will give your Lemon Chicken Romano its delightful crunch.
Step 3: Dredge the Chicken
Pat the chicken cutlets dry with a paper towel to remove excess moisture. Dip each cutlet first into the egg and flour mixture, ensuring an even coating, and then press it into the panko mixture, thoroughly covering both sides. This step is key to achieving that crispy texture everyone loves!
Step 4: Fry the Chicken Cutlets
Heat a generous amount of olive oil in a skillet over medium-high heat until shimmering. Carefully add two chicken cutlets to the skillet, frying for about 2-3 minutes on each side or until they turn a beautiful golden brown. Keep an eye on them to prevent burning, ensuring a perfect crust forms before transferring them to a baking sheet.
Step 5: Add the Cheeses
Once you’ve finished frying all the cutlets, place them on a baking sheet lined with parchment paper. Top each fried cutlet generously with shredded mozzarella and provolone cheese. This layer of melty deliciousness will make your Lemon Chicken Romano irresistible.
Step 6: Bake to Perfection
Slide the baking sheet into your preheated oven and bake the chicken for about 8-10 minutes, or until the cheese is bubbling and golden, and the internal temperature of the chicken reaches at least 165°F (74°C). This step introduces a delightful melt to the top of your crispy chicken.
Step 7: Garnish and Serve
Once baked, remove the Lemon Chicken Romano from the oven and let it rest for a minute. You can sprinkle extra chopped oregano and fresh parsley over the top for a vibrant touch. Serve warm with lemon wedges to add a zesty squeeze just before bites to brighten all the flavors and elevate your meal!
Make Ahead Options
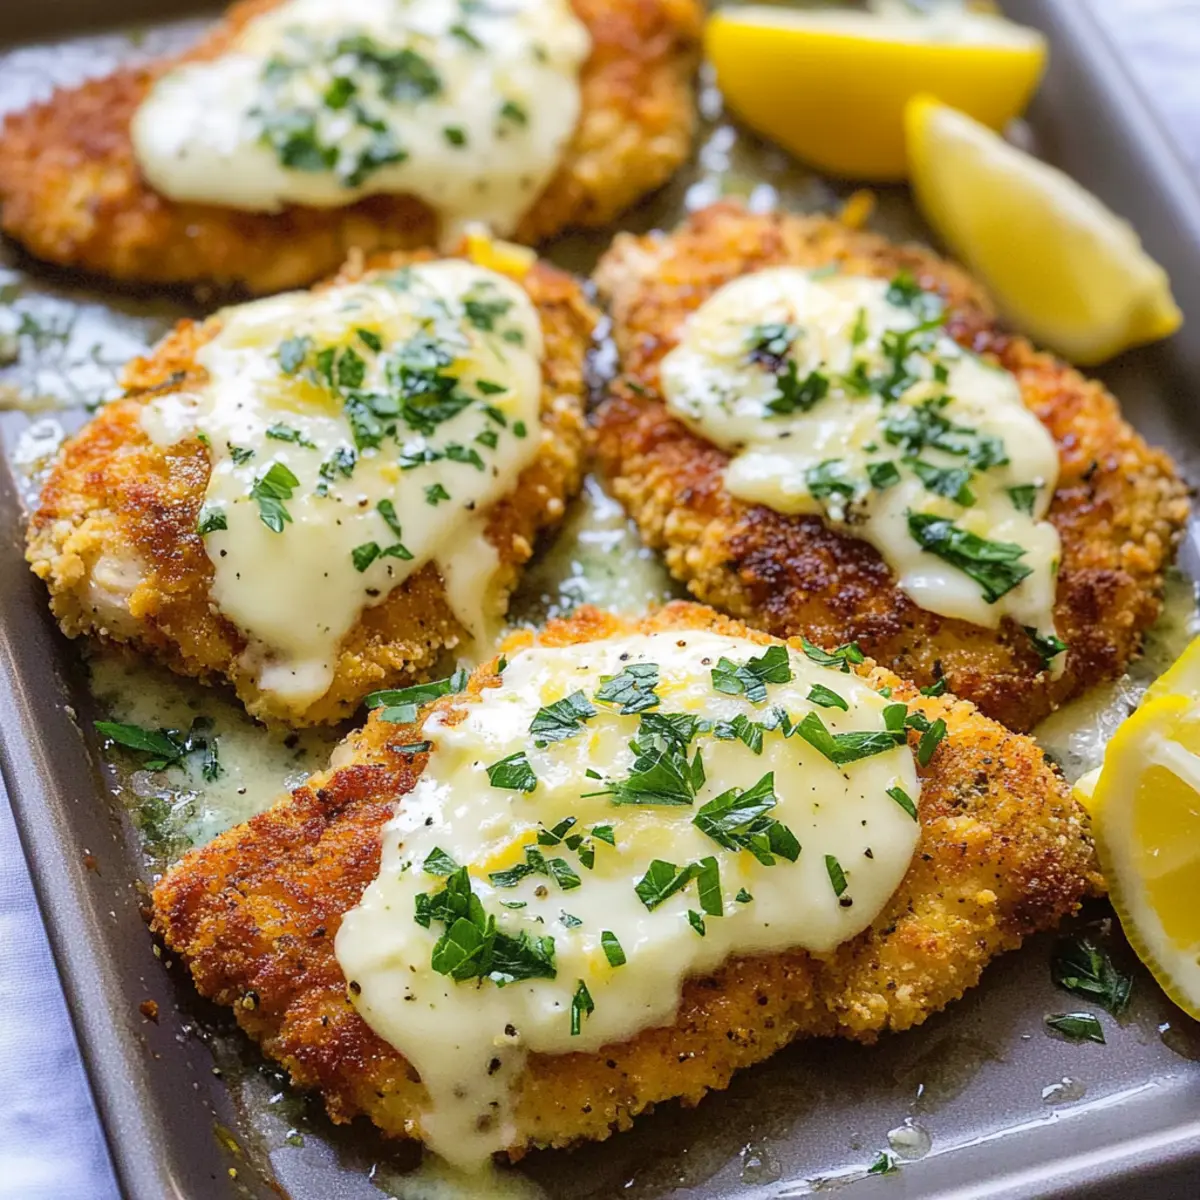
These Lemon Chicken Romano cutlets are perfect for busy home cooks looking to save time during the week! You can prepare the chicken by breading it up to 24 hours in advance, as this allows the flavors to meld beautifully while also ensuring a crispy texture when cooked. Simply follow the initial steps of seasoning, dredging, and breading the cutlets, then place them in a single layer on a baking sheet, covering them with plastic wrap before refrigerating. When you’re ready to finish the dish, just heat your oil, fry the cutlets until golden, top with cheese, and bake per the recipe instructions. This method guarantees a delicious meal that’s just as satisfying and fresh as if you’d made it all in one go!
How to Store and Freeze Lemon Chicken Romano
Fridge: Store leftover Lemon Chicken Romano in an airtight container for up to 3 days to maintain freshness.
Freezer: For longer storage, freeze the cooked chicken in a single layer on a baking sheet until solid, then transfer to a freezer-safe bag for up to 2 months.
Reheating: To reheat, thaw in the fridge overnight and then bake in a preheated oven at 350°F (175°C) for about 15-20 minutes until heated through and crispy once more.
Avoid Soggy Bread: Avoid microwaving as it may make the panko crust soggy; the oven is best for restoring its delightful crunch.
What to Serve with Crispy Lemon Chicken Romano
Elevate your dinner experience with delightful sides that complement the zesty flavors and crispy texture of this beloved dish.
-
Garlic Mashed Potatoes: Creamy and rich, these mashed potatoes provide a comforting contrast to the crispy chicken and soak up the tangy lemon sauce beautifully.
-
Sautéed Green Beans: Bright and fresh, these green beans add a crunchy bite and vibrant color to your plate, balancing the richness of the cheese.
-
Citrus Salad: A refreshing mix of greens, oranges, and a tangy vinaigrette enhances the lemon notes in the chicken while adding a zestful crunch.
-
Herb-Infused Quinoa: This nutty grain, tossed with fresh herbs, adds a wholesome side that keeps the meal light and healthy without overwhelming the main dish.
-
Creamy Polenta: Silky and smooth, polenta serves as a delightful bed for your crispy chicken, soaking up flavors while adding a rustic touch.
-
Chilled White Wine: A glass of crisp Sauvignon Blanc or a zesty Pinot Grigio enhances the meal with citrusy notes, perfectly matching the lemony profile of your dish.
-
Lemon Sorbet: For dessert, a light and refreshing lemon sorbet cleanses the palate after a savory meal, celebrating the zesty theme in a delightful way.
These pairings create a full, harmonious meal experience that everyone will enjoy!
Lemon Chicken Romano Variations
Feel free to get creative and customize this recipe to suit your taste buds!
-
Vegetarian Swap: Replace chicken with eggplant or zucchini slices for a delicious veggie option. The flavors remain bright and savory while proving a satisfying alternative.
-
Gluten-Free: Use gluten-free panko and substitute all-purpose flour with a gluten-free blend to enjoy this chicken dish without gluten worries. Your friends won’t even notice the difference!
-
Cheese Variety: Experiment with different cheeses like Fontina or Asiago for an enriched flavor profile. Each cheese brings its own unique twist, keeping this dish fresh every time you make it.
-
Spicy Kick: Add crushed red pepper flakes to the panko mixture for some heat. A little spice can brighten the dish and tantalize your palate!
-
Citrus Infusion: Incorporate orange or lime zest along with the lemon zest to create a citrus medley that adds depth and vibrancy to this classic dish. Your taste buds will thank you!
-
Extra Crunch: Try adding finely chopped nuts, such as almonds or pecans, to the panko coating for an added layer of texture. The nutty crunch elevates the dish to a whole new level.
-
Herb Upgrade: Swap fresh oregano for thyme or basil to give the dish a different herbaceous twist. Each herb can significantly alter the flavor, offering delightful surprises with each bite.
-
Baking Method: For a healthier alternative, bake the breaded cutlets instead of frying them. Just drizzle a little olive oil on them before baking to maintain their crispness—deliciously guilt-free!
With these variations and ideas, your Lemon Chicken Romano can transform into new favorites. You might also enjoy pairing it with Lemon Garlic Parmesan or some savory Lemon Butter Chicken for an extra lemony delight!
Expert Tips for Lemon Chicken Romano
-
Pound Evenly: Ensure chicken cutlets are pounded to an even thickness to promote uniform cooking and tenderness throughout.
-
Perfect Breading: For the best crispy texture, press the panko mixture firmly onto the chicken cutlets, ensuring a good layer adheres well.
-
Oil Temperature: Heat your olive oil sufficiently before frying; if it’s too cool, the breading can become soggy rather than crispy.
-
Watch the Time: Fry just until golden brown on each side—about 2-3 minutes—to avoid overcooking and drying out the chicken.
-
Use Fresh Ingredients: Fresh lemon zest and oregano will vastly improve the flavor profile of your Lemon Chicken Romano, making each bite vibrant!
-
Warm Oven: Be sure to bake the chicken immediately after frying; letting them sit can cause the breading to lose its crunch.

Crispy Lemon Chicken Romano Recipe FAQs
How do I choose ripe and fresh chicken?
Absolutely! When selecting boneless, skinless chicken breasts, look for pieces that are firm, pale pink in color, and free of any dark spots or an off smell. Ideally, the meat should feel cold to the touch, indicating it’s fresh. If you’re at a grocery store, check the sell-by date to ensure it’s recent.
What is the best way to store leftover Lemon Chicken Romano?
Good question! Store your leftover Lemon Chicken Romano in an airtight container in the fridge, where it will remain fresh for up to 3 days. To maintain its delicious crunch when reheating, place it in a preheated oven at 350°F (175°C) for about 15-20 minutes. This ensures it’s heated through without losing that crispy texture!
Can I freeze cooked Lemon Chicken Romano?
Absolutely! To freeze your Lemon Chicken Romano, first, allow the cooked cutlets to cool completely. Then, spread them in a single layer on a baking sheet and freeze until solid. After that, transfer them to a freezer-safe bag or container, where they can be stored for up to 2 months. When you’re ready to enjoy it again, just thaw in the fridge overnight and reheat in the oven as mentioned above.
What do I do if my breading isn’t sticking to the chicken?
Very! If you find that the breading isn’t adhering well, ensure your chicken cutlets are completely dry before dredging. Pat them with a paper towel to remove any moisture. Additionally, make sure to press the panko mixture firmly against each cutlet after dipping it in the egg wash; this helps create a solid bond. If needed, you can even repeat the egg and panko coating for an extra layer of crunch.
Are there any allergens I should be aware of in this recipe?
Yes! If making Lemon Chicken Romano, be mindful that it contains common allergens such as eggs and dairy (mozzarella and provolone cheese). For those with gluten sensitivities, opt for gluten-free panko and flour substitutes to make this dish safe to enjoy. Always check with your guests about dietary restrictions to create a welcoming meal for everyone.
How do I achieve a crispier texture with panko breadcrumbs?
To ensure a crispy result, lightly toast your panko breadcrumbs in a skillet with a drizzle of olive oil over medium heat before using them in the recipe. This simple step not only brings out a nutty flavor but also helps to achieve that beautiful crunch you crave in your Lemon Chicken Romano. Enjoy the magic of that golden-brown crust!

Crispy Lemon Chicken Romano for a Flavorful Twist at Home
Ingredients
Equipment
Method
- Preheat your oven to 350°F (175°C). Season chicken cutlets with salt and let them rest for 10 minutes.
- Prepare a shallow dish with an egg and flour mixture. In another dish, combine panko, Romano cheese, oregano, lemon zest, garlic powder, and pepper.
- Dredge chicken in egg mixture, then press into the panko mixture, ensuring a full coating.
- Heat olive oil in a skillet over medium-high heat and fry chicken cutlets for 2-3 minutes per side until golden brown.
- Place fried cutlets on a baking sheet, top with mozzarella and provolone, and bake for 8-10 minutes until cheese is melted.
- Remove from the oven, let rest, garnish with parsley, and serve with lemon wedges.
Leave a Reply