
As I watched my kids devour yet another sugary dessert, a thought struck me: why can’t indulgence also mean nourishment? That’s where these High-Protein Funfetti Dot Cakes come into play, offering a delightful twist on a nostalgic favorite that keeps health in mind. With each charming glass layered with soft cake and creamy Greek yogurt frosting, you’re not just treating yourself; you’re fueling your body with an impressive 28 grams of protein per serving—all while keeping it gluten-free! In just 30 minutes, you’ll have a fun and guilt-free dessert that’s perfect for satisfying sweet cravings without the fast-food regret. Ready to make a dessert that’s both a feast for the eyes and a boost for your health? Let’s dive into this deliciously nutritious adventure!
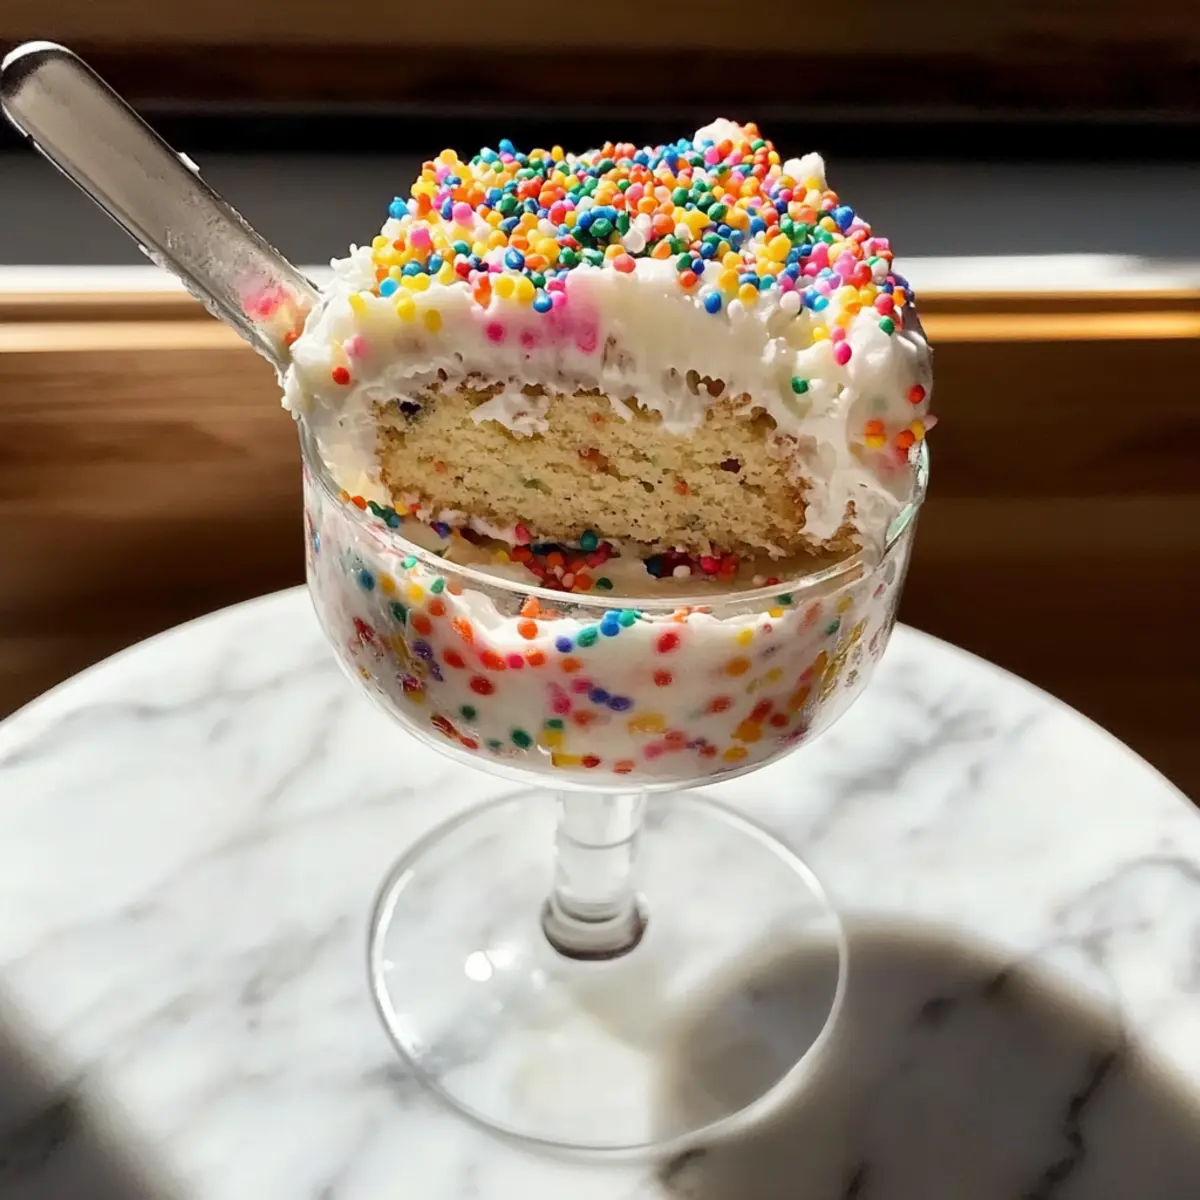
Why Are Protein Dot Cakes So Amazing?
Delightful flavors await with every bite of these charming cakes. High protein content of 28 grams per serving means you can indulge guilt-free. Gluten-free ingredients make this dessert accessible for everyone to enjoy. Quick to prepare, you’ll have these tasty treats ready in just 30 minutes. Versatile options allow you to customize using different protein powders or sweeteners, making it a fun, creative kitchen project. Serve them in glasses for a visually stunning presentation that’s sure to impress family and friends!
Protein Dot Cake Ingredients
For the Cake
• Gluten-Free All-Purpose Flour – Serves as the base for the cake structure; can replace with regular all-purpose flour in a 1:1 ratio.
• Birthday Cake Protein Powder – Adds protein and a fun flavor; using whey or a blend is recommended, as alternatives may require adjustments.
• Truvia Granulated Monk Fruit Sweetener – Provides sweetness while keeping calories low; regular sugar can be used for a non-keto version.
• Baking Powder – This leavening agent is essential for the cake to rise and achieve that fluffy texture.
• Salt – Enhances the overall flavor, balancing sweetness.
For the Wet Ingredients
• Plain Greek Yogurt – Adds both moisture and protein; opt for full-fat or 2% for the best texture, or try cottage cheese as a substitute.
• Unsweetened Applesauce – Acts as a natural sweetener and moisture agent, replacing the need for butter or oil.
• Eggs – Provide the necessary structure and moisture for the cake.
• Vanilla Extract – Adds a delightful flavor complexity to elevate the taste.
For the Frosting
• Light Cool Whip – Creates a creamy frosting; can be substituted with whipped cream if desired.
• Sugar-Free Vanilla Pudding Mix – Thickens the frosting and contributes creaminess without excess sugar.
For Decoration
• Rainbow Sprinkles – Used for a fun, festive presentation that makes your Protein Dot Cakes even more irresistible!
With these ingredients, you’ll be well on your way to crafting delightful Protein Dot Cakes that are as nourishing as they are enjoyable! Enjoy creating a whimsical dessert that combines fun and health in every layer.
Step‑by‑Step Instructions for Protein Dot Cakes
Step 1: Preheat and Prepare
Start by preheating your oven to 350°F (175°C). While the oven warms up, grease an 8″ x 8″ pan with cooking spray or butter to prevent sticking. This step ensures your Protein Dot Cakes will release easily once baked. Set the pan aside and get your mixing bowls ready for the next steps.
Step 2: Mix the Dry Ingredients
In a large mixing bowl, combine 1 cup of gluten-free all-purpose flour, 1 scoop of birthday cake protein powder, 1/2 cup of Truvia granulated monk fruit sweetener, 1 teaspoon of baking powder, and a pinch of salt. Whisk these ingredients together until they are fully blended, creating a dry mixture that serves as the foundation of your Protein Dot Cakes.
Step 3: Combine the Wet Ingredients
In another bowl, mix together 1 cup of plain Greek yogurt, 1/2 cup of unsweetened applesauce, 2 large eggs, and 1 teaspoon of vanilla extract. Whisk until the mixture is smooth and creamy, ensuring all the wet ingredients are well incorporated. This blend will add moisture and flavor to your cake batter, making it rich and delightful.
Step 4: Combine Wet and Dry Mixtures
Gradually pour the wet ingredient mixture into the bowl with the dry ingredients. Stir gently until just combined—be careful not to overmix! Once the batter is smooth, fold in 1/4 cup of rainbow sprinkles for that fun, colorful touch. Your Protein Dot Cake batter should now look bright and cheerful!
Step 5: Bake the Cake
Pour the batter into your prepared 8″ x 8″ pan, spreading it evenly. Place the pan in the preheated oven and bake for 20-23 minutes. You’ll know the cake is done when it turns a lovely golden brown and springs back when lightly pressed. Don’t forget to set a timer to avoid overbaking!
Step 6: Cool the Cake Completely
Once baked, remove the pan from the oven and let it sit on a wire rack for about 30 minutes to cool. It’s essential to allow the Protein Dot Cakes to cool completely before frosting to prevent any melting. The cake should be firm to the touch and easy to handle once cooled.
Step 7: Prepare the Frosting
In a bowl, blend together 1 cup of Greek yogurt, 1 cup of Light Cool Whip, 1 scoop of birthday cake protein powder, 1/2 cup of sugar-free vanilla pudding mix, and 1/4 cup of Truvia sweetener. Mix until the frosting is creamy and smooth, then chill it in the fridge for about 10 minutes to firm up a bit while you prepare the next step.
Step 8: Assemble the Dot Cakes
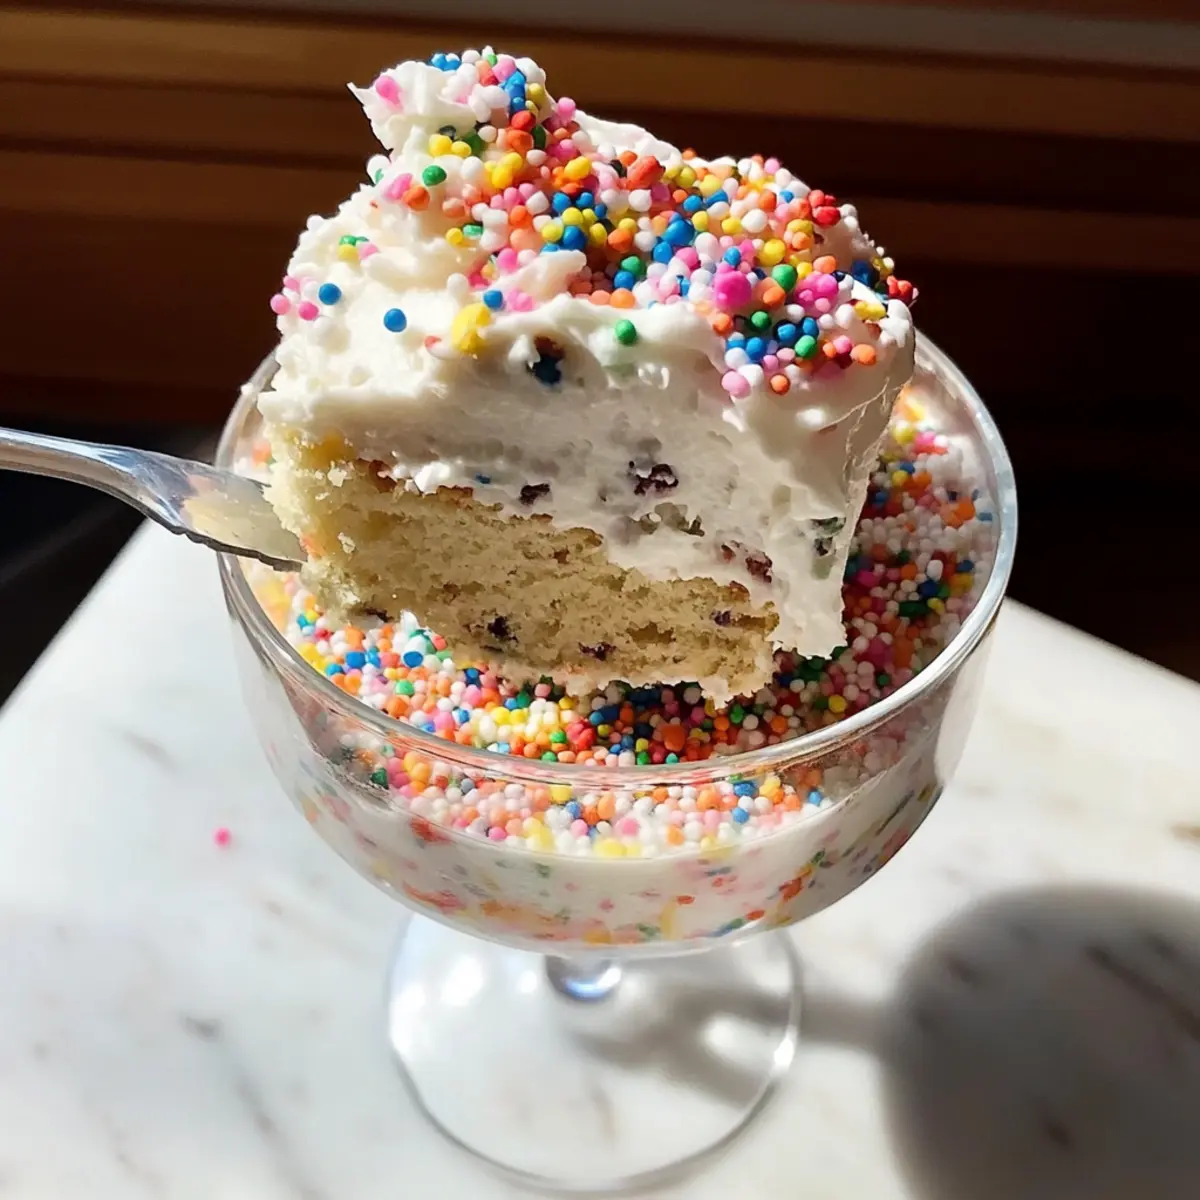
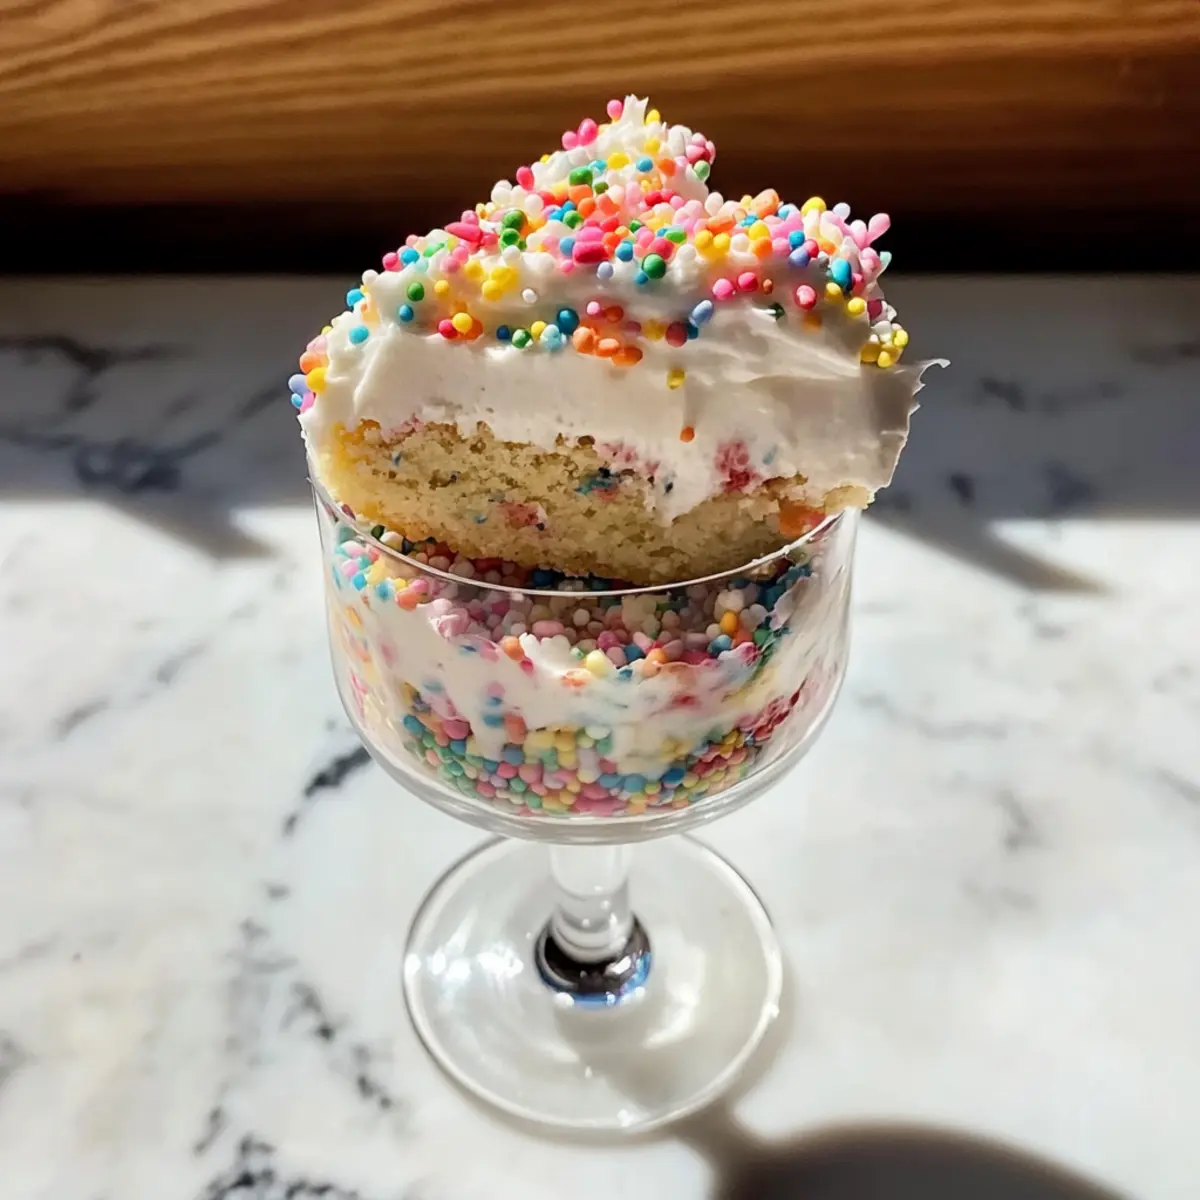
Using a round glass or biscuit cutter, cut out circles from the cooled cake. In clear glasses, layer the cake circles with a generous scoop of frosting. Repeat until all layers are assembled, creating a fun and visually appealing dessert. After layering, place the glasses in the freezer for about 10 minutes to set the layers.
Step 9: Decorate and Chill
Once set, take the glasses out and coat the top of the cakes with additional rainbow sprinkles for that festive touch. Finally, place the cups in the refrigerator for another 10 minutes to chill thoroughly. This final chilling allows the flavors to meld and makes for a refreshingly delightful Protein Dot Cake experience!
Make Ahead Options
These delightful Protein Dot Cakes are perfect for meal prep enthusiasts! You can bake the cake layers up to 24 hours in advance; just make sure they cool completely before refrigerating to maintain their fluffy texture. The frosting can also be prepared and chilled up to 3 days ahead. When you’re ready to serve, simply layer the cooled cake with the frosting in your glasses, freeze briefly to set, and chill once more for about 10 minutes. This way, you can enjoy a deliciously whimsical dessert with minimal effort, making your busy weeknights a little sweeter without compromising on quality!
What to Serve with High-Protein Funfetti Dot Cakes?
Delightful pairings will elevate your protein dot cake experience, making it a complete feast for the senses.
-
Fresh Berries: The bright, tart flavors of strawberries or blueberries offer a refreshing contrast to the sweet and creamy cake. Add a handful on the side for a pop of color and nutrition.
-
Creamy Greek Yogurt Parfait: Layer additional Greek yogurt with honey and granola for a balanced breakfast or snack. The crunch from the granola and the creaminess of the yogurt will complement the cake’s texture perfectly.
-
Chocolate-Covered Almonds: These provide a satisfying crunch alongside the soft cake. Their rich flavor pairs wonderfully with the vanilla notes, adding a luxurious touch.
-
Iced Herbal Tea: A cool, refreshing beverage, like hibiscus or mint tea, lightens up the dessert experience. The subtle flavors maintain the sweet vibes without overwhelming your palate.
-
Coconut Whipped Cream: Light and airy, this dairy-free topping adds an exotic flavor twist. A dollop on top of your cake creates a luscious, tropical experience that complements the funfetti theme.
-
Chocolate Drizzle: A simple drizzle of melted dark chocolate elevates the sweetness without overpowering it. This delicious addition introduces a decadent touch, perfect for chocolate lovers.
-
Nutty Trail Mix: A small bowl of trail mix with nuts and seeds contrasts the soft cake with delightful crunches, giving you energy and joy in every bite.
-
Lemon Sorbet: The tartness of lemon sorbet refreshes your palate and enhances the sweetness of your dessert. It’s a perfect light finish to this indulgent treat!
-
Sparkling Water with Citrus: Serve this bubbly beverage for a refreshing sip that balances the richness of your cake. Add a slice of lemon or lime for an eye-catching, zesty twist!
These pairings will transform your High-Protein Funfetti Dot Cakes into a full-fledged dessert experience that delights every guest at the table!
Expert Tips for Protein Dot Cakes
-
Cool Completely: Allow the cake to cool completely before frosting to prevent melting; this ensures a neat and pleasing presentation.
-
Layer Neatly: Use a snug-fitting glass or biscuit cutter when cutting out cake circles; this helps maintain clean layers while assembling your Protein Dot Cakes.
-
Protein Powder Note: If using plant-based protein powder, you may need to add a bit more liquid to achieve the right batter consistency without compromising flavor.
-
Sweetener Substitutions: If you’re not keen on Truvia, feel free to replace it with regular sugar or honey, but keep an eye on the measurements as it impacts sweetness.
-
Experimenting with Flavors: Don’t hesitate to swap out the birthday cake protein powder for vanilla or even chocolate; this opens a whole new realm of delicious possibilities in your Protein Dot Cakes!
How to Store and Freeze Protein Dot Cakes
Fridge: Keep your Protein Dot Cakes refrigerated in an airtight container for up to 3 days. This helps maintain their freshness and texture.
Freezer: It’s best not to freeze these cakes as the texture of the frosting may change upon thawing. If necessary, isolate the cake layers and freeze them without frosting for up to 2 months.
Serving: For the best experience, serve chilled directly from the fridge. If stored in the freezer, allow them to thaw in the fridge for about 1-2 hours before enjoying.
Reheating: If desired, you can rewarm the cake slightly in the microwave for about 10-15 seconds, but avoid the frosting to keep its creamy texture intact.
Protein Dot Cakes Variations & Substitutions
Feel free to get creative and make these delightful treats truly your own!
- Dairy-Free: Replace Greek yogurt with almond or coconut yogurt for a plant-based option without sacrificing creaminess.
- Alternative Sweeteners: Swap Truvia with honey or maple syrup for a more natural sweetness, though you may need to adjust the liquid in the recipe.
- Flavored Frosting: Add a tablespoon of cocoa powder to the frosting for a chocolate twist that pairs beautifully with the funfetti cake.
- Fruit Boost: Blend in some mashed bananas or pureed strawberries into the cake batter for a fruity surprise in every bite.
- Different Protein: Use chocolate protein powder instead of birthday cake for a completely different flavor experience that chocolate lovers will adore.
- Sugar-Free Options: If watching sugar, reduce the amount of granulated sweetener or use a stevia blend for a lower-calorie alternative.
- Texture Twists: For a crunchier texture, fold in chopped nuts or granola into the cake batter before baking.
- Spice it Up: Add a teaspoon of cinnamon or nutmeg to the batter for a warm, cozy flavor that’s perfect for cooler seasons.
For even more delicious ideas, consider trying Hot Chocolate Cupcakes or the festive Reindeer Cupcakes Deliciously to delight your friends and family!
Protein Dot Cakes Recipe FAQs
What type of flour should I use for Protein Dot Cakes?
Absolutely! You can use gluten-free all-purpose flour for a gluten-free option or substitute it with regular all-purpose flour in a 1:1 ratio if you don’t have dietary restrictions. Both will yield a deliciously fluffy cake!
How should I store Protein Dot Cakes?
Keep your Protein Dot Cakes refrigerated in an airtight container for up to 3 days to maintain freshness. Storing them properly will help retain their delightful texture and delicious taste for as long as possible.
Can I freeze Protein Dot Cakes?
It’s best not to freeze these cakes as the frosting may change in texture once thawed. However, if you must freeze them, isolate the cake layers without frosting and freeze for up to 2 months. To enjoy, thaw the cake slowly in the fridge for 1-2 hours before serving.
What should I do if my Protein Dot Cake doesn’t rise properly?
If your cake doesn’t rise as expected, make sure your baking powder is fresh, as expired leavening agents can lead to denser cakes. Additionally, avoid overmixing your wet and dry ingredients, as this can also affect the cake’s lightness. Lightly folding in the ingredients will help create that airy texture we love.
Are there any allergy considerations with Protein Dot Cakes?
Yes, these cakes do contain eggs and dairy products via the Greek yogurt and Cool Whip. If you’re making this for someone with allergies, you can substitute eggs with a flaxseed meal (1 tablespoon of flaxseed mixed with 2.5 tablespoons of water for each egg) and opt for dairy-free yogurt and whipped cream to accommodate various dietary needs.
Can I substitute sugar in the Protein Dot Cakes?
Very! If you prefer a healthier alternative, you can swap Truvia with regular sugar, honey, or maple syrup, just note that using liquid sweeteners will slightly change your batter’s consistency. Adjust other liquid ingredients to keep the same cake texture!
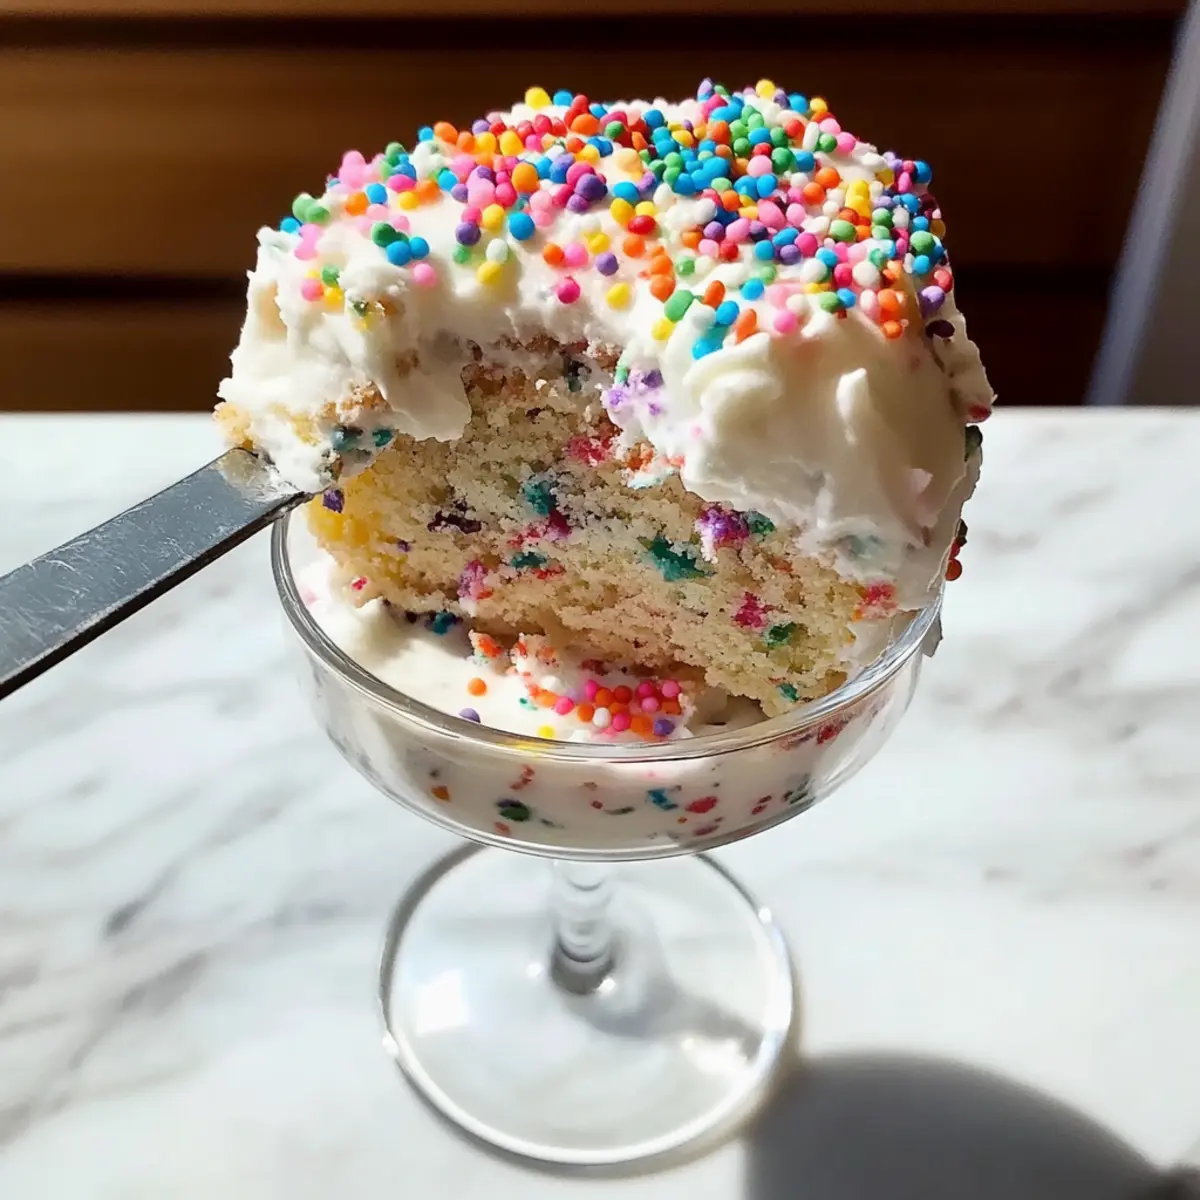
Protein Dot Cakes: Whimsical, High-Protein Dessert Delights
Ingredients
Equipment
Method
- Preheat your oven to 350°F (175°C) and grease an 8" x 8" pan with cooking spray or butter.
- In a large bowl, combine the flour, protein powder, sweetener, baking powder, and salt. Whisk until blended.
- In another bowl, mix Greek yogurt, applesauce, eggs, and vanilla extract. Whisk until smooth.
- Gradually pour the wet mixture into the dry ingredients, stirring gently. Fold in the rainbow sprinkles.
- Pour the batter into the prepared pan and bake for 20-23 minutes until golden brown.
- Let the cake cool on a wire rack for about 30 minutes.
- Blend the ingredients for the frosting until creamy and smooth, then chill in the fridge for 10 minutes.
- Cut out circles from the cooled cake and layer them in glasses with frosting.
- Decorate with additional rainbow sprinkles and refrigerate for 10 minutes to chill thoroughly.
Leave a Reply