
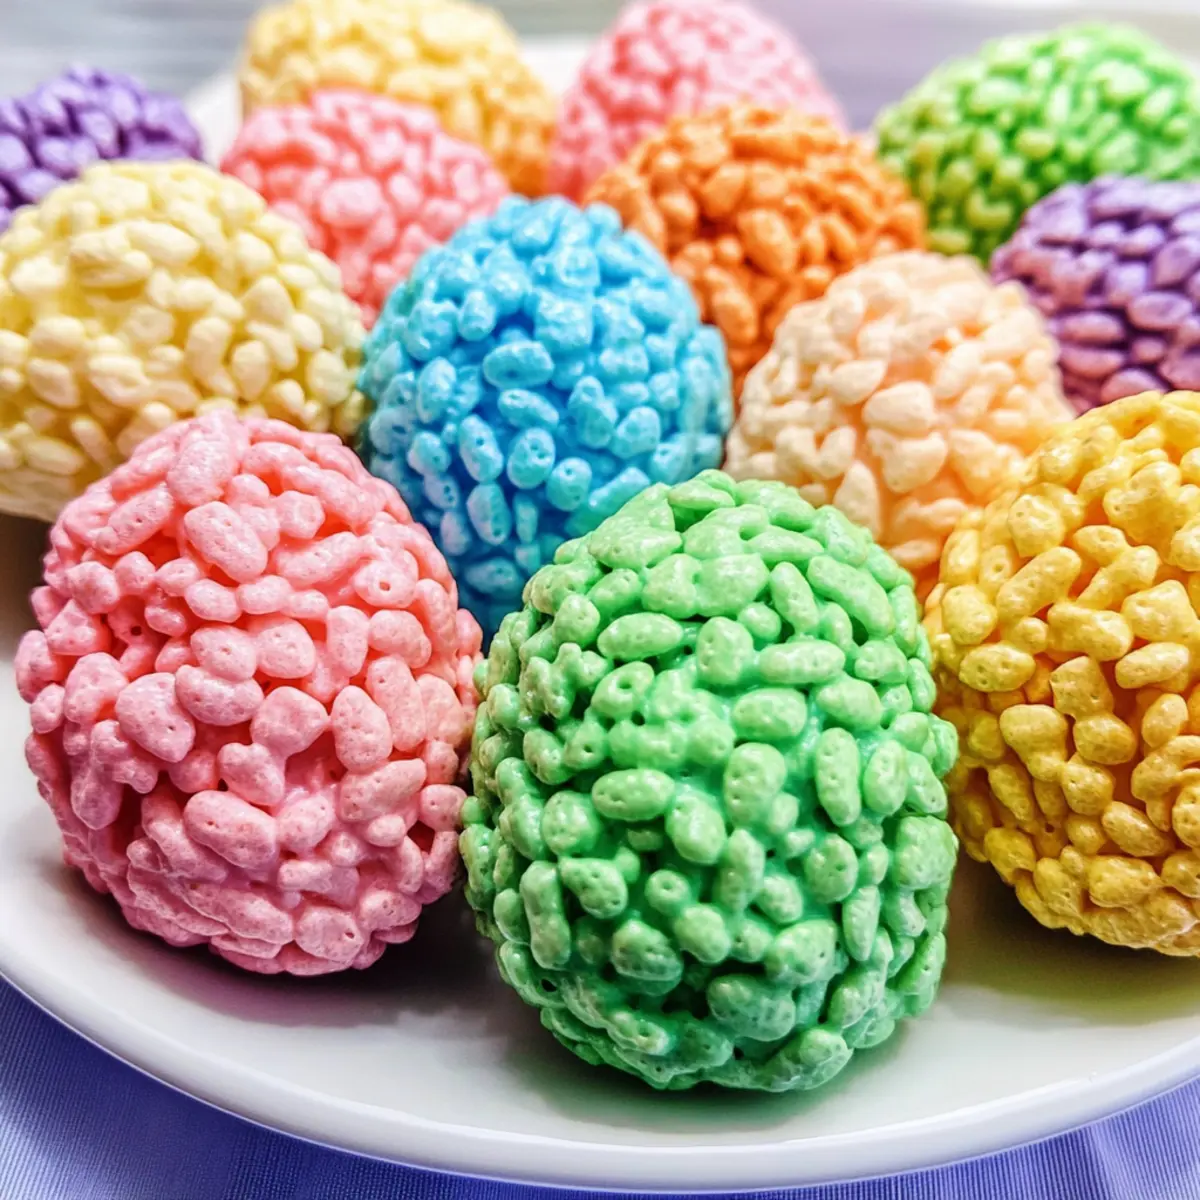
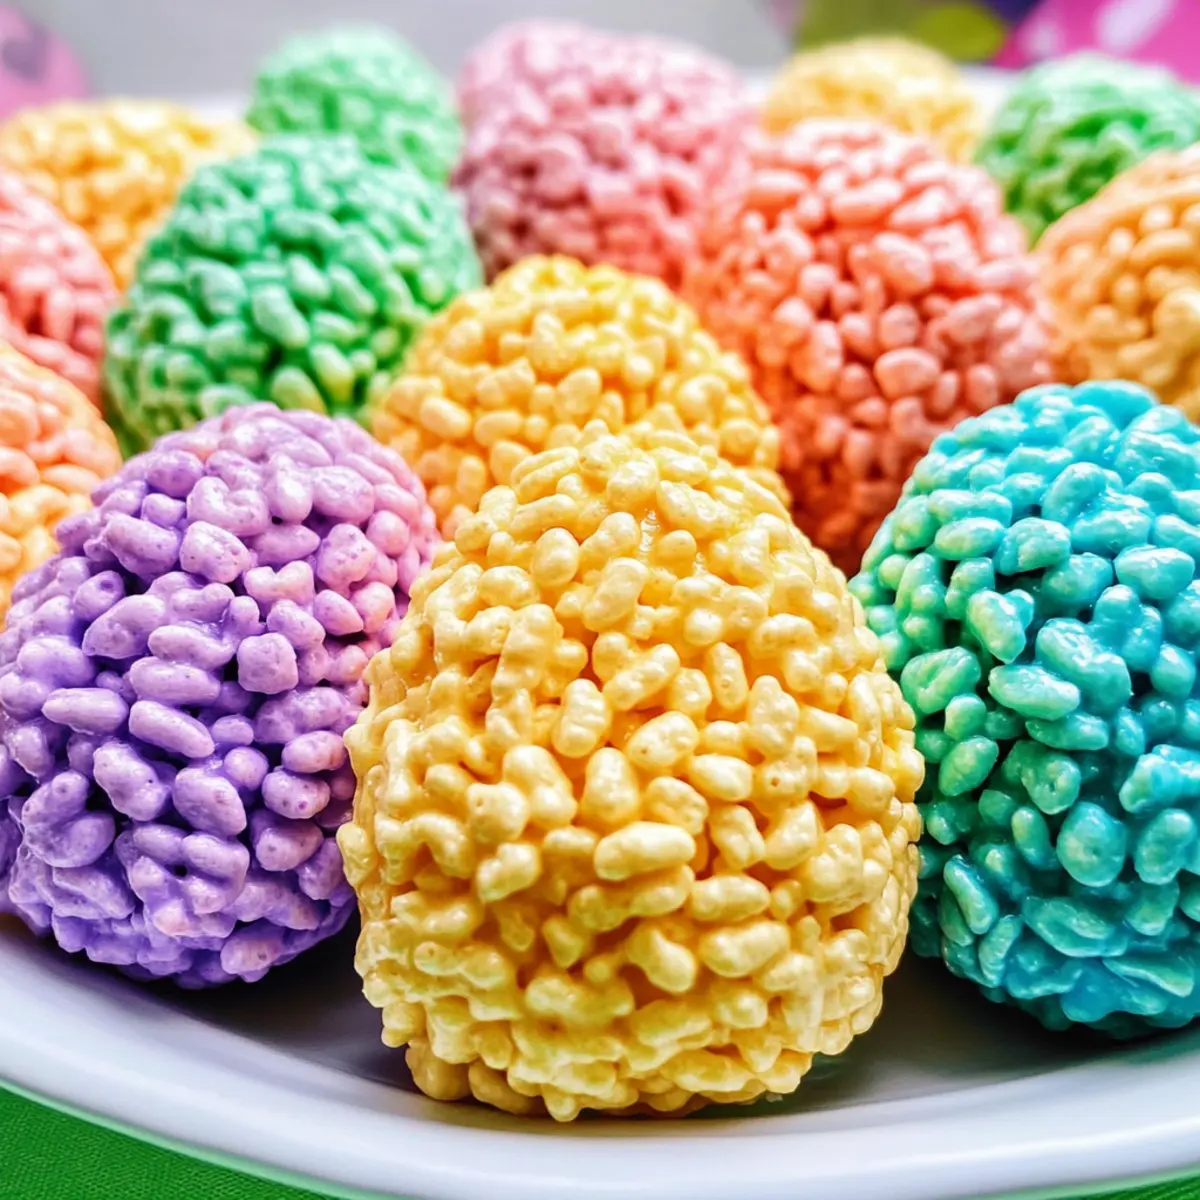
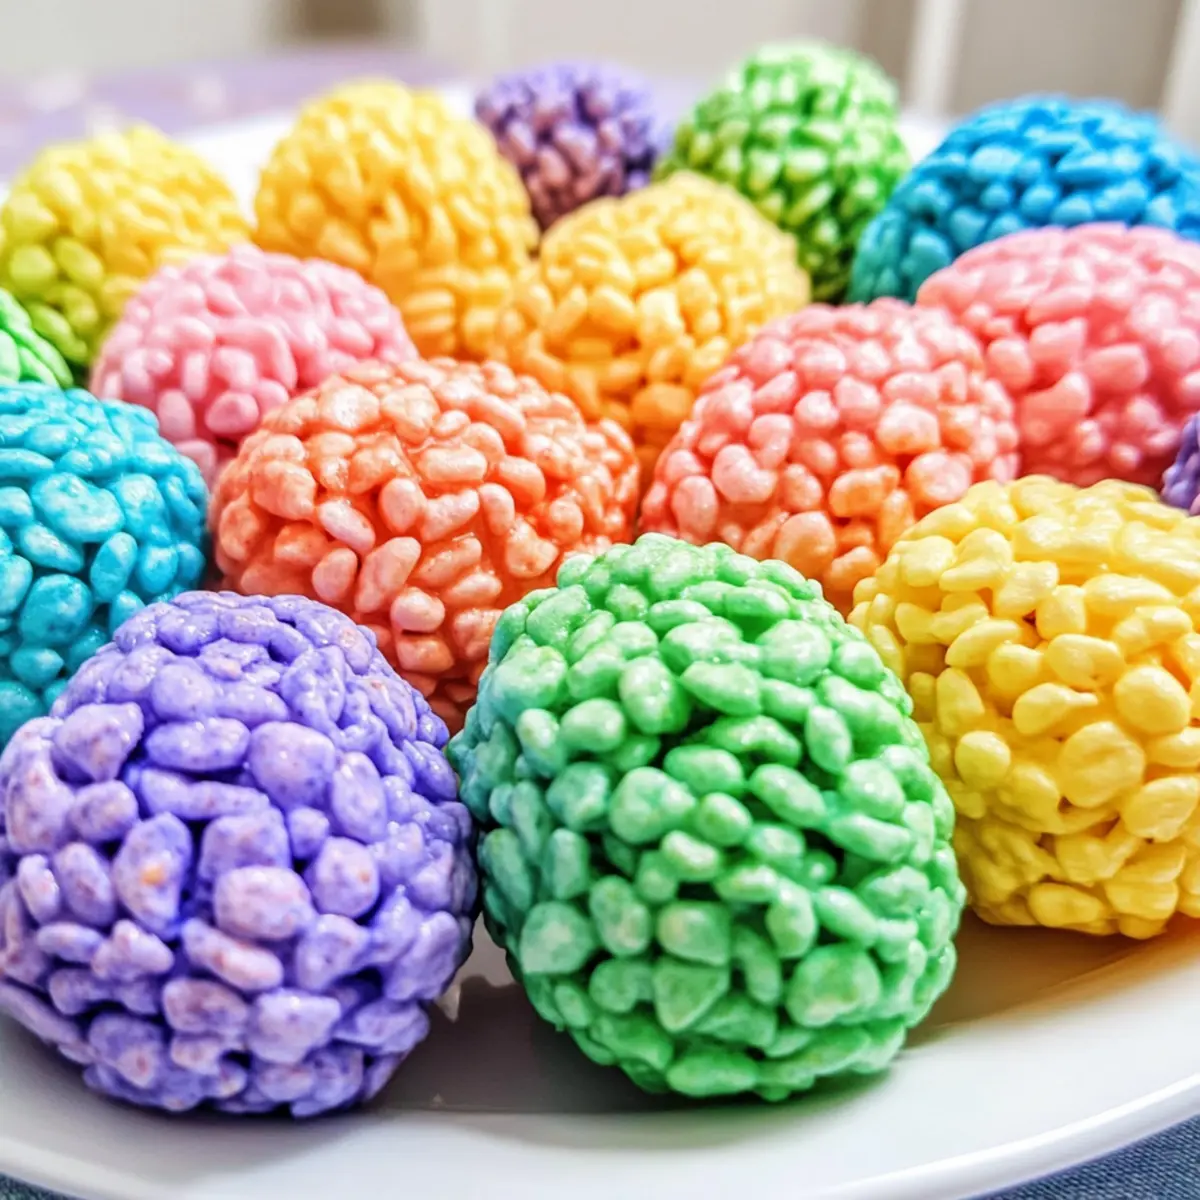
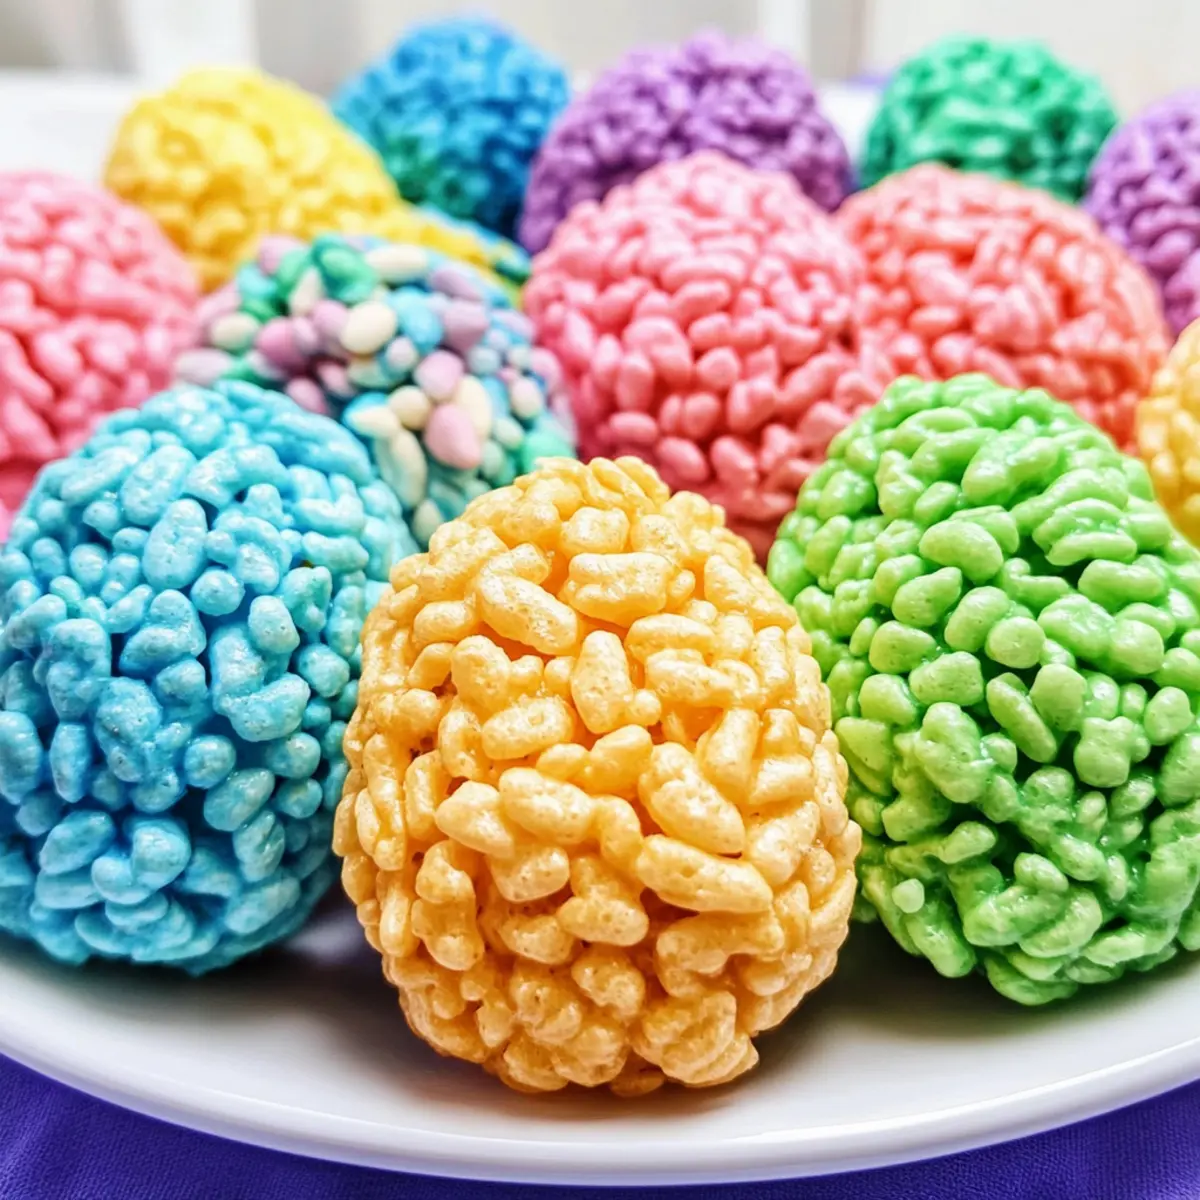
As I unwrapped the vibrant colors of spring, a wave of nostalgia washed over me. These Colorful Rice Krispie Easter Eggs are not only a tribute to childhood joy but also a canvas for creativity during the festive season. Kid-friendly and totally no-bake, this delightful treat is a breeze to whip up, allowing even the busiest home-chefs to join in on the fun. The chewy, marshmallow-infused texture paired with a colorful burst makes them perfect for Easter celebrations, guaranteed to impress both young and old alike. Plus, the recipe lends itself beautifully to customization—get ready to experiment with colors and shapes! What unique twists will you add to make these a family favorite?
Why Make Colorful Rice Krispie Eggs?
Delightful and Festive: These Colorful Rice Krispie Easter Eggs bring a joyful touch to your celebrations, captivating both kids and adults alike with their bright hues and fun shapes.
No-Bake Convenience: Enjoy the simplicity of a no-bake treat that saves time, allowing you to focus on what truly matters—creating memories!
Creative Opportunities: With endless color options, you can personalize each egg, making this recipe perfect for family bonding or themed parties.
Kid-Friendly Fun: Kids will love getting involved in the hands-on process, transforming this treat into an exciting activity. Consider pairing these with our Cottage Cheese Eggs for a delicious twist on holiday treats!
Perfect for Any Occasion: These delightful eggs aren’t just for Easter; they work beautifully for birthday parties, seasonal gatherings, or as festive gifts! Let your creativity shine with this whimsical, easy-to-make recipe.
Rice Krispie Eggs Ingredients
For the Base Mixture
• Kellogg’s Rice Krispies Cereal – Gives structure and crunch to the eggs; choose a gluten-free option if needed.
• Mini Marshmallows – Provides sweetness and gooeyness; larger marshmallows can be used if melted fully.
• Butter (Salted Sweet Cream) – Adds richness and prevents sticking; margarine is a dairy-free substitute.
For the Colorful Touch
• Wilton Color Right Food Coloring – Delivers vibrant colors to your Rice Krispie Eggs; feel free to experiment with different brands for varied results.
Optional for Variations
• Natural Food Coloring (e.g., beet juice, turmeric) – For a more wholesome approach to coloring your treats.
• Shaped Molds – Use molds to create fun variations like bunnies or chicks!
Step‑by‑Step Instructions for Colorful Rice Krispie Eggs
Step 1: Melt the Butter
In a medium saucepan, melt 3 tablespoons of salted sweet cream butter over low heat, stirring gently for about 2 minutes until fully melted. Use a spatula to keep it moving to prevent browning. You’re looking for a clear liquid without bubbles; this will help create a silky base for the Rice Krispie Eggs.
Step 2: Incorporate the Marshmallows
Once the butter is melted, add 3 cups of mini marshmallows to the pan. Stir continuously over low heat for 3-5 minutes until the marshmallows are completely melted and the mixture is smooth and gooey. Remove from heat once it reaches a creamy consistency, ensuring there are no lumps for that perfect Rice Krispie treat texture.
Step 3: Add Food Coloring
Next, choose your desired food coloring for the Colorful Rice Krispie Eggs and stir it into the melted marshmallow mixture. You can start with a few drops and mix thoroughly; add more if a bolder color is preferred. The mixture should now be a vibrant hue, bringing an element of fun and creativity to your Easter treats.
Step 4: Mix in the Rice Krispies
Gradually fold in 3 cups of Kellogg’s Rice Krispies cereal into the colorful marshmallow mixture. Stir gently but thoroughly for about 2 minutes until all the cereal is well coated and you can see the bright color spread evenly. This step is crucial for ensuring every bite of your Rice Krispie Eggs is deliciously sweet and festive.
Step 5: Cool the Mixture
Allow the mixture to cool for about 5-10 minutes until it’s warm but manageable to handle. This step is essential to avoid burns while shaping the eggs. You’ll know it’s ready when it slightly sticks to your hands but doesn’t feel hot. Ensure you’re still able to mold it into shape; warmth facilitates shaping without breaking.
Step 6: Shape the Eggs
Using your hands, take about 0.5 oz. of the mixture and squeeze it gently to form an egg shape, about the size of a large egg. Lightly butter your fingers beforehand to prevent sticking. Keep your shapes consistent, creating a delightful batch of Colorful Rice Krispie Eggs that kids will love observing take form.
Step 7: Repeat with Different Colors
Repeat the shaping process with any remaining mixtures of different colors you’ve prepared. Continue shaping until all the Rice Krispie mixture is used up, ensuring to butter your hands between batches as needed. Each set of eggs will be a unique, colorful addition to your Easter festivities, great for showcasing your creativity.
Step 8: Cool Completely
Once shaped, place the Rice Krispie Eggs on a baking sheet lined with parchment paper and allow them to cool completely at room temperature, preferably for about 30 minutes. This ensures they hold their shape and firmness. Once cooled, they will be perfect for storing or sharing as delightful treats for your Easter celebration.
Make Ahead Options
These Colorful Rice Krispie Easter Eggs are perfect for meal prep, making them a fantastic treat to prepare ahead of time! You can make the mixture and shape the eggs up to 24 hours in advance; just ensure they cool completely before storing. After shaping, arrange the eggs in a single layer in an airtight container at room temperature to maintain their texture and avoid sticking together. When you’re ready to serve, you can either decorate them with icing, sprinkles, or additional food coloring to give them a fresh touch. By prepping these delightful treats ahead of time, you save precious minutes during the busy holiday festivities, allowing you to focus on creating joyful memories with loved ones!
Storage Tips for Colorful Rice Krispie Eggs
Room Temperature: Store the Rice Krispie Eggs in an airtight container at room temperature for up to 3-4 days to maintain their delightful texture and flavor.
Refrigeration: If preferred, you can refrigerate the eggs for up to a week; however, keep in mind they might become slightly firmer. Make sure to place them in an airtight container to prevent moisture absorption.
Freezer: For longer storage, freeze the Rice Krispie Eggs for up to 3 months. Wrap each egg in plastic wrap or place them in a freezer-safe container to avoid freezer burn.
Thawing: When ready to enjoy, remove the eggs from the freezer and let them thaw in the refrigerator or at room temperature. This ensures they maintain their original chewy texture when served.
What to Serve with Colorful Rice Krispie Eggs
Indulge in a festive feast that beautifully complements the vibrant joy of these delightful treats.
- Spring Fruit Salad: A refreshing mix of berries, melons, and citrus adds a burst of freshness, balancing the sweetness of the eggs.
- Chocolate-Covered Pretzels: The crunchy saltiness and chocolate richness create a delightful contrast, enhancing the overall festive experience.
- Mini Carrot Cake Muffins: These moist, spiced delights bring Easter flavors to the table, offering a perfect balance to your sweet treats.
- Bunny Shaped Sandwiches: Fun and whimsical, these sandwiches (filled with cream cheese or ham) make a playful addition to your holiday spread.
- Lemonade or Iced Tea: A refreshing drink option that complements the sweetness of the Rice Krispie Eggs while adding a zesty layer.
Pair these with the Colorful Rice Krispie Eggs for a fun-filled table that celebrates the season!
Expert Tips for Colorful Rice Krispie Eggs
-
Butter Your Hands: Lightly butter your fingers when shaping the eggs to prevent the mixture from sticking, making the process much smoother.
-
Melt Marshmallows Thoroughly: Ensure the mini marshmallows are completely melted and smooth to create a cohesive mixture; this ensures a satisfying texture in your Rice Krispie Eggs.
-
Color Gradually: Start with a few drops of food coloring and mix well before adding more for a bold hue; this method prevents overly intense color that can overwhelm the treats.
-
Use a Food Scale: To achieve uniformity in size, use a food scale for measuring each egg; this helps maintain consistency and enhances presentation.
-
Experiment with Shapes: Don’t just stick to eggs! Use molds or your hands to create fun shapes like bunnies or chicks for added festive flair.
Rice Krispie Eggs Variations
Get ready to enjoy the fun of customizing these delightful treats and make them your own!
- Natural Colors: Use beet juice for pink, turmeric for yellow, or spinach for green to create vibrant, natural hues.
- Allergy-Friendly: Substitute mini marshmallows with vegan marshmallows and use dairy-free butter for a dairy-free version.
- Flavor Boost: Add a teaspoon of vanilla extract to the melted marshmallow mixture for a warm, aromatic twist.
- Nutty Crunch: Incorporate chopped nuts like walnuts or almonds into the mixture for an added crunch that kids will love.
- Choco-Dipped Delight: Melt some chocolate and dip the formed eggs for an indulgent, sweet coating that takes them up a notch.
- Fun Shapes: Instead of eggs, mold the mixture into festive bunnies or chicks for an adorable variation for your Easter treats.
- Sprinkle-tastic: Decorate your eggs with colorful sprinkles for an extra touch of festivity, giving a delightful crunch with each bite.
- Mini Eggs: Use smaller portions of the mixture to create tiny eggs, perfect for Easter egg hunts or party favors—a sweet surprise in a compact treat!
Consider pairing your Rice Krispie Eggs with our delicious Lime Chicken Avocado for a refreshing meal or serve alongside some Taco Rice Bowls to round out the festivities!
Colorful Rice Krispie Easter Eggs Recipe FAQs
What is the best way to select Marshmallows?
When choosing mini marshmallows, look for a fresh bag with no dark spots or hard pieces, indicating they may be stale. Fresh marshmallows should be soft, fluffy, and cohesive, ensuring they melt smoothly when heated for your Rice Krispie Eggs.
How should I store Colorful Rice Krispie Eggs?
Store your Colorful Rice Krispie Eggs in an airtight container at room temperature for 3-4 days. Alternatively, you can refrigerate them for up to a week, but be aware they may become slightly firmer. To ensure the best texture, an airtight container is essential to keep them fresh!
Can I freeze Rice Krispie Eggs?
Absolutely! You can freeze your Colorful Rice Krispie Eggs for up to 3 months. To freeze, individually wrap each egg in plastic wrap or place them in a freezer-safe container. When you’re ready to enjoy, simply thaw them in the refrigerator overnight or at room temperature—this helps preserve their delightful chewy texture.
What if my mixture is too sticky when shaping?
If the mixture is too sticky, ensure your hands are well-buttered! Lightly greasing your palms will prevent sticking and make shaping easier. Additionally, if the marshmallow mixture is overly gooey, allow it to cool a bit longer, as this will help firm it up and make it easier to handle.
Are Rice Krispie Eggs safe for pets?
While Rice Krispie Eggs are a fun treat for humans, they aren’t suitable for pets, especially dogs and cats. Ingredients like marshmallows and butter can upset their stomachs. Always keep these treats away from your furry friends to ensure their safety!
Colorful Rice Krispie Eggs for a Fun Easter Treat
Ingredients
Equipment
Method
- In a medium saucepan, melt the butter over low heat, stirring gently for about 2 minutes until fully melted.
- Add mini marshmallows to the pan and stir continuously over low heat for 3-5 minutes until completely melted.
- Stir your desired food coloring into the melted marshmallow mixture.
- Gradually fold in Kellogg's Rice Krispies cereal into the colorful marshmallow mixture.
- Allow the mixture to cool for about 5-10 minutes until it's warm but manageable to handle.
- Using your hands, take about 0.5 oz. of mixture and squeeze to form an egg shape.
- Repeat the shaping process with any remaining mixtures of different colors you've prepared.
- Once shaped, place the Rice Krispie Eggs on a baking sheet lined with parchment paper and allow them to cool completely.
Leave a Reply