
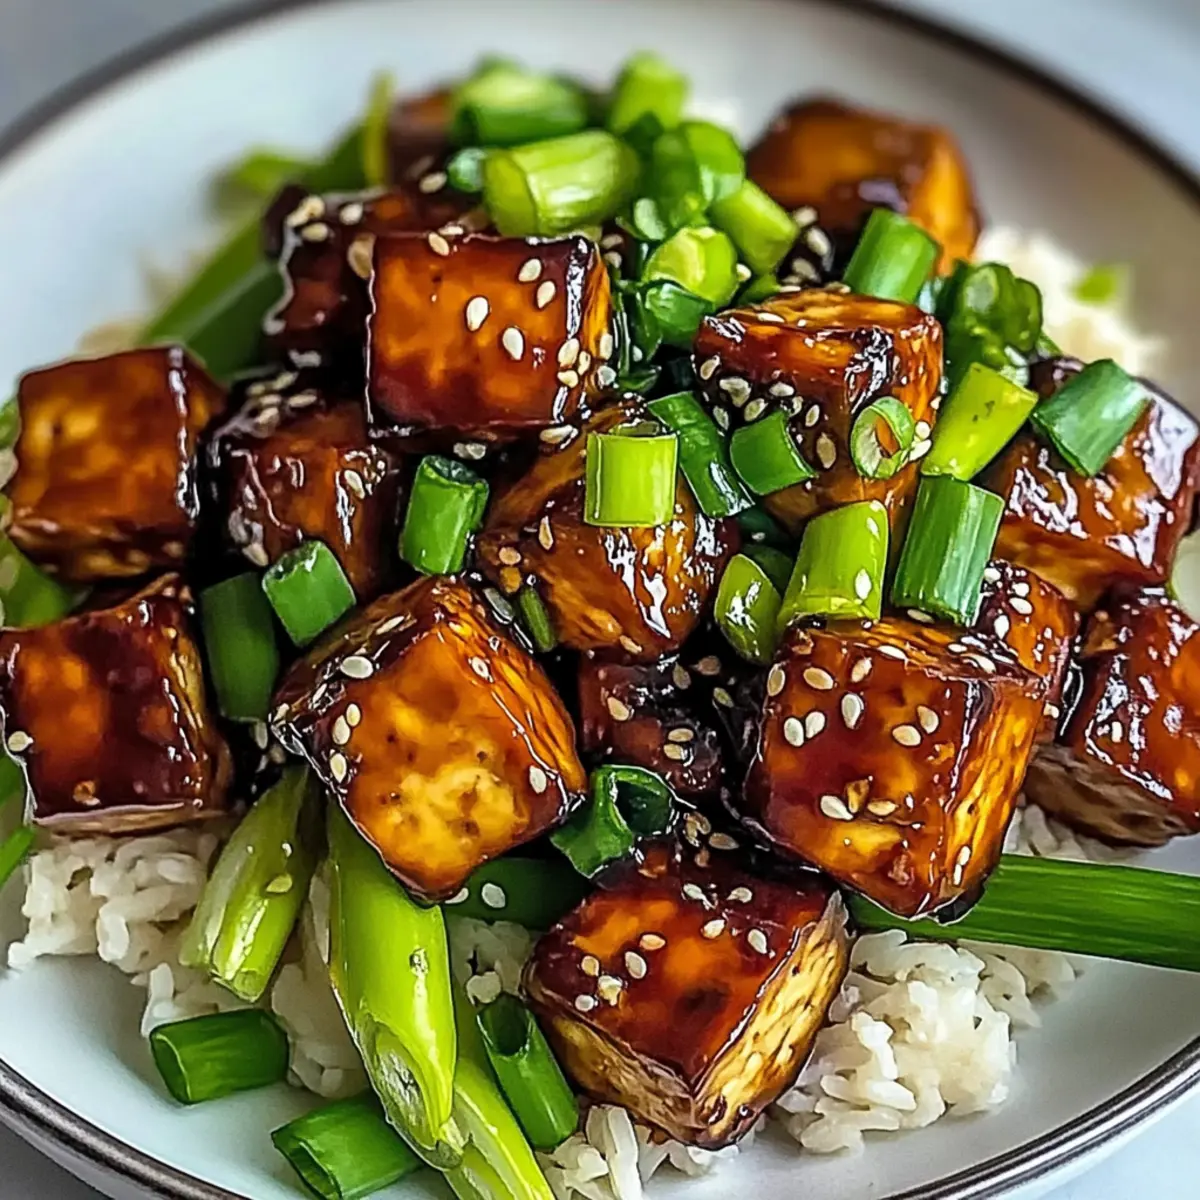
There I was, staring at my fridge filled with ingredients and pondering what magic I could whip up for dinner. Enter the scene: my trusty block of tofu, begging for a little TLC. That’s when the idea of Sticky Miso Tofu came to life—a delightful recipe that brings together crispy, savory goodness with a hint of sweetness that’s simply irresistible. This quick and easy vegan dish not only satisfies those takeout cravings but also packs in protein while being budget-friendly. Perfect for those whirlwind weeknights, it allows you to unleash your culinary creativity with just a few twists, like adding fresh veggies or switching up the sauce. Curious about how to turn your dinner into a plant-based masterpiece? Let’s dive into this scrumptious recipe together!
Why is Sticky Miso Tofu a Must-Try?
Flavor Explosion: This recipe brings together the rich umami of miso and the sweetness of brown sugar, creating a savory delight you won’t forget.
Easy & Quick: With minimal prep and cooking time, you can whip this up on even the busiest weeknights, keeping your dinner stress-free.
Versatile Base: Use tofu as a canvas for creativity—add colorful vegetables or try different sauces to keep things exciting!
Healthy Protein Punch: At around 250 calories and 18g of protein per serving, you’re not just filling up; you’re nourishing your body.
Budget-Friendly: Who said delicious food has to be expensive? This recipe utilizes simple ingredients, making it easy on your wallet without sacrificing taste.
If you’re in the mood for something extra sweet and indulgent, don’t forget to check out my Sticky Toffee Pudding recipe for a delightful dessert option!
Sticky Miso Tofu Ingredients
For the Tofu
• Tofu – Use extra firm tofu for the best texture. Press for at least 15 minutes to remove excess moisture.
• Cooking Oil – Essential for sautéing to achieve a crispy tofu exterior.
For the Miso Sauce
• Miso Paste – Adds the delicious umami flavor; mild varieties like white or yellow are recommended.
• Soy Sauce – Enhances flavors; opt for gluten-free tamari if needed.
• Mirin – Provides sweetness; can be swapped with a mixture of sake and sugar if you don’t have it.
• Brown Sugar – Adds a touch of sweetness; substitute with coconut sugar for a healthier option.
For Coating the Tofu
• Cornstarch – Thickening agent for the sauce; arrowroot starch can be used as an alternative.
• Nutritional Yeast – Adds a cheesy flavor, perfect for vegan dishes.
• White Pepper – Offers a subtle heat that complements the dish.
• Five-Spice Powder – Infuses the tofu with a unique, aromatic flavor.
Feel free to customize the Sticky Miso Tofu with additional veggies for a nutritionally colorful boost!
Step‑by‑Step Instructions for Sticky Miso Tofu
Step 1: Preheat the Oven
Begin by preheating your oven to 425°F (220°C). This high temperature is key for achieving that irresistibly crispy exterior on your Sticky Miso Tofu. While the oven warms up, you can prepare your tofu, ensuring it will cook perfectly once it hits the hot air of the oven.
Step 2: Prepare the Tofu
Press your extra firm tofu for at least 15 minutes to eliminate excess moisture; this step is crucial for a better texture. Once pressed, tear the tofu into 1-inch chunks for maximum surface area that will absorb the flavor of the miso sauce. Set aside these pieces as you prepare to season them.
Step 3: Coat the Tofu
In a mixing bowl, combine the torn tofu chunks with tamari, cooking oil, cornstarch, nutritional yeast, white pepper, and five-spice powder. Gently toss until each piece is evenly coated with this flavorful mix, which will enhance the taste and crispness of your Sticky Miso Tofu during baking.
Step 4: Bake the Tofu
Spread the coated tofu chunks in a single layer on a parchment-lined baking sheet. Bake in the preheated oven for 30 minutes, flipping the tofu halfway through to ensure even cooking. You’ll know they’re ready when they turn golden brown and crispy, releasing a delightful aroma.
Step 5: Make the Miso Sauce
In a separate bowl, whisk together miso paste, brown sugar, tamari, and mirin until well combined. Gradually add warm water to the mixture, continuing to whisk until smooth. This luscious sauce adds unbeatable umami and sweetness to your Sticky Miso Tofu, making it irresistible.
Step 6: Sauté Aromatics
Heat a large skillet over medium heat and add a splash of cooking oil. Once hot, sauté sliced scallions, minced garlic, ginger, and any optional chilies for about 3-4 minutes until fragrant and softened. These aromatics will enhance the overall flavor of your sauce and tofu.
Step 7: Thicken the Sauce
Pour the prepared miso sauce into the skillet with the sautéed aromatics. Stir continuously and add a cornstarch slurry (mixing cornstarch with water) to thicken the sauce. Let it simmer for around 5 minutes until the sauce becomes glossy and slightly reduces in volume.
Step 8: Coat the Tofu
Carefully add the baked tofu chunks to the skillet, gently stirring to coat each piece in the rich miso sauce. Cook for an additional 1-2 minutes, allowing the flavors to meld. This final step ensures your Sticky Miso Tofu is bursting with flavor and beautifully glazed.
Step 9: Serve the Dish
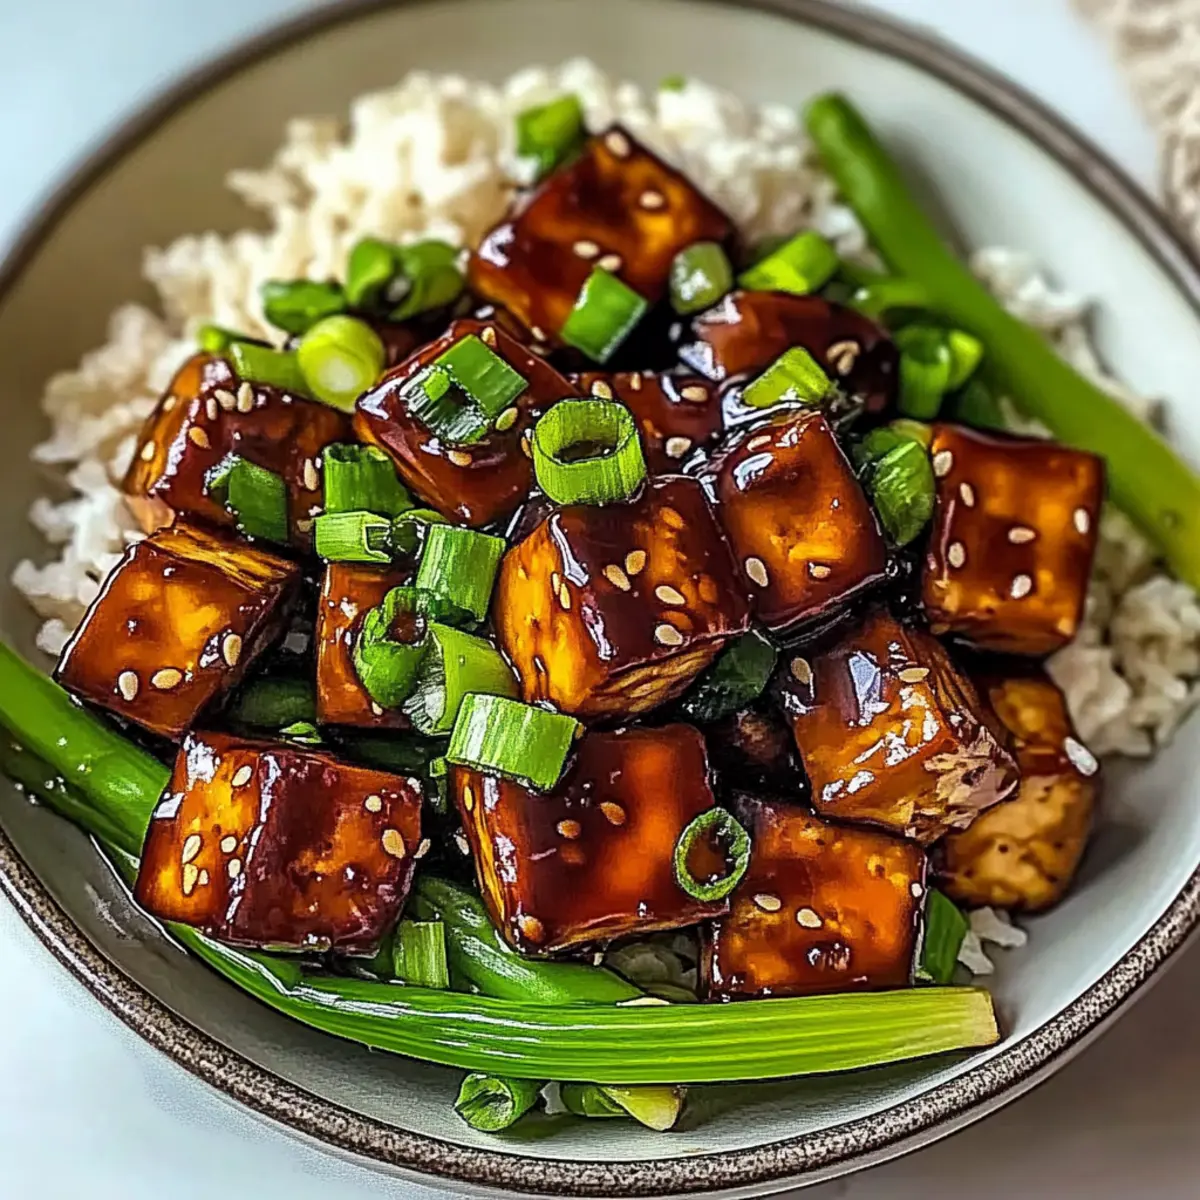
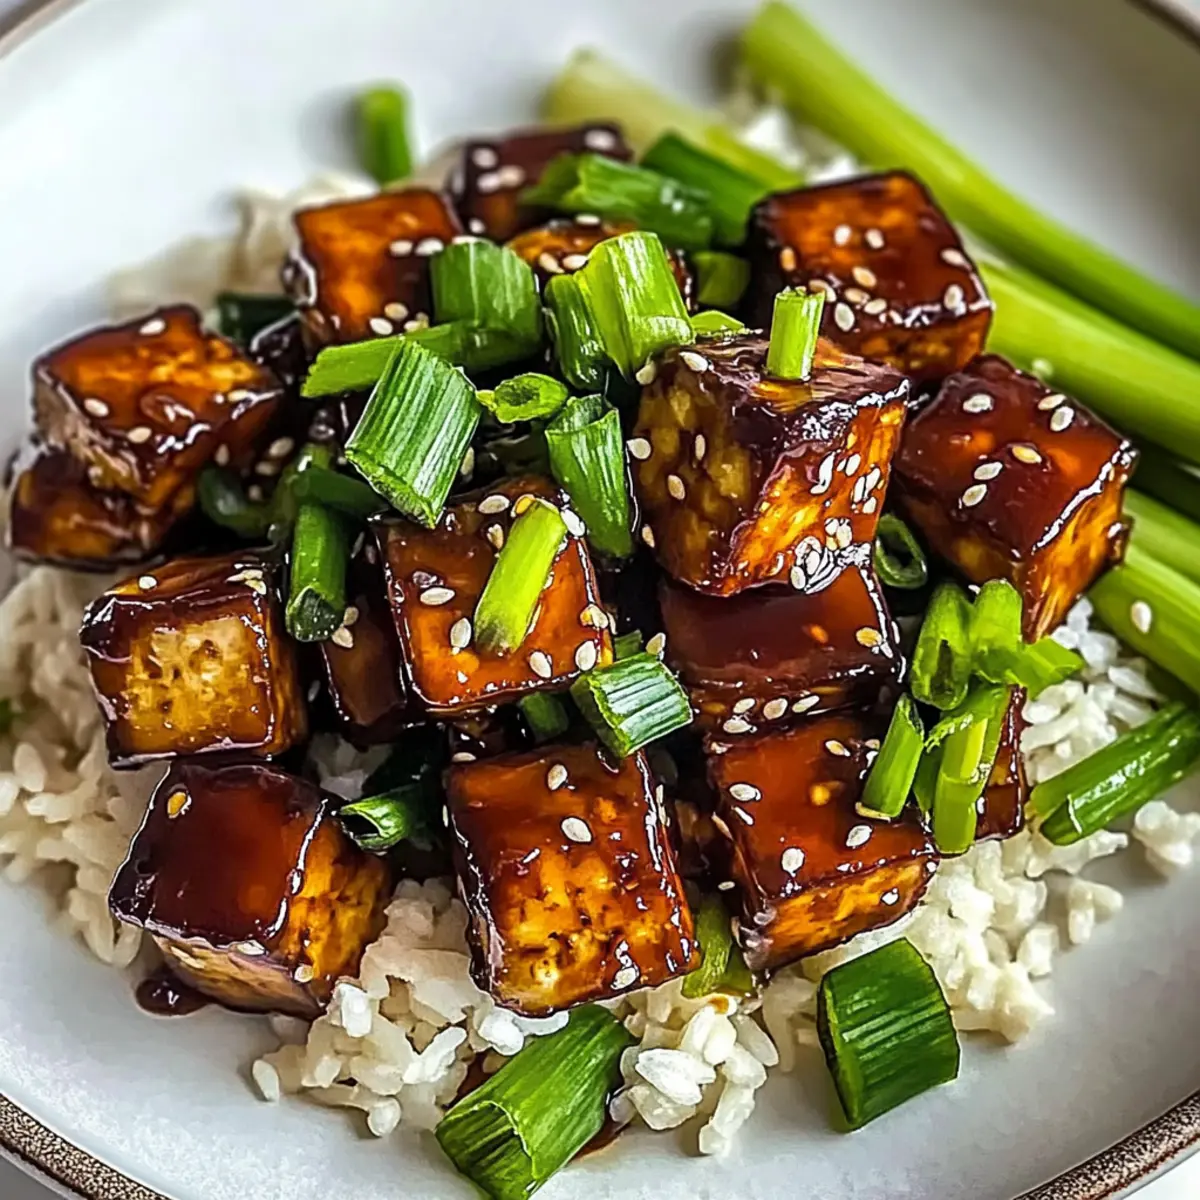
Plate your Sticky Miso Tofu over a bed of fluffy rice or quinoa, or even in crisp lettuce wraps. Garnish with fresh greens or any additional toppings you’d like. This vibrant dish is ready to be enjoyed, offering a perfect balance of crispy, chewy, and sweet-savory goodness that’s sure to please!
Expert Tips for Sticky Miso Tofu
-
Perfectly Pressed Tofu: Ensure your tofu is pressed thoroughly for at least 15 minutes to remove excess moisture, which helps achieve a crispier texture during baking.
-
Crispiness Check: If your tofu isn’t as crispy as desired, toss it with an extra dusting of cornstarch before baking, or briefly broil it at the end for that golden finish.
-
Miso Variations: Experiment with different types of miso paste! For a soy-free option, consider chickpea miso, which still provides great flavor in your Sticky Miso Tofu.
-
Prep Ahead: Save time by preparing the miso sauce in advance and refrigerating it for up to 3 days. This way, you can enjoy a quick meal anytime!
-
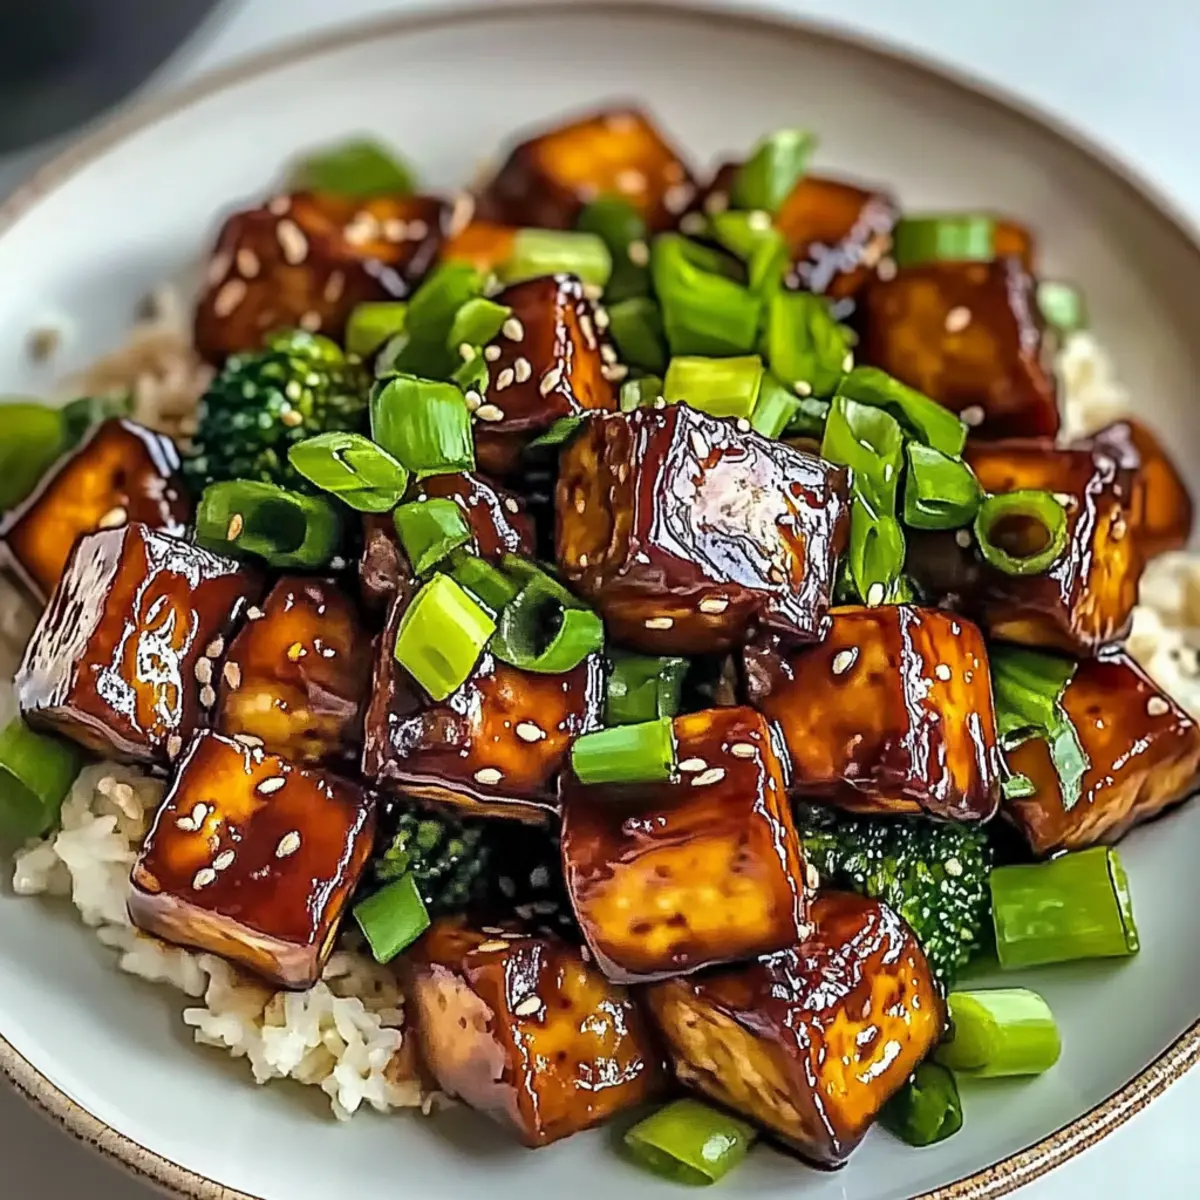
Fun Add-Ins: Elevate the dish by adding your favorite vegetables, such as colorful bell peppers or broccoli, during the sautéing step to boost nutrition and flavor.
What to Serve with Sticky Miso Tofu
Create a colorful and delicious meal by pairing your tofu with complementary sides that elevate the experience.
-
Fluffy Jasmine Rice: The perfect base, its light texture soaks up the rich sauce, providing a comforting foundation for each bite.
-
Steamed Broccoli: These vibrant green florets offer a fresh crunch, contrasting beautifully with the tender tofu and enhancing the meal’s nutritional value.
-
Sautéed Spinach: A fragrant blend of garlic and tender spinach adds a pop of color and a nutrient boost, brightening up every plate.
-
Crispy Lettuce Wraps: Serve the tofu in crisp leaves for a refreshing twist, making every bite a delightful, crunchy experience.
-
Pickled Carrots: Adding a tangy crunch, these pickled beauties provide acidity that cuts through the sweetness of the sauce, balancing the flavors wonderfully.
-
Chilled Sake: This smooth rice wine pairs beautifully with the umami notes of the dish, enhancing the overall dining experience with its delicate taste.
-
Quinoa Salad: A nutty, protein-packed alternative to rice, quinoa salad mixed with diced veggies adds texture and extra nutrition to your meal.
Make Ahead Options
These Sticky Miso Tofu are fantastic for meal prep enthusiasts! You can press the tofu and store it in the refrigerator for up to 24 hours before cooking, ensuring it stays fresh and ready to go. Additionally, the miso sauce can be prepared ahead of time and refrigerated for up to 3 days; just whisk it with a little warm water before using to bring it back to life. When you’re ready to serve, simply bake the tofu as directed, mix it with the reheated sauce, and enjoy a delicious meal with minimal effort. This way, you’ll save time without sacrificing that wonderful, savory flavor you crave!
Sticky Miso Tofu: Can Be Customized!
Feel free to add your personal flair to this dish; it’s all about making it your own!
- Vegetable Boost: Toss in vibrant veggies like bell peppers or broccoli during sautéing for added nutrition and color. They’ll bring a delightful crunch!
- Quinoa Twist: Substitute rice with quinoa for a nutty flavor and extra protein, pairing perfectly with the rich sauce.
- Lettuce Wraps: Serve in crisp lettuce wraps for a refreshing twist—perfect for a light meal or snacking!
- Spicy Kick: Add sliced fresh chilies or a dash of sriracha to the sauce for a spicy punch that tantalizes the taste buds.
- Herb Infusion: Garnish with fresh herbs like cilantro or basil for a fragrant finish that enhances the dish’s flavor profile.
Looking to satisfy that sweet tooth after this savory meal? Don’t miss my delightful Sticky Toffee Pudding for an irresistible dessert!
How to Store and Freeze Sticky Miso Tofu
-
Fridge: Store leftover Sticky Miso Tofu in an airtight container for up to 4 days. Reheat in a skillet over medium heat for the best texture.
-
Freezer: For longer storage, freeze the tofu in a freezer-safe bag for up to 3 months. Thaw in the fridge overnight before reheating.
-
Before Cooking Storage: Pressed tofu can be kept in the fridge for up to 24 hours before you cook it, making meal prep easier.
-
Miso Sauce Storage: Prepare the miso sauce in advance and refrigerate it for up to 3 days to save time on busy nights.
Sticky Miso Tofu Recipe FAQs
What type of tofu should I use for Sticky Miso Tofu?
Absolutely! For the best results, use extra firm tofu. It provides the ideal texture and holds up during cooking. Remember to press it for at least 15 minutes to remove excess moisture, ensuring a nice crispy finish.
How long can I store leftover Sticky Miso Tofu?
Leftover Sticky Miso Tofu can be stored in an airtight container in the fridge for up to 4 days. When you’re ready to enjoy it again, simply reheat it in a skillet over medium heat for 3-5 minutes for the best texture.
Can I freeze Sticky Miso Tofu?
Yes, you can! To freeze, place the tofu in a freezer-safe bag, making sure to remove as much air as possible. It can be frozen for up to 3 months. When you’re ready to eat it, thaw in the fridge overnight, then reheat and enjoy!
What should I do if my tofu isn’t crispy?
Very often, it’s all about the pressing! Ensure you pressed the tofu well. If it still isn’t crispy after baking, toss the pieces with an extra layer of cornstarch before baking, or for an extra crunch, you can broil it for a few minutes at the end to make it golden.
Are there any dietary considerations for Sticky Miso Tofu?
Certainly! Ensure you’re using gluten-free tamari for a gluten-free version. Also, check your miso paste; there are soy-free options like chickpea miso for those with soy allergies. I make sure to always read labels closely to avoid any unwanted ingredients.
How can I customize or add more nutrition to my Sticky Miso Tofu?
Feel free to get creative! Adding vegetables like bell peppers, broccoli, or snap peas during the sautéing phase can enhance both nutrition and color. You can also swap rice for quinoa for an additional protein punch or serve it in crisp lettuce wraps for a refreshing twist!
Sticky Miso Tofu: Crispy Vegan Bliss You'll Crave
Ingredients
Equipment
Method
- Preheat your oven to 425°F (220°C).
- Press your extra firm tofu for at least 15 minutes, then tear into 1-inch chunks.
- Combine the tofu chunks with tamari, cooking oil, cornstarch, nutritional yeast, white pepper, and five-spice powder in a bowl.
- Spread coated tofu on a parchment-lined baking sheet and bake for 30 minutes, flipping halfway.
- Whisk together miso paste, brown sugar, tamari, and mirin in a bowl, then gradually add warm water until smooth.
- Sauté sliced scallions, minced garlic, ginger, and optional chilies in a skillet over medium heat for about 3-4 minutes.
- Pour miso sauce into the skillet and add a cornstarch slurry; simmer for around 5 minutes.
- Add baked tofu chunks to the skillet and gently stir to coat in the miso sauce.
- Serve over rice or quinoa and garnish with fresh greens.
Leave a Reply